1. Overview
This Inefala 4G 64G Car Stereo is designed for Subaru BRZ, Scion FRS, and Toyota GT86 models manufactured between 2012 and 2016. It features an Android 15 operating system with 4GB RAM and 64GB ROM, providing ample space for applications. The unit includes a 9-inch IPS touchscreen with a 1280 x 720 resolution, supporting split-screen functionality and 1080P video playback. Key features include wireless CarPlay and Android Auto, Bluetooth 5.0 for hands-free calling and music streaming, GPS navigation (supporting GPS/BeiDou/Galileo/Glonss), a 32-band equalizer, and compatibility with an AHD backup camera. The system also supports steering wheel controls and offers 13 different desktop themes.

Image: The Inefala 4G 64G Car Stereo seamlessly integrated into the dashboard of a compatible vehicle.
2. Setup and Installation
2.1 Compatibility Check
This dash kit is specifically for Subaru BRZ, Scion FRS, and Toyota GT86 models from 2012 to 2016. If your vehicle has an original amplifier, please provide the CD interface diagram from the back of your unit to the seller to confirm compatibility. Failure to do so may result in loss of speaker sound. Verify that the power cable port matches your vehicle's before purchase. Contact support if the power cord does not fit.
2.2 Pre-Installation Test
Before full installation, perform a quick test:
- Combine the red and yellow wires of the car stereo.
- Connect the combined wires to the positive pole of a 12V battery.
- Connect the black wire to the negative pole of the battery.
- After approximately 2 seconds, check if the screen lights up. If it does, the car stereo is functioning normally.
- If the device turns on but does not work after installation, recheck the installation procedure.
2.3 Wiring and Connections
Refer to the provided wiring diagrams for correct connections. Ensure all necessary cables are securely connected.

Image: Detailed wiring diagram showing various ports and connections, along with a list of included accessories.
Important Wiring Notes:
- The ACC line on the power cord connects to the RCA power amplifier line. This allows the original car's power amplifier to be used normally.
- If your car is a high-version model, do not connect the specific connector shown in the diagram (often circled in red on the back of the original unit), as this may prevent the car audio system from working.
- If your car media player resembles the examples shown in the 'Please Note' image (e.g., with a separate screen and control unit), this product may not be compatible.

Image: Visual warning regarding specific connectors for high-version vehicles and examples of incompatible original car media players.
2.4 Backup Camera Wiring
The reverse input cable must be connected even if a reverse camera is not used, as it affects Bluetooth and Wi-Fi signal reception.
- Cable 1 and Cable 6: Connect to the positive pole of the car's reversing light cable.
- Cable 2: Connect to the negative pole of the car's reversing light cable.
- Cable 3 and Cable 4: Connect to the reverse trigger wire of the power cable (labeled 'Reverse/Back'). If your vehicle does not have this wire, it is not necessary to connect it. If the camera does not function after installation, try pulling out this wire and connecting it.

Image: Diagram illustrating the connection points for the backup camera, including the reverse light and trigger wire.
2.5 Steering Wheel Control Setup
To enable steering wheel controls, follow the instructions based on your vehicle's configuration:
- Without CANBUS Decoder: Connect the plugs or the steering wheel control wires (Key1/Key2) in the power cable to the corresponding port or wire of your original car. Then, navigate to the 'SWC' menu on the stereo to manually match and activate the button functions.
- With CANBUS Decoder: Connect the CANBUS before powering on the radio. Then, go to Apps > Settings > Factory Settings (password: 8888) > 1 Vehicle > Automotive type. Select the brand of the CANBUS decoder, and then choose the matching model and year for proper functionality.
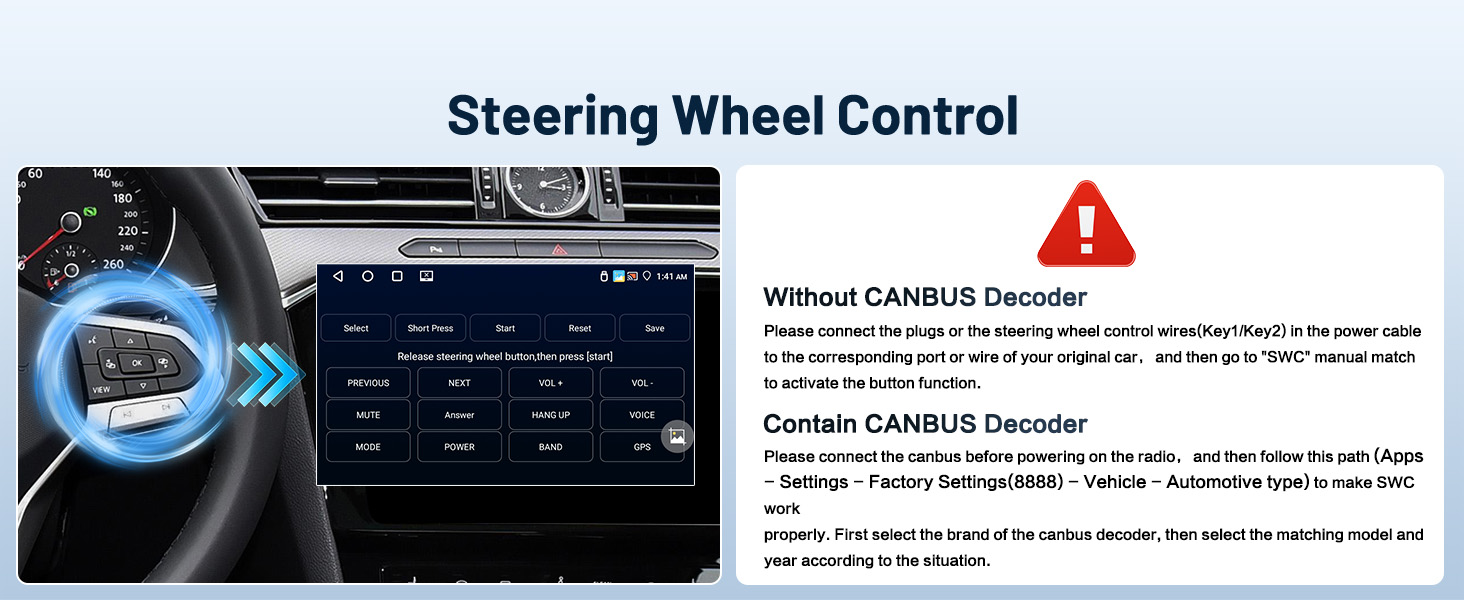
Image: Visual guide for configuring steering wheel controls, showing the SWC menu and a steering wheel with control buttons.
3. Operating Instructions
The Inefala car stereo offers a range of functions accessible via its 9-inch IPS touchscreen. The following sections detail common operations and settings.
Video: This video demonstrates various interface functions and settings of the Inefala Car Radio, including Wi-Fi, display adjustments, language, time, touch calibration, car system protocol, reverse camera format, key learning, touch screen learning, memory cleaning, steering wheel control learning, UI themes, radio settings, EQ settings, Bluetooth, CarPlay, and Android Auto connections.
3.1 Wi-Fi Connection
To connect to Wi-Fi, navigate to Settings > Network > Wi-Fi. Turn on Wi-Fi and select your desired network. Enter the password if prompted. A successful connection allows access to online applications like YouTube and TikTok.
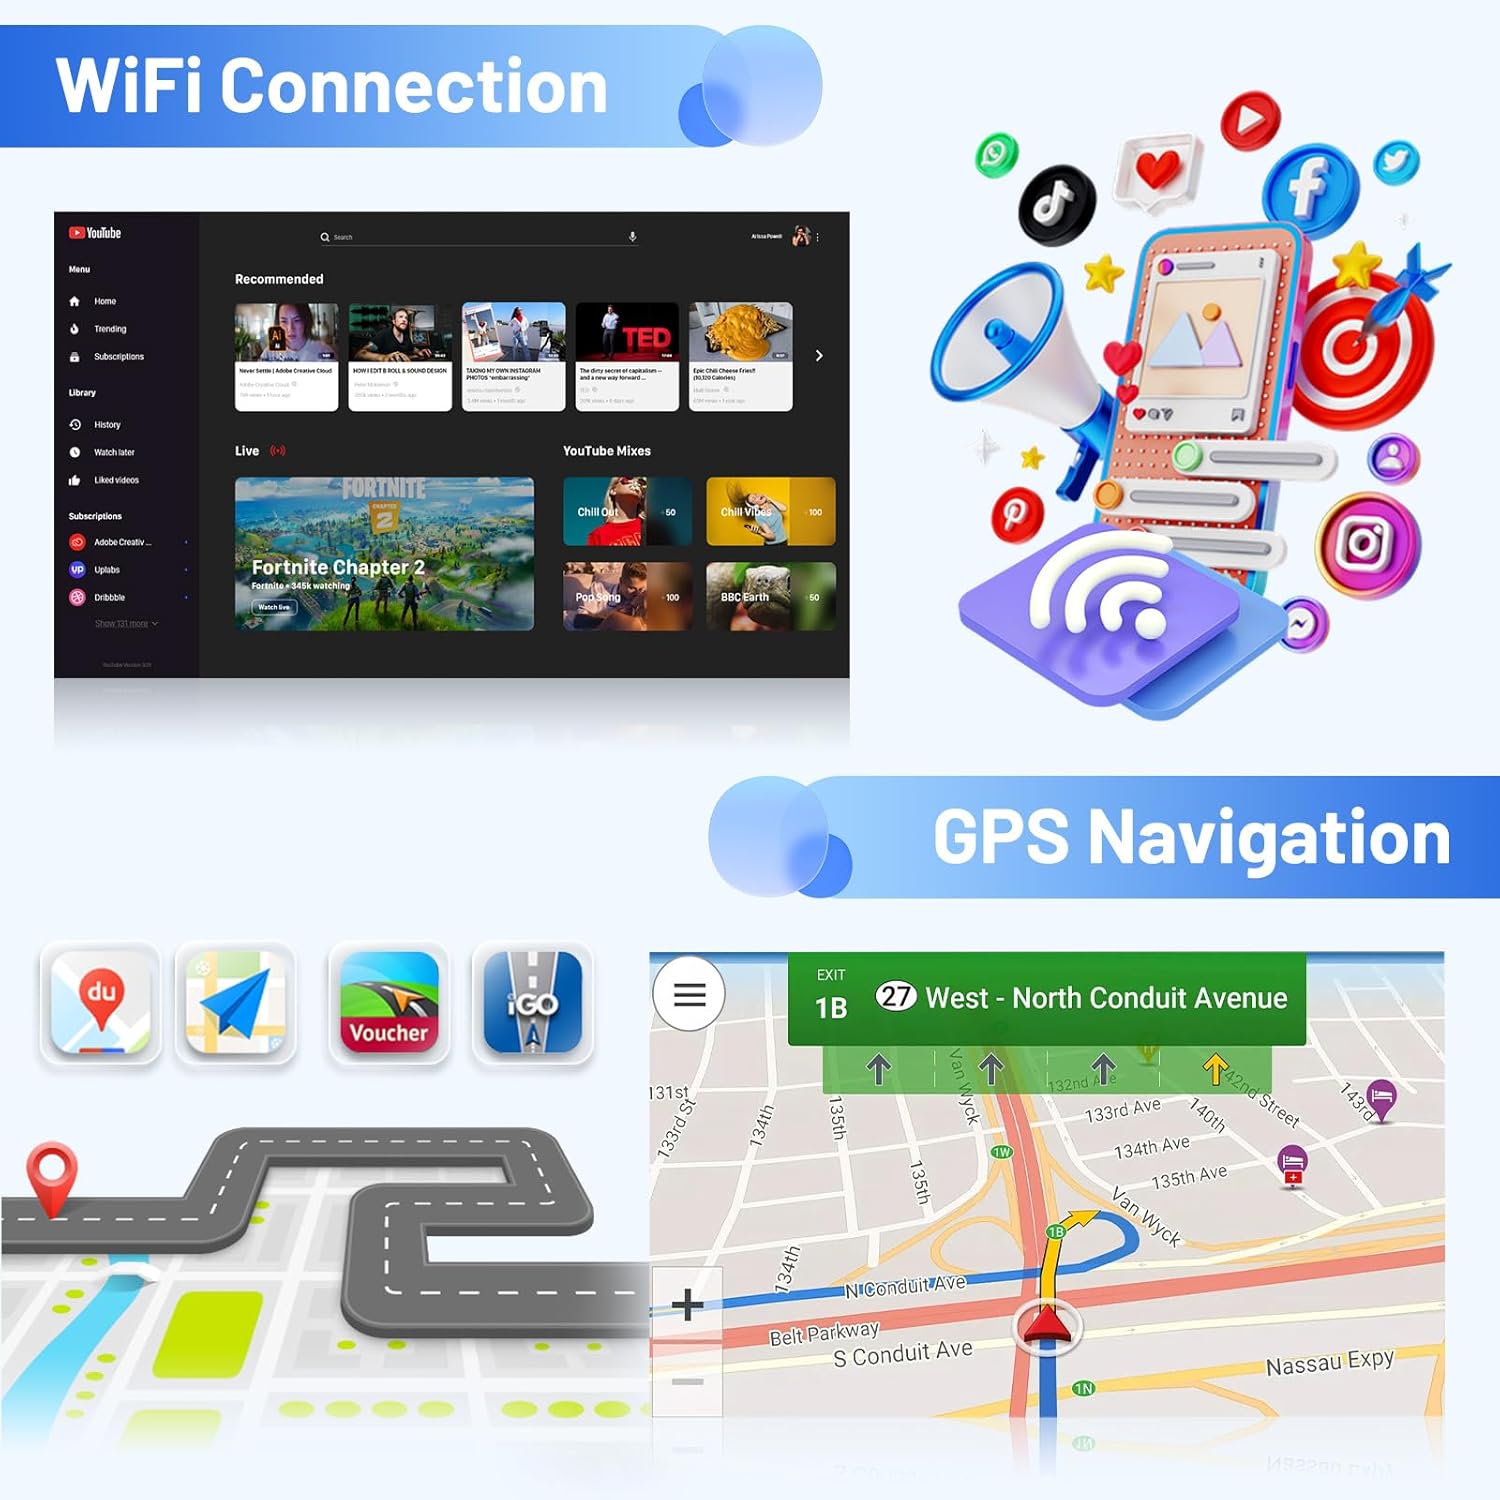
Image: The car stereo display showing Wi-Fi connection options and a GPS navigation interface.
3.2 Screen Brightness Adjustment
Adjust screen brightness via Settings > Display > Backlight brightness. Use the slider to set the desired level. Quick adjustments can also be made by swiping down the status bar.
3.3 Language Settings
To change the system language, go to Settings > Languages & input > Languages > Add a language. Select your preferred language from the list.
3.4 Time Settings
Access time settings through Settings > Date & time. You can enable automatic time calibration or manually set the date, time, and time zone.
3.5 Touch Calibration (Five-Point Calibration)
To calibrate the touchscreen, place all five fingers on the screen simultaneously. Follow the on-screen prompts to touch the crosshairs at each corner and the center.
3.6 Car System Protocol Settings
For advanced vehicle-specific settings, go to Settings > Factory Mode and enter password 8888. Select 1 Vehicle > Automotive type to configure the required protocol.
3.7 Reverse Camera Format Selection
In Settings > Factory Mode (8888) > 3 Camera, you can select the appropriate protocol for your reverse camera (e.g., AHD720P25, TVI720P50, CVBS).
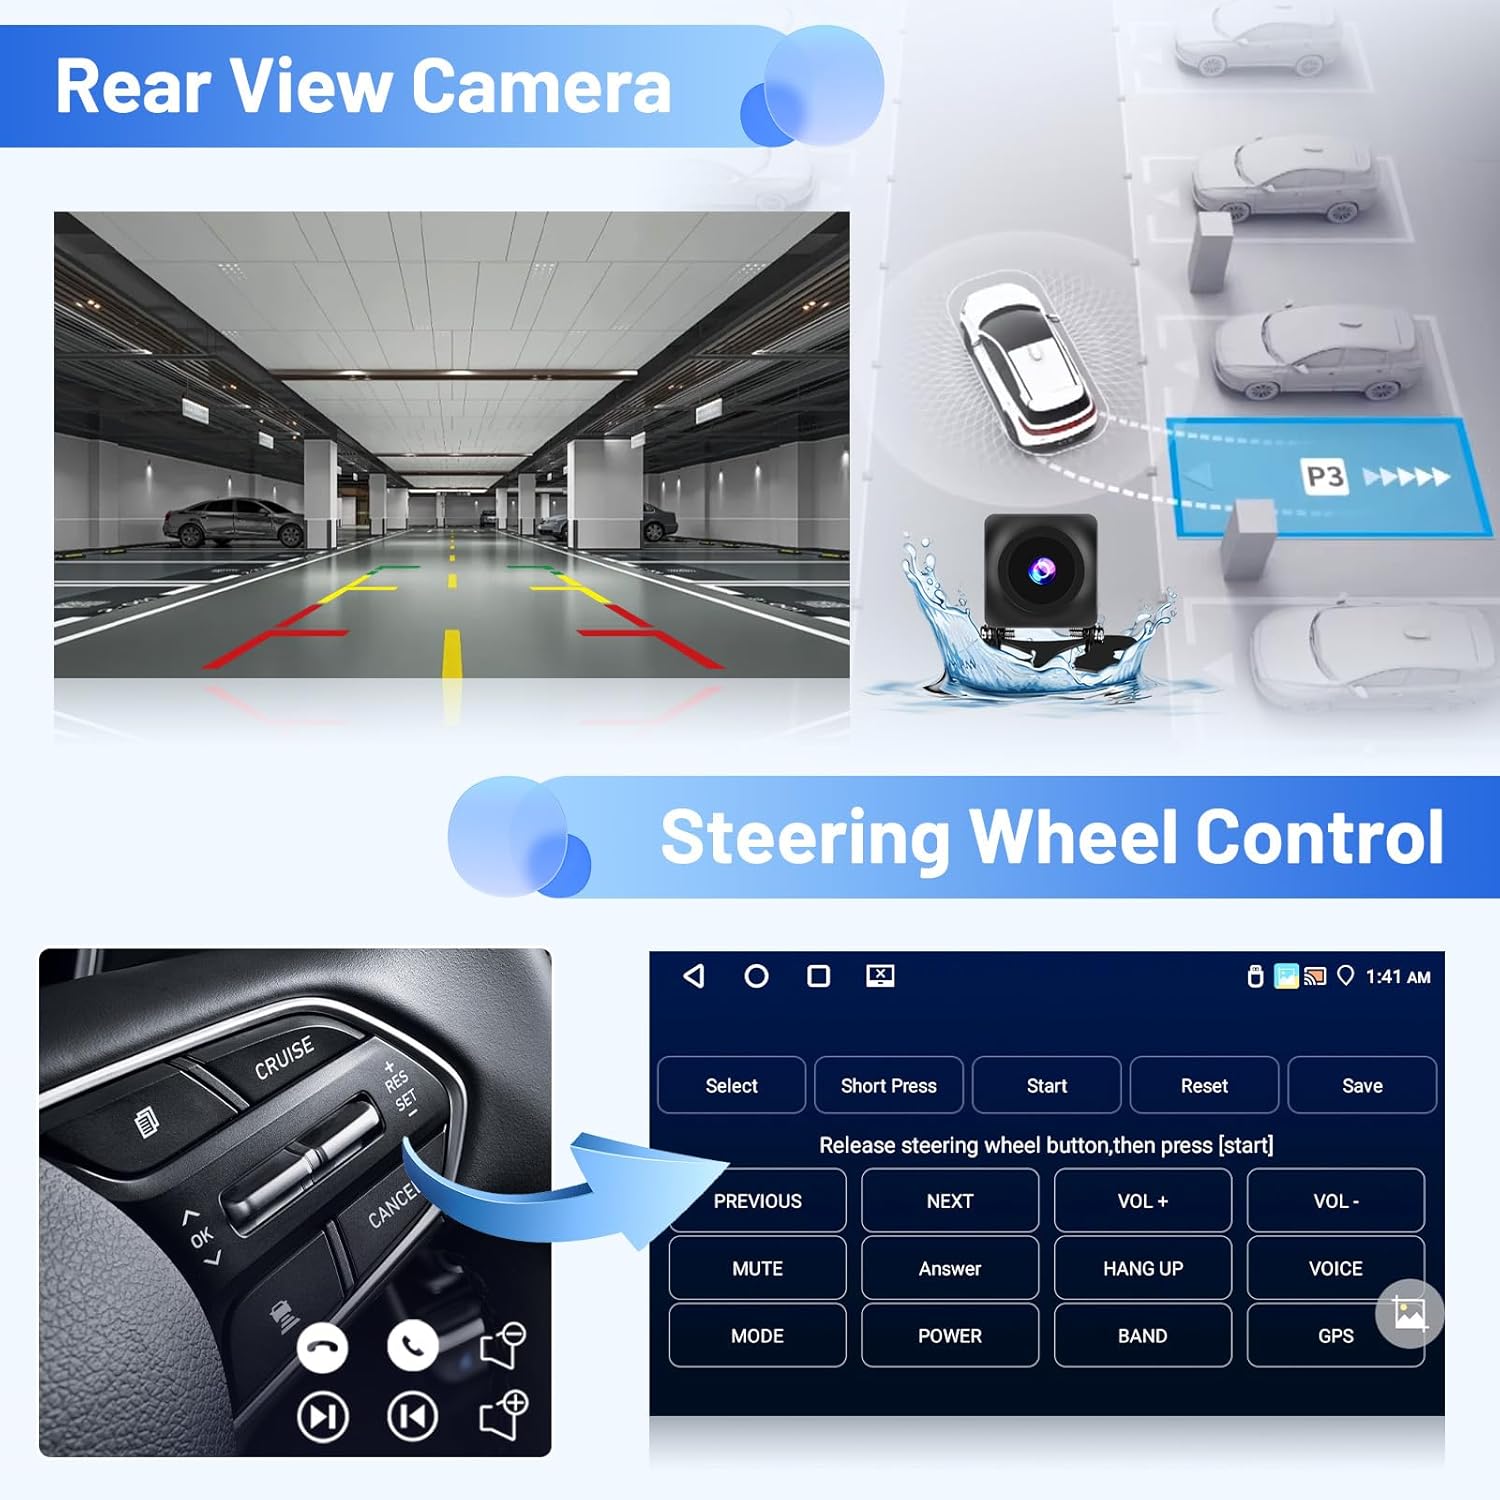
Image: The car stereo displaying a rear view camera feed and the interface for learning steering wheel controls.
3.8 Key Learning (Steering Wheel Control)
To program physical buttons on the stereo or steering wheel, go to Settings > Factory Mode (8888) > 6 Key Learn. Follow the on-screen instructions to assign functions to buttons by pressing 'Start', then pressing the desired button on the stereo/steering wheel, and then selecting the corresponding function on the screen.
3.9 Touch Screen Learning
For touch screen button learning, navigate to Settings > Factory Mode (8888) > 7 Touch Key Learn. This allows you to assign functions to touch-sensitive areas on the screen.
3.10 Clean Memory
To optimize system performance, swipe down from the top of the screen to access quick settings and tap the 'Clean' icon to clear memory.
3.11 UI Theme Selection
The stereo supports 13 different desktop themes. Access them via the main menu by selecting 'Themes' to switch between various interface designs.
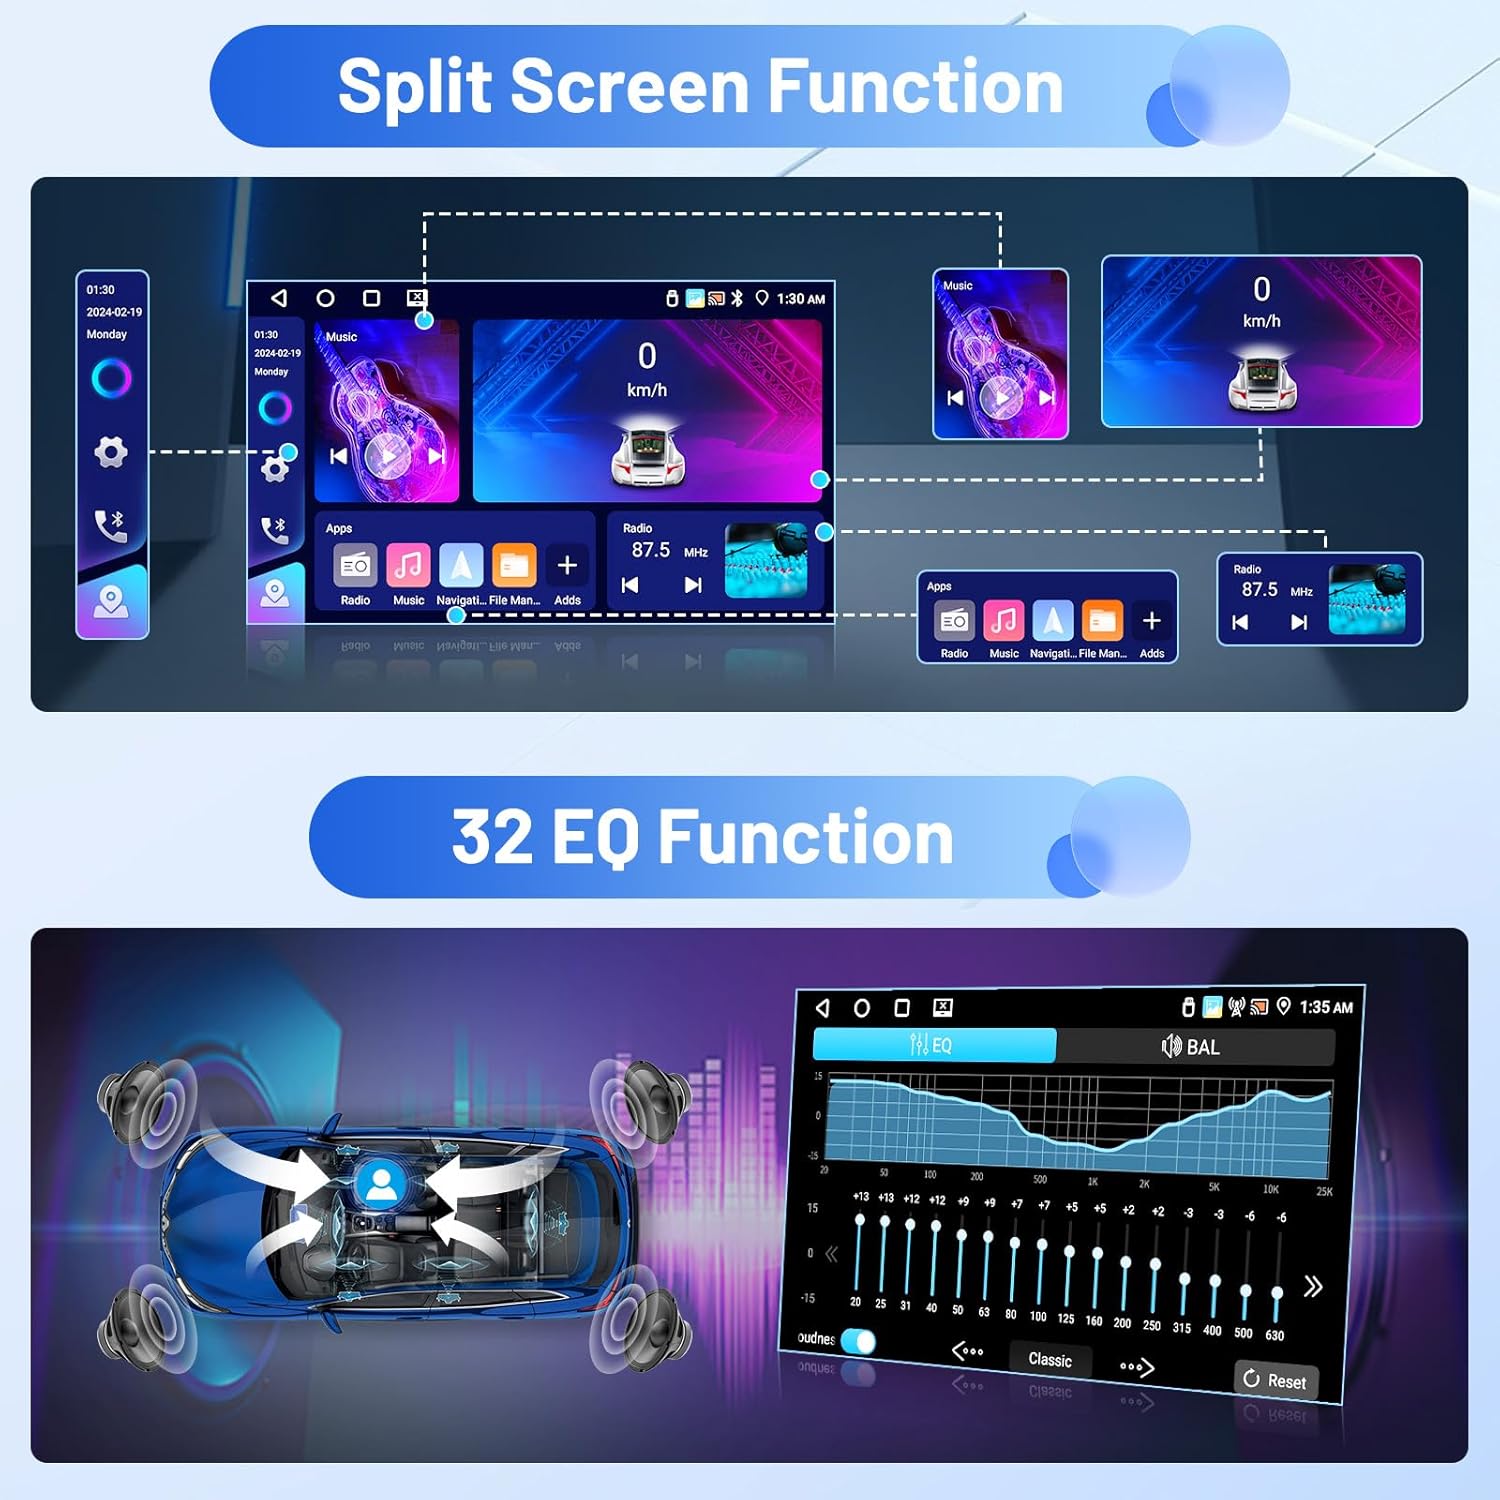
Image: The car stereo demonstrating the split-screen feature and the detailed 32-band equalizer interface.
3.12 Radio Settings
Access the radio function from the main menu. You can adjust radio bands, frequencies, and search for stations as needed. The system supports FM/RDS radio with the ability to preset 18 stations.
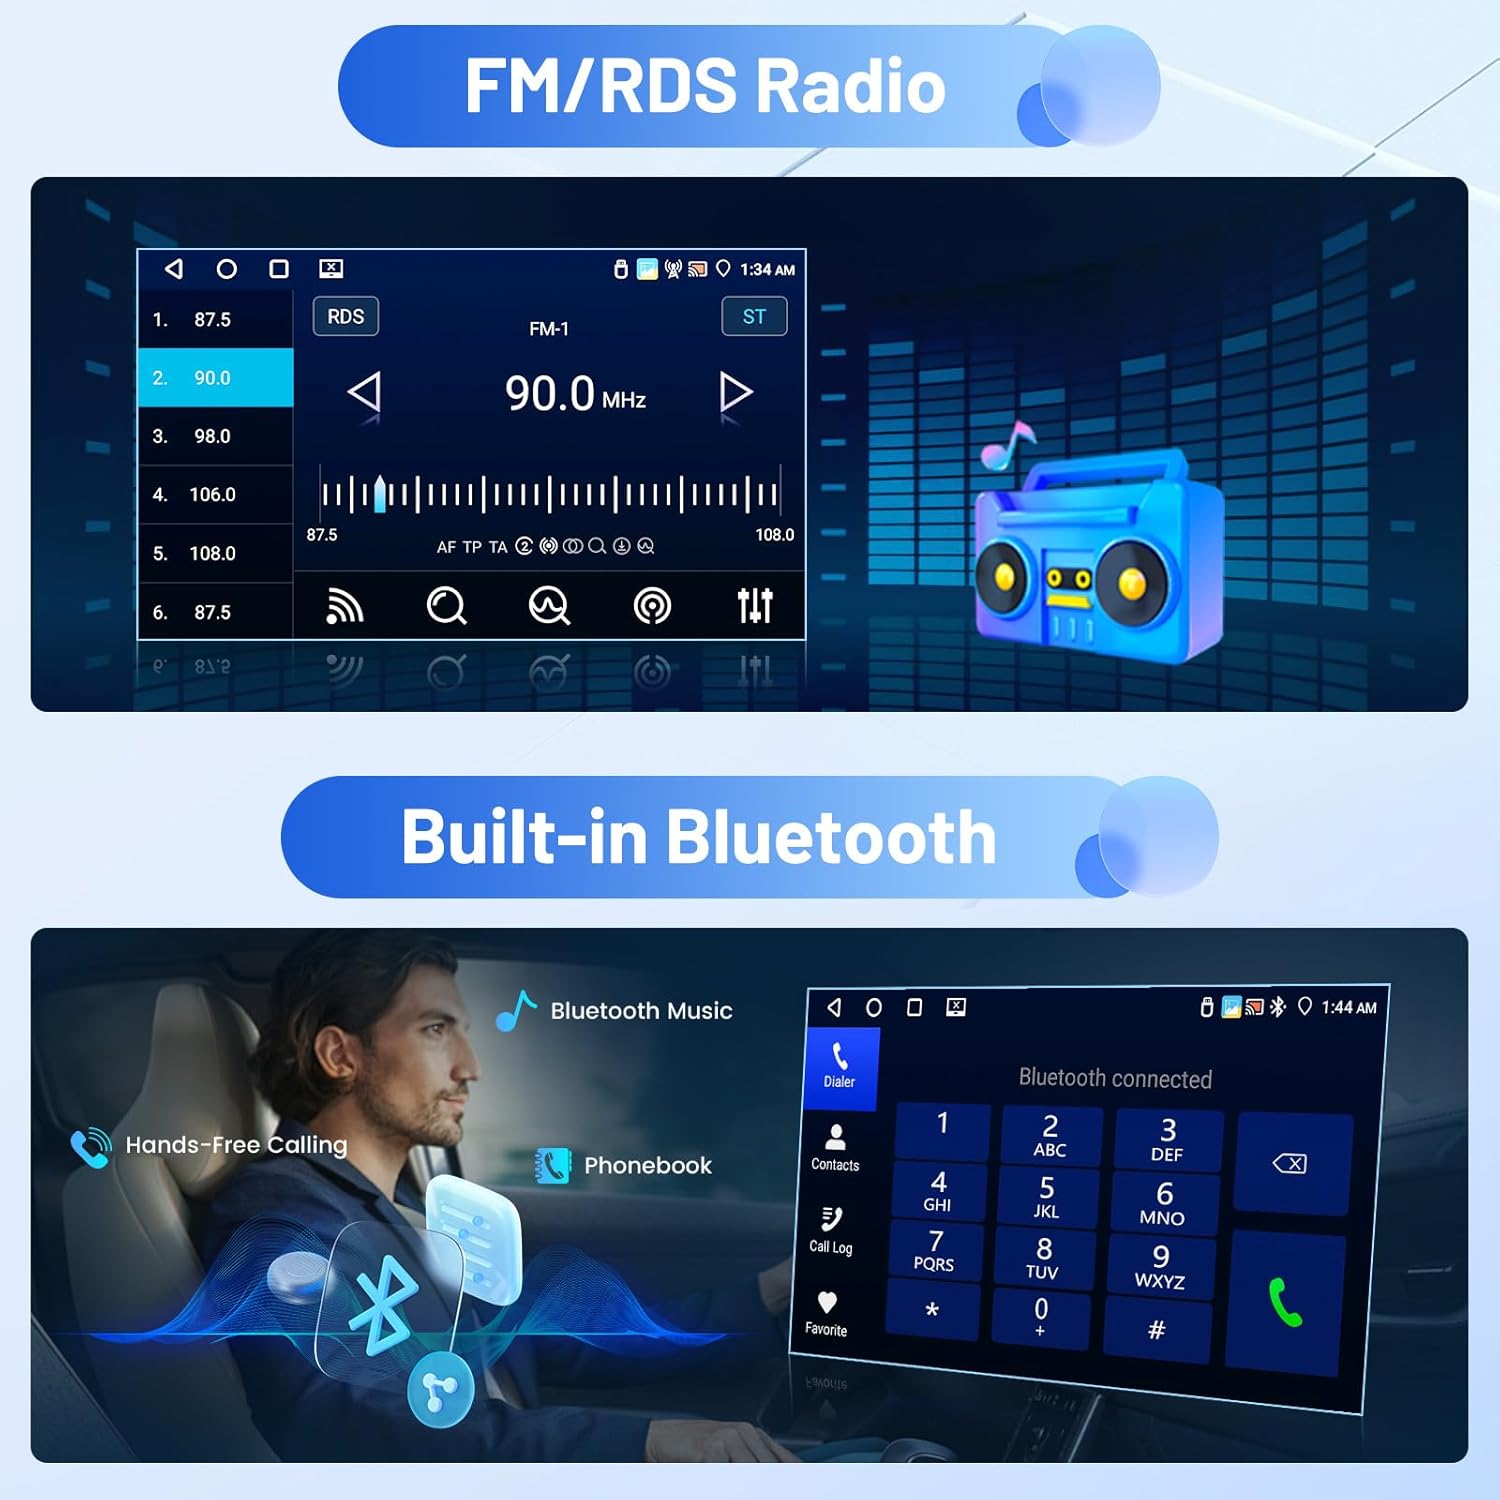
Image: The car stereo displaying the FM/RDS radio interface and a separate section for Bluetooth connectivity.
3.13 EQ Settings
Customize your audio experience by accessing the EQ settings from the main menu. You can choose from preset equalizer options (e.g., Pop, Rock, Classic, Jazz) or manually adjust the 32-band equalizer. Balance settings (BAL) are also available to fine-tune sound distribution within the vehicle.
3.14 Bluetooth Connection
To connect your phone via Bluetooth, go to Menu > BT Phone. Ensure Bluetooth is enabled on both your phone and the car stereo. Search for available devices on your phone and select the car stereo's device name (e.g., RK33261CB716). Confirm the pairing request. Once connected, you can make hands-free calls, download your phone book, and stream music.
3.15 CarPlay Connection
To use CarPlay, connect your iPhone to the car system via Bluetooth. Once paired, the CarPlay interface will appear on the stereo screen, allowing access to your phone's music, navigation, calls, and messages. If connection issues occur, delete the paired Bluetooth device from both your phone and the car stereo, then restart the device and attempt to connect again.

Image: The car stereo interface showcasing wireless CarPlay and Android Auto, along with a demonstration of the Mirror Link feature.
3.16 Android Auto Connection
To use Android Auto, connect your Android phone to the car system via Bluetooth. Ensure Android Auto is installed on your phone. Once paired, the Android Auto interface will display on the stereo, providing access to navigation, music, and other compatible apps. If connection issues arise, delete the paired Bluetooth device from both your phone and the car stereo, then restart the device and attempt to connect again. Note: Some Samsung and Huawei phones may have compatibility limitations with Android Auto and Mirror Link.
4. Maintenance
No specific routine maintenance is required for this device. Keep the screen clean using a soft, dry cloth. Avoid using harsh chemicals or abrasive materials.
5. Troubleshooting
If you encounter issues with the device, please refer to the installation tips in Section 2.2 for initial checks. For further assistance, contact customer support as detailed in Section 7.
6. Specifications
| Feature | Detail |
|---|---|
| Item Weight | 3.23 pounds |
| Product Dimensions | 12.8 x 5.51 x 2.17 inches |
| Display Size | 9 Inches |
| Warranty | 1 Year Warranty |
| Voice Command | Microphone, Touchscreen |
| Brand | Inefala |
| Vehicle Service Type | Car |
| Special Feature | Hands-free Bluetooth 5.0, Touchscreen, FM/RDS Radio, Support Reverse Input, Steering Wheel Learning, IPS 1280*720 Resolution, 1080P Video Playback, 32-band EQ, 4 Backgrounds, 13 Desktop Themes, Wireless CarPlay & Android Auto & Mirror Link, Siri/Google Voice Assistant, GPS Navigation, WiFi/Hotspot Connection |
| Connectivity Technology | Bluetooth, USB, Wi-Fi, Wireless |
| Map Type | Worldwide |
| Audio Output Mode | Stereo |
| Mounting Type | Dashboard Mount |
| Operating System | Android |
7. What's in the Box
The package includes the following components:
- 1 x Inefala Android Radio for Subaru BRZ / Scion FRS / Toyota GT86
- 1 x Power Cable
- 1 x RCA Harness
- 1 x GPS Antenna
- 1 x AHD Backup Camera
- 1 x External Microphone
- 1 x Rear Camera Input Cable
- 2 x USB Cable
- 1 x Installation Tool
8. Warranty and Support
8.1 Warranty Information
This product comes with a 1-year warranty from the date of purchase.
8.2 Customer Support
For any questions, technical assistance, or support regarding installation or product usage, please contact Inefala customer service. You can reach us via email at inefalaservices@163.com. Our support team is available 24 hours a day to assist you.

Image: Information on how to contact customer support and additional installation tips.