
1. Introduction
This manual provides detailed instructions for the assembly, operation, and maintenance of your Greesum 10x14 FT Plastic Outdoor Storage Shed. This shed is constructed from high-density polyethylene (HDPE) using blow-molding technology, designed for durability and weather resistance. It features integrated ventilation windows and skylights to enhance interior conditions.
Please read this manual thoroughly before beginning assembly or using the product. Retain this manual for future reference.

Figure 1: Full view of the Greesum 10x14 FT Plastic Outdoor Storage Shed in a garden setting.
2. Safety Information
- Always wear appropriate safety gear, including gloves and eye protection, during assembly.
- Ensure the assembly area is clear of obstructions and hazards.
- Assembly requires at least two adults. Do not attempt to assemble alone.
- Verify that all parts are present and undamaged before starting assembly.
- Do not climb on the shed roof or walls.
- Secure the shed to a level, stable foundation to prevent tipping or movement.
- Check local homeowner association (HOA) policies and building codes regarding outdoor storage structures before purchasing and installing.
- Keep children and pets away from the assembly area.
3. Package Contents
Your Greesum 10x14 FT Plastic Outdoor Storage Shed is shipped in 12 separate boxes. These boxes may arrive at different times. Please ensure all boxes are received before beginning assembly.
The detailed step-by-step instruction manual is located in Box #14. Please refer to this manual for specific part identification and assembly sequences.
The package includes:
- All wall panels
- Roof components
- Floor panels
- Lockable door assembly
- Windows and skylights
- All necessary hardware (screws, bolts, etc.)
4. Setup and Assembly
4.1 Tools Required
- Rubber mallet (not included)
- Phillips screwdriver
- Measuring tape
- Level
4.2 Pre-Assembly Checklist
- Site Preparation: Select a level surface for shed installation. An uneven surface can lead to assembly difficulties and structural instability.
- Unpacking: Unpack all boxes and sort components by type. Refer to the instruction manual in Box #14 for part identification.
- Review Instructions: Carefully read the entire instruction manual before starting assembly.
4.3 Assembly Tips
- The shed design features 30% fewer screws compared to standard models, simplifying the assembly process.
- For optimal assembly, work on a level surface.
- When connecting wall panels to the base channel, press downward firmly to ensure they fully snap into place.
- Utilize the clear, numbered instructions and diagrams provided in the manual for guidance.

Figure 2: Key dimensions of the Greesum 10x14 FT Plastic Outdoor Storage Shed.
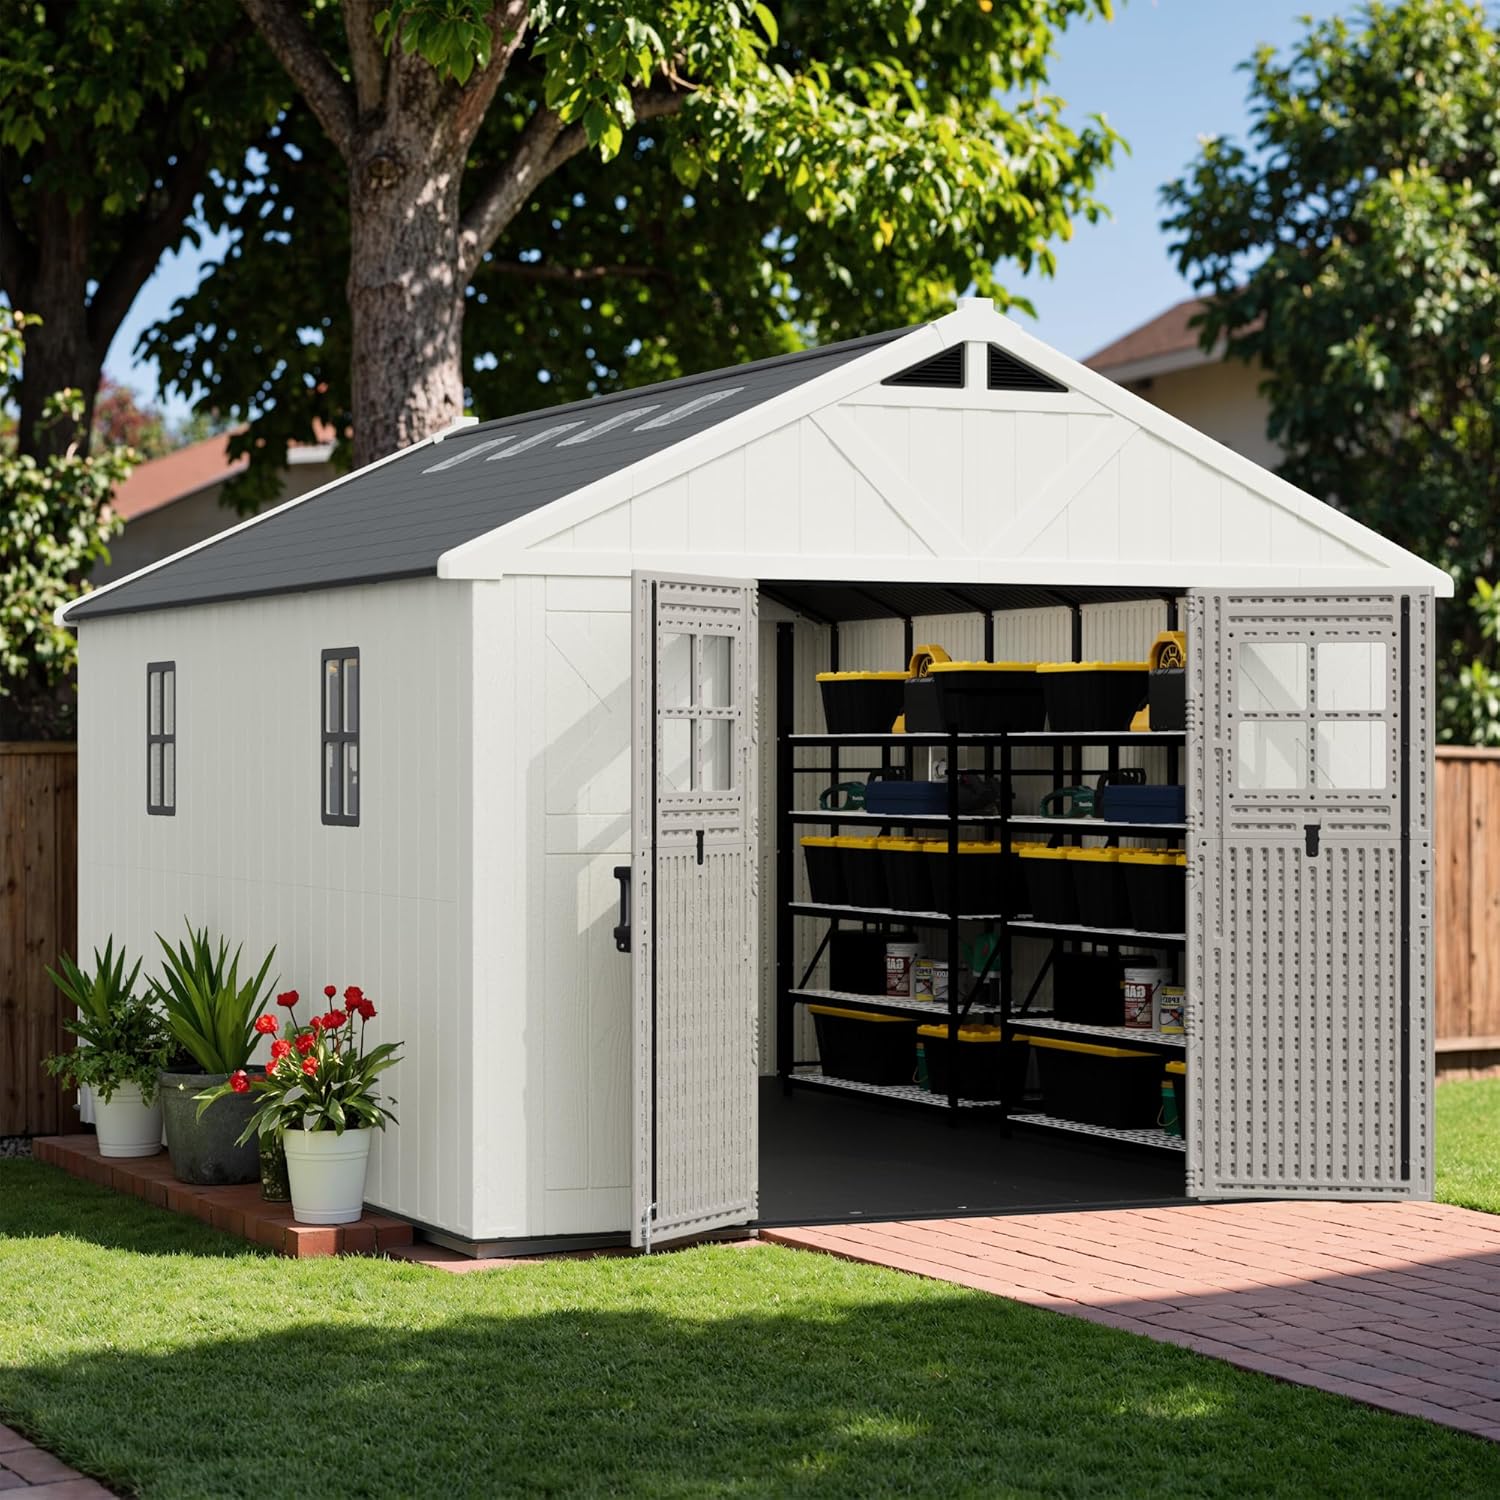
Figure 3: Interior view of the shed with doors open, demonstrating storage capacity.
5. Operating Instructions
5.1 Door Operation and Security
The shed features a single hinged, lockable door. To open, turn the handle and pull. To close, push the door firmly until it latches. For security, use a padlock (not included) with the integrated locking mechanism.
5.2 Ventilation and Lighting
The shed is equipped with dual ventilation windows and integrated skylights. These features promote natural airflow and allow natural light into the interior, helping to prevent condensation and maintain a fresh environment for stored items.
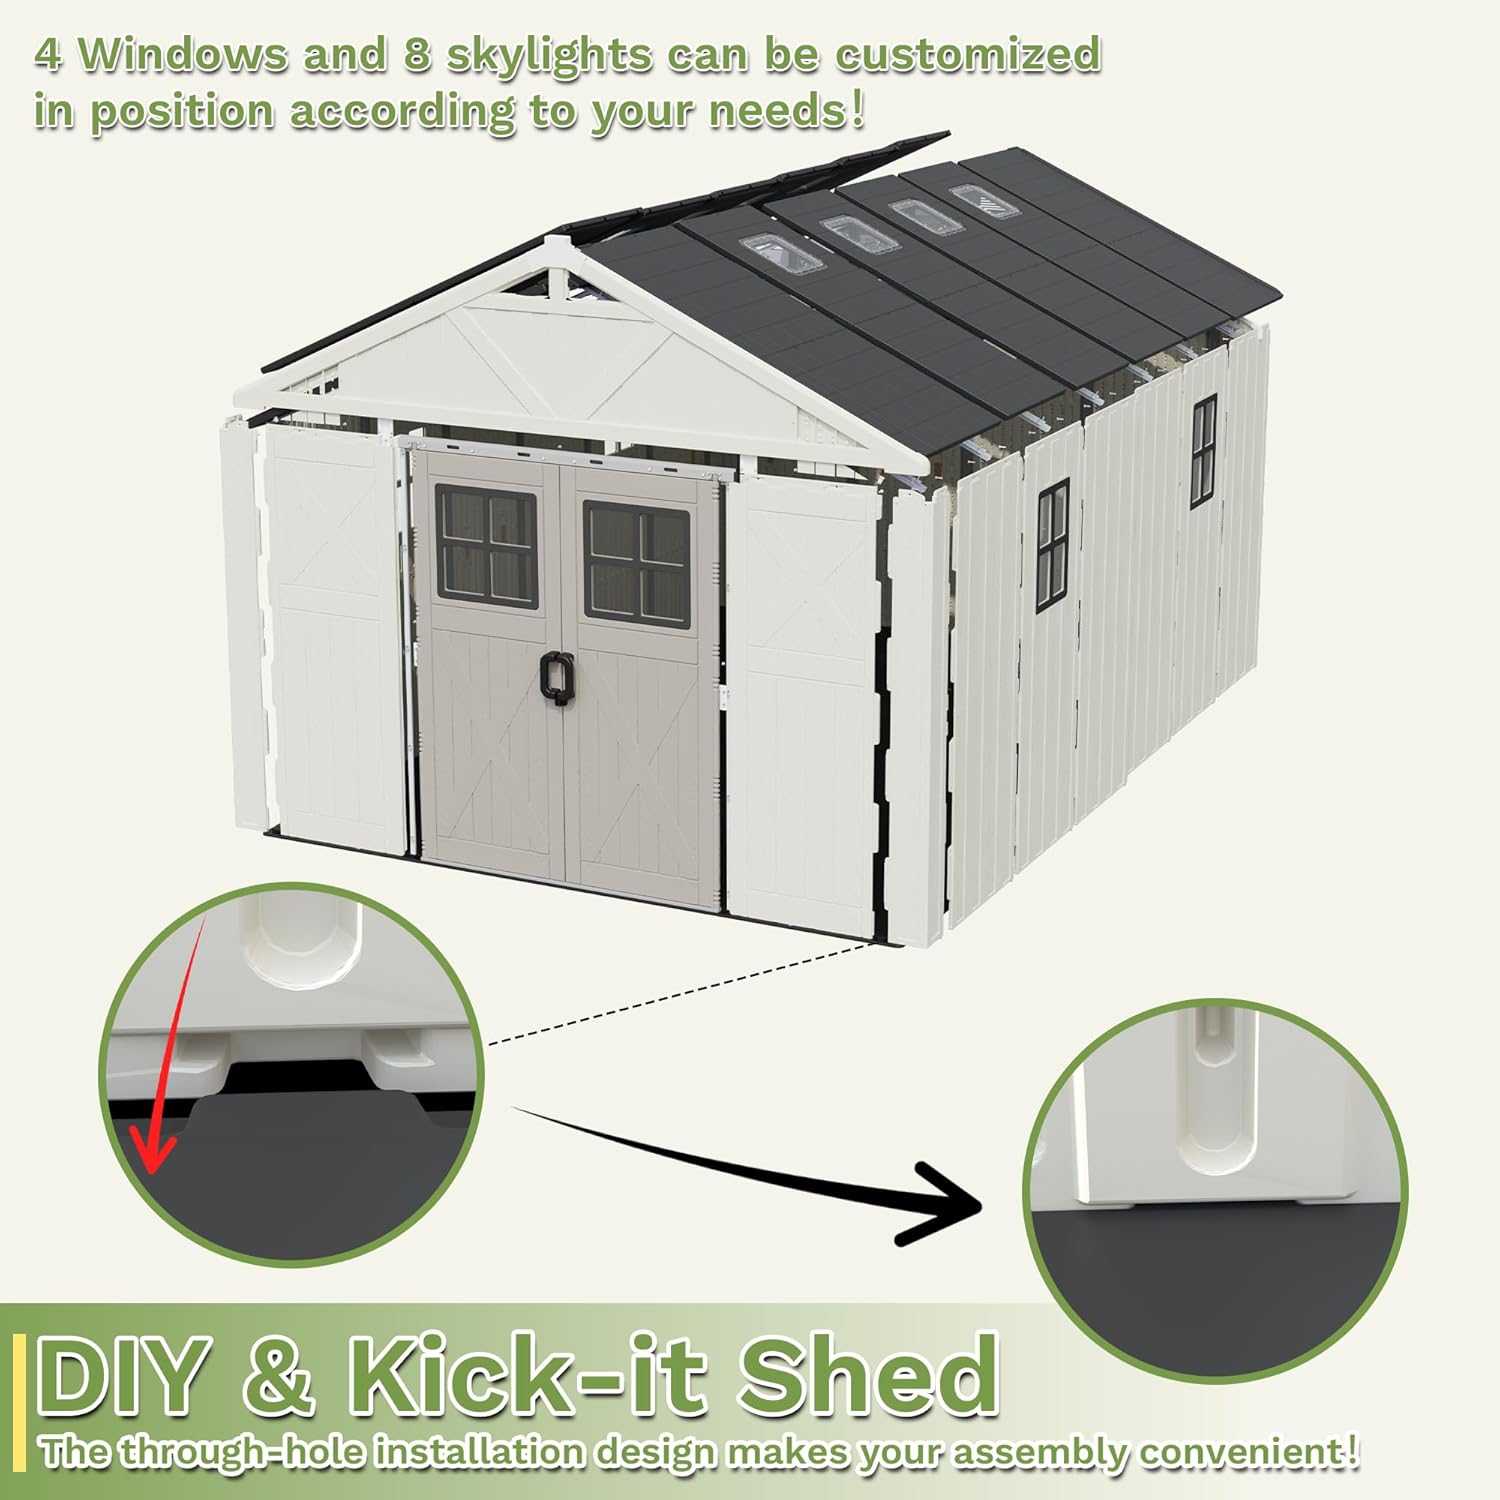
Figure 4: Detailed view of the lockable door, waterproof roof, triangular air vent, and heavy-duty internal structure.
6. Maintenance
- Cleaning: Clean the shed periodically with mild soap and water. Avoid abrasive cleaners or harsh chemicals that could damage the plastic.
- Inspection: Regularly inspect the shed for any signs of wear, damage, or loose components. Tighten any loose screws or bolts.
- Ventilation: Ensure the ventilation windows and skylights are clear of debris to maintain proper airflow.
- Door Function: Check the door hinges and locking mechanism for smooth operation. Lubricate if necessary.
7. Troubleshooting
7.1 Assembly Difficulties
If you encounter difficulties during assembly, ensure you are working on a level surface. Re-check the instruction manual in Box #14 for specific steps and diagrams. Verify that all panels are correctly oriented and firmly seated into their respective channels. Sometimes, applying firm downward pressure or using a rubber mallet can help panels snap into place.
7.2 Water Leakage
While the shed is designed to be weather-resistant, ensure all roof panels are correctly installed and sealed. Check for any gaps or misalignments in the wall and roof connections. Verify that the shed is on a level foundation to prevent water pooling around the base.
7.3 Door Misalignment
If the door does not close or latch properly, check the shed's foundation for levelness. An uneven base can cause the frame to twist, leading to door misalignment. Adjust the foundation as needed or ensure all frame components are securely fastened.
8. Specifications
| Feature | Detail |
|---|---|
| Brand | Greesum |
| Model Number | GS-78114-0921 |
| Color | Beige |
| Material | Blow-molded HDPE Plastic, Alloy Steel Frame |
| Product Dimensions (L x W x H) | 169"D x 124"W x 100"H (approx. 14.08 ft x 10.33 ft x 8.33 ft) |
| Roof Weight Capacity | 75 kg/m² |
| Door Style | Single Hinged, Lockable |
| Water Resistance Level | Water Resistant |
| Assembly Required | Yes |
| Item Weight | 93.9 pounds |

Figure 5: Detail of the 25mm thick heavy-duty wall material.
9. Warranty and Support
For any questions, missing parts, or assistance with assembly, please refer to the customer support QR code provided on the product packaging. Scanning this code will direct you to resources for instant help.
Please retain your proof of purchase for any warranty claims. Specific warranty details may be provided with the product packaging or through customer support.