1. Introduction
This manual provides essential information for the installation, operation, and maintenance of your YHNNH Bread Maker Machine Drive Belt, model 80S3M537. This drive belt is designed as a replacement part for various bread maker models, ensuring proper function and longevity of your appliance. Please read these instructions carefully before installation and use.
2. Product Overview
The YHNNH 80S3M537 drive belt is a critical component for your bread maker, responsible for transmitting power from the motor to the kneading paddle. It is constructed from durable rubber material with a nylon fiber composite layer, offering high tensile strength and rebound rate, which resists deformation over time.
- Material: High-quality rubber with nylon fiber composite layer for enhanced durability.
- Silent Tooth Pattern: Features a molded trapezoidal tooth pattern designed to reduce noise during operation and prevent slippage.
- Durability: Engineered for high temperature resistance and anti-aging properties, preventing brittleness and cracking in baking environments.
- Dynamic Balancing: Ensures uniform weight distribution for low vibration and reduced operational noise.
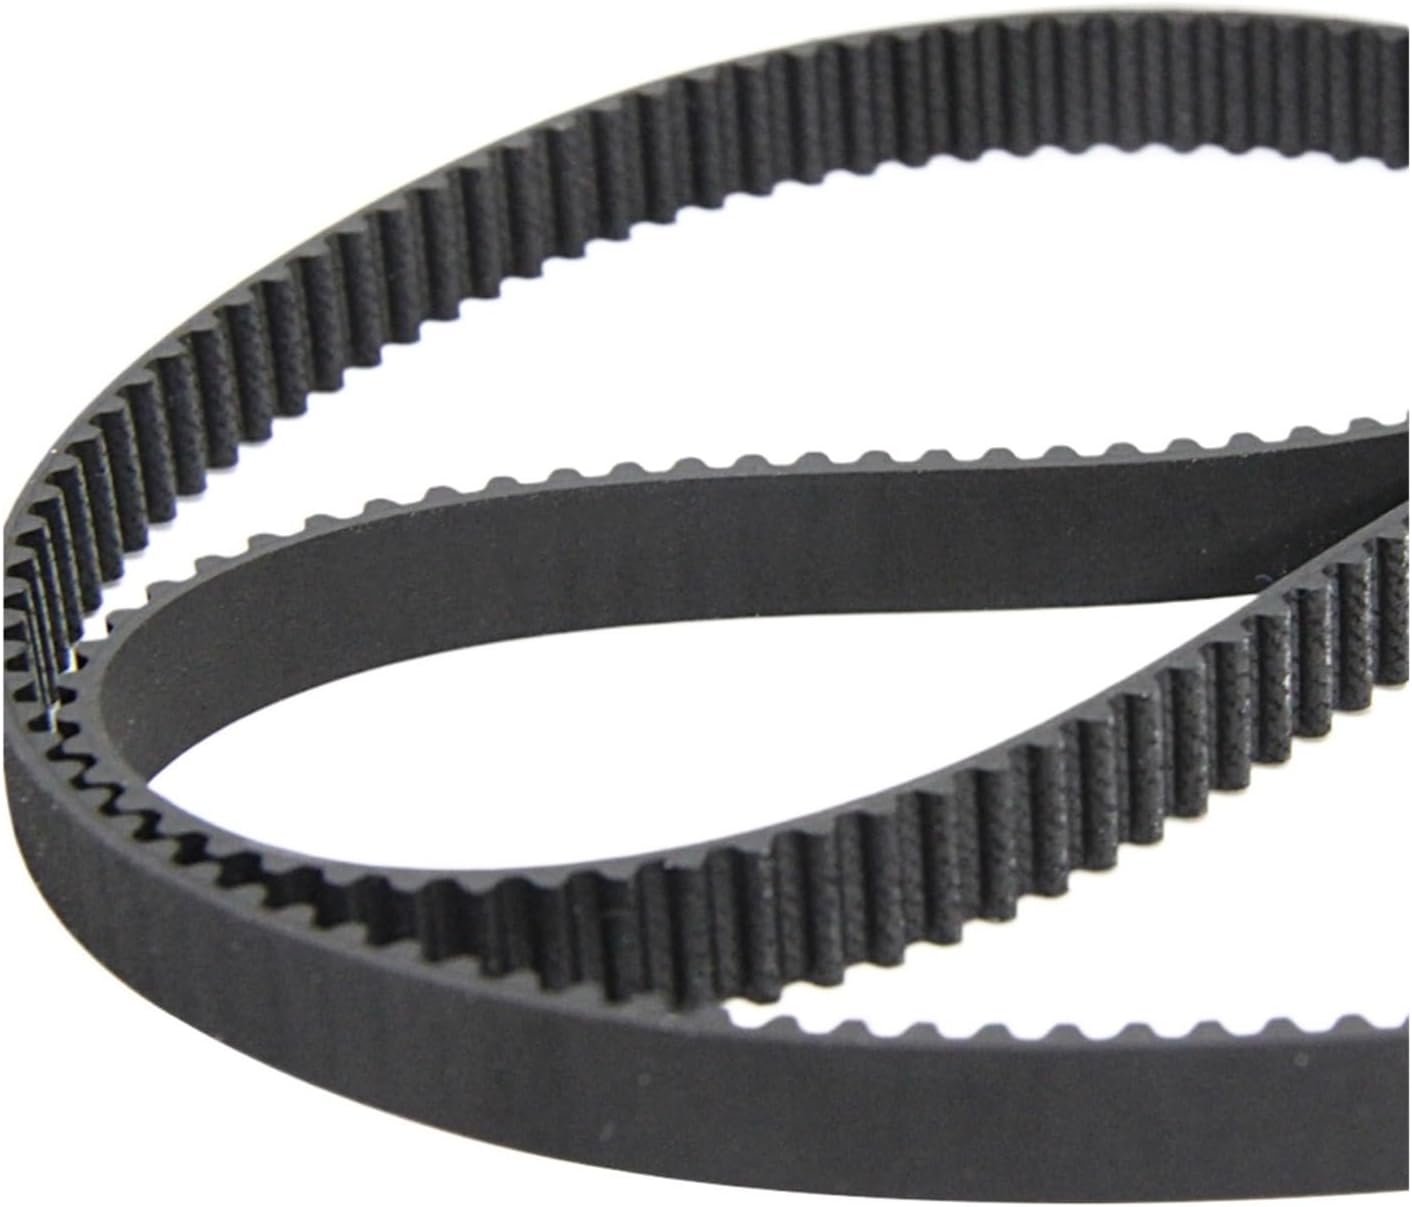
Figure 2.1: Close-up of the drive belt's trapezoidal tooth pattern, designed for silent and efficient power transmission.

Figure 2.2: The product typically includes two drive belts, model 80S3M537, for convenience and future replacement.
3. Compatibility
This drive belt (80S3M537) is compatible with a range of bread maker models. Please verify your appliance's model number against the list below to ensure proper fit.

Figure 3.1: Visual representation of compatible bread maker models.
Known compatible models include:
- Moulinex: OW110E30/BA, OW110131/BA, OW110132/BA, OW110E30/BAB, OW110E31/BAA, OW110130/BA, OW1110E/BA, OW1110E/BAB,BAA, OW110E31/BA, SS-188076
- TEFAL: PF111EUS/BA, PF110151/BA, PF110150/BA, PF110EAU/BA, PF111
- Other: BM3986, G2701
If your model is not listed, please compare the specifications of your original belt with the specifications provided in Section 7 of this manual, or contact the manufacturer for assistance.
4. Installation (Setup)
Replacing the drive belt in a bread maker requires careful attention. Always ensure the appliance is unplugged from the power source before beginning any maintenance or installation.
- Safety First: Unplug the bread maker from the electrical outlet.
- Access the Mechanism: Depending on your bread maker model, you may need to remove the bottom panel or other casing components to access the motor and drive shaft. This typically involves unscrewing several screws.
- Remove Old Belt: Carefully remove the old, damaged, or worn-out drive belt from the motor pulley and the drive shaft pulley. Note its orientation if possible.
- Install New Belt: Place the new 80S3M537 drive belt onto the smaller motor pulley first, then stretch it over the larger drive shaft pulley. Ensure the belt is seated correctly in the grooves of both pulleys.
- Check Tension: The belt should be taut but not overly tight. It should have a slight amount of give when pressed.
- Reassemble: Reattach any panels or casing components that were removed. Ensure all screws are securely fastened.
- Test: Plug the bread maker back in and run a short cycle (e.g., kneading cycle) to ensure the new belt operates smoothly and quietly.
If you are unsure about any step, it is recommended to consult your bread maker's specific service manual or seek professional assistance.
5. Operation and Maintenance
5.1. Operation
Once installed, the drive belt operates continuously during the kneading and mixing phases of your bread maker's cycle. Its primary function is to transfer rotational energy from the motor to the kneading paddle, ensuring consistent and effective dough preparation. The silent tooth pattern minimizes operational noise, contributing to a quieter appliance.
5.2. Maintenance
Proper maintenance can extend the life of your drive belt and bread maker.
- Regular Inspection: Periodically inspect the belt for signs of wear, cracking, fraying, or stretching. This can be done during routine cleaning of the bread maker's interior.
- Keep Clean: Ensure no dough, flour, or other debris accumulates around the belt and pulleys, as this can cause slippage or premature wear.
- Avoid Overloading: Do not overload your bread maker with ingredients beyond its recommended capacity, as this puts excessive strain on the drive belt and motor.
- Storage: If the bread maker is stored for an extended period, ensure it is in a dry, cool place to prevent material degradation of the belt.
6. Troubleshooting
If you encounter issues after installing the new drive belt, consider the following:
| Problem | Possible Cause | Solution |
|---|---|---|
| Kneading paddle not turning or turning intermittently. | Belt not properly seated on pulleys; belt too loose; motor or drive shaft issue. | Unplug the appliance, re-check belt seating. If belt is loose, ensure it's the correct size. If problem persists, inspect motor/drive shaft. |
| Unusual noise (squealing, grinding) during operation. | Belt slippage; debris caught in belt/pulleys; worn bearings in motor/drive shaft. | Unplug, inspect belt and pulleys for debris. Ensure belt is clean and properly tensioned. If noise persists, professional inspection may be needed. |
| Burning smell during operation. | Belt friction due to misalignment or excessive load; motor overheating. | Immediately unplug. Check belt alignment and ensure no obstructions. Reduce load if consistently overloading. If smell persists, discontinue use and seek professional help. |
7. Specifications
- Model Number: 80S3M537
- Material: Rubber
- Package Contents: 2 x Drive Belt
- Item Weight: 1.76 ounces (approx. 50 grams)
- Package Dimensions: 0.39 x 0.39 x 0.39 inches (approx. 1 x 1 x 1 cm) - Note: These dimensions appear to be for the packaging, not the belt itself.
- Manufacturer: YHNNH
8. Support
For further assistance, questions regarding compatibility, installation, or any other product-related inquiries, please contact the seller or manufacturer directly. They can provide specialized support for your specific needs.