
Introduction
The IsoAcoustics GAIA I Neo isolation feet are designed to enhance the performance of speakers and subwoofers by managing vibrations and preventing resonance transfer. This manual provides detailed instructions for the proper installation and adjustment of your GAIA I Neo isolators to achieve optimal audio clarity, precision, and focus.
The GAIA Neo series builds upon established isolation technology, offering refined isolators and convenient height adjustment for an improved three-dimensional soundstage.
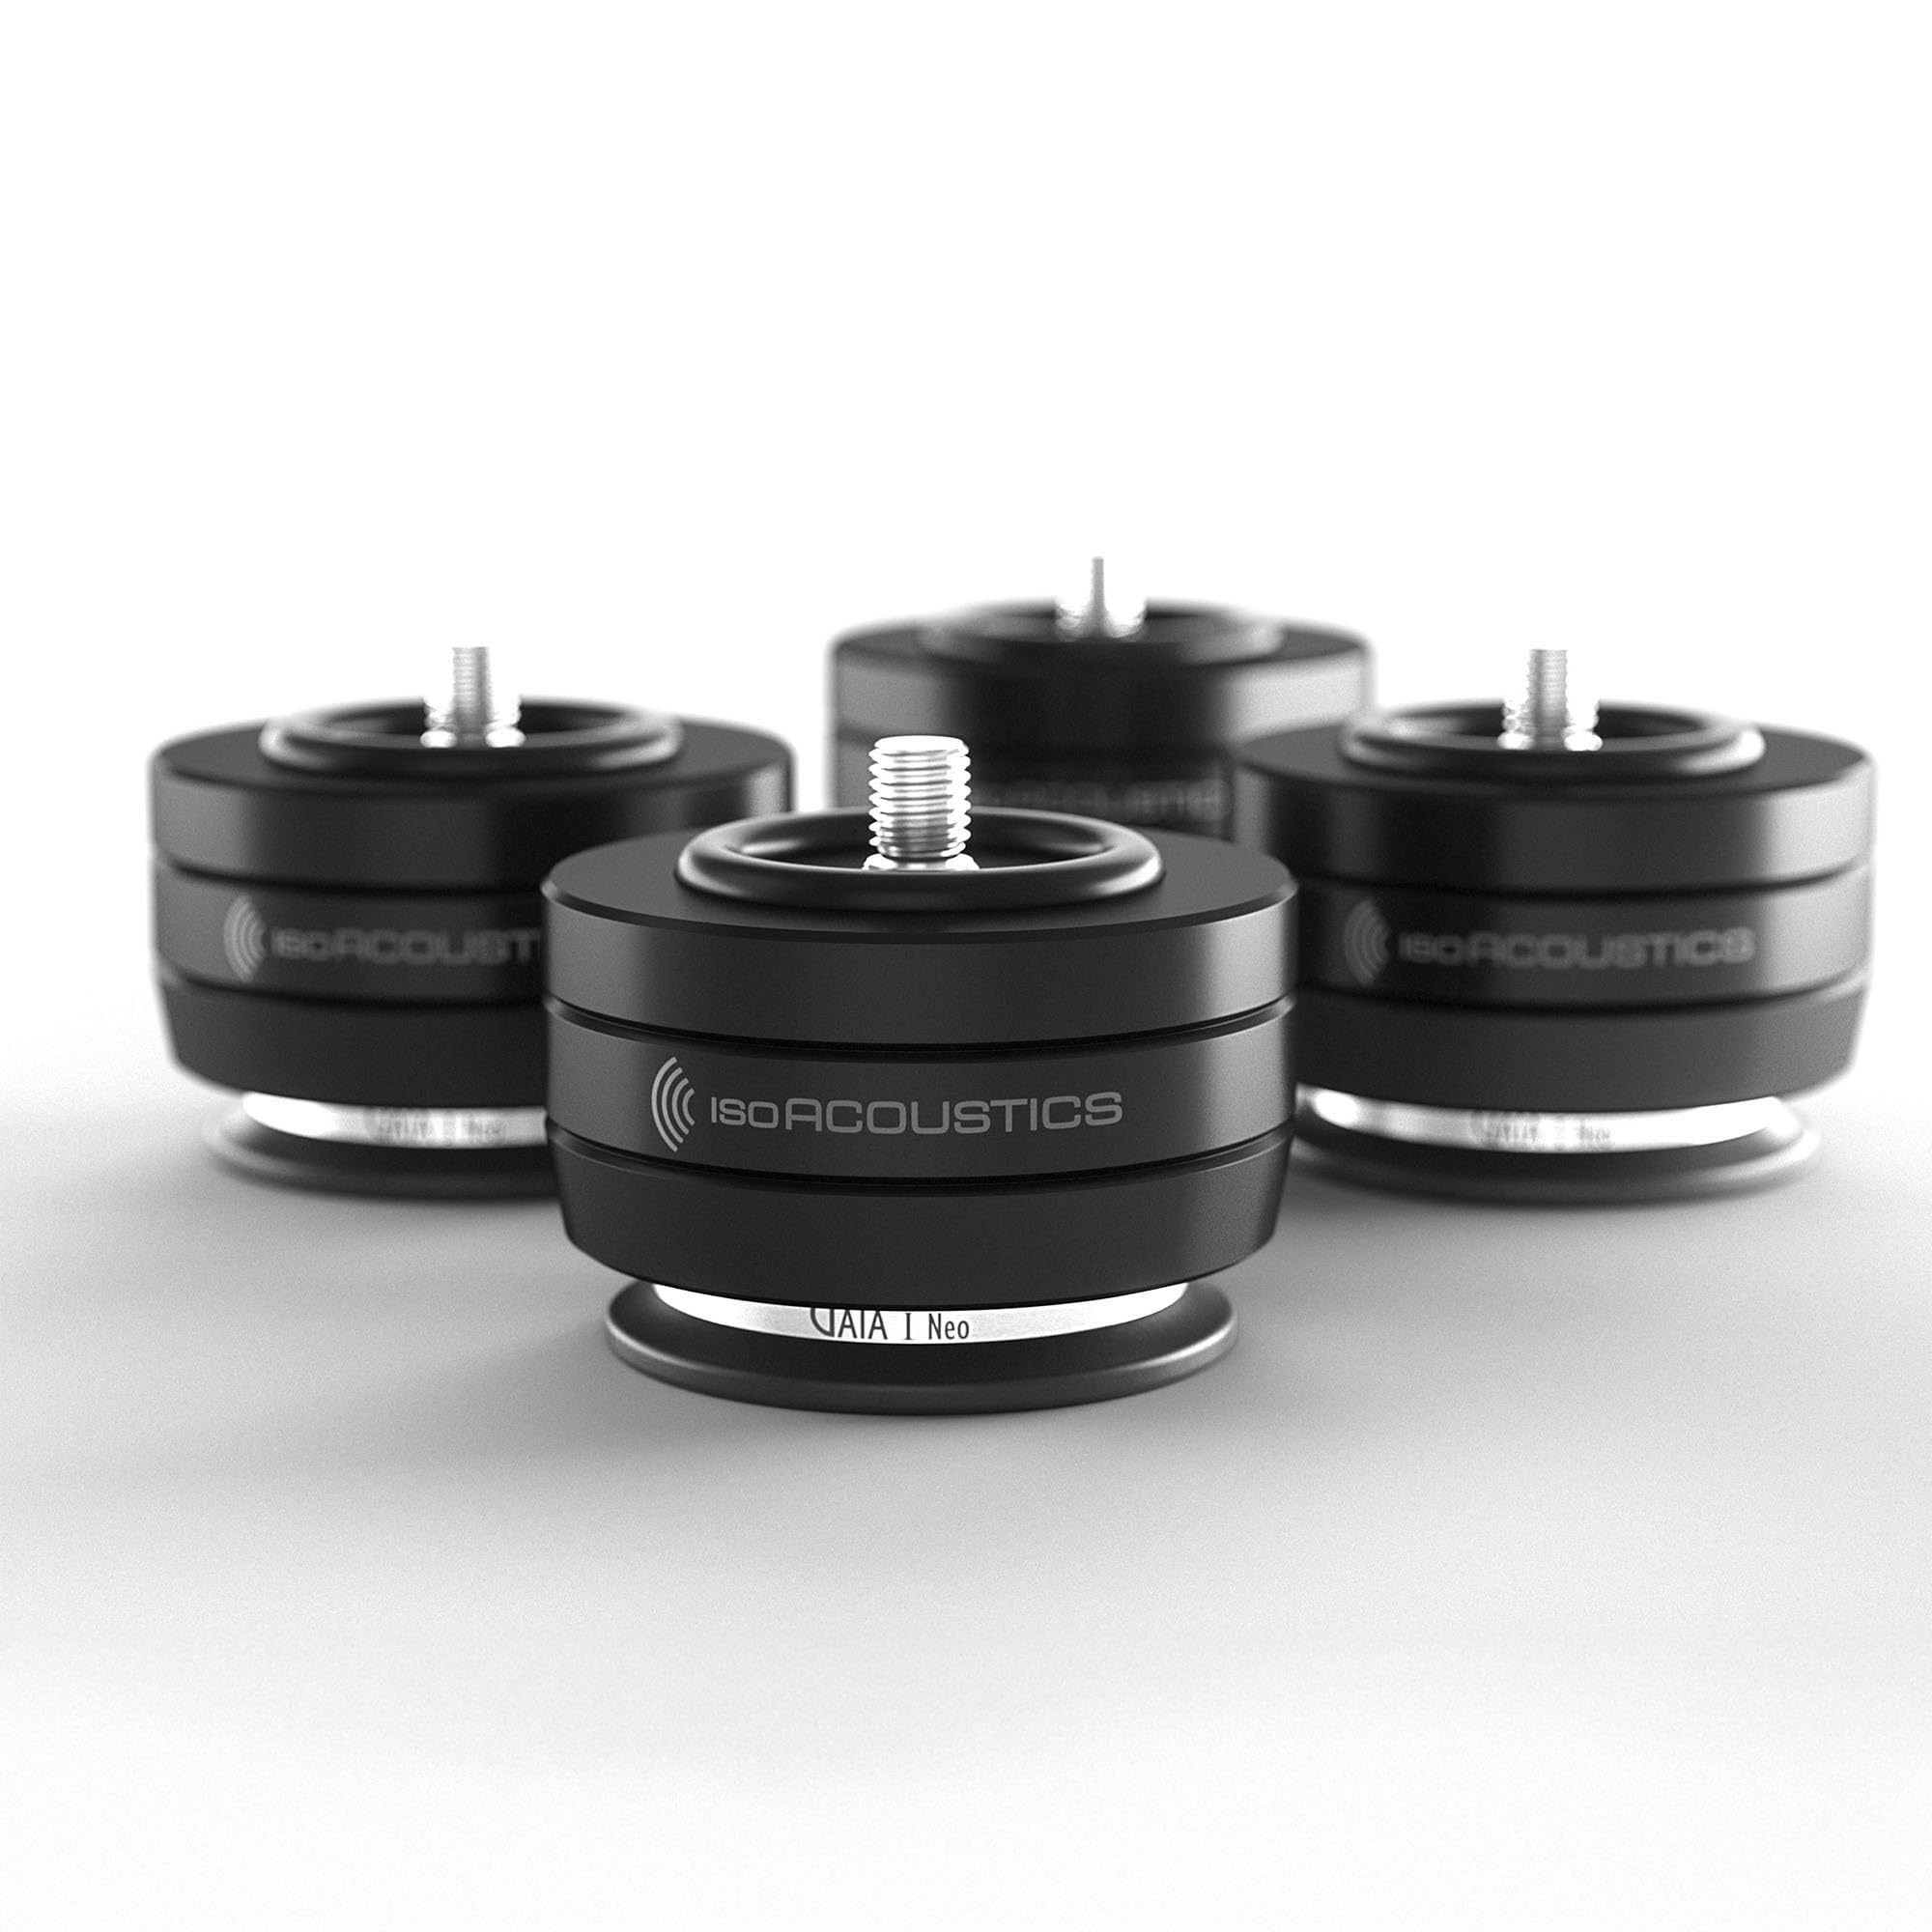
Image: A single IsoAcoustics GAIA I Neo isolator.
Package Contents
Your IsoAcoustics GAIA I Neo package includes the following components:
- 4 x GAIA I Neo Isolators
- 12 x Threaded Adapters (4 each of M12-1.25, M8-1.25, and 1/4"-20)
- 4 x Floor Sliders
- 4 x Felt Pads (for solid floors)
- 1 x Compression Washer (for specific speaker designs)
- 1 x Allen Key

Image: All components included in the IsoAcoustics GAIA I Neo package.
Weight Capacity
It is crucial to select the correct GAIA Neo model for your speakers or subwoofers based on their weight. The GAIA I Neo is designed for heavier applications.
| Model | Weight Capacity | Width | Height |
|---|---|---|---|
| GAIA I Neo | Up to 220 lbs (100 kg) | 3" (77mm) | 2" (52mm) |
| GAIA II Neo | Up to 120 lbs (55 kg) | 2.6" (65mm) | 2" (50mm) |
| GAIA III Neo | Up to 70 lbs (32 kg) | 2.2" (56mm) | 1.8" (45mm) |

Image: GAIA Neo model comparison, highlighting GAIA I Neo specifications.
Installation Video Guide
For a visual guide on the installation process, please watch the official IsoAcoustics GAIA Neo Installation Video below:
Video: Official installation guide for IsoAcoustics GAIA Neo isolation feet. This video demonstrates how to identify thread sizes, attach adapters, install isolators, and adjust height.
Setup and Installation
1. Identify Correct Thread Size
The first step is to determine the correct thread size for your speaker or subwoofer. The GAIA I Neo includes M12-1.25, M8-1.25, and 1/4"-20 threaded adapters, which fit most models.
- M12-1.25: (x4)
- M8-1.25: (x4)
- 1/4"-20: (x4)

Image: Included threaded adapters for various speaker types.
If you are unsure of the correct thread size or if the included threads do not fit, please visit the IsoAcoustics website at isoacoustics.com/threads for additional instructions and a product selector tool.
2. Attach Adapters to Speaker
Once you have identified the correct adapter, loosely thread it into the bottom of your speaker or component. Ensure the speaker is stable during this process.

Image: Attaching a threaded adapter to the speaker base.
3. Install GAIA I Neo Isolators
Next, take a GAIA I Neo isolator and screw it onto the threaded adapter you have installed. Hand-tighten the isolator until the O-ring makes contact with the bottom surface of the speaker. Continue turning until you feel the integrated O-ring compress and the isolator sits firmly against the surface. This creates a secure, tensioned connection for optimal performance.

Image: A single GAIA I Neo isolator.
If the bottom surface of your speaker does not provide a flush contact for the O-ring, you can use the included compression washer. Simply place it on top of the GAIA Neo before screwing it onto the adapter.

Image: Compression washer for uneven surfaces.
4. Orient the Isolators
Once tightened, rotate the isolator so that the IsoAcoustics logo faces the front of the speaker. Proper alignment ensures the isolators are oriented with the speaker's motive forces for optimal performance. Repeat this process for all four corners of your speaker.

Image: Rotating the isolator for proper alignment.
5. Using Floor Sliders (Optional)
To facilitate positioning your speakers, floor sliders are included. For solid floors like hardwood or tile, apply the adhesive felt pads to the bottom of each slider. For carpeted floors, use the sliders without the felt pads.

Image: GAIA Neo floor slider.
Once prepared, place one slider under each GAIA Neo isolator. Carefully push against the lower section of your speaker to slide it onto your desired listening position.

Image: GAIA Neo with floor sliders on carpet.
Adjustment
The GAIA Neo features height adjustment to compensate for uneven surfaces and to fine-tune the focus of your audio. To raise the height, rotate the lower ring to the right. To lower the height, rotate the bottom ring to the left. Adjust each isolator as needed to level your speaker and ensure even weight distribution.

Image: Height adjustment mechanism of the GAIA Neo.
Once your GAIA Neo isolators are installed and adjusted, take some time to listen to your audio system. Experiment with small adjustments to the speaker's position and the height of the isolators to find the optimal sweet spot in your listening environment.
Once you are satisfied with the placement, carefully tilt your speaker one side at a time to remove the floor sliders (if used).
Care and Maintenance
To maintain the performance and appearance of your IsoAcoustics GAIA I Neo isolators, follow these simple care guidelines:
- Cleaning: Wipe the isolators with a soft, dry cloth. Avoid using abrasive cleaners or solvents, as these may damage the finish.
- Inspection: Periodically check the isolators for any signs of wear or damage. Ensure the O-rings are intact and providing proper tension.
- Storage: If removing the isolators for storage, keep them in their original packaging or a protective container to prevent scratches or damage.
Troubleshooting
If you encounter any issues with your GAIA I Neo isolators, consider the following:
- Poor Sound Quality:
- Ensure the isolators are correctly oriented with the IsoAcoustics logo facing the front of the speaker.
- Verify that the O-rings are properly compressed and providing a firm connection.
- Experiment with small height adjustments to fine-tune the soundstage.
- Unstable Speaker:
- Check that all four isolators are evenly tightened and adjusted to level the speaker.
- Confirm that the correct thread size adapters are used and securely installed.
- Incorrect Thread Size:
- Refer to the "Identify Correct Thread Size" section or visit isoacoustics.com/threads for assistance.
Specifications
| Feature | Detail |
|---|---|
| Brand | IsoAcoustics |
| Model | GAIA I Neo |
| Material | Metal |
| Color | Black |
| Finish Type | Polished |
| Load Capacity (per set of 4) | 220 lbs (100 kg) |
| UPC | 810514001574 |
| ASIN | B0FRSXB654 |
Warranty and Support
The IsoAcoustics GAIA I Neo comes with a 2 Year Product Warranty. For warranty claims, technical support, or additional product information, please contact IsoAcoustics customer service or visit their official website.
For further assistance, you may also refer to the IsoAcoustics store on Amazon: IsoAcoustics Store.