1. Introduction
This manual provides essential information for the safe and effective operation, setup, and maintenance of your ComMarker X 6W UV Engraving Machine Omni X. Please read this manual thoroughly before using the device to ensure optimal performance and safety.
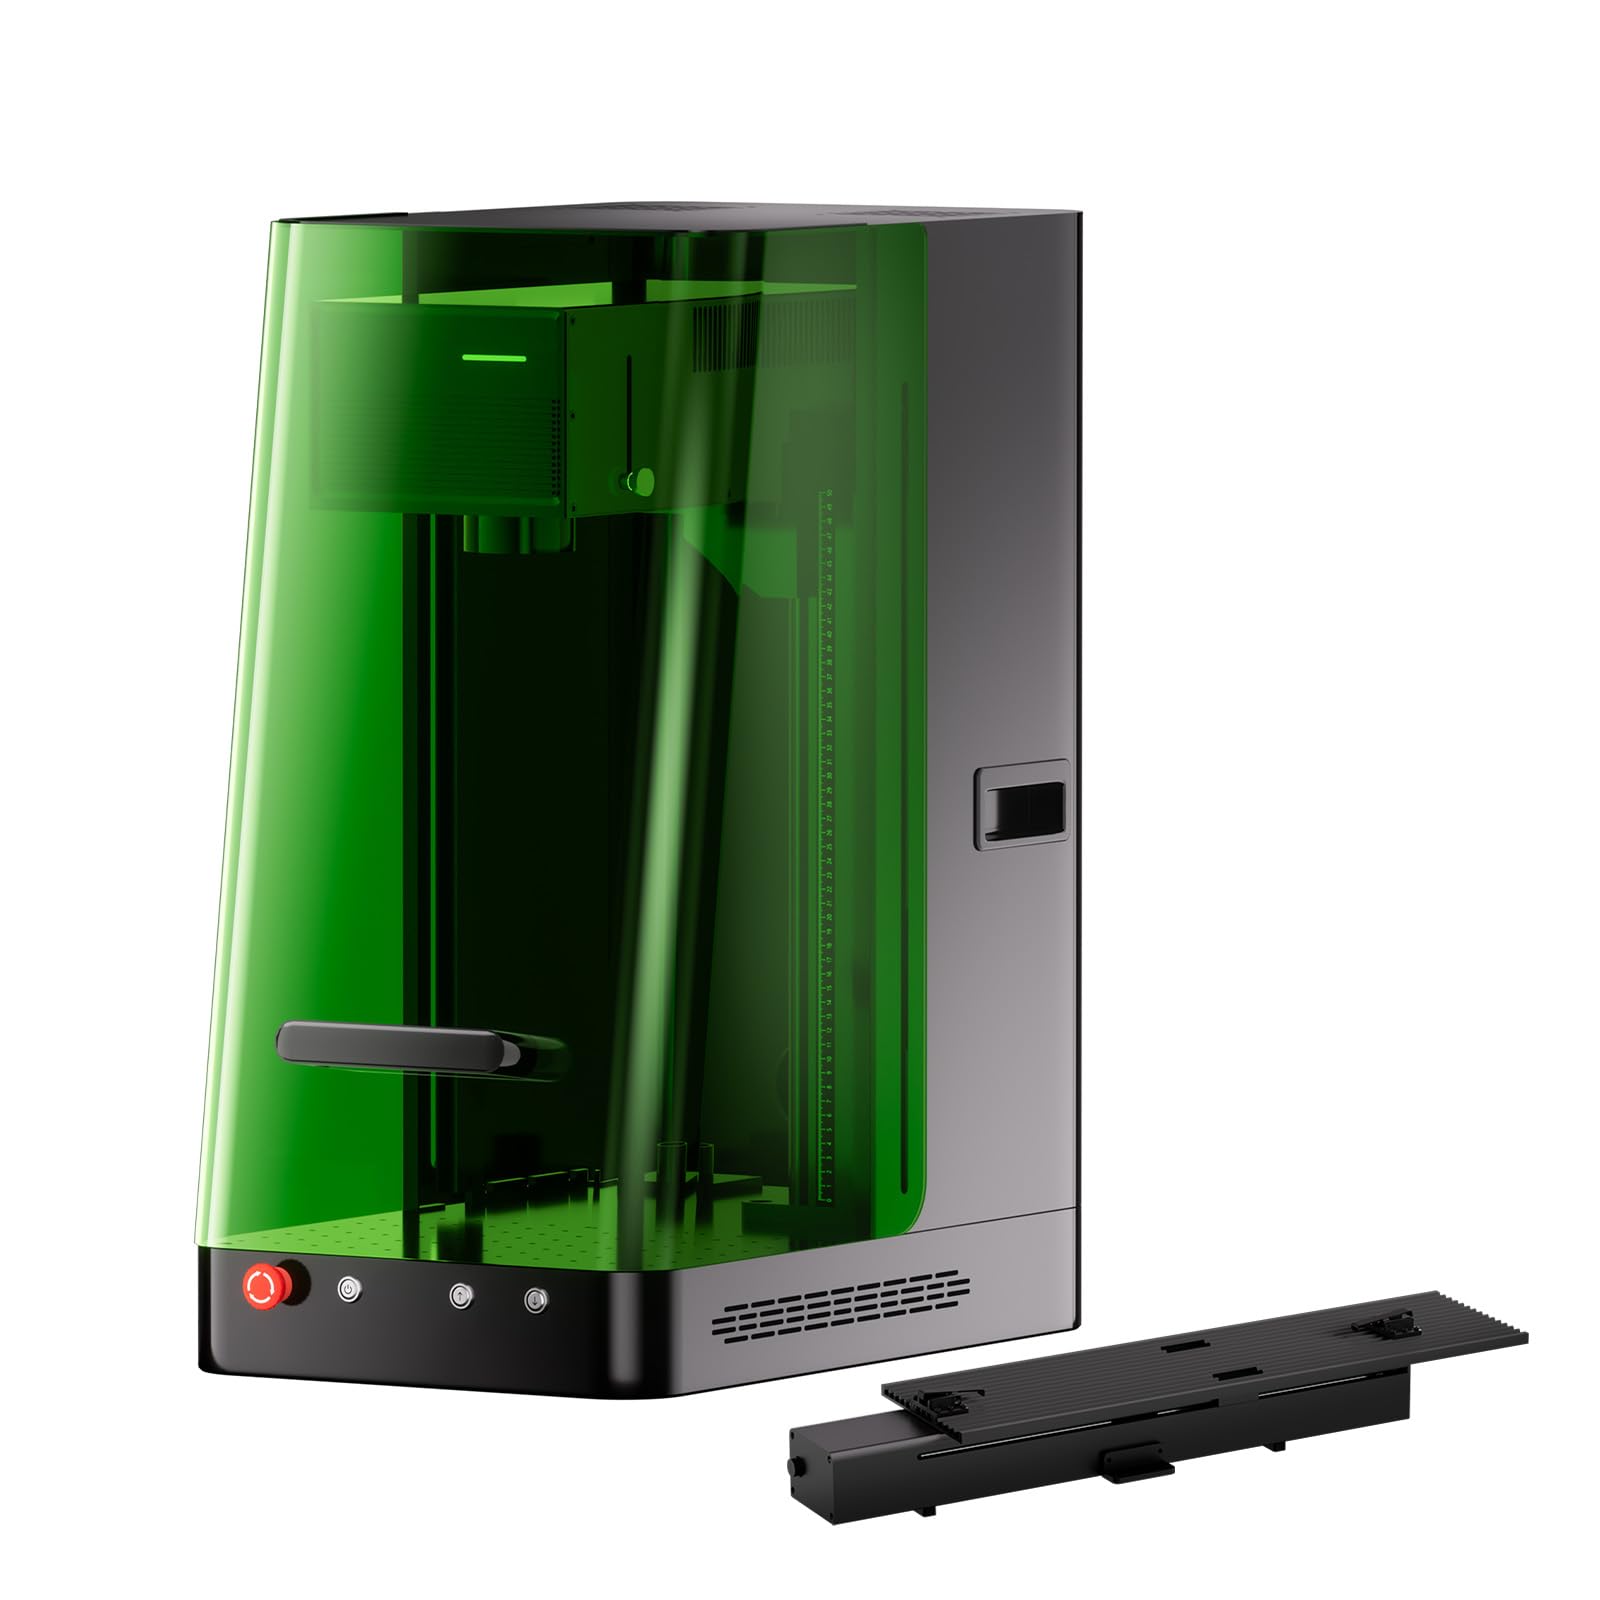
Figure 1: ComMarker X 6W UV Engraving Machine Omni X with included slider bundle components.
2. Safety Information
The ComMarker X 6W UV Engraving Machine is a Class 1 Laser Product. Adherence to safety guidelines is paramount to prevent injury and ensure proper operation.
2.1 General Safety Precautions
- Always wear appropriate laser safety goggles when operating the machine.
- Ensure the machine is placed on a stable, level surface.
- Keep the work area clean and free of flammable materials.
- Do not attempt to bypass safety features such as the smart cover sensor or emergency stop button.
- Operate the machine in a well-ventilated area to dissipate any fumes produced during engraving.
2.2 Laser Classification and Output
This device is classified as a CLASS 1 LASER PRODUCT according to IEC 60825-1 (Report Number: 2501Q25848E-SFA1, FDA Accession No.: 2521455-000). The maximum power output is 1.95mW.

Figure 2: Safety features of the ComMarker Omni X, including the OD 5+ laser light proof enclosure, smart cover with sensor, and emergency stop button.
2.3 Emergency Stop
In case of any malfunction or emergency, immediately press the red emergency stop button located on the front of the machine. This will cut power to the laser and stop all operations.
3. Product Overview and Components
The ComMarker X 6W UV Engraving Machine Omni X comes with several components to facilitate various engraving tasks.

Figure 3: All included components for the ComMarker X UV Engraving Machine.
3.1 Included Components
- ComMarker X Laser Engraver Unit
- Foot Switch
- Data Cable
- Power Adaptor
- Lift Motor Cable
- Light
- Ruler
- Flange
- 70x70mm Field Lens
- 150x150mm Field Lens
- OTG Adapter
- USB Drive
- Placing Helper
- Allen Wrench Set
- Goggles (Laser Safety Glasses)
- Preview Helper
- Lifting Platform
- Assorted Screws
4. Setup Instructions
Follow these steps for the initial setup of your ComMarker X UV Engraving Machine.
4.1 Unpacking and Placement
- Carefully remove all components from the packaging. Retain packaging for future transport or storage.
- Place the main engraver unit on a sturdy, flat, and level surface in a well-ventilated area.
- Ensure there is adequate space around the machine for operation and heat dissipation.
4.2 Connecting Power and Data
- Connect the Power Adaptor to the machine and then to a suitable power outlet (110V).
- Connect the Data Cable from the engraver to your computer or control device.
- If using the Foot Switch, connect it to the designated port on the machine.
- Attach the Lift Motor Cable if using the electric lifting column.
4.3 Software Installation
Install the ComMarker software (ComMarker App or ComMarker Studio) from the provided USB Drive or download it from the official ComMarker website. The machine is also Lightburn compatible.
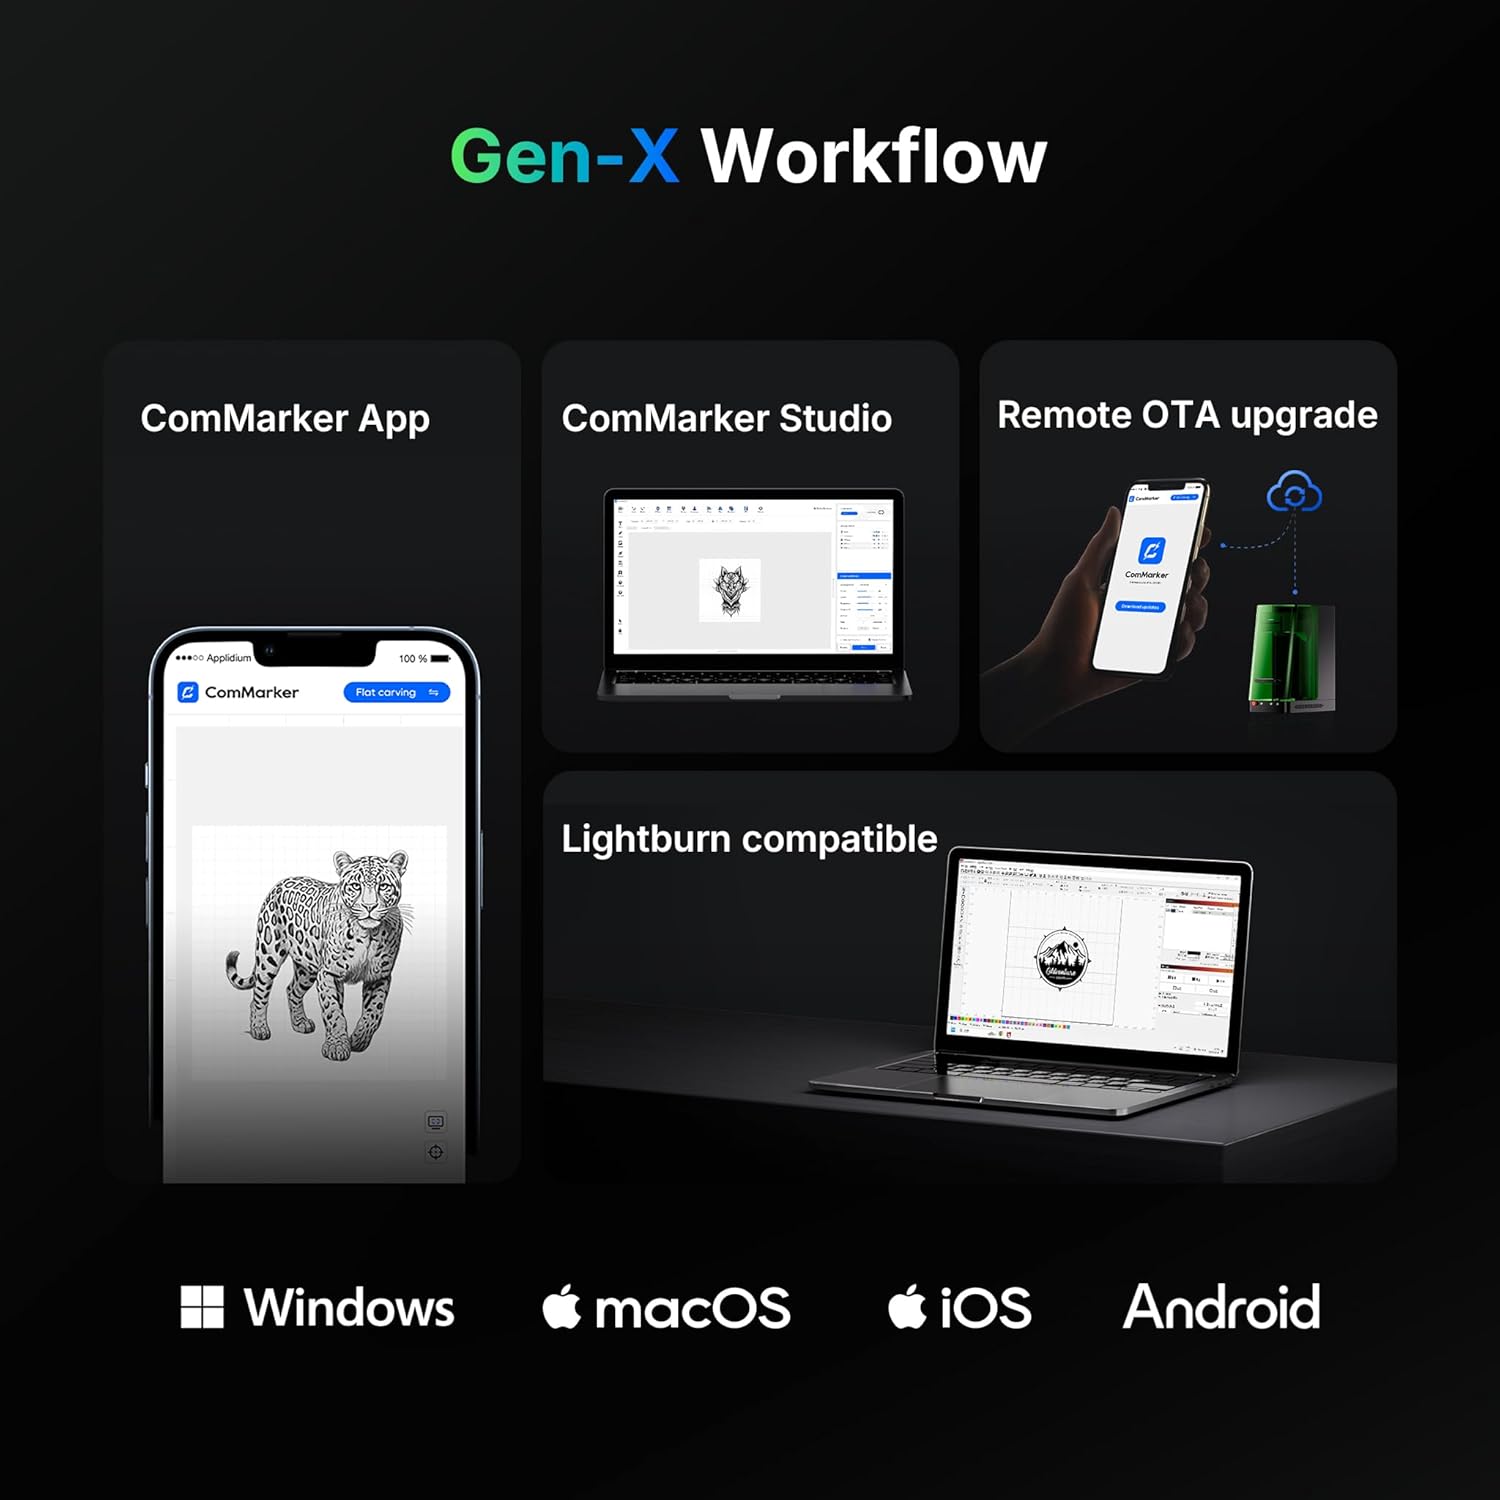
Figure 4: ComMarker Gen-X Workflow, illustrating software compatibility across Windows, macOS, iOS, and Android platforms.
5. Operating Instructions
This section outlines the basic steps for operating your ComMarker X UV Engraving Machine.
5.1 Powering On and Initializing
- Ensure all connections are secure.
- Press the power button on the machine.
- Launch the ComMarker software on your computer or mobile device.
5.2 Material Placement and Auto-Focus
- Place the material to be engraved on the work platform. For precise positioning, use the Placing Helper.
- The ComMarker X features an auto-focus system with LiDAR ranging. Activate the auto-focus function via the software or the one-button control on the electric lifting column. The machine will automatically adjust the laser height for optimal focus (0.0019mm accuracy).
- Utilize the dual red light positioning for accurate alignment of your engraving design.

Figure 5: The ComMarker X UV Engraving Machine in operation, demonstrating precise laser marking on a metal surface.
5.3 Design and Engraving Process
- Import or create your design within the ComMarker software.
- Select the appropriate material settings and engraving parameters (e.g., speed, power). The UV laser supports a wide range of materials including PE, PVC, PP, PS, PLA, PC, PMMA, polyoxymethylene (POM), nylon, ABS, aluminum, gold, platinum, silver, titanium, brass, stainless steel, wood, cloth, glass, and cardboard.
- Use the Preview Helper to visualize the engraving area before starting.
- Initiate the engraving process. The machine's smart cover sensor will ensure operation only when the cover is closed.
- For 3D internal engraving, follow specific software instructions for depth and layer settings.
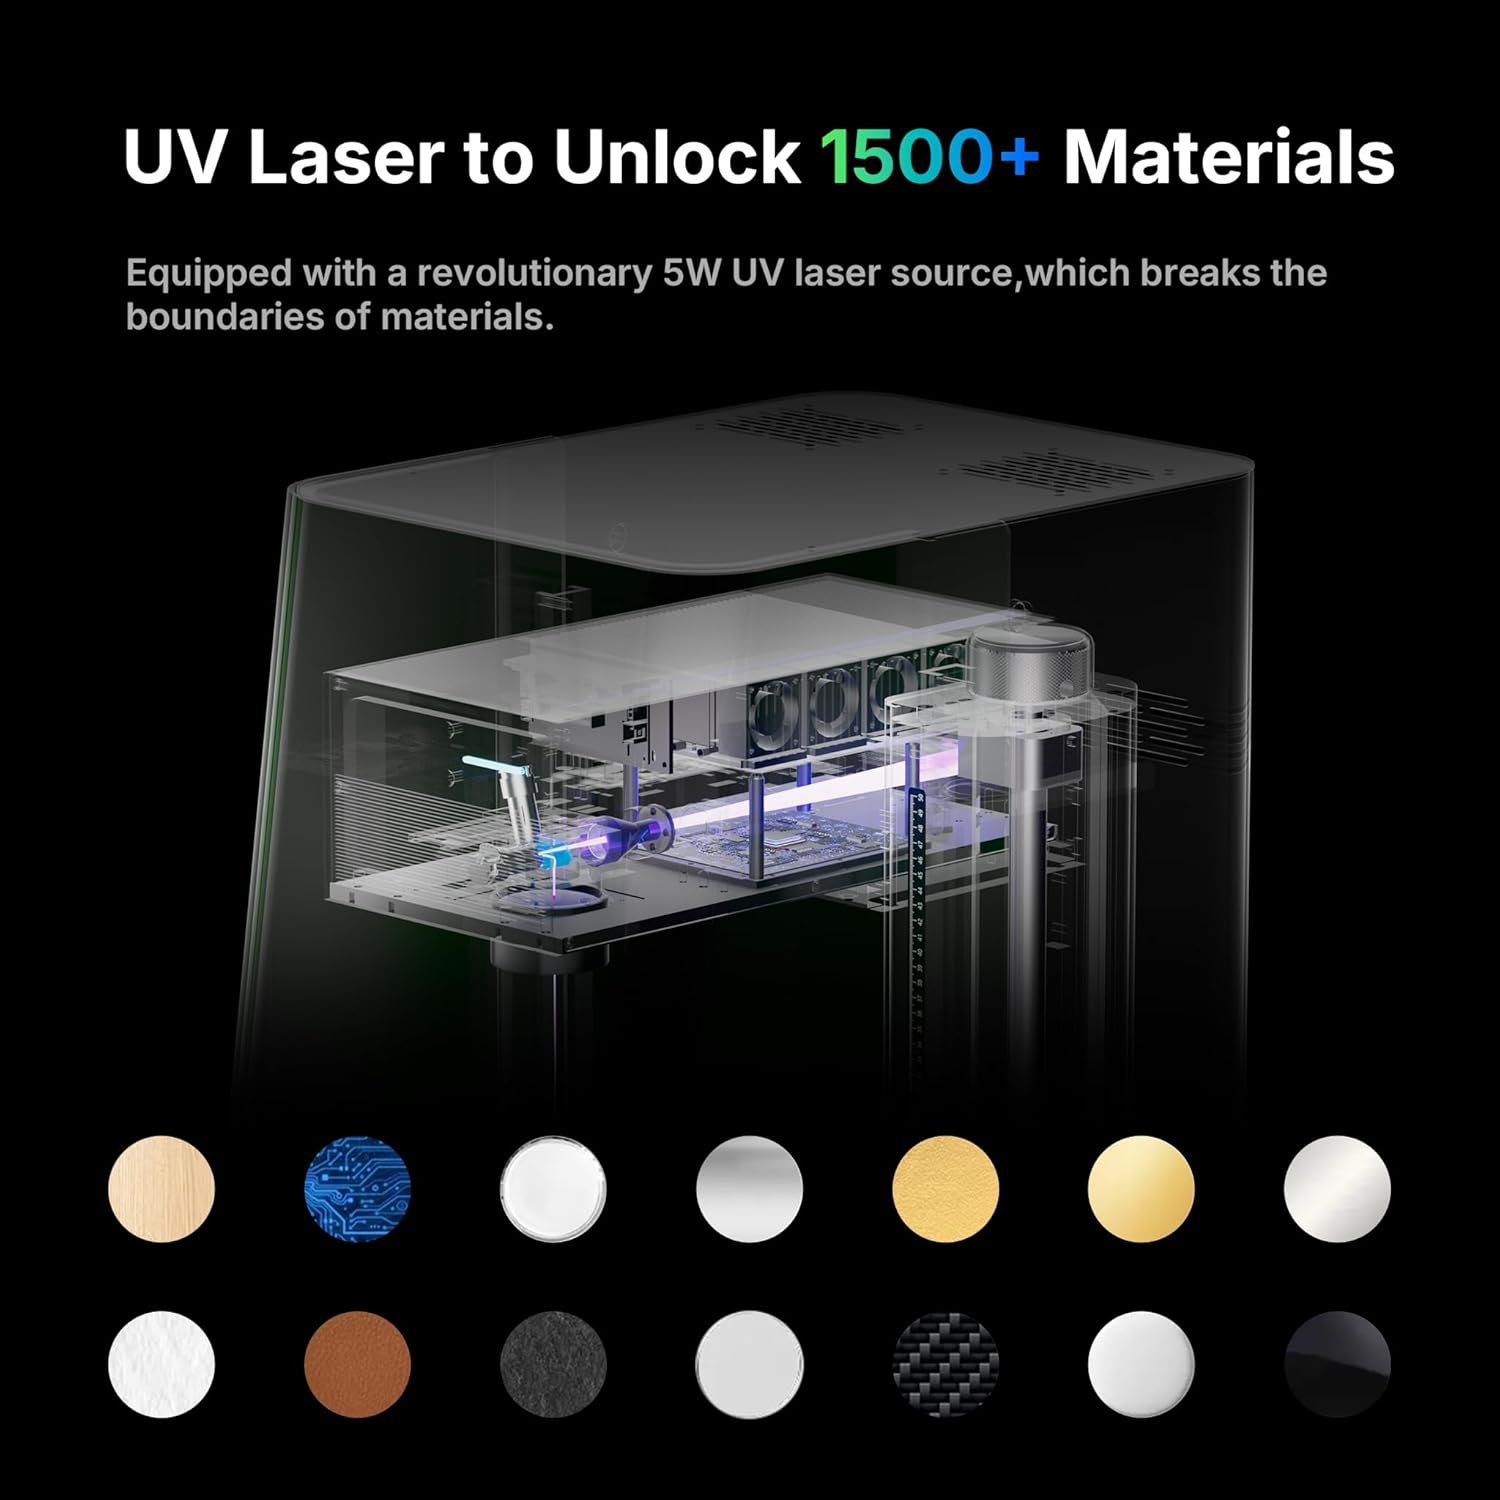
Figure 6: The versatility of the UV laser, capable of engraving over 1500 types of materials.
5.4 Advanced Features
- 3D Internal Engraving: The Omni X supports 3D internal engraving, allowing for intricate designs within transparent materials.
- Batch Marking: The machine can automatically generate and mark QR codes/barcodes in sequence without manual input, ideal for small-batch production.
- Slider Extension: The 150x400mm working area with slider extension allows for engraving larger items or multiple items in a batch.
6. Maintenance
Regular maintenance ensures the longevity and optimal performance of your ComMarker X UV Engraving Machine.
6.1 Cleaning
- Ensure the machine is powered off and unplugged before cleaning.
- Gently wipe the exterior surfaces with a soft, dry cloth.
- Periodically clean the work platform and lens with a lint-free cloth and appropriate lens cleaning solution to remove dust and debris.
- The machine offers 99.72% dust isolation, but regular cleaning of the internal components (if accessible and safe) is recommended by a qualified technician.
6.2 Software Updates
Regularly check for and install remote OTA (Over-The-Air) software updates to ensure you have the latest features and performance enhancements.
7. Troubleshooting
This section addresses common issues you might encounter and their potential solutions.
7.1 Common Issues and Solutions
- Machine not powering on:
- Check if the power cable is securely connected to both the machine and the power outlet.
- Ensure the power outlet is functional. - Laser not firing:
- Verify that the smart cover is fully closed. The machine will not operate if the cover is open.
- Check software settings to ensure the laser power is not set to zero.
- Ensure the emergency stop button is not engaged. - Engraving quality is poor or inconsistent:
- Re-run the auto-focus procedure to ensure correct focal distance.
- Clean the laser lens for any dust or debris.
- Adjust engraving parameters (speed, power) for the specific material being used.
- Ensure the material is flat and securely placed on the work platform. - Software not connecting to machine:
- Check the data cable connection between the machine and your computer.
- Restart both the machine and the software.
- Ensure the correct drivers are installed (if applicable). - Overheat Protection: The machine features overheat protection. If the temperature reaches a warning value, the device automatically stops working to prevent damage. Allow the machine to cool down before resuming operation.
If you encounter issues not listed here or cannot resolve a problem, please contact ComMarker customer support.
8. Specifications
| Feature | Specification |
|---|---|
| Manufacturer | ComMarker |
| Model Number | Omni X |
| Laser Type | UV Laser |
| Laser Power | 6 Watt |
| Wavelength | 355nm |
| Cooling Method | Air Cooling |
| Marking Speed | 0 - 10000mm/s |
| Engraving Accuracy | 0.0019mm |
| Focus System | Auto-Focus with LiDAR Ranging System |
| Working Area | 150 x 400mm (with slide extension) |
| Voltage | 110V |
| Item Weight | 60 pounds |
| Product Dimensions | 19 x 13 x 27 inches |
| Laser Class | CLASS 1 LASER PRODUCT |
| Operation Mode | Automatic |
9. Warranty and Support
9.1 Warranty Information
The ComMarker X 6W UV Engraving Machine Omni X comes with a 1 Year Manufacturer Warranty. This warranty covers defects in materials and workmanship under normal use. Please retain your proof of purchase for warranty claims.
9.2 Customer Support
For technical assistance, troubleshooting, or warranty inquiries, please contact ComMarker customer support through their official website or the contact information provided with your product. You can also visit the ComMarker Store on Amazon for additional resources.


