
1. Introduction
The Manker MC13 II is a high-performance, compact Everyday Carry (EDC) flashlight designed for various lighting needs. It features a LUMINUS SFT40 LED, a customized TIR lens, and a magnetic tailcap for versatile use. This manual provides detailed instructions for the safe and effective operation, maintenance, and troubleshooting of your MC13 II flashlight.
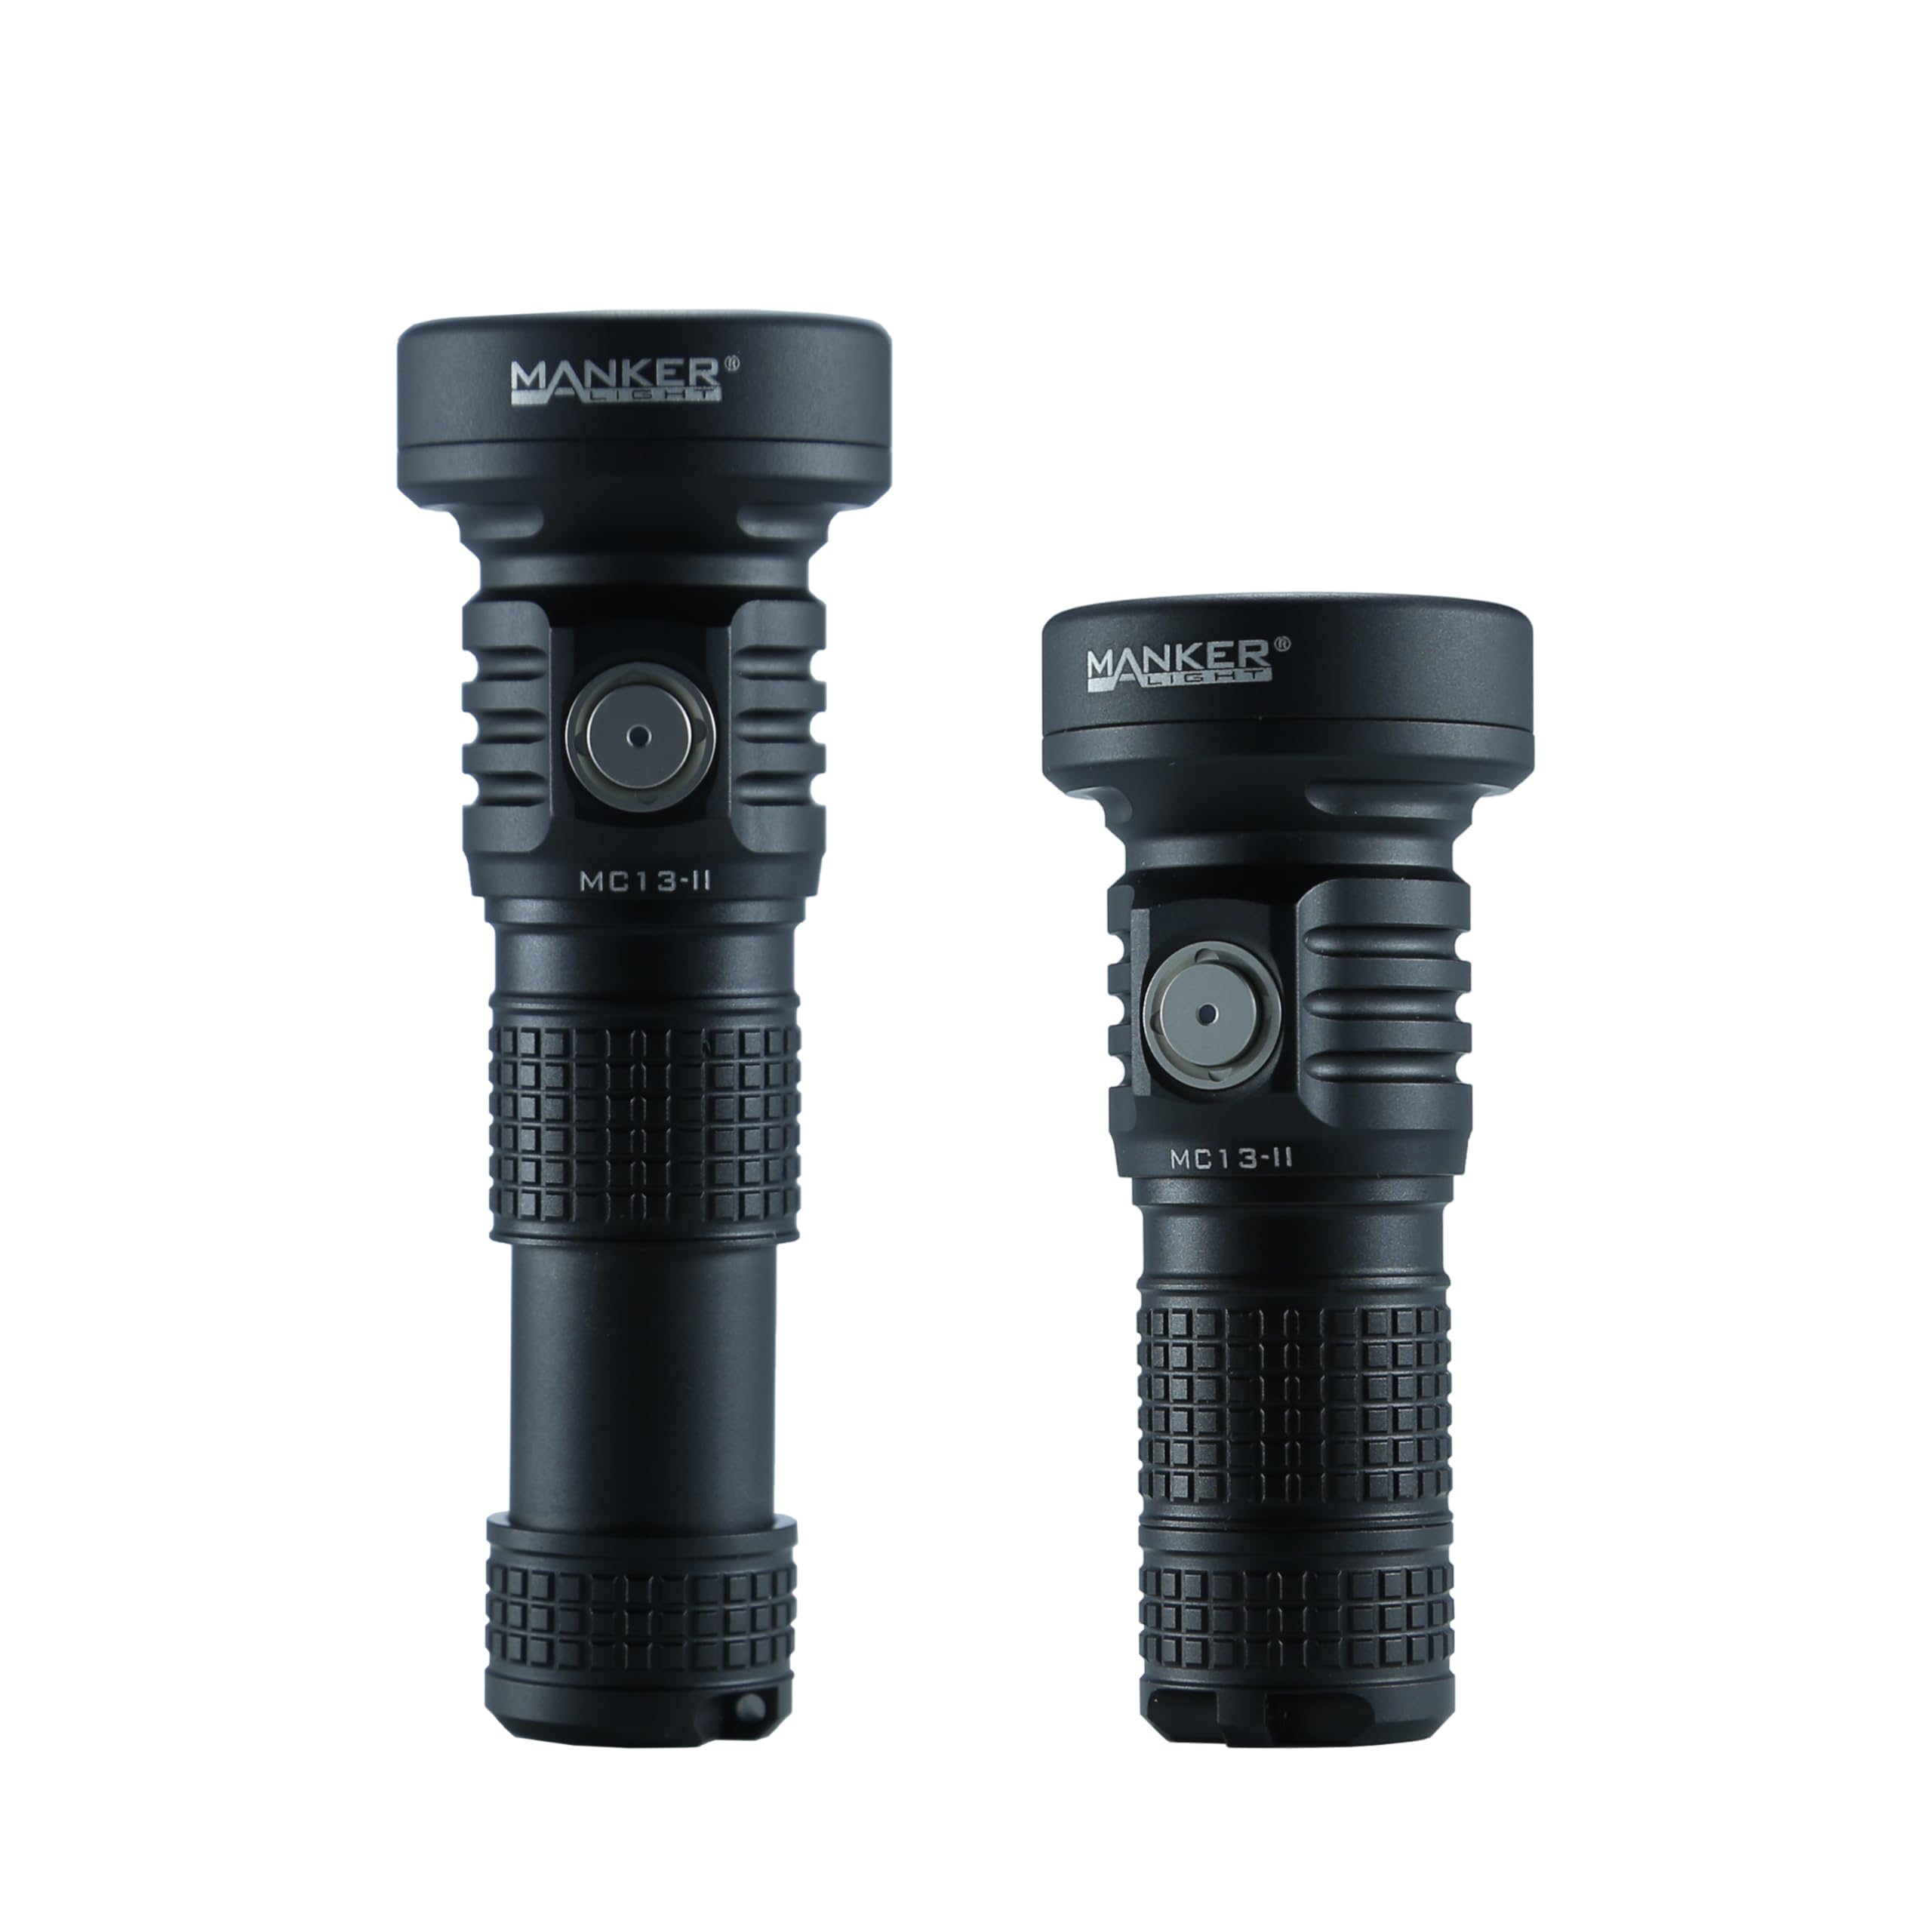
Image 1.1: Manker MC13 II Flashlight, showcasing its compact design.
2. What's in the Box
Carefully unpack your Manker MC13 II flashlight and verify that all the following items are included:
- Manker MC13 II LED Flashlight x 1
- USB Type-C Charging Cable x 1
- Soft filter (white) x 1
- Lanyard x 1
- Spare Waterproof O-ring x 1
3. Product Features
- High Lumens & Long Throw: Utilizes 1x LUMINUS SFT40 LED and a customized TIR lens, delivering up to 1800 lumens maximum brightness and 600 meters maximum beam distance.
- TIR Lens: Equipped with a Total Internal Reflection (TIR) lens for efficient light transmission and a focused beam.
- Patent Extendable Body Design: Convertible body design allows for use with two different battery sizes (18350 included, 18650 compatible) for varied lumens, runtime, and beam distance.
- Fast USB-C Charging & Smart LED Indicator: Built-in USB-C charging port and an intelligent LED indicator to show charging status and battery voltage level.
- Multiple Modes: Features Eco (Moonlight, Ultra low1, Ultra low2), Low, Medium, High, Turbo, Strobe, Beacon, and SOS modes.
- Premium Material & Waterproof IP67: CNC machined from aircraft-grade aluminum alloy with Type-III black anodized process. IP67 waterproof rating, submersible up to 1 meter for 30 minutes.
- Magnetic Base: Strong magnetic base on the tailcap allows attachment to metal surfaces for hands-free operation.
- Compact Size: Dimensions of 91.33mm (length) x Ø40.4mm (head diameter) x Ø25.9mm (outside tube diameter). Weight: 92.2g (3.25oz).
- White Soft Filter: Included soft filter for a more gentle beam, suitable for close-distance illumination and night reading.

Image 3.1: The Manker MC13 II demonstrating its long-distance beam capability.

Image 3.2: Close-up view of the TIR lens on the Manker MC13 II.

Image 3.3: The extendable body design of the MC13 II, allowing for different battery configurations.

Image 3.4: Detail of the integrated USB-C charging port on the flashlight head.

Image 3.5: The LED indicator on the Manker MC13 II, showing battery status.

Image 3.6: The magnetic base of the MC13 II, allowing for hands-free use.

Image 3.7: The Manker MC13 II held in hand, illustrating its pocket-friendly size.

Image 3.8: The Manker MC13 II with the white soft filter attached.
4. Setup
- Initial Charge: Before first use, fully charge the battery using the provided USB Type-C cable. The LED indicator will show charging status.
- Battery Installation: Ensure the battery is correctly inserted with the positive (+) end facing the head of the flashlight.
- Extendable Body: To use a larger 18650 battery (not included), extend the hidden tube by unscrewing the tailcap and pulling the body to reveal the extension. Insert the 18650 battery and re-secure the tailcap.
- Attach Lanyard: If desired, attach the lanyard to the designated lanyard hole on the tailcap for secure carrying.

Image 4.1: Close-up of the lanyard hole for attaching the included lanyard.
5. Operating Instructions
The Manker MC13 II features a single side switch for all operations. Refer to the diagram below for a visual guide.

Image 5.1: Diagram illustrating the operation instructions for the Manker MC13 II.
Basic Operation:
- Turn On/Off: Single click the side switch to turn the flashlight ON or OFF.
- Mode Cycling (General Mode): When ON, press and hold the switch to cycle through Low, Medium, and High modes. Release the switch to select the desired brightness.
- Eco Mode (Moonlight/Ultra Low): From OFF, press and hold the switch to enter Eco mode. Continue holding to cycle through Moonlight, Ultra Low1, and Ultra Low2. Release to select.
- Turbo Mode: Double click from ON or OFF to activate Turbo mode. Double click again to return to the previous mode.
- Special Modes (Strobe/Beacon/SOS): Triple click from ON or OFF to enter Strobe mode. Press and hold to cycle through Strobe, Beacon, and SOS. Single click to turn OFF.
Lockout Function:
- Activate Lockout: From OFF, quadruple click the side switch to activate the electronic lockout. The flashlight will blink to confirm.
- Deactivate Lockout: From lockout mode, quadruple click the side switch to deactivate. The flashlight will turn on in the last used mode.
6. Charging
The Manker MC13 II features a built-in USB-C charging port for convenient recharging of the included 18350 battery or a compatible 18650 battery.
- Locate the USB-C charging port on the head of the flashlight.
- Connect the provided USB Type-C charging cable to the flashlight's port and to a USB power source (e.g., wall adapter, power bank, computer USB port).
- The LED indicator will show the charging status:
- Red: Charging in progress.
- Green: Charging complete.
- Charging supports a maximum of 5V/2A.
7. Maintenance
- Cleaning: Clean the flashlight body with a soft, damp cloth. Do not use harsh chemicals or abrasives.
- O-rings: Periodically inspect the O-rings for wear and tear. Replace them with the spare O-ring if necessary to maintain the IP67 waterproof rating. Apply silicone grease to O-rings to prevent drying and cracking.
- Threads: Keep the threads clean and lubricated to ensure smooth operation and proper sealing.
- Battery Care: If the flashlight will not be used for an extended period, remove the battery to prevent potential leakage. Store batteries in a cool, dry place.
8. Troubleshooting
- Flashlight not turning on:
- Check if the battery is fully charged.
- Ensure the battery is inserted correctly with the positive (+) end towards the head.
- Verify that the tailcap is tightened securely.
- Check if the lockout function is activated (quadruple click to deactivate).
- Intermittent operation or flickering:
- Clean the battery contacts and the flashlight's contact points.
- Ensure the battery is fully charged and properly installed.
- Tighten the tailcap.
- Water ingress:
- Inspect O-rings for damage or improper seating. Replace if necessary.
- Ensure all parts are tightly screwed together.
If problems persist, please contact Mankerlight customer support for assistance.
9. Specifications
The following table outlines the technical specifications of the Manker MC13 II flashlight:

Image 9.1: Detailed technical data for the Manker MC13 II, including lumen output, runtime, and beam distance for various modes.
| Feature | Specification |
|---|---|
| LED | LUMINUS SFT40 (6500K Cool White) |
| Max Brightness | 1800-2000 Lumens (depending on battery) |
| Max Beam Distance | 600 meters |
| Max Runtime | 72 hours (Eco mode) |
| Battery Type | 1x 18350 (included) or 1x 18650 (not included) |
| Charging | USB-C (Max 5V/2A) |
| Water Resistance | IP67 (submersible 1 meter for 30 minutes) |
| Impact Resistance | 1 meter |
| Material | Aircraft-grade Aluminum Alloy |
| Dimensions (Compact) | 91.33mm (L) x Ø40.4mm (Head) x Ø25.9mm (Body) |
| Weight | 92.2g (3.25 oz) without battery |
10. Warranty and Support
The Manker MC13 II flashlight comes with a 2-year limited manufacturer warranty. This warranty covers defects in materials and workmanship under normal use.
For warranty claims, technical support, or any inquiries regarding your product, please contact Mankerlight customer service through their official website or the retailer where the product was purchased. Please retain your proof of purchase for warranty validation.