
1. Introduction
This manual provides essential instructions for the safe and proper use, setup, operation, and maintenance of your Lancer Tactical Gen 2 Airsoft M4 SPR Interceptor AEG. Please read this manual thoroughly before using the product to ensure optimal performance and safety. This airsoft replica is designed for recreational and training purposes and should be handled with care and respect.
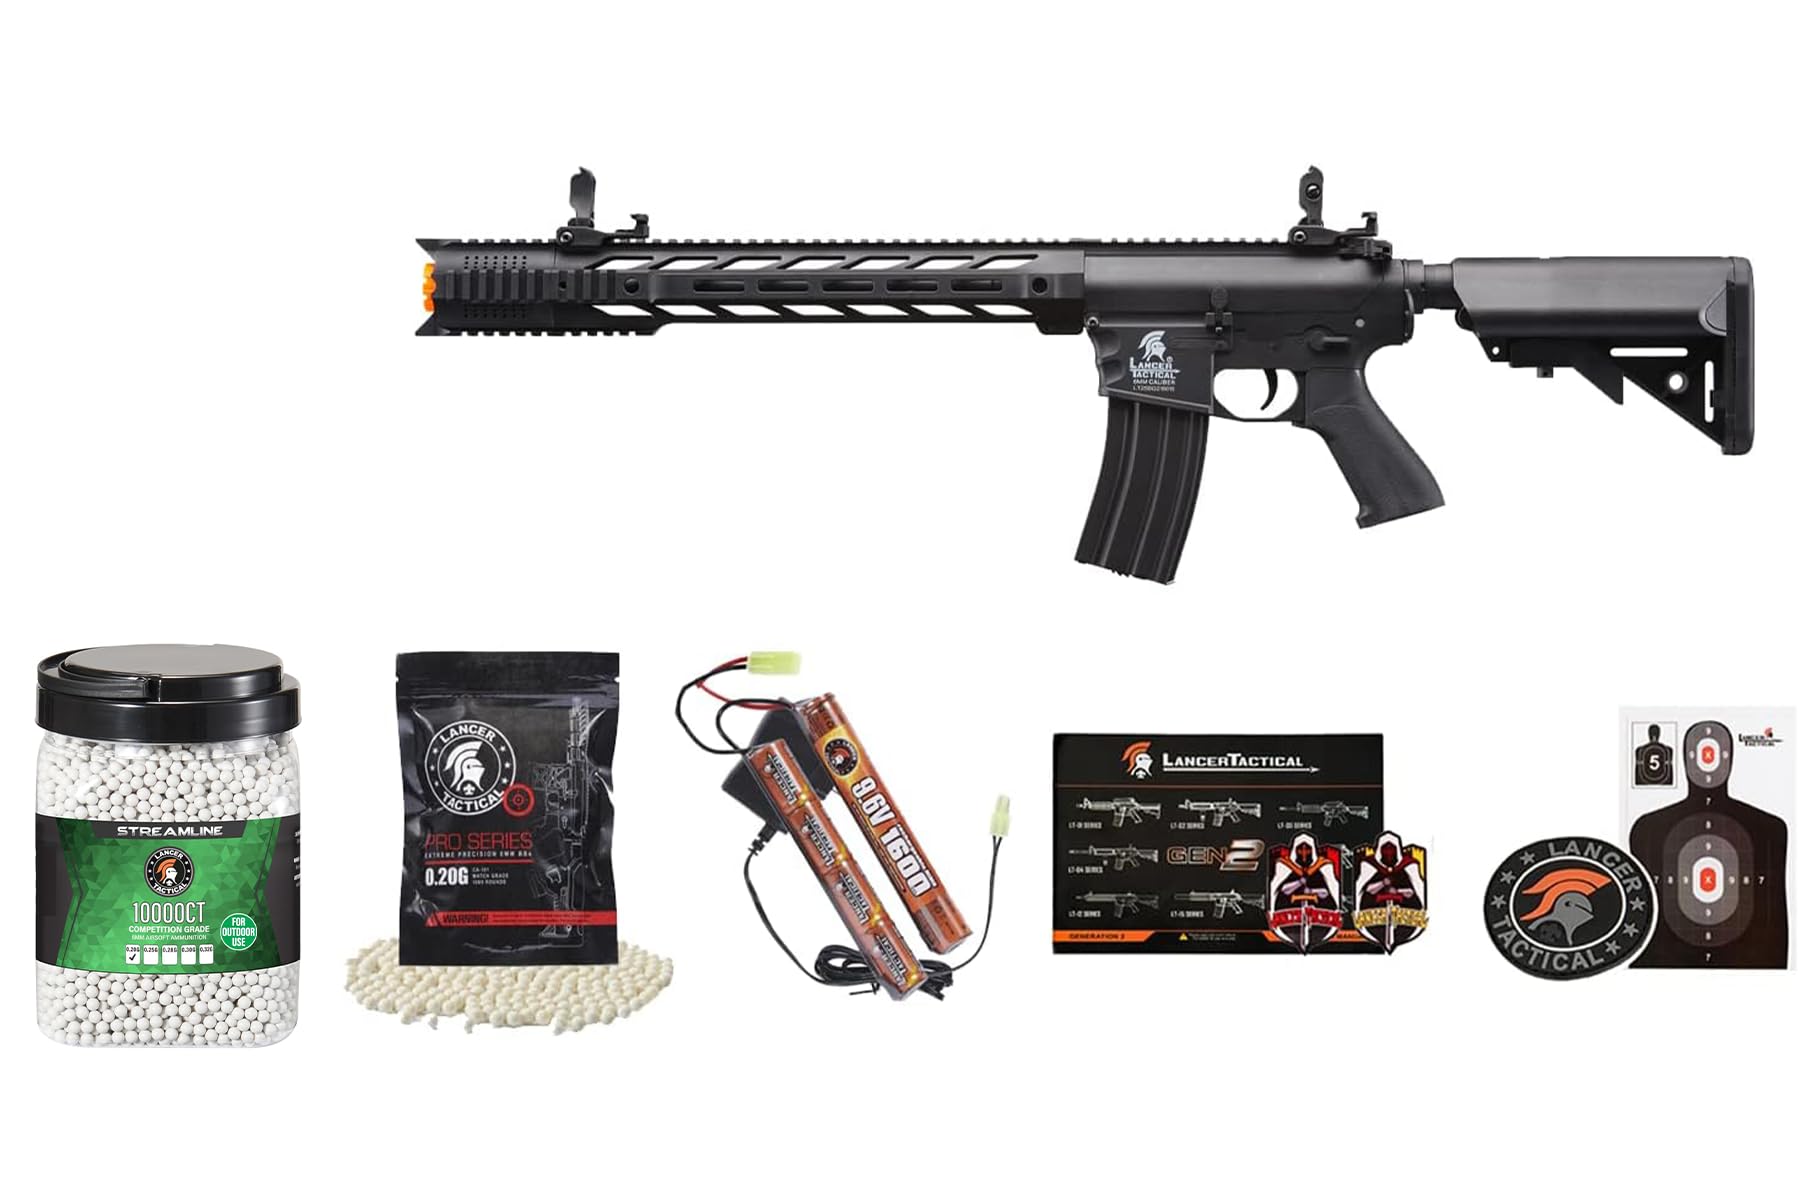
Image: The Lancer Tactical Gen 2 Airsoft M4 SPR Interceptor AEG rifle, shown from the side with its full stock and handguard.
2. Safety Information
WARNING: Airsoft guns are not toys. Misuse or careless use may result in serious injury or death. Always treat an airsoft gun as if it were a real firearm. Always wear appropriate eye protection when handling or operating this airsoft gun. Never point an airsoft gun at anything you do not intend to shoot. Keep fingers off the trigger until ready to fire. Always ensure the safety is engaged when not actively firing. Store the airsoft gun unloaded and in a secure location away from children and unauthorized users. Always use appropriate airsoft BBs (6mm 0.20g or heavier) designed for airsoft guns. Never modify the airsoft gun in any way that would increase its power beyond legal limits or alter its appearance to resemble a real firearm more closely, especially by removing the orange tip.
- Always wear eye protection.
- Never aim at people or animals.
- Keep the safety on until ready to fire.
- Transport in a case, unloaded, with the orange tip visible.
- Do not remove the orange tip.
- Use only approved 6mm airsoft BBs.
3. Package Contents
Verify that all items listed below are present in your package:
- Lancer Tactical Gen 2 Airsoft M4 SPR Interceptor AEG
- Airsoft Magazine (300-round capacity)
- Battery
- Battery Charger
- 1,000 rounds of 0.20g 6mm Outdoor Airsoft BBs (Bag)
- 10,000 rounds of 0.20g 6mm Outdoor Airsoft BBs (Bucket)
- Instruction Manual (this document)

Image: The Lancer Tactical Airsoft M4 SPR Interceptor AEG, showing the rifle with its magazine inserted.

Image: A container of Lancer Tactical 1000 count 0.20g 6mm Airsoft BBs, labeled for outdoor use.
4. Setup
4.1 Charging the Battery
- Connect the included battery to the charger.
- Plug the charger into a standard wall outlet.
- Observe the indicator light on the charger. It will typically show red during charging and turn green when fully charged.
- Do not overcharge the battery. Refer to the charger's specific instructions for charging times.
- Disconnect the battery from the charger once fully charged.
4.2 Installing the Battery
The battery compartment is typically located in the stock of the rifle. Follow these steps:
- Ensure the airsoft gun is on SAFE mode.
- Adjust the stock to its fully extended position or remove the butt plate, depending on the specific stock design.
- Carefully connect the battery connector to the rifle's power connector. Ensure the polarity is correct.
- Gently tuck the battery and wires into the stock compartment. Avoid pinching wires.
- Replace the butt plate or adjust the stock back to a desired position.
4.3 Loading BBs into the Magazine
Your airsoft gun comes with a high-capacity magazine. These magazines require winding to feed BBs.
- Open the small trap door on the top of the magazine.
- Pour 6mm 0.20g (or heavier) airsoft BBs into the opening.
- Close the trap door.
- Locate the winding wheel at the bottom of the magazine.
- Wind the wheel until you feel resistance or hear a change in sound, indicating the BBs are fully wound and ready to feed. You may need to wind it periodically during use.

Image: Close-up view of the magazine well and lower receiver of the Lancer Tactical Airsoft M4 SPR Interceptor AEG.
5. Operating Instructions
5.1 Inserting the Magazine
- Ensure the airsoft gun is on SAFE mode.
- Align the magazine with the magazine well on the rifle.
- Insert the magazine firmly until it clicks into place. Give it a gentle tug to ensure it is seated securely.
5.2 Selecting Firing Mode
The Lancer Tactical Gen 2 Airsoft M4 SPR Interceptor AEG features a selector switch for different firing modes:
- SAFE: Prevents the rifle from firing. Always engage SAFE when not actively shooting.
- SEMI: Fires one BB per trigger pull.
- AUTO: Fires continuously as long as the trigger is held down (full-automatic).
Move the selector switch to your desired firing mode.
5.3 Firing the Airsoft Gun
- Ensure you are in a safe firing area and wearing eye protection.
- Point the airsoft gun at your intended target.
- Move the selector switch from SAFE to SEMI or AUTO.
- Gently squeeze the trigger to fire.
- After firing, immediately return the selector switch to SAFE.
5.4 Adjusting Hop-Up
The hop-up system applies backspin to the BB, increasing its range and accuracy. To adjust:
- Pull back the charging handle to expose the hop-up unit.
- Locate the adjustment dial or lever on the hop-up unit.
- Turn the dial/lever incrementally while test-firing to achieve the desired BB trajectory. Turning it up typically increases backspin (BB flies higher), turning it down decreases backspin (BB flies lower).
- Release the charging handle.
6. Maintenance
Regular maintenance ensures the longevity and reliable performance of your airsoft gun.
6.1 Barrel Cleaning
- Ensure the airsoft gun is unloaded and the battery is disconnected.
- Use the included cleaning rod (if applicable) with a small piece of cleaning cloth or paper towel.
- Gently push the cleaning rod through the barrel from the breech end (where the BB enters) to the muzzle.
- Repeat until the barrel is clean. Do not use harsh chemicals or lubricants inside the barrel.
6.2 General Cleaning and Lubrication
- Wipe down the exterior of the airsoft gun with a clean, dry cloth after each use.
- Periodically apply a small amount of silicone lubricant to moving parts such as the selector switch and charging handle mechanism. Avoid petroleum-based lubricants, as they can damage plastic and rubber components.
6.3 Battery Care and Storage
- Always disconnect the battery from the airsoft gun when not in use.
- Store batteries in a cool, dry place, away from direct sunlight and extreme temperatures.
- Do not store fully charged or completely depleted batteries for extended periods. Follow manufacturer guidelines for long-term battery storage.
7. Troubleshooting
| Problem | Possible Cause | Solution |
|---|---|---|
| Gun not firing / No response | Battery not connected, battery depleted, safety engaged, motor connection loose. | Check battery connection, charge battery, disengage safety, check motor plate screws (if accessible). |
| BBs not feeding | Magazine not wound, magazine empty, BBs jammed, incorrect BB size. | Wind magazine, refill magazine, clear any visible jams, ensure 6mm BBs are used. |
| Inconsistent FPS / Low power | Battery low, hop-up misadjusted, internal air seal issue. | Charge battery, adjust hop-up, contact support if issue persists. |
| BBs curving excessively | Hop-up over-adjusted, dirty barrel, inconsistent BBs. | Adjust hop-up, clean barrel, use high-quality, consistent BBs. |
8. Specifications
- Model: Lancer Tactical Gen 2 Airsoft M4 SPR Interceptor AEG
- Construction: Reinforced Polymer Body, Stock, and Handguard
- Gearbox: Full Metal Version 2 Gearbox
- Spring: M120 Spring
- Gears: 18:1 Gear Set
- Barrel: Polished 6.03mm Tightbore Barrel
- Motor: High and Standard-Torque Motor Options
- Bushings: 8mm Ball Bearing Bushings
- Firing Modes: Safe, Semi-Automatic, Full-Automatic
- Magazine Capacity: 300 Rounds
- Recommended BBs: 6mm 0.20g or heavier
- FPS Range: 380-399 FPS (with 0.20g BBs)
- Weight: Approximately 5.00 lbs
- Length: Approximately 31.25" - 34.5" (adjustable stock)

Image: The Lancer Tactical Airsoft M4 SPR Interceptor AEG with key dimensions indicated, showing a length of 34.5 inches and a weight of 5.00 lbs.
9. Warranty & Support
For warranty information and customer support, please refer to the documentation provided with your purchase or visit the official Lancer Tactical website. Keep your proof of purchase for any warranty claims. Do not attempt to disassemble or repair internal components beyond basic user maintenance, as this may void your warranty.
Contact Information: Please refer to the manufacturer's official website or the retailer where the product was purchased for the most up-to-date contact details for support and service.