1. Introduction
This manual provides detailed instructions for the setup, operation, and maintenance of your Eyoyo 2D Barcode Scanners. This package includes two distinct models: the compact Eyoyo Mini Pocket Bluetooth Scanner and the robust Eyoyo EY-041 Industrial Wireless Barcode Scanner. Please read this manual thoroughly to ensure proper use and to maximize the lifespan of your devices.
2. Setup
2.1 Eyoyo Mini Pocket Bluetooth Scanner
2.1.1 Charging the Scanner
Before initial use, fully charge the Mini Pocket Scanner. Connect the scanner to a USB power source using the provided charging cable. The battery level indicator lights will illuminate to show charging progress.
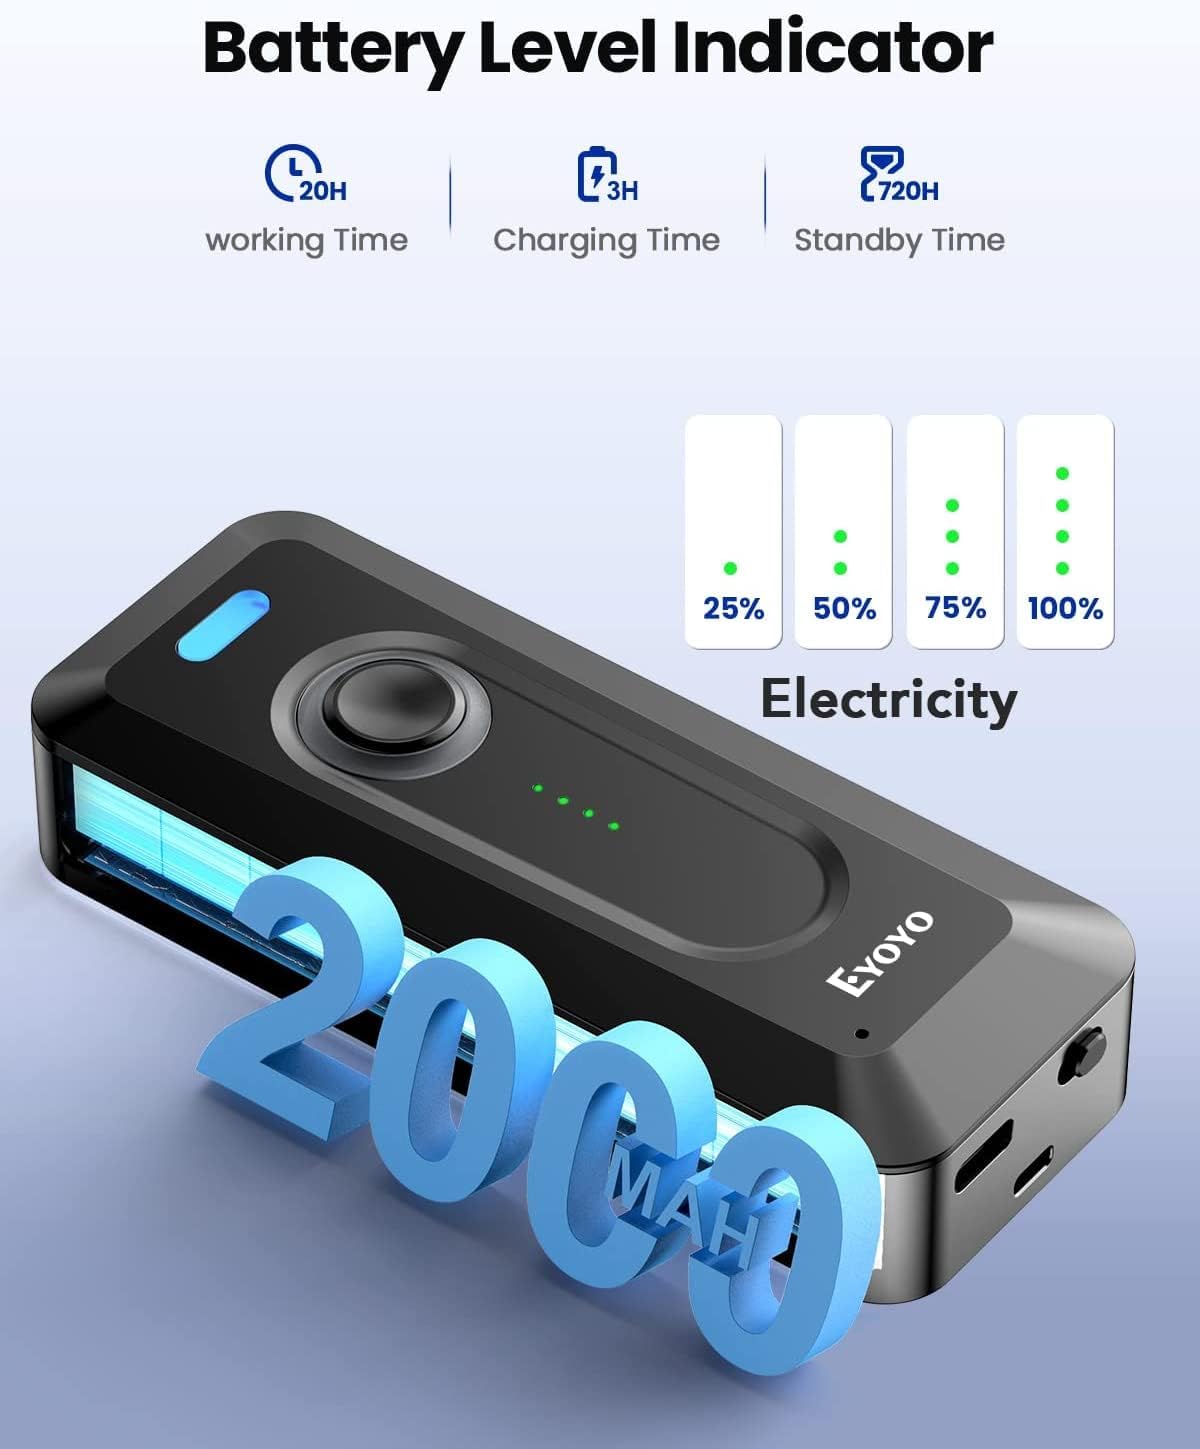
Image: The Mini Pocket Scanner features a battery level indicator. A full charge provides approximately 20 hours of working time, with a charging time of 3 hours and a standby time of 720 hours.
2.1.2 Bluetooth Pairing
- Power on the Mini Pocket Scanner.
- Activate Bluetooth on your host device (e.g., smartphone, tablet, computer).
- Search for available Bluetooth devices and select the Eyoyo scanner from the list.
- Once paired, the scanner will emit a confirmation beep.
2.1.3 Wearing the Scanner
The Mini Pocket Scanner is designed for portability and can be clipped to various locations for convenient access.

Image: The Mini Pocket Scanner can be easily clipped to a shirt pocket, belt, or pants for hands-free portability.
2.2 Eyoyo EY-041 Industrial Wireless Scanner
2.2.1 Charging the Scanner
Place the EY-041 scanner into its charging dock. Ensure the scanner is properly seated for charging to begin. The LED indicators on the scanner and/or base will show the charging status.

Image: The EY-041 scanner in its charging base. The LED indicators provide real-time battery status. A full charge provides approximately 13 hours of working time, with a charging time of 5 hours and a standby time of 720 hours.
2.2.2 Wireless Connection
The EY-041 scanner connects wirelessly via its dedicated base. Plug the base into your computer or host system. The scanner will automatically connect to the base when powered on and within range.
2.2.3 Hands-Free Operation
For high-throughput tasks, the EY-041 can be placed in its charging dock for continuous, hands-free scanning. This mode is ideal for checkout counters or assembly lines where items are presented to the scanner.
3. Operating Instructions
3.1 General Scanning Procedure
Both Eyoyo scanners are capable of reading both 1D and 2D barcodes from various surfaces, including paper labels and digital screens. To scan a barcode:
- Point the scanner's light beam at the barcode.
- Press the trigger button (for EY-041) or the central button (for Mini Pocket Scanner).
- Ensure the entire barcode is within the scanning area.
- A successful scan will be indicated by a beep and/or a green light.

Image: The Mini Pocket Scanner demonstrates its capability to scan various 1D and 2D barcodes.

Image: The EY-041 Industrial Scanner effectively scans both 1D and 2D barcodes, even those displayed on digital screens.
3.2 Continuous Scanning Function (EY-041)
The EY-041 Industrial Scanner supports a continuous scanning function. To enable this, refer to the specific configuration barcodes in the full user manual (not provided here). Once enabled, the scanner will continuously emit its scanning beam, allowing for rapid, hands-free scanning when placed in its base.
4. Maintenance
4.1 Cleaning
To maintain optimal performance, regularly clean the scanner's lens and exterior. Use a soft, dry, lint-free cloth. For stubborn dirt, a slightly damp cloth with mild soap can be used, ensuring no liquid enters the device. Do not use abrasive cleaners or solvents.
4.2 Battery Care
To prolong battery life, avoid fully discharging the scanner frequently. Store the scanner in a cool, dry place when not in use for extended periods. Recharge the battery periodically if stored for a long time.
4.3 Durability and Protection (EY-041)
The Eyoyo EY-041 Industrial Scanner is designed for rugged environments.
- IP65 Rating: This scanner is rated IP65 for dust and water resistance, making it suitable for dusty production floors and wet outdoor conditions. Note that the charging base is not waterproof.
- Anti-Drop Protection: The EY-041 is built to withstand drops from up to 3 meters (10 feet) onto concrete, reducing the risk of damage from accidental falls.

Image: The EY-041 Industrial Scanner is engineered for industrial-grade ruggedness, featuring 3M anti-drop and dust-proof capabilities.
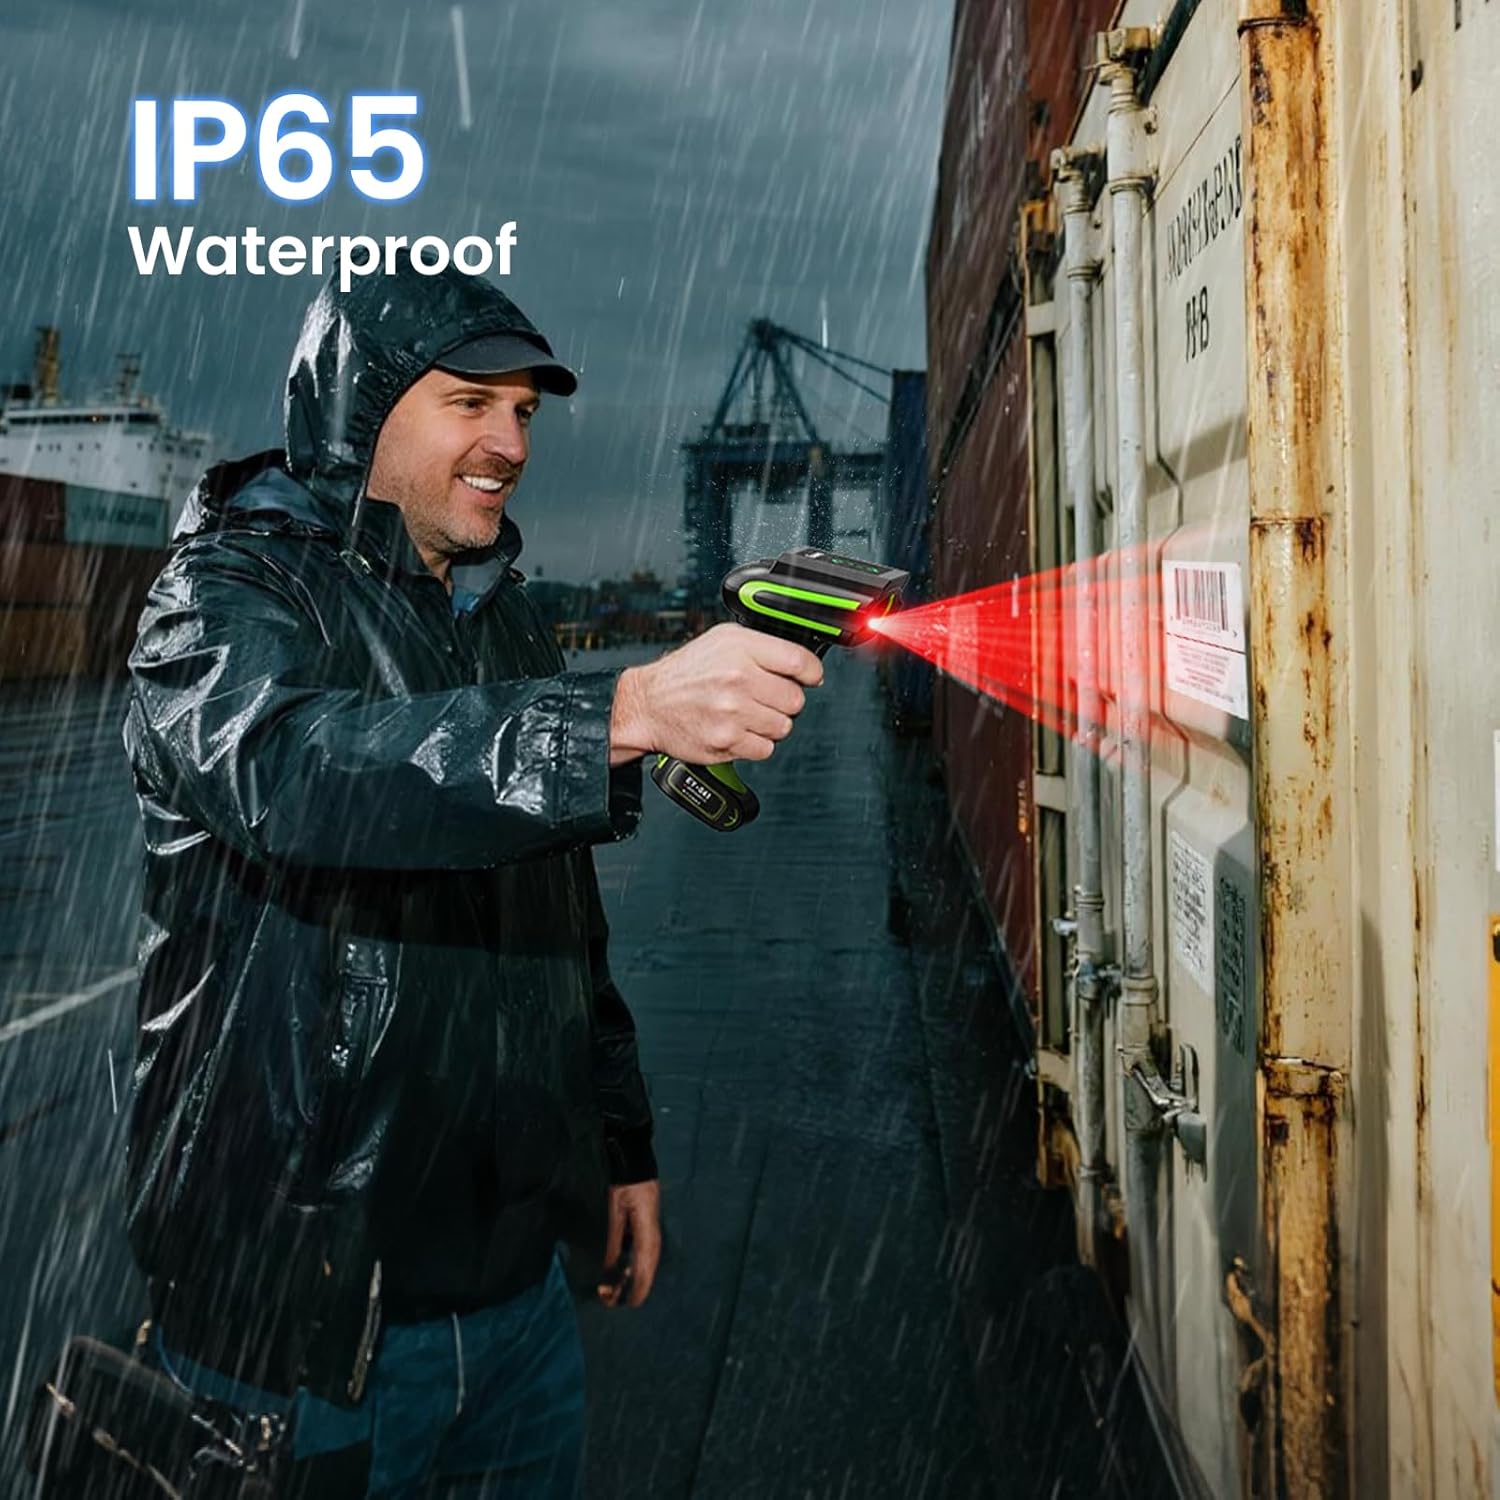
Image: The EY-041 Industrial Scanner is IP65 waterproof, allowing for reliable operation in wet conditions.
5. Troubleshooting
5.1 Scanner Not Responding
- Check battery level and charge if necessary.
- Ensure the scanner is powered on.
- For Bluetooth models, verify pairing with the host device.
- For wireless models, ensure the base is properly connected and the scanner is within range.
5.2 Unable to Scan Barcodes
- Ensure the barcode is clean and undamaged.
- Adjust the distance and angle between the scanner and the barcode.
- Verify that the barcode type is supported by the scanner (both models support 1D and 2D).
- Clean the scanner's lens if it appears dirty.
5.3 Data Transmission Issues
- Check the connection between the scanner and the host device (Bluetooth or wireless base).
- Ensure the host device's software or application is correctly configured to receive scanner input.
- Restart both the scanner and the host device.
6. Specifications
6.1 Eyoyo Mini Pocket Bluetooth Scanner
- Battery: Approximately 2000mAh
- Working Time: Up to 20 hours
- Charging Time: Approximately 3 hours
- Standby Time: Up to 720 hours
- Connectivity: Bluetooth
- Scanning Capability: 1D & 2D barcodes

Image: The compact design of the Eyoyo Mini Pocket Scanner.
6.2 Eyoyo EY-041 Industrial Wireless Scanner
- Battery: 2500mAh
- Working Time: Over 15 hours (approx. 13 hours with continuous use)
- Charging Time: Approximately 5 hours
- Standby Time: Up to 720 hours
- Connectivity: Wireless (via dedicated base)
- Scanning Capability: Superior 1D & 2D barcodes (even damaged/distorted)
- Durability: IP65 Waterproof & Dustproof, 3m/10ft Anti-Drop
7. Warranty Information
Eyoyo products typically come with a standard manufacturer's warranty. Please refer to the product packaging or the official Eyoyo website for specific warranty terms and conditions applicable to your region and purchase date. Keep your proof of purchase for warranty claims.
8. Customer Support
For technical assistance, troubleshooting beyond this manual, or warranty inquiries, please contact Eyoyo customer support through their official website or the retailer from whom you purchased the product. Have your product model and purchase details ready when contacting support.