
Introduction
Thank you for choosing the Canal Toys Photo Creator Mini’Cam Compact Digital Camera. This mini digital camera is designed for ease of use and portability, allowing you to capture everyday moments and customize them with built-in frames and color filters. This manual provides essential information for setting up, operating, and maintaining your camera.
What's in the Box
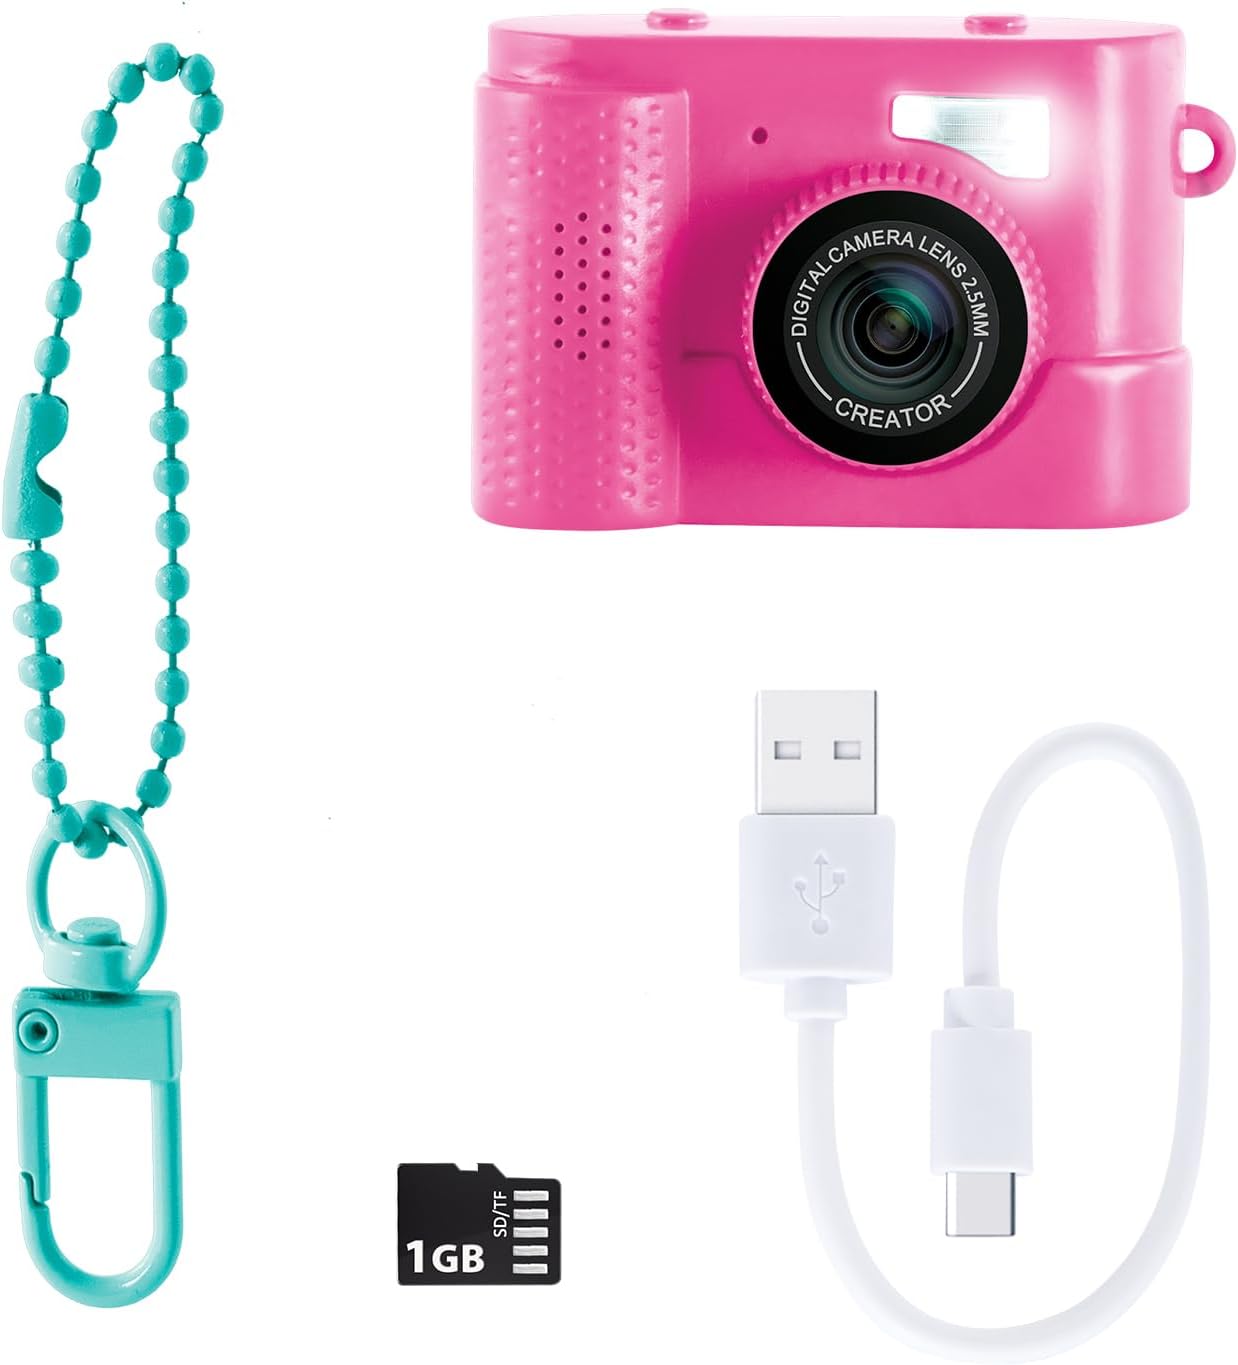
Please ensure all items are present in your package:
- 1 x Mini Digital Camera
- 1 x Keyring
- 1 x 1GB Micro SD Card
- 1 x USB-C Charging Cable
Product Overview
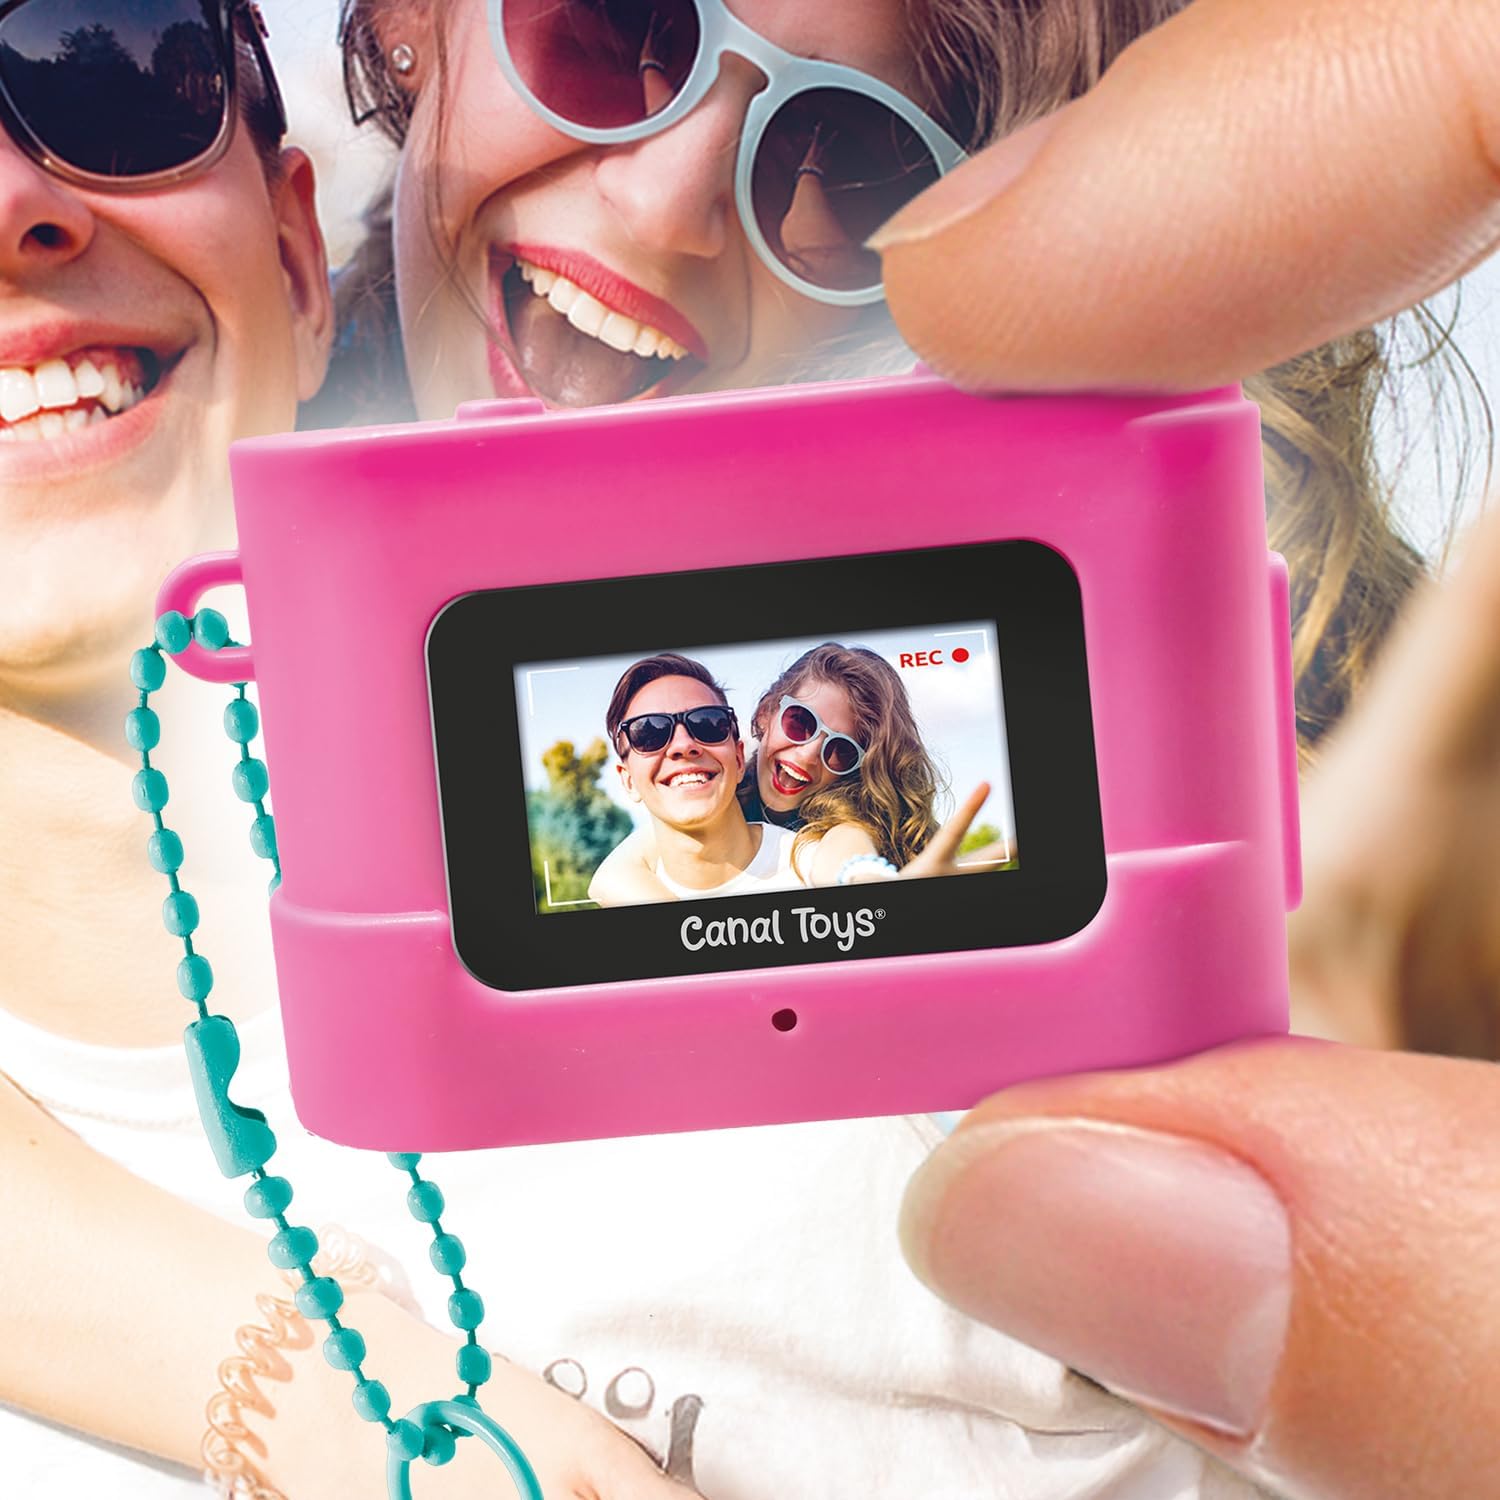
The Mini’Cam is designed for simplicity and fun. Its compact size makes it easy to carry, and its intuitive controls allow for quick photo and video capture.
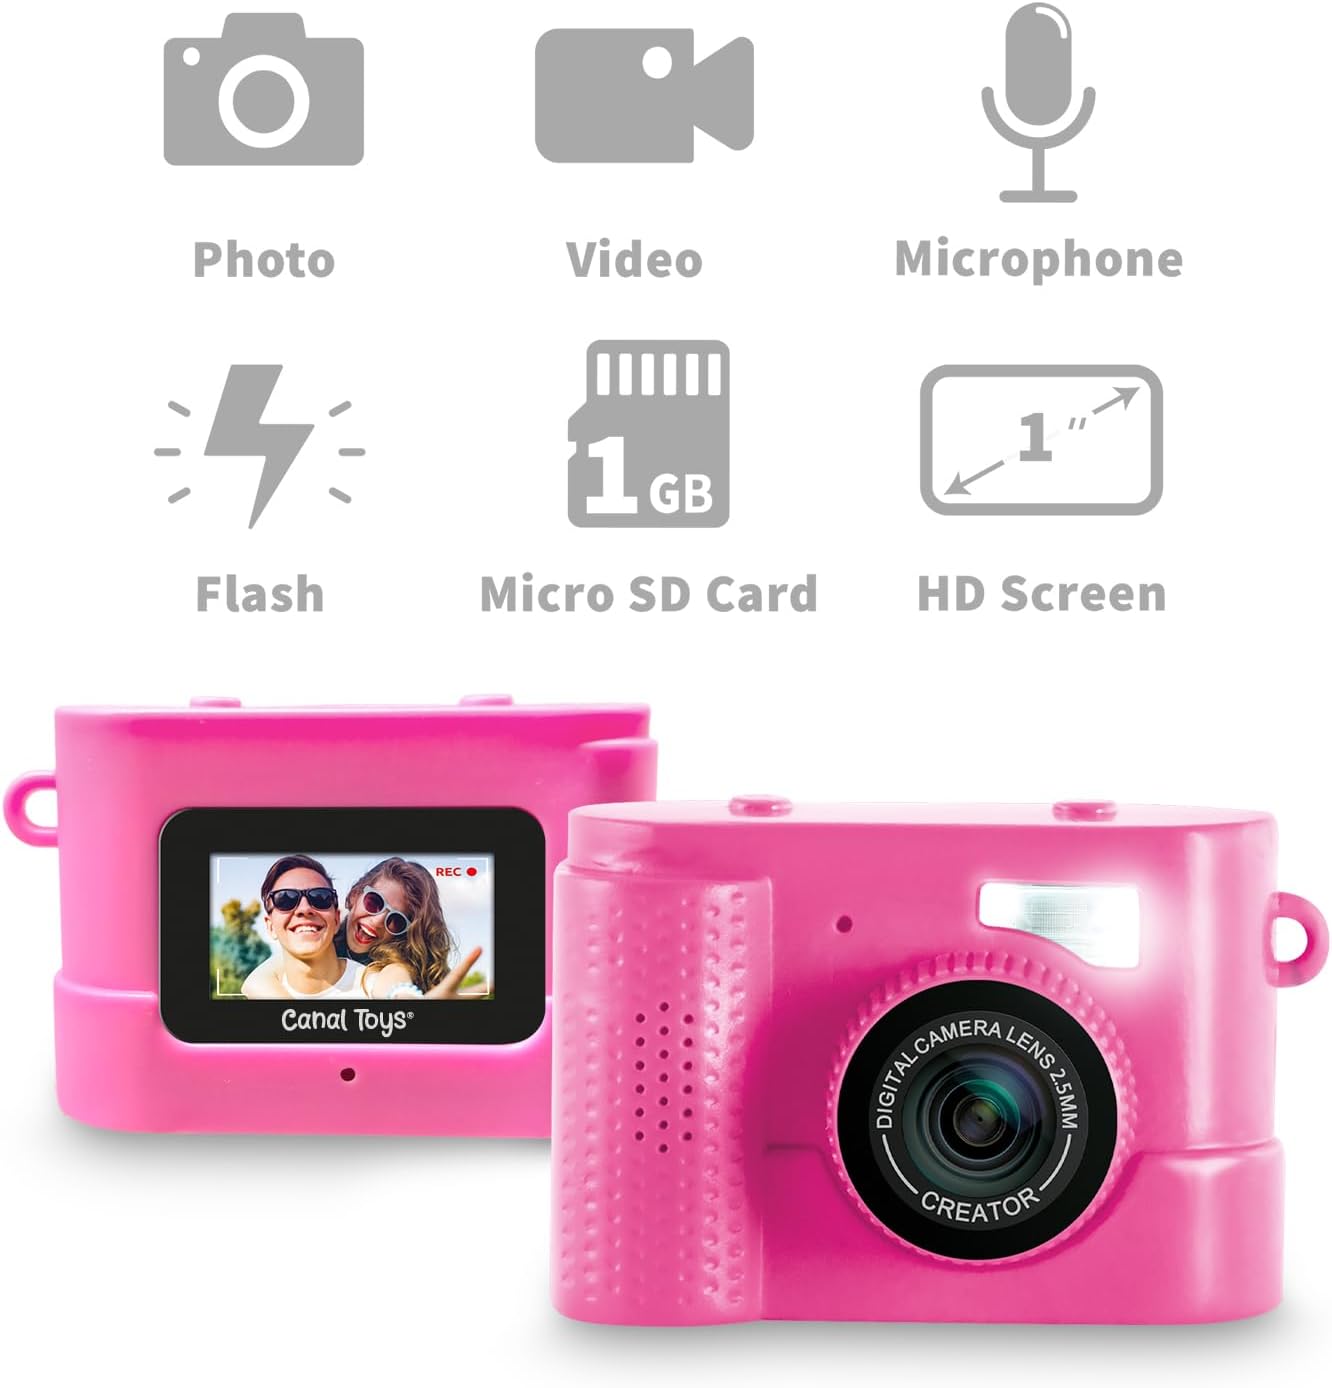
- Customizable Photos and Videos: Features 6 frames and 8 built-in color filters.
- Ultra-Compact Design: Easily fits into a pocket or attaches to a bag with the included keyring.
- Expandable Storage: Comes with a 1GB micro-SD card for storing creations.
- Easy Data Transfer: Transfer photos and videos to a computer, tablet, or other device via the included USB-C cable.
- Ergonomic and Intuitive: Designed for easy grip and simple operation.
Setup
1. Charging the Camera
Before first use, fully charge your Mini’Cam. Connect the included USB-C charging cable to the camera's charging port and the other end to a USB power source (e.g., computer, wall adapter). The charging indicator light will show the charging status.
2. Inserting the Micro-SD Card
The camera comes with a 1GB Micro-SD card. Locate the Micro-SD card slot on the side of the camera. Gently insert the card with the gold contacts facing down until it clicks into place. To remove, push the card in slightly until it springs out.

Operating Instructions
Power On/Off
- To power on: Press and hold the Power button (usually located on the top or side) until the screen illuminates.
- To power off: Press and hold the Power button again until the screen turns off.
Taking Photos
- Ensure the camera is in photo mode (indicated by an icon on the screen).
- Frame your shot using the screen.
- Press the Shutter button (usually a prominent button on top) to take a picture.
- To apply frames or filters: Navigate through the menu options using the directional buttons to select from 6 frames and 8 color filters before taking a photo.
Recording Videos
- Switch the camera to video recording mode (indicated by a video camera icon).
- Press the Shutter button to start recording. A red indicator or timer will appear on the screen.
- Press the Shutter button again to stop recording.
Viewing Media
Enter playback mode (usually indicated by a play icon). Use the directional buttons to scroll through your captured photos and videos. Press the Shutter button to play videos.
Transferring Files
Connect the camera to your computer using the USB-C cable. The camera should appear as a removable drive. You can then drag and drop files. Alternatively, remove the Micro-SD card and insert it into a compatible card reader connected to your device.
Maintenance
- Cleaning: Use a soft, dry cloth to clean the camera body. For the lens, use a specialized lens cleaning cloth. Avoid harsh chemicals.
- Storage: Store the camera in a cool, dry place away from direct sunlight and extreme temperatures.
- Battery Care: Charge the battery regularly, even if not in use, to maintain its lifespan. Avoid fully discharging the battery for extended periods.
Troubleshooting
- Camera not turning on: Ensure the battery is charged. Connect the camera to the charger and try again.
- Cannot take photos/videos: Check if the Micro-SD card is inserted correctly and has sufficient free space. The camera may also require a format of the SD card if it's new or has issues.
- Poor image quality: Ensure adequate lighting. Hold the camera steady while capturing. Clean the lens if it appears smudged.
- Files not transferring: Verify the USB-C cable connection. Try a different USB port or a different device. Ensure the Micro-SD card is properly inserted into the card reader.
Specifications
| Feature | Detail |
|---|---|
| Model Number | CLK061 |
| Product Dimensions | 5.31 x 1.18 x 7.87 inches |
| Item Weight | 2.39 ounces (0.07 Kilograms) |
| Battery | 1 Lithium Ion battery (included) |
| Included Components | 1 x Mini Digital Camera, 1 x Keyring, 1 x 1GB Micro SD Card, 1 x USB-C Charging Cable |
| Special Feature | Customizable Frames and Filters, Key Ring Attachment |
| UPC | 850068897896 |

Warranty and Support
This device is developed in France and complies with European toy standards. For any support or warranty inquiries, please refer to the contact information provided by Canal Toys at the point of purchase or visit the official Canal Toys website.


