
1. Introduction
The SZELAM Digital Projection Alarm Clock (Model: EN8836-C) is designed to provide convenient time display and alarm functions with an innovative projection feature. It includes a 7.3-inch mirror LED display, dual alarms with three modes, adjustable brightness and volume, and dual USB charging ports.
What's in the Box:
- 1 x SZELAM Digital Projection Alarm Clock
- 1 x Power Adapter
- 1 x USB Charging Cable
- 1 x Product Manual
2. Product Features
- 180° Rotating Projection: Projects time onto a wall or ceiling with 4 levels of brightness adjustment. Optimal projection distance is 2-3 meters (6.5-9.8 feet).
- 7.3-inch HD LED Mirror Display: Large digital fonts for clear visibility, featuring a unique acrylic mirror surface.
- 6-Level Display Brightness: Adjustable screen brightness, including a night mode for comfortable viewing without disturbing sleep.
- 5-Level Alarm Volume: Adjustable alarm volume from 55dB to 95dB to suit different sleep depths.
- Dual Alarms with 3 Modes: Set two independent alarms with options for everyday, weekdays, or weekends. Includes date display.
- Dual USB Charging Ports: Features one USB Type-C and one USB-A output port for charging external devices.
- Snooze Function: Easy-to-use snooze button on top, allowing for 5-60 minutes of additional sleep.
- 12/24 Hour Format: Option to select between 12-hour and 24-hour time display.
3. Setup
- Power Connection: Connect the provided USB charging cable to the clock's input port and plug the power adapter into a standard wall outlet. The clock will power on and display the time.
- Initial Time Setting: The clock may display a default time. Proceed to the "Operating Instructions" section to set the correct time and date.
- Battery Backup: The clock includes an internal battery for memory function, ensuring time settings are retained during power outages. This battery does not power the display.
4. Operating Instructions
4.1. Time and Date Setting
To set the current time and date:
- Press and hold the "Time-Set" button. The hour digits will begin to flash.
- Use the "+" or "-" buttons to adjust the hour.
- Press "Time-Set" again to move to minute adjustment, then use "+" or "-" to set minutes.
- Continue pressing "Time-Set" to cycle through year, month, and day settings, adjusting each with "+" or "-".
- After setting the day, press "Time-Set" one last time to confirm and exit the setting mode.

Figure 1: Rear view of the clock with control buttons and ports.
Video 1: Demonstrates how to set the time and date on the alarm clock.
4.2. Alarm Setting (Dual Alarms)
The clock supports two independent alarms (AL1 and AL2) with three modes:
- Every Day: Alarm sounds daily.
- Weekdays: Alarm sounds Monday to Friday.
- Weekends: Alarm sounds Saturday and Sunday.
To set an alarm:
- Press and hold the "AL1-Set" button (for Alarm 1) or "AL2-Set" button (for Alarm 2). The hour digits will flash.
- Use the "+" or "-" buttons to adjust the alarm hour.
- Press the respective "AL-Set" button again to move to minute adjustment, then use "+" or "-" to set minutes.
- Press the "AL-Set" button again to select the alarm mode (Every Day, Weekdays, Weekends) using "+" or "-".
- Press the "AL-Set" button one last time to confirm and exit.
- To activate/deactivate an alarm, short press the "AL1-Set" or "AL2-Set" button. An alarm icon will appear/disappear on the display.

Figure 2: Illustration of dual alarm settings with different modes.
Video 2: Demonstrates setting dual alarms and their modes.
4.3. Projection Function
The clock can project the time onto a wall or ceiling.
- Activate/Deactivate Projection: Press the projection button (often marked with a projector icon) to turn the projection on or off.
- Adjust Projection Angle: The projector lens can be rotated 180° to direct the time display to your desired location.
- Adjust Projection Brightness: Short press the projection button to cycle through 4 levels of projection brightness (L0-L3).
- Focus Adjustment: Rotate the focus ring on the projector lens to sharpen the projected image.

Figure 3: Projection image flip and brightness levels.
Video 3: Demonstrates 180° projection rotation and brightness adjustment.
4.4. Display Brightness Adjustment
Adjust the main display brightness to your preference:
- Short press the brightness button (often marked with a sun icon) to cycle through 6 levels of display brightness.
- The lowest setting is ideal for night mode to avoid disturbing sleep.

Figure 4: 5-level display brightness adjustment.
Video 4: Demonstrates 5-level brightness adjustment for the main display.
4.5. Alarm Volume Adjustment
Adjust the alarm sound level:
- Press the "Volume/Dst" button to cycle through 5 levels of alarm volume (55dB, 65dB, 75dB, 85dB, 95dB).
- Select a volume appropriate for your needs.
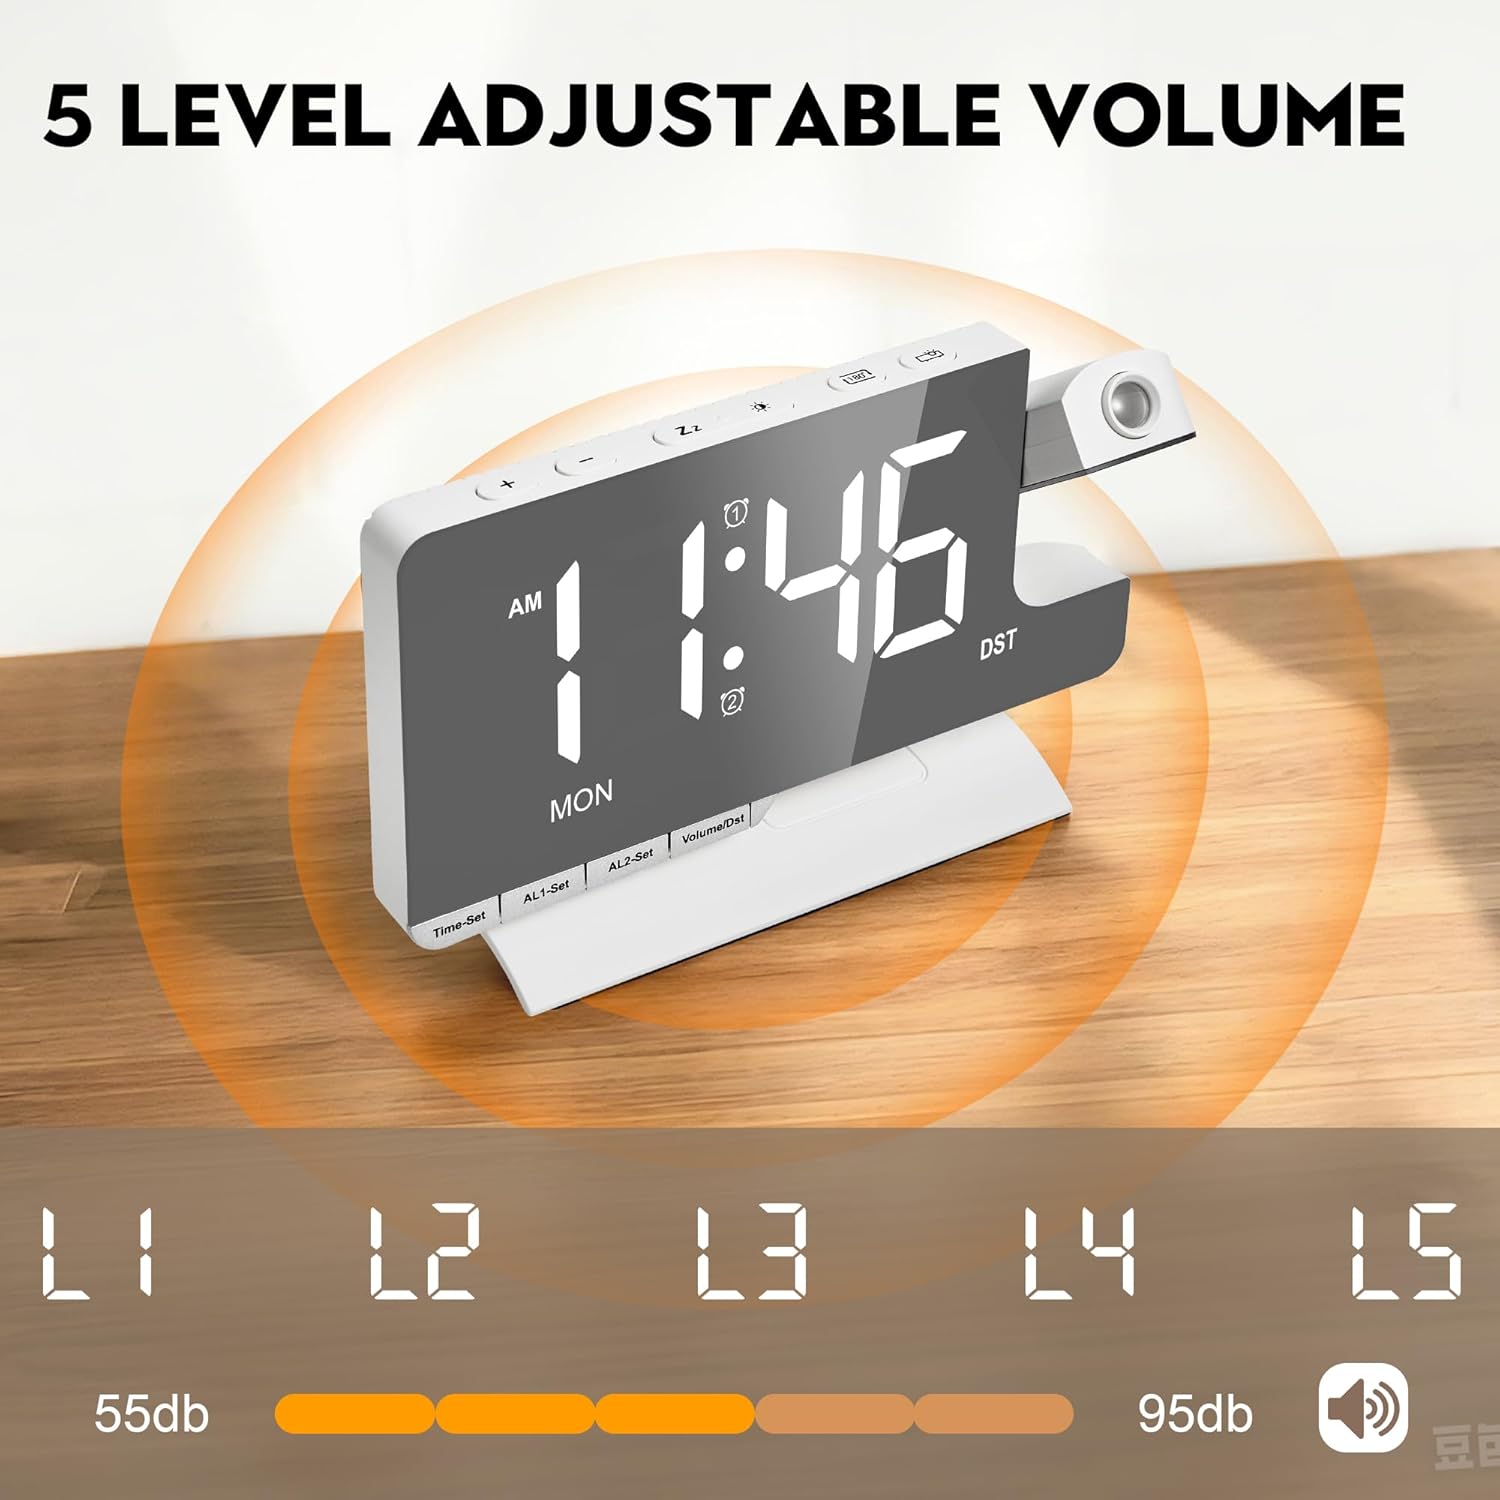
Figure 5: 5-level adjustable alarm volume.
Video 5: Demonstrates adjusting the alarm volume settings.
4.6. Dual USB Charging Ports
The clock features a USB Type-C and a USB-A output port on the back for charging external devices like smartphones or earbuds.

Figure 6: USB A and USB C charging ports.
4.7. Snooze Function
When an alarm sounds, press the large "Snooze" button on top of the clock to temporarily silence the alarm. The snooze duration can be set from 5 to 60 minutes.
5. Specifications
| Feature | Detail |
|---|---|
| Brand | SZELAM |
| Model Number | EN8836-C |
| Display Type | LED |
| Screen Size | 7.3 inches (18.5 cm) |
| Product Dimensions | 6.61"W x 3.1"H |
| Power Source | USB Cable (Corded) |
| Material Type | Plastic |
| Projection | 180° Rotatable, 4 Brightness Levels |
| Display Brightness | 6 Levels Adjustable |
| Alarm Volume | 5 Levels (55-95dB) |
| Alarms | Dual Alarms, 3 Modes (Every Day, Weekdays, Weekends) |
| Charging Ports | 1x USB Type-C, 1x USB-A Output |
| Snooze Duration | 5-60 minutes |
| Time Format | 12H/24H Selectable |
6. Troubleshooting
- Display is dim or off: Ensure the power adapter is securely connected. Check the display brightness setting and adjust if necessary.
- Projection is unclear: Adjust the focus ring on the projector lens. Ensure the projection surface is within the optimal distance (2-3 meters). Check projection brightness.
- Alarm not sounding: Verify that the alarm is activated (alarm icon visible on display) and the volume is not set to the lowest level. Check alarm time and mode settings.
- Time is incorrect after power outage: The internal battery should maintain time settings. If not, reset the time and date manually. Ensure the clock is consistently powered for optimal performance.
- USB charging not working: Ensure the clock is powered on. Check the USB cable and the device being charged. Some devices may require specific charging protocols not fully supported by the clock's ports.
7. Maintenance
- Clean the clock's display and body with a soft, dry cloth. Avoid abrasive cleaners or solvents.
- Keep the clock away from direct sunlight, extreme temperatures, and high humidity.
- Ensure proper ventilation around the clock to prevent overheating.
8. Warranty and Support
For warranty information or technical support, please refer to the contact details provided with your purchase or visit the official SZELAM website. Keep your purchase receipt for warranty claims.