1. Introduction
This manual provides detailed instructions for the installation, operation, and maintenance of your SIXTOP Motorcycle CarPlay Screen. This device integrates wireless Apple CarPlay and Android Auto, a 6-inch waterproof touch screen, a Tire Pressure Monitoring System (TPMS), GPS navigation, dual Bluetooth, mirror link, EQ settings, and Siri voice control to enhance your riding experience.
Please read this manual thoroughly before using the product to ensure proper function and safety.

Image: The SIXTOP Motorcycle CarPlay Screen shown with its main features and included accessories like TPMS sensors and mounting hardware.
2. Setup and Installation
2.1 Package Contents
Verify that all items are present in the package:
- 1 x Motorcycle Screen
- 1 x Power Cable
- 1 x Rolling Tape
- 1 x User Manual
- 1 x Direct Package (includes various accessories)
- 2 x Tire Pressure Sensors (for TPMS model)

Image: Diagram illustrating the package contents and dimensions of the main unit and accessories.
2.2 Mounting the Device
The device comes with a bracket kit for mounting on your motorcycle's handle. Choose the appropriate mounting method for your motorcycle type.
- Attach the chosen mounting bracket to the back of the CarPlay screen.
- Securely fasten the bracket to your motorcycle's handlebar using the provided tools and accessories. Ensure the screen is positioned for optimal visibility and accessibility without obstructing your view or controls.

Image: Examples of the CarPlay screen mounted on different motorcycle handlebars, showing various accessory installation effects.
2.3 Wiring Instructions
Connect the power cable to your motorcycle's electrical system. It is recommended to connect to a switched power source so the unit powers on and off with the ignition.
- Red Wire (Power Wire): Connect to the motorcycle battery's positive terminal (or a switched ACC power supply).
- Black Wire (Ground Wire): Connect to the motorcycle battery's negative terminal.
- Ensure all connections are secure and waterproof.

Image: A diagram illustrating how to connect the power and ground wires to a motorcycle battery and the CarPlay screen.
2.4 TPMS Sensor Installation (if applicable)
For models equipped with TPMS, install the tire pressure sensors on your motorcycle's tire valves.
- Remove the original valve caps from your tires.
- Screw on the provided TPMS sensors onto the tire valves. Ensure they are tightened securely to prevent air leakage.
- The system will automatically detect the sensors once the device is powered on and the motorcycle is in motion.

Image: Close-up of the TPMS sensors and a visual representation of the tire pressure and temperature display on the CarPlay screen.
3. Operation
3.1 Power On/Off
The device will power on automatically when the motorcycle ignition is turned on (if wired to a switched power source). To manually power off, press and hold the power button (location may vary, refer to device diagram if available).
3.2 Wireless CarPlay & Android Auto Connection
Connect your smartphone wirelessly to access navigation, music, calls, and other apps.
For iOS (Apple CarPlay):
- Turn on Wi-Fi and Bluetooth on your iPhone.
- On the CarPlay screen, navigate to the Bluetooth settings and pair with your iPhone (device name typically starts with "Car-BT-xxxx"). Allow the connection.
- CarPlay should activate automatically within 10-20 seconds.

Image: A four-step visual guide demonstrating how to connect an iOS smartphone to the CarPlay screen via Wi-Fi and Bluetooth.
For Android (Android Auto):
- Turn on Wi-Fi and Bluetooth on your Android smartphone. (Android OS version 11.0 or higher is recommended).
- On the CarPlay screen, navigate to the Bluetooth settings and pair with your Android phone (device name typically starts with "Car-BT-xxxx"). Allow the connection.
- Android Auto should activate automatically within 10-20 seconds.

Image: A four-step visual guide demonstrating how to connect an Android smartphone to the Android Auto screen via Wi-Fi and Bluetooth.
3.3 Dual Bluetooth Connectivity
The device supports dual Bluetooth connections, allowing you to connect your smartphone and a Bluetooth headset/helmet simultaneously.
- Ensure your Bluetooth helmet or headset is turned on and in pairing mode.
- Connect your smartphone to the CarPlay screen as described above.
- Then, connect your Bluetooth helmet or headset to the CarPlay screen via its Bluetooth settings.
- Note: Do not connect your mobile phone directly to the Bluetooth helmet or earphone, as this may interfere with the pairing process with the CarPlay screen.

Image: Diagram showing the CarPlay screen connecting to both a smartphone (for CarPlay/Android Auto) and a Bluetooth helmet or headset.
3.4 Voice Control (Siri/Google Assistant)
Once connected to CarPlay or Android Auto, you can use voice commands for navigation, calls, and music playback.
- Activate Siri (for Apple CarPlay) or Google Assistant (for Android Auto) by saying "Hey Siri" or "Hey Google," or by pressing the voice command button on the screen if available.
- Examples: "Navigate to [address]", "Call [contact name]", "Play [song name]".
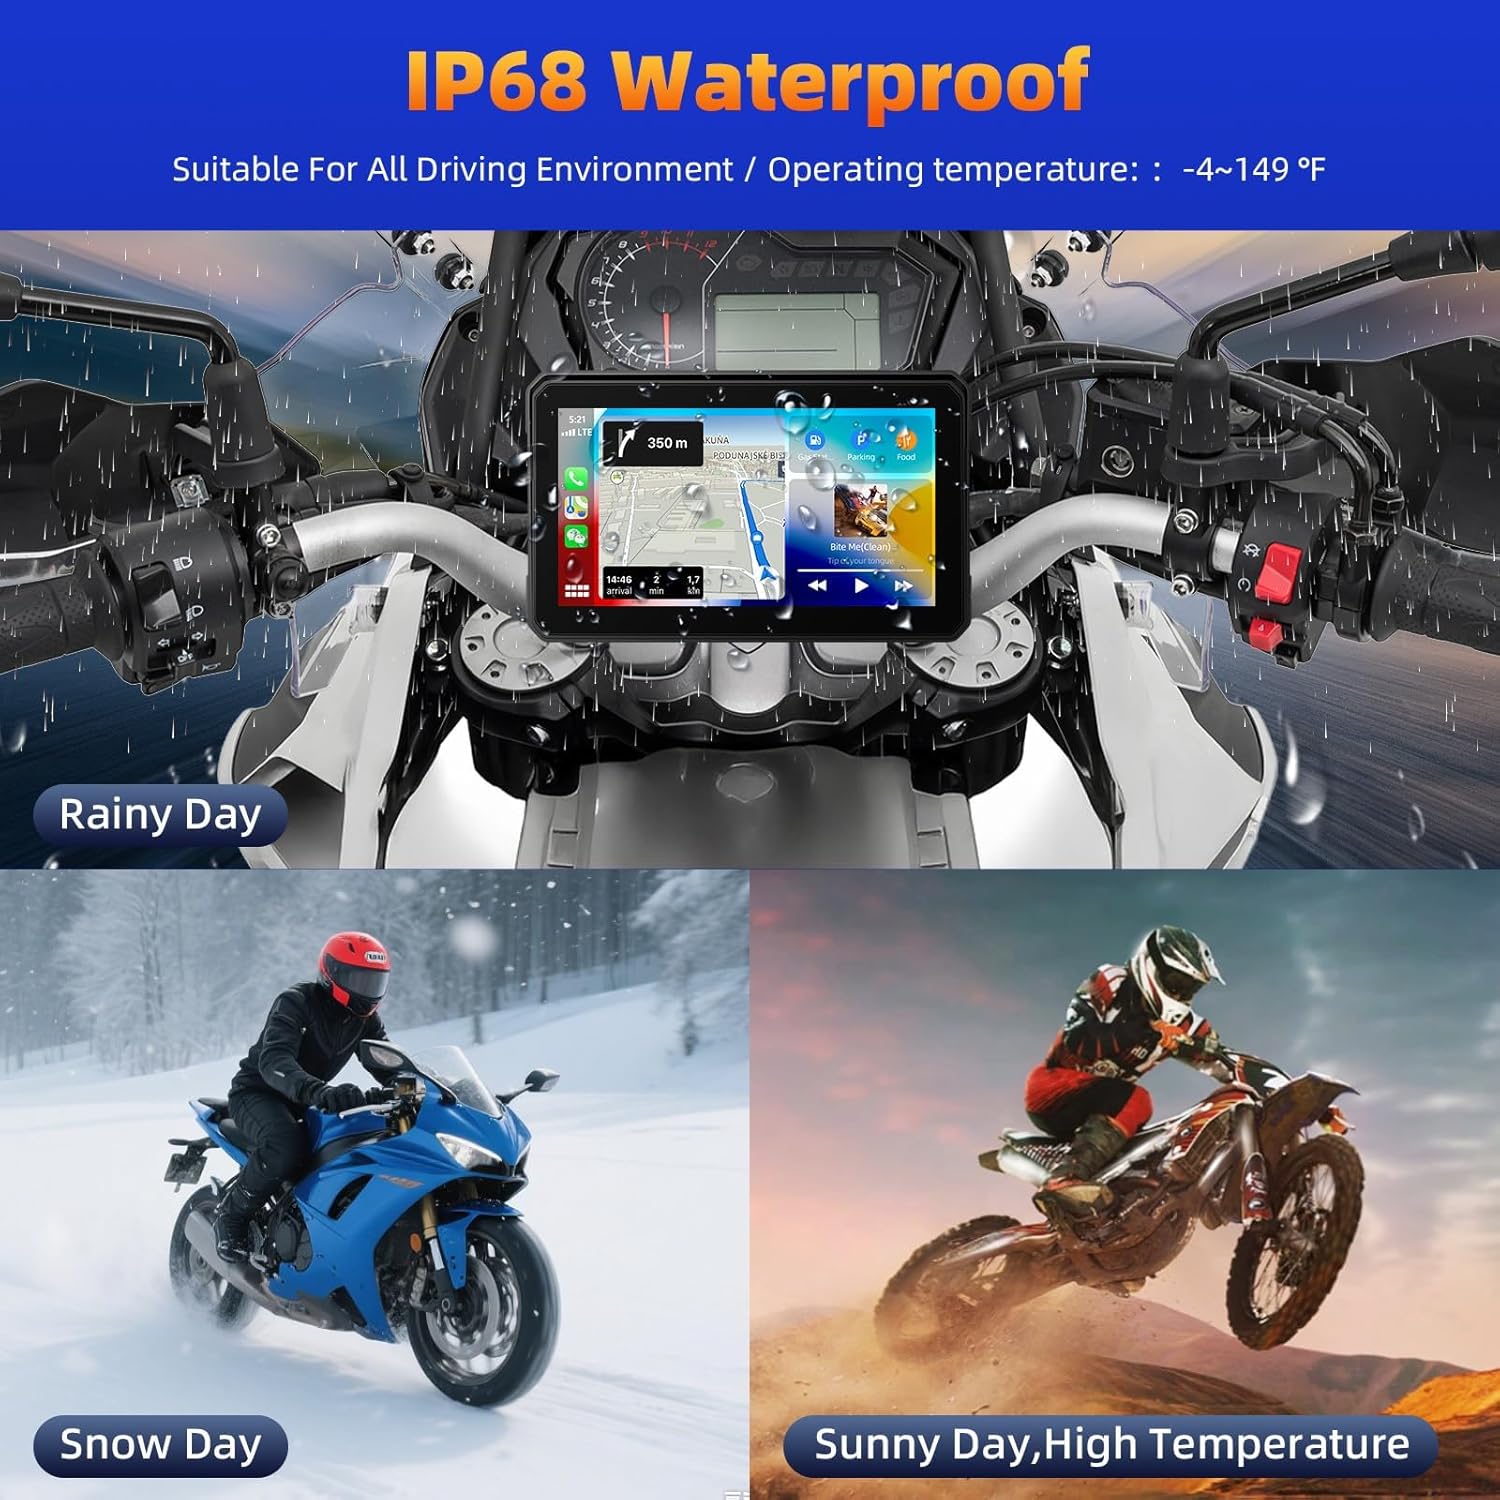
Image: The CarPlay screen showing music playback and icons representing voice control, navigation, and call functions.
3.5 Mirror Link Function
The Mirror Link function allows you to display your smartphone's screen directly onto the CarPlay unit.
- Ensure your phone's Wi-Fi is on.
- On the CarPlay screen, select the "Mirror Link" option.
- Follow the on-screen instructions to connect your phone. This typically involves connecting to a specific Wi-Fi network broadcast by the CarPlay unit (e.g., "CARLINK-XXXX") with a default password (e.g., "12345678") and then initiating screen mirroring from your phone's settings.
- For optimal viewing, ensure your phone's screen rotation lock is off, and rotate your phone horizontally if necessary.

Image: Visual steps for connecting an iPhone using Airplay (Mirror Link) to the CarPlay screen, including Wi-Fi connection and screen casting.
3.6 GPS Navigation
Once your smartphone is connected via CarPlay or Android Auto, navigation apps (e.g., Apple Maps, Google Maps, Waze) will be accessible on the screen.
- Select your preferred navigation app from the main interface.
- Enter your destination using the touch screen or voice control.
- The screen provides a clear, high-resolution display with a wide viewing angle, suitable for motorcycle use.

Image: The CarPlay screen displaying a GPS navigation map, highlighting features like 1000 Nit brightness, curved screen, high resolution, and full viewing angle.
3.7 Tire Pressure Monitoring System (TPMS)
The TPMS feature provides real-time tire pressure and temperature readings for enhanced safety.
- Access the TPMS interface from the main menu.
- Monitor the pressure and temperature for both front and rear tires.
- The system will alert you to any abnormal readings.
Image: The CarPlay screen showing the TPMS interface with real-time tire pressure and temperature data.
3.8 EQ Settings
Adjust the audio equalizer settings to customize your music listening experience.
- Navigate to the EQ settings in the audio menu.
- Choose from preset equalizer modes or manually adjust frequency bands.
4. Maintenance
4.1 Cleaning the Screen
To clean the 6-inch HD touch screen:
- Use a soft, lint-free cloth.
- For stubborn marks, lightly dampen the cloth with water or a screen-safe cleaning solution.
- Avoid abrasive materials or harsh chemicals that could damage the screen surface.
4.2 Waterproofing
The device features an IP68 waterproof rating, making it suitable for various driving conditions, including rain and snow.
- Ensure all cable connections are properly sealed to maintain waterproofing.
- Avoid submerging the device in water for extended periods.

Image: The CarPlay screen shown on a motorcycle in rainy, snowy, and sunny conditions, highlighting its IP68 waterproof rating and suitability for all driving environments.
5. Troubleshooting
5.1 Connectivity Issues
- Slow Connection/Pairing:
- Ensure both Wi-Fi and Bluetooth are enabled on your smartphone.
- Verify that your Bluetooth helmet/headset is paired directly to the CarPlay screen, not your phone.
- Restart both your smartphone and the CarPlay screen.
- If using Mirror Link, ensure you are connected to the CarPlay unit's Wi-Fi network (e.g., "CARLINK-XXXX") using the default password (e.g., "12345678").
- Android Auto/CarPlay Not Launching:
- Confirm your smartphone's operating system meets the minimum requirements (iOS 13+ for CarPlay, Android 11.0+ for Android Auto).
- Check for any pending updates for CarPlay/Android Auto apps on your phone.
5.2 Touch Screen Responsiveness
- If the touch screen is unresponsive or requires excessive force, ensure the screen is clean and free of debris.
- If wearing gloves, some gloves may reduce touch sensitivity. Consider gloves designed for touch screens.
5.3 Power Issues
- If the device does not power on, check the wiring connections to the motorcycle battery and ensure the fuse in the power cable is intact.
- Verify that the motorcycle's ignition is on if connected to a switched power source.
6. Specifications
| Feature | Detail |
|---|---|
| Brand | SIXTOP |
| Model | 6 Inch with TPMS |
| Screen Size | 6 Inch |
| Resolution | 1440*720 (HD) |
| Waterproof Rating | IP68 |
| Connectivity Technology | Bluetooth, Wi-Fi (for CarPlay/Android Auto) |
| Special Features | Wireless CarPlay, Wireless Android Auto, TPMS, GPS Navigation Support, Dual Bluetooth, Mirror Link, Voice Control (Siri/Google Assistant), EQ |
| Compatible Devices | Smartphones (iOS 13+ for CarPlay, Android 11.0+ for Android Auto) |
| Item Weight | 1.54 pounds |
| Package Dimensions | 8.66 x 5.51 x 4.72 inches |
7. Warranty and Customer Support
SIXTOP provides comprehensive customer support for your product:
- Money-Back Guarantee: 30-day money-back policy.
- Replacement Service: 12-months replacement service.
- Expert Support: 24-hour expert support team available for assistance with installation, functionality, or any other concerns.
- Contact: For support, please contact SIXTOP customer service at SIXTOP123@163.com.

Image: A customer service representative, symbolizing the available online support.


