
Introduction
Thank you for choosing the Foxtop Digital and Analog Learning Clock. This clock is designed to assist children in learning how to tell time effectively, combining a traditional analog display with a clear digital readout. Its silent, non-ticking movement ensures a peaceful environment, making it suitable for various settings such as kids' rooms, playrooms, nurseries, classrooms, and home offices.
This manual provides comprehensive instructions for the setup, operation, and maintenance of your new clock. Please read it thoroughly before use to ensure optimal performance and longevity of the product.
Product Overview
The Foxtop Learning Clock features a 12-inch diameter with a clear, easy-to-read face. It incorporates both analog and digital time displays, along with additional useful information.
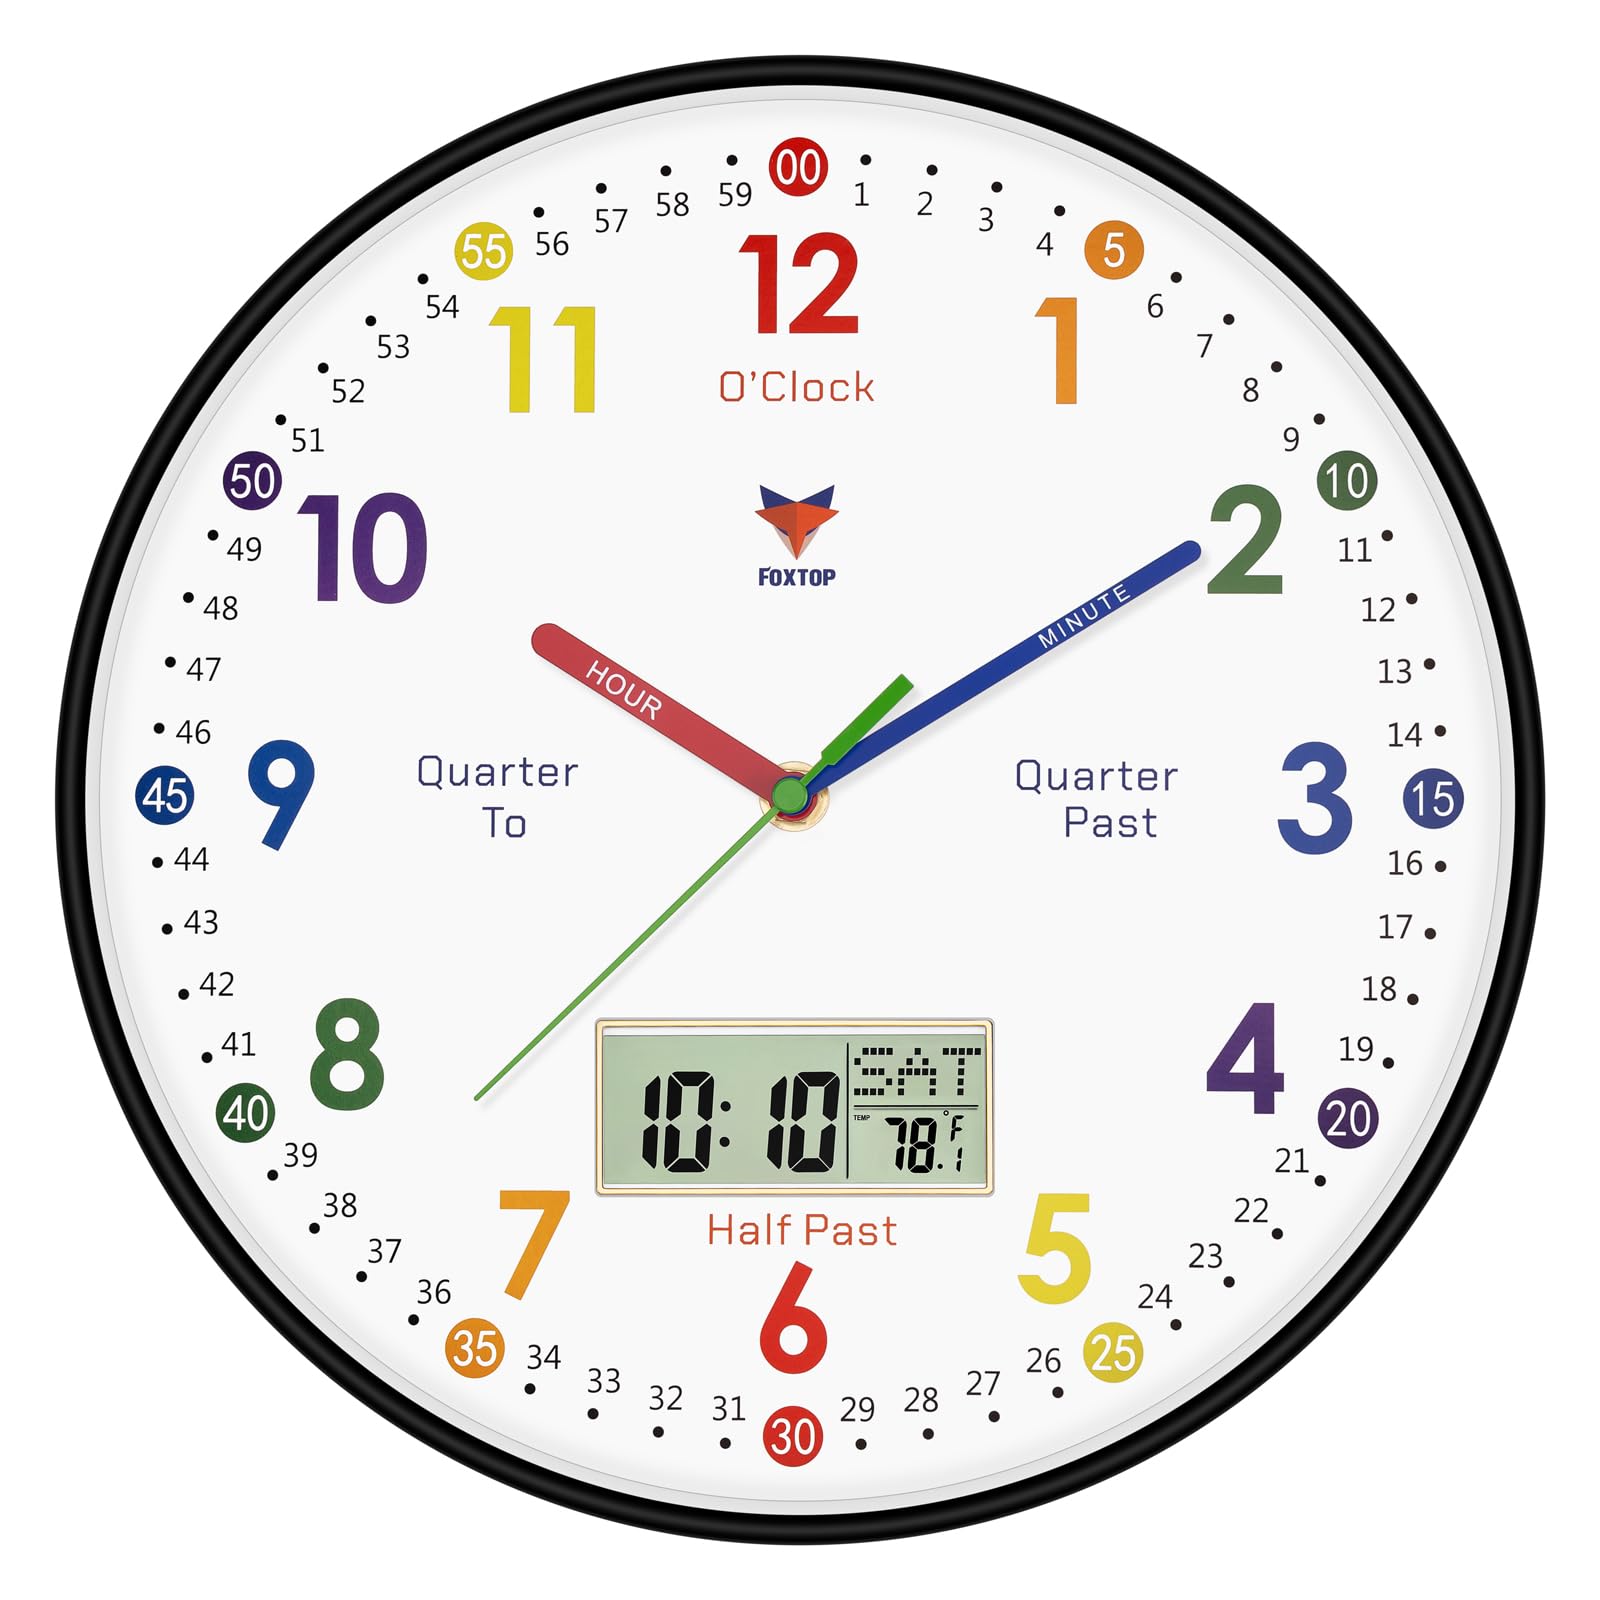
Figure 1: Front view of the Foxtop Digital and Analog Learning Clock.
Key Features:
- Educational Design: The clock face includes helpful words like "hour," "minute," "o’clock," "quarter past," "half past," and "quarter to" to aid in time-telling education.
- Colorful Numbers: Large, colorful numbers attract children's attention and make learning engaging. All 60 minutes are clearly marked and colored.
- Silent Movement: Equipped with a precise Quartz Sweep Movement, ensuring accurate timekeeping without any ticking noise.
- LCD Digital Display: Shows the current time, day of the week, and indoor temperature (switchable between Fahrenheit and Celsius).
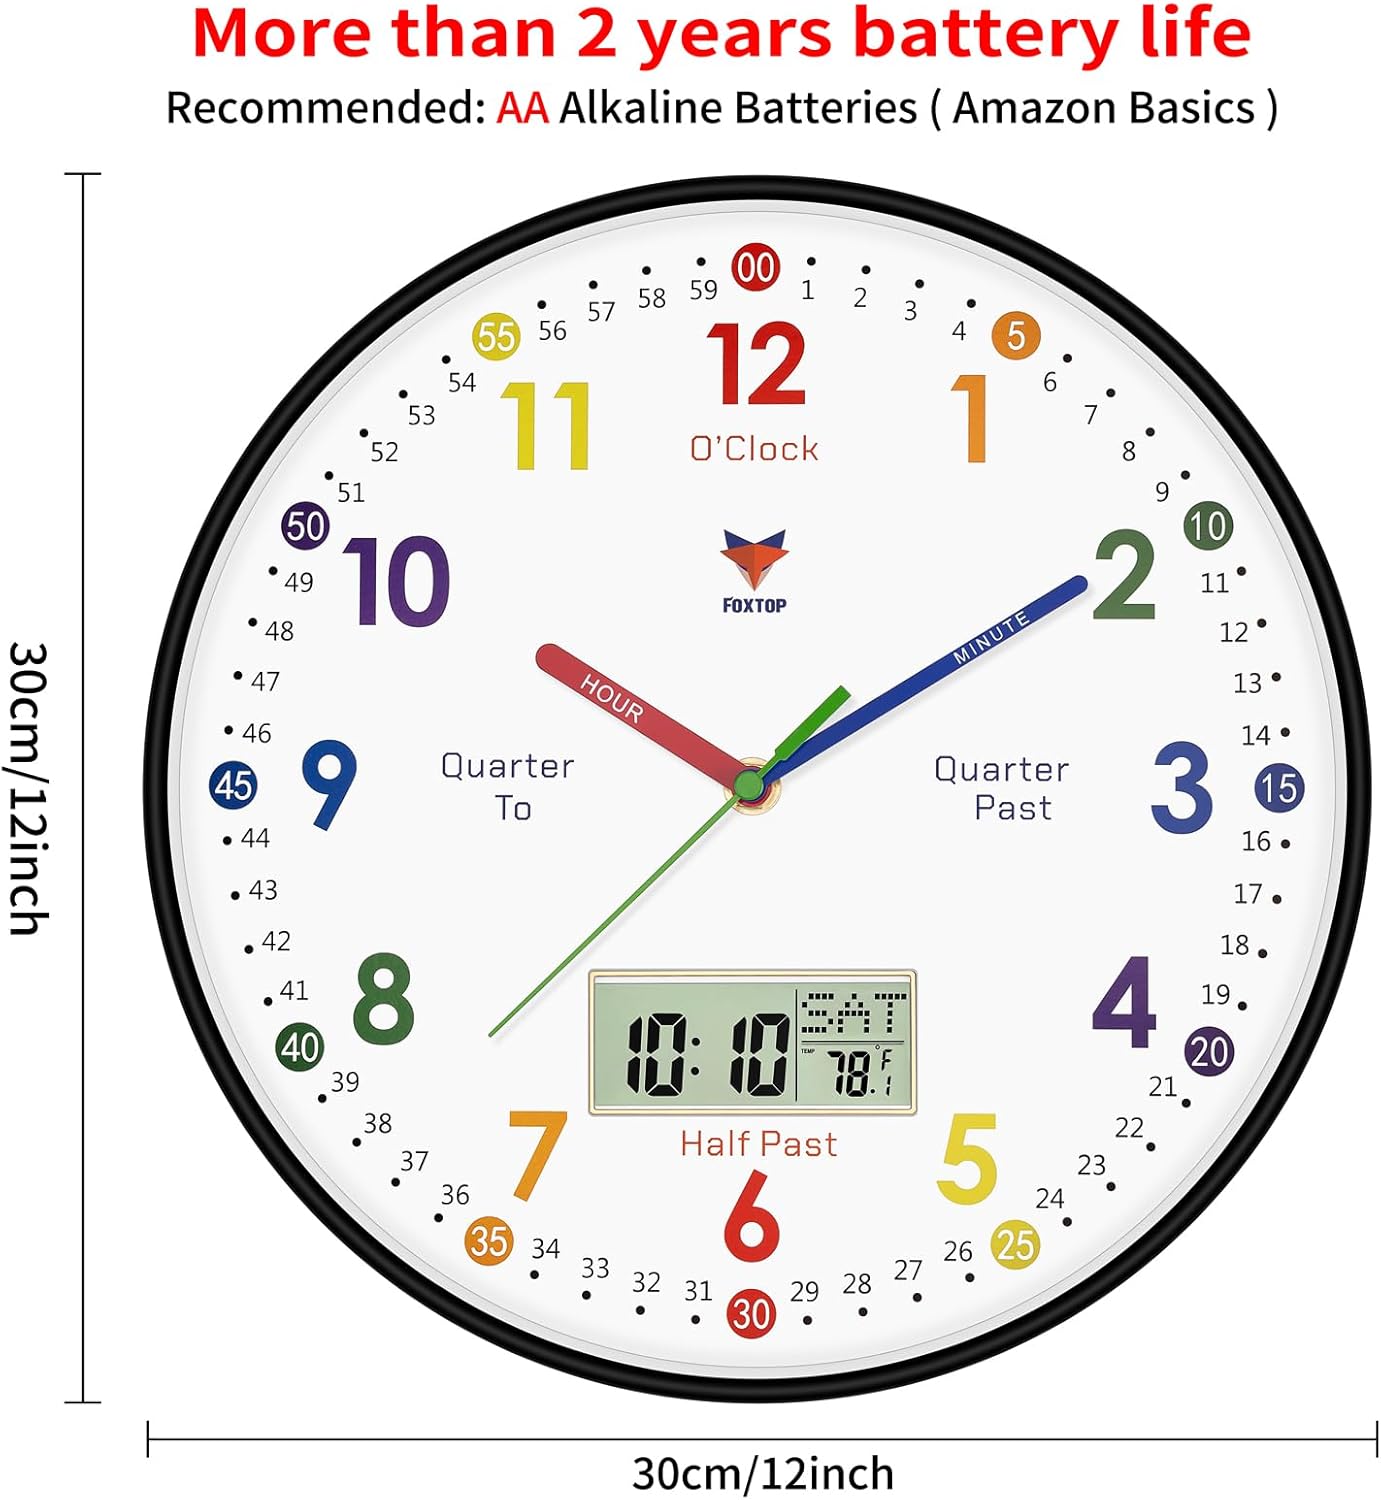
Figure 2: Close-up of the clock face highlighting the colorful numbers and minute markers.

Figure 3: Detailed view of the integrated LCD digital display.
Video 1: An overview of the Foxtop Analog and Digital Kids Black Wall Clock, demonstrating its features and design.
Setup Instructions
1. Battery Installation
The clock requires two batteries: one AA battery for the clock movement and one AAA battery for the LCD digital display. Batteries are not included.
- Locate the battery compartments on the back of the clock.
- Insert one AA battery into the compartment for the clock movement, ensuring correct polarity (+/-).
- Insert one AAA battery into the compartment for the LCD digital display, ensuring correct polarity (+/-).

Figure 4: Rear view of the clock, indicating the battery slots and control buttons.
2. Setting the Time and Date
After installing batteries, set the analog and digital times.
- Analog Time: Use the small wheel on the clock movement mechanism (located in the AA battery compartment area) to adjust the hour and minute hands to the correct time.
- Digital Time/Date: Use the buttons located near the AAA battery slot to set the digital display. Refer to the diagram on the back of the clock for button functions (SET, UP, DOWN, RESET).
3. Mounting the Clock
The clock features a wide slot on the back for easy hanging.
- Choose a suitable location on a wall.
- Securely install a nail or hook into the wall.
- Hang the clock using the wide slot on the back, ensuring it is stable and level.
Operating Instructions
Reading the Analog Display
The analog display is designed to simplify time-telling for children:
- The red hand indicates the hour.
- The blue hand indicates the minute.
- The green hand indicates the second.
- The clock face includes labels for "Quarter To," "Half Past," and "Quarter Past" to help children understand time intervals.
- Individual minute markers are present around the entire dial, with 5-minute increments highlighted by larger dots and corresponding numbers (e.g., 00, 05, 10, etc.).
Using the LCD Digital Display
The LCD display provides digital time, day of the week, and temperature.
- Time Display: Shows the current time in a digital format.
- Day of the Week: Indicates the current day.
- Temperature Display: Shows the indoor temperature.
Switching Temperature Units (F/C)
In normal time mode, press the "UP" key on the back of the clock to switch between Celsius and Fahrenheit temperature readings.

Figure 5: Digital display showing the temperature and the option to switch between Celsius and Fahrenheit.
Maintenance
- Cleaning: Wipe the clock face and frame with a soft, dry cloth. Avoid using abrasive cleaners or solvents.
- Battery Replacement: Replace batteries when the clock hands stop moving or the digital display fades. Ensure to use 1 AA battery for the movement and 1 AAA battery for the LCD display.
- Environment: Keep the clock away from direct sunlight, extreme temperatures, and high humidity to prevent damage.
Troubleshooting
| Problem | Possible Cause | Solution |
|---|---|---|
| Clock hands stop moving. | Dead AA battery. | Replace the AA battery with a new one, ensuring correct polarity. |
| Digital display is blank or dim. | Dead AAA battery. | Replace the AAA battery with a new one, ensuring correct polarity. |
| Incorrect analog time. | Hands were not set correctly or were bumped. | Adjust the time using the setting wheel on the back of the clock movement. |
| Incorrect digital time/date. | Digital settings are incorrect. | Use the SET, UP, and DOWN buttons on the back to reset the digital time and date. |
Specifications
| Feature | Detail |
|---|---|
| Brand | Foxtop |
| Model | B0FR8PQ9QL |
| Display Type | Analog with LCD Digital Display |
| Color | Black (frame), Multicolor (dial) |
| Product Dimensions | 12"W x 12"H |
| Power Source | Battery Powered (1 AA for movement, 1 AAA for LCD) |
| Movement Type | Quartz Sweep Movement (Silent) |
| Special Features | LCD Display, Silent Clock, Educational Markings |
| Material Type | Plastic |
| Mounting Type | Wall Mount |
Warranty and Support
For warranty information or product support, please refer to the documentation included with your purchase or contact Foxtop customer service directly. Keep your purchase receipt as proof of purchase.