Introduction
The Zivron WiFi Weather Station provides comprehensive real-time weather data, including temperature, humidity, wind speed, rainfall, pressure, and more. It features an ultra-large 7.5-inch HD VA display screen for clear readability and WiFi connectivity for mobile device integration. Advanced sensors ensure professional monitoring of environmental conditions.
Product Overview
The Zivron WiFi Weather Station consists of a main display unit and a multi-sensor outdoor remote unit. The main unit displays all collected data, while the remote sensor gathers environmental information.

Image: Zivron WiFi Weather Station main display unit, outdoor sensor, and mobile app interface.
Components Included:
- Main Display Unit
- Remote Sensor (includes Wind Vane, Wind Cups, Rain Funnel, Temperature & Humidity Induction Box, Light & UV Sensors, Solar Panel)
- Power Adapter for Main Unit

Image: Diagram illustrating the main display unit's features, including snooze/light touch location, set and brightness button, alarm button, up and memory button, wind button, channel switching button, hanging hole, support frame, power supply socket (Type-C), USB charging socket, and battery compartment.
Setup
1. Powering the Main Display Unit
- AC Power: Connect the included power adapter to the main unit and a power outlet. This is required for continuous display and WiFi connectivity.
- Battery Power: Insert 2 AA batteries (not included) into the battery compartment. When running on battery power only, the display will turn off to conserve energy. Touch the top button to activate the display for 15 seconds.
2. Powering the Remote Sensor
- Solar Power: The remote sensor is equipped with a solar panel for primary power.
- Battery Backup: Insert 3 AA batteries (not included) into the remote sensor's battery compartment for continuous operation during periods of low sunlight.

Image: Power supply options for the main display unit and the outdoor remote sensor.
3. Remote Sensor Placement
For accurate readings and optimal transmission, consider the following:
- Mount the sensor in an open area, away from obstructions that could block wind or rain.
- Ensure the solar panel receives adequate sunlight.
- Avoid placing the sensor near TVs, radio towers, power lines, or other sources of electromagnetic interference.
- The maximum transmission distance between the sensor and the main unit is 328 feet (100 meters) in open areas.

Image: Detailed view of the outdoor remote sensor components.

Image: Examples of suitable outdoor sensor placement locations.
4. WiFi Connection and App Setup
The weather station can connect to your home WiFi network (2.4GHz only) to provide real-time data to your mobile device via a dedicated app.
- Plug in the Weather Station: Ensure the main unit is powered by the AC adapter. WiFi connectivity is not available when powered by batteries only.
- Activate WiFi Pairing: Press and hold the WiFi button (the lower button) on the right side of the weather station for 3 seconds. The time bar on the weather station display will switch from "00 AP" to "01 AP", indicating it is ready for WiFi pairing.
- Download the App: Download the compatible app (e.g., Tuya Smart App) from the iOS App Store or Google Play Store.
- Add Device: Open the app, click "Add Device" to find the corresponding device, switch to the WiFi setting interface, and follow the in-app steps to complete the operation.

Image: Step-by-step guide for WiFi connection and app setup.
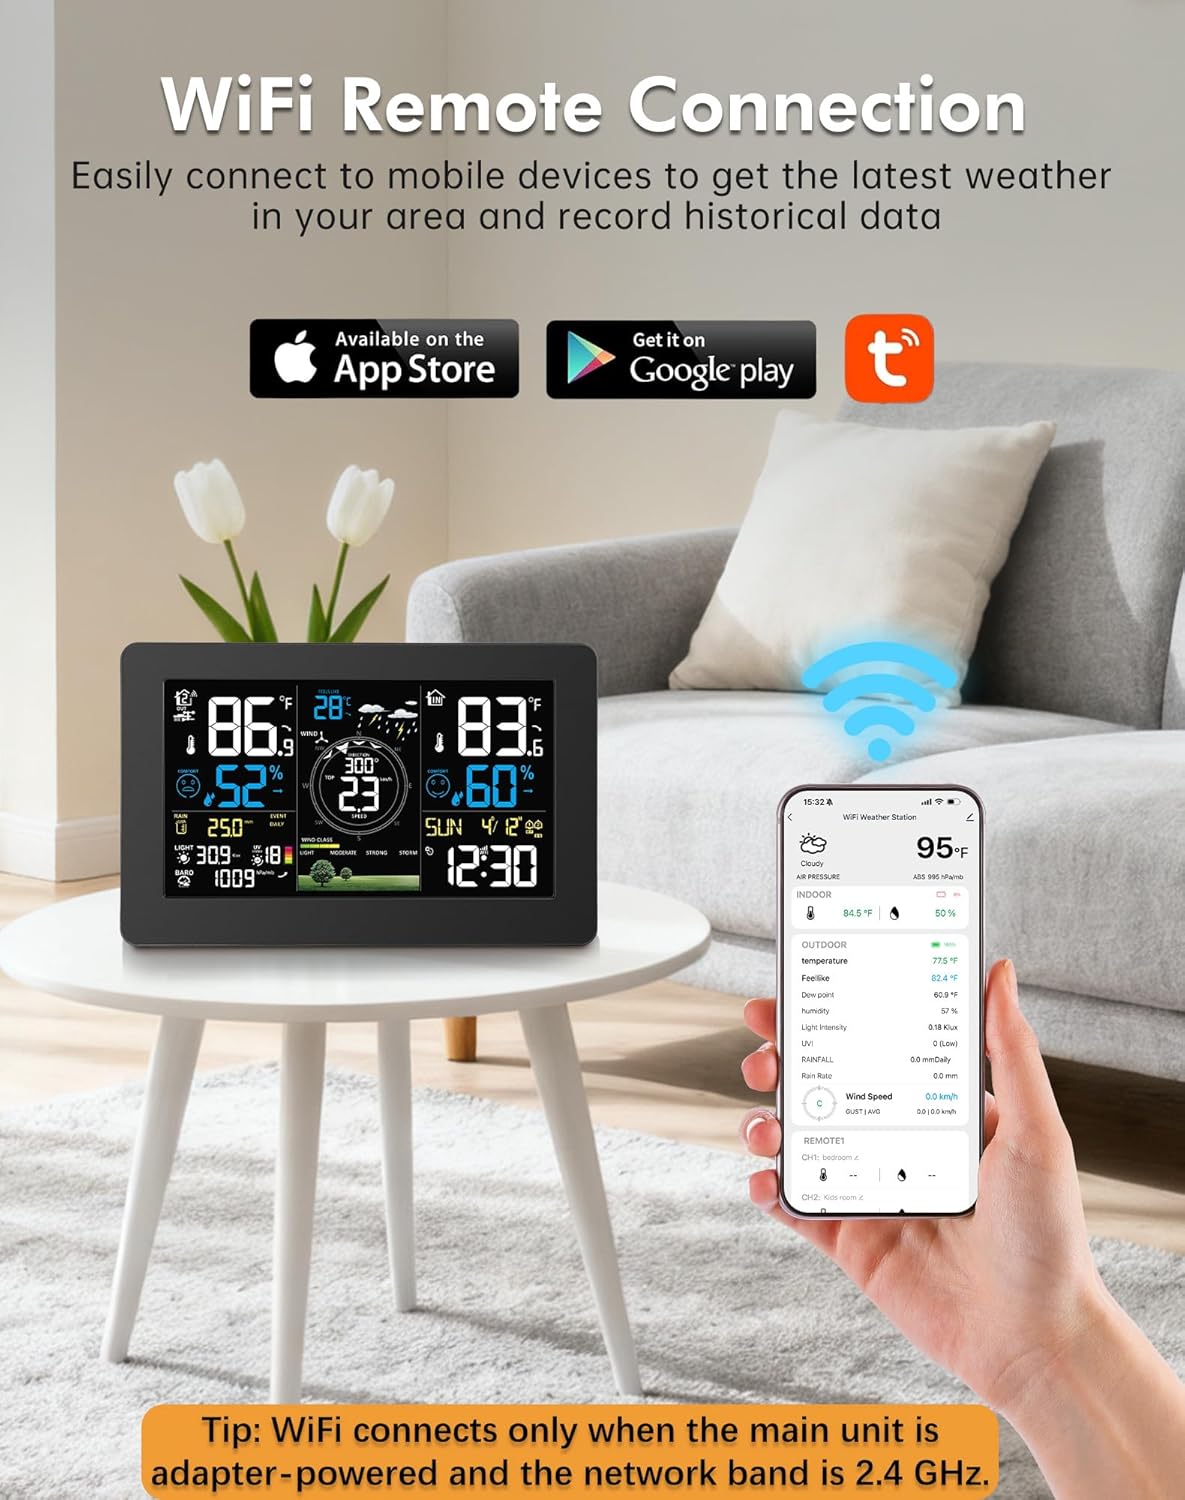
Image: Weather station display and mobile app demonstrating remote connectivity.
Operating Instructions
1. Display Overview
The 7.5-inch HD VA display provides a clear and comprehensive view of all weather data. It features adjustable brightness for optimal viewing in various lighting conditions.

Image: The 7.5-inch HD VA large display showing detailed weather information.
2. Time and Date Synchronization
The weather station automatically synchronizes with official atomic time signals (WWVB) and supports Daylight Saving Time (DST), ensuring the current date and time are always accurate. Multiple time zones can be set.
3. Alarm Function
The unit includes two smart alarm clocks to assist with daily scheduling. Refer to the detailed instructions in the app or on-screen menu for setting and managing alarms.
4. Unit Selection
Easily switch between temperature units (°F/°C) and time formats (12/24hr) through the app or the main unit's settings menu.
5. App Control and Data Access
The mobile app allows you to:
- Access historical weather data.
- Adjust screen brightness.
- Set alarms.
- Change time and temperature units.
- Monitor detailed history of temperature, humidity, pressure, wind, and rainfall.
Maintenance
1. Battery Replacement
- Main Unit: Replace 2 AA batteries when the low battery indicator appears on the display.
- Remote Sensor: Replace 3 AA batteries when the low battery indicator appears. Ensure the solar panel is clean for optimal charging.
2. Cleaning
- Main Unit: Wipe the display and casing with a soft, dry cloth. Avoid abrasive cleaners or solvents.
- Remote Sensor: Periodically check and clean the rain funnel, wind cups, and solar panel to ensure accurate readings. Remove any debris or obstructions.
3. General Care
Store the main unit in a dry environment. Ensure the remote sensor is securely mounted to prevent damage from strong winds.
Troubleshooting
- No Display on Main Unit (Battery Power): Touch the top button to wake the display for 15 seconds. For continuous display, use the AC power adapter.
- WiFi Connection Issues:
- Ensure the main unit is plugged into AC power. WiFi does not function on battery power.
- Verify your wireless network is 2.4GHz. 5GHz networks are not supported.
- Check that the WiFi pairing mode is active on the main unit ("01 AP").
- Ensure the weather station is within range of your WiFi router.
- Inaccurate Readings:
- Check the remote sensor's placement. Ensure it is not obstructed and is away from heat sources or direct sunlight (for temperature/humidity accuracy).
- Verify the rain funnel and wind cups are clear of debris.
- Ensure the sensor batteries are fresh.
- No Data from Remote Sensor:
- Check the remote sensor's batteries and replace if necessary.
- Ensure the sensor is within the 328-foot transmission range of the main unit.
- Minimize physical obstructions (thick walls, metal structures) between the sensor and the main unit.
Specifications
| Product Dimensions | 14.9 x 9.4 x 5.9 inches; 3.75 Pounds |
| Display Size | 7.5 inch HD VA |
| Power Source (Main Unit) | AC/DC Power Adapter or 2 AA Batteries |
| Power Source (Remote Sensor) | Solar Powered or 3 AA Batteries |
| Connectivity Technology | Wi-Fi (2.4GHz only) |
| Wireless Transmission Range | Up to 328 feet (100 meters) in open areas |
| Temperature Accuracy | ±1 °C |
| Color | Black |
| Specific Uses | Date, Dew Point, Heat Index, Humidity, Pressure, Rain Rate, Temperature, Time, UV Index, Wind Chill, Wind Direction |
Warranty and Support
Zivron is committed to providing reliable products and customer satisfaction.
- Warranty: 24 Months Free Replacement/Repair.
- Money Back Guarantee: 30 Days Money Back.
- Customer Support: 24 Hours Customer Support is available for any inquiries or assistance.

Image: Summary of Zivron's customer support and warranty policies.
For further assistance, please refer to the contact information provided with your product packaging or visit the official Zivron website.