
Introduction
This manual provides essential instructions for the installation, operation, maintenance, and troubleshooting of your SlickBlue Outdoor Door Window Awning. Designed to offer reliable protection from sun and rain, this awning enhances your home's exterior with its durable construction and functional design. Please read this manual thoroughly before installation and retain it for future reference.

Image: The SlickBlue awning installed above an exterior door, demonstrating its protective function.
Key Features:
- Sturdy & Stylish Construction: Made from polycarbonate, polyester, and aluminum for durability and lightweight design.
- Reliable Weather Protection: Shields from rain, sun, and UV rays with waterproof design.
- Easy Assembly: Includes strong aluminum poles and ABS frame for straightforward installation.
- Versatile Application: Suitable for front doors, windows, and balconies.
Setup and Installation
The SlickBlue awning is designed for quick and hassle-free assembly. Ensure you have all components before beginning installation. Two people are recommended for safe and efficient installation.
Required Tools (Not Included):
- Drill
- Drill bits appropriate for your wall material
- Level
- Measuring tape
- Pencil or marker
- Wrench or socket set
Installation Steps:
- Unpack Components: Carefully remove all parts from the packaging and verify against the included parts list. Ensure all aluminum poles, ABS frames, polycarbonate panels, and mounting hardware are present.
- Assemble Frame: Attach the polycarbonate panel(s) to the ABS support brackets and aluminum front/rear bars. Ensure a secure fit.
- Mark Mounting Position: Hold the assembled awning against the wall at the desired height and location. Use a level to ensure it is straight. Mark the drilling points for the mounting brackets with a pencil.
- Drill Holes: Drill pilot holes at the marked positions. Use a drill bit suitable for your wall material (e.g., masonry bit for brick, wood bit for studs).
- Install Mounting Brackets: Secure the ABS mounting brackets to the wall using the provided bolts and anchors. Ensure they are tightly fastened and level.
- Attach Awning: Carefully lift the assembled awning and slide it into the mounted brackets. Secure the awning to the brackets using the remaining hardware, ensuring all connections are firm.
- Final Check: Verify that the awning is securely attached to the wall and all bolts are tightened. Gently test its stability.
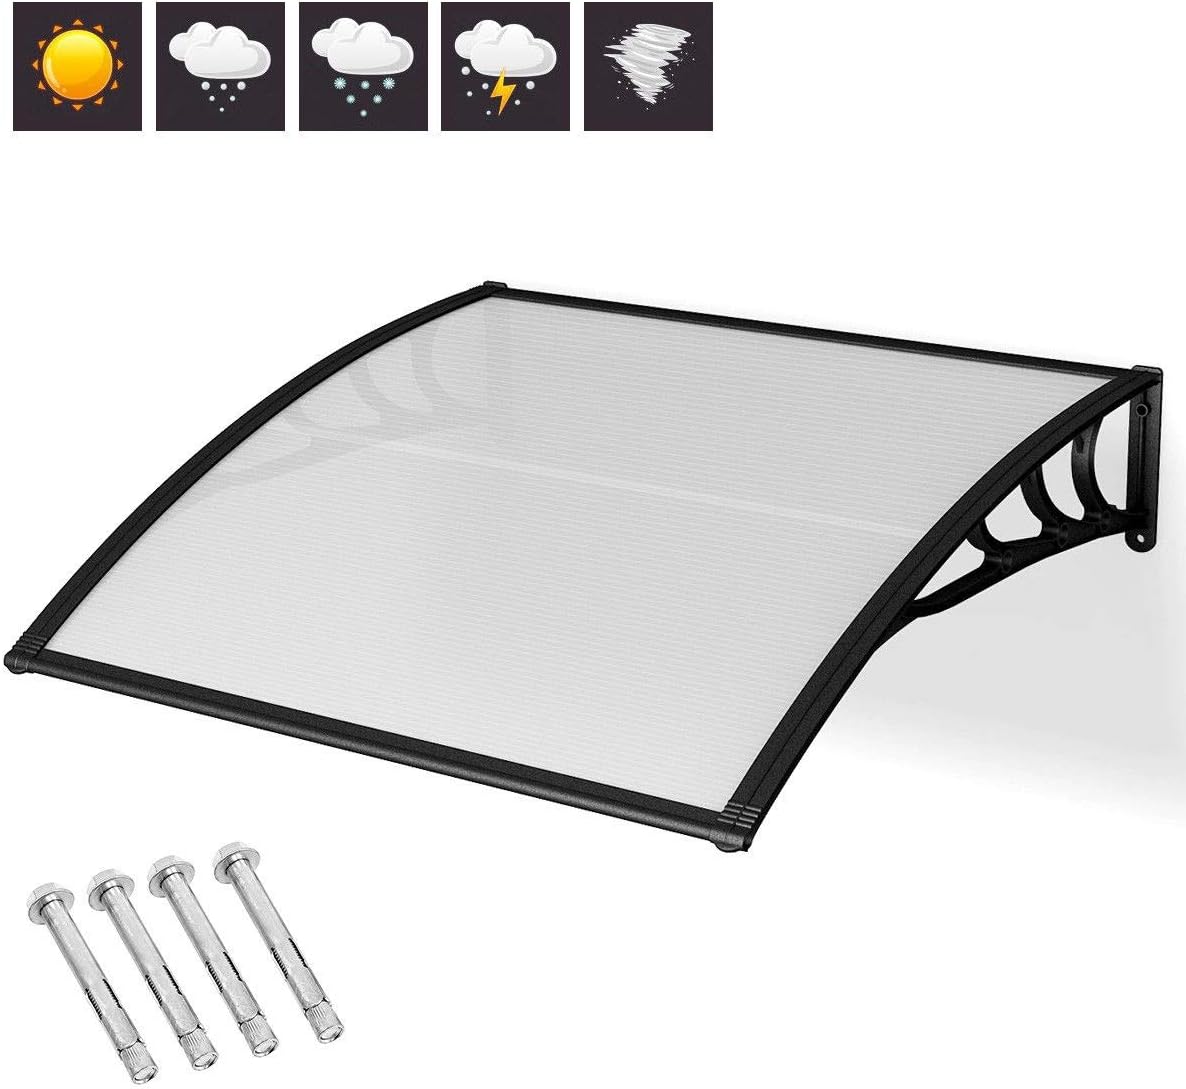
Image: Awning components and mounting hardware, illustrating the parts involved in assembly.
Operating Instructions
The SlickBlue Outdoor Door Window Awning operates passively, providing continuous protection once installed. There are no moving parts or active controls for its daily function.
- Sun Protection: The polycarbonate canopy reduces direct sunlight exposure, helping to keep areas cooler and protect furnishings from UV damage.
- Rain Protection: The waterproof design diverts rainwater away from your doors, windows, and outdoor living spaces.
- Snow Protection: The sturdy construction is designed to withstand light snow accumulation, though heavy snow should be cleared to prevent damage.
- Wind Resistance: The aluminum frame and secure mounting provide resistance against typical wind conditions.

Image: The awning positioned above a window, demonstrating its role in protecting the opening.
Maintenance
Regular maintenance will ensure the longevity and continued performance of your SlickBlue awning.
- Cleaning: Periodically clean the polycarbonate canopy and frame with mild soap and water. Use a soft cloth or sponge to avoid scratching the surface. Rinse thoroughly with clean water. Avoid abrasive cleaners or harsh chemicals.
- Inspection: Annually inspect all mounting bolts and frame connections for tightness. Tighten any loose fasteners to ensure stability. Check the polycarbonate panel for any cracks or damage.
- Debris Removal: Clear any accumulated leaves, dirt, or debris from the top of the awning to prevent staining or excessive weight, especially during heavy rainfall or snow.
- Snow Load: In areas with heavy snowfall, it is recommended to gently remove excessive snow accumulation from the awning to prevent structural stress.
Troubleshooting
If you encounter issues with your awning, refer to the following common solutions:
| Problem | Possible Cause | Solution |
|---|---|---|
| Awning feels loose or wobbly | Loose mounting bolts or brackets. | Inspect all mounting points and tighten any loose bolts. Ensure brackets are securely fastened to the wall. |
| Water pooling on canopy | Improper installation angle or debris accumulation. | Ensure the awning is installed with a slight downward slope for proper drainage. Clear any debris from the canopy surface. |
| Canopy appears dirty or stained | Environmental dirt, dust, or mildew. | Clean the canopy with mild soap and water using a soft cloth. For stubborn stains, a diluted bleach solution (1:10 with water) can be used, followed by thorough rinsing. |
| Cracks or damage to polycarbonate panel | Impact from falling objects or extreme weather. | Depending on the severity, the panel may need to be replaced. Contact customer support for replacement parts. |
Product Specifications
| Brand | SlickBlue |
| Model Number | B0FR4JZKPV |
| Material | Polycarbonate, Acrylonitrile Butadiene Styrene (ABS), Aluminum |
| Color | Black |
| Product Dimensions (D x W x H) | 39.4" x 37.4" x 11" (100cm x 95cm x 28cm) |
| Item Weight | 1 Pound (0.45 kg) |
| Assembly Required | Yes |
| Operation Mode | Manual (Passive) |
Warranty Information
Specific warranty details for the SlickBlue Outdoor Door Window Awning are typically provided at the point of purchase or within the product packaging. Please refer to your purchase receipt or contact the retailer/manufacturer directly for comprehensive warranty terms and conditions.
Customer Support
For further assistance, technical support, or inquiries regarding replacement parts, please contact SlickBlue customer service through the retailer where the product was purchased. Have your model number (B0FR4JZKPV) and purchase date ready when contacting support.