1. Introduction
Welcome to the comprehensive instruction manual for your PooLin EOC05(2in1) Sewing and Embroidery Machine. This versatile machine is designed to empower your creativity with both sewing and embroidery functionalities. Featuring a 7-inch touchscreen, extensive built-in designs, and various stitch options, the EOC05 is suitable for a wide range of projects. Please read this manual thoroughly to ensure safe and efficient operation of your machine.
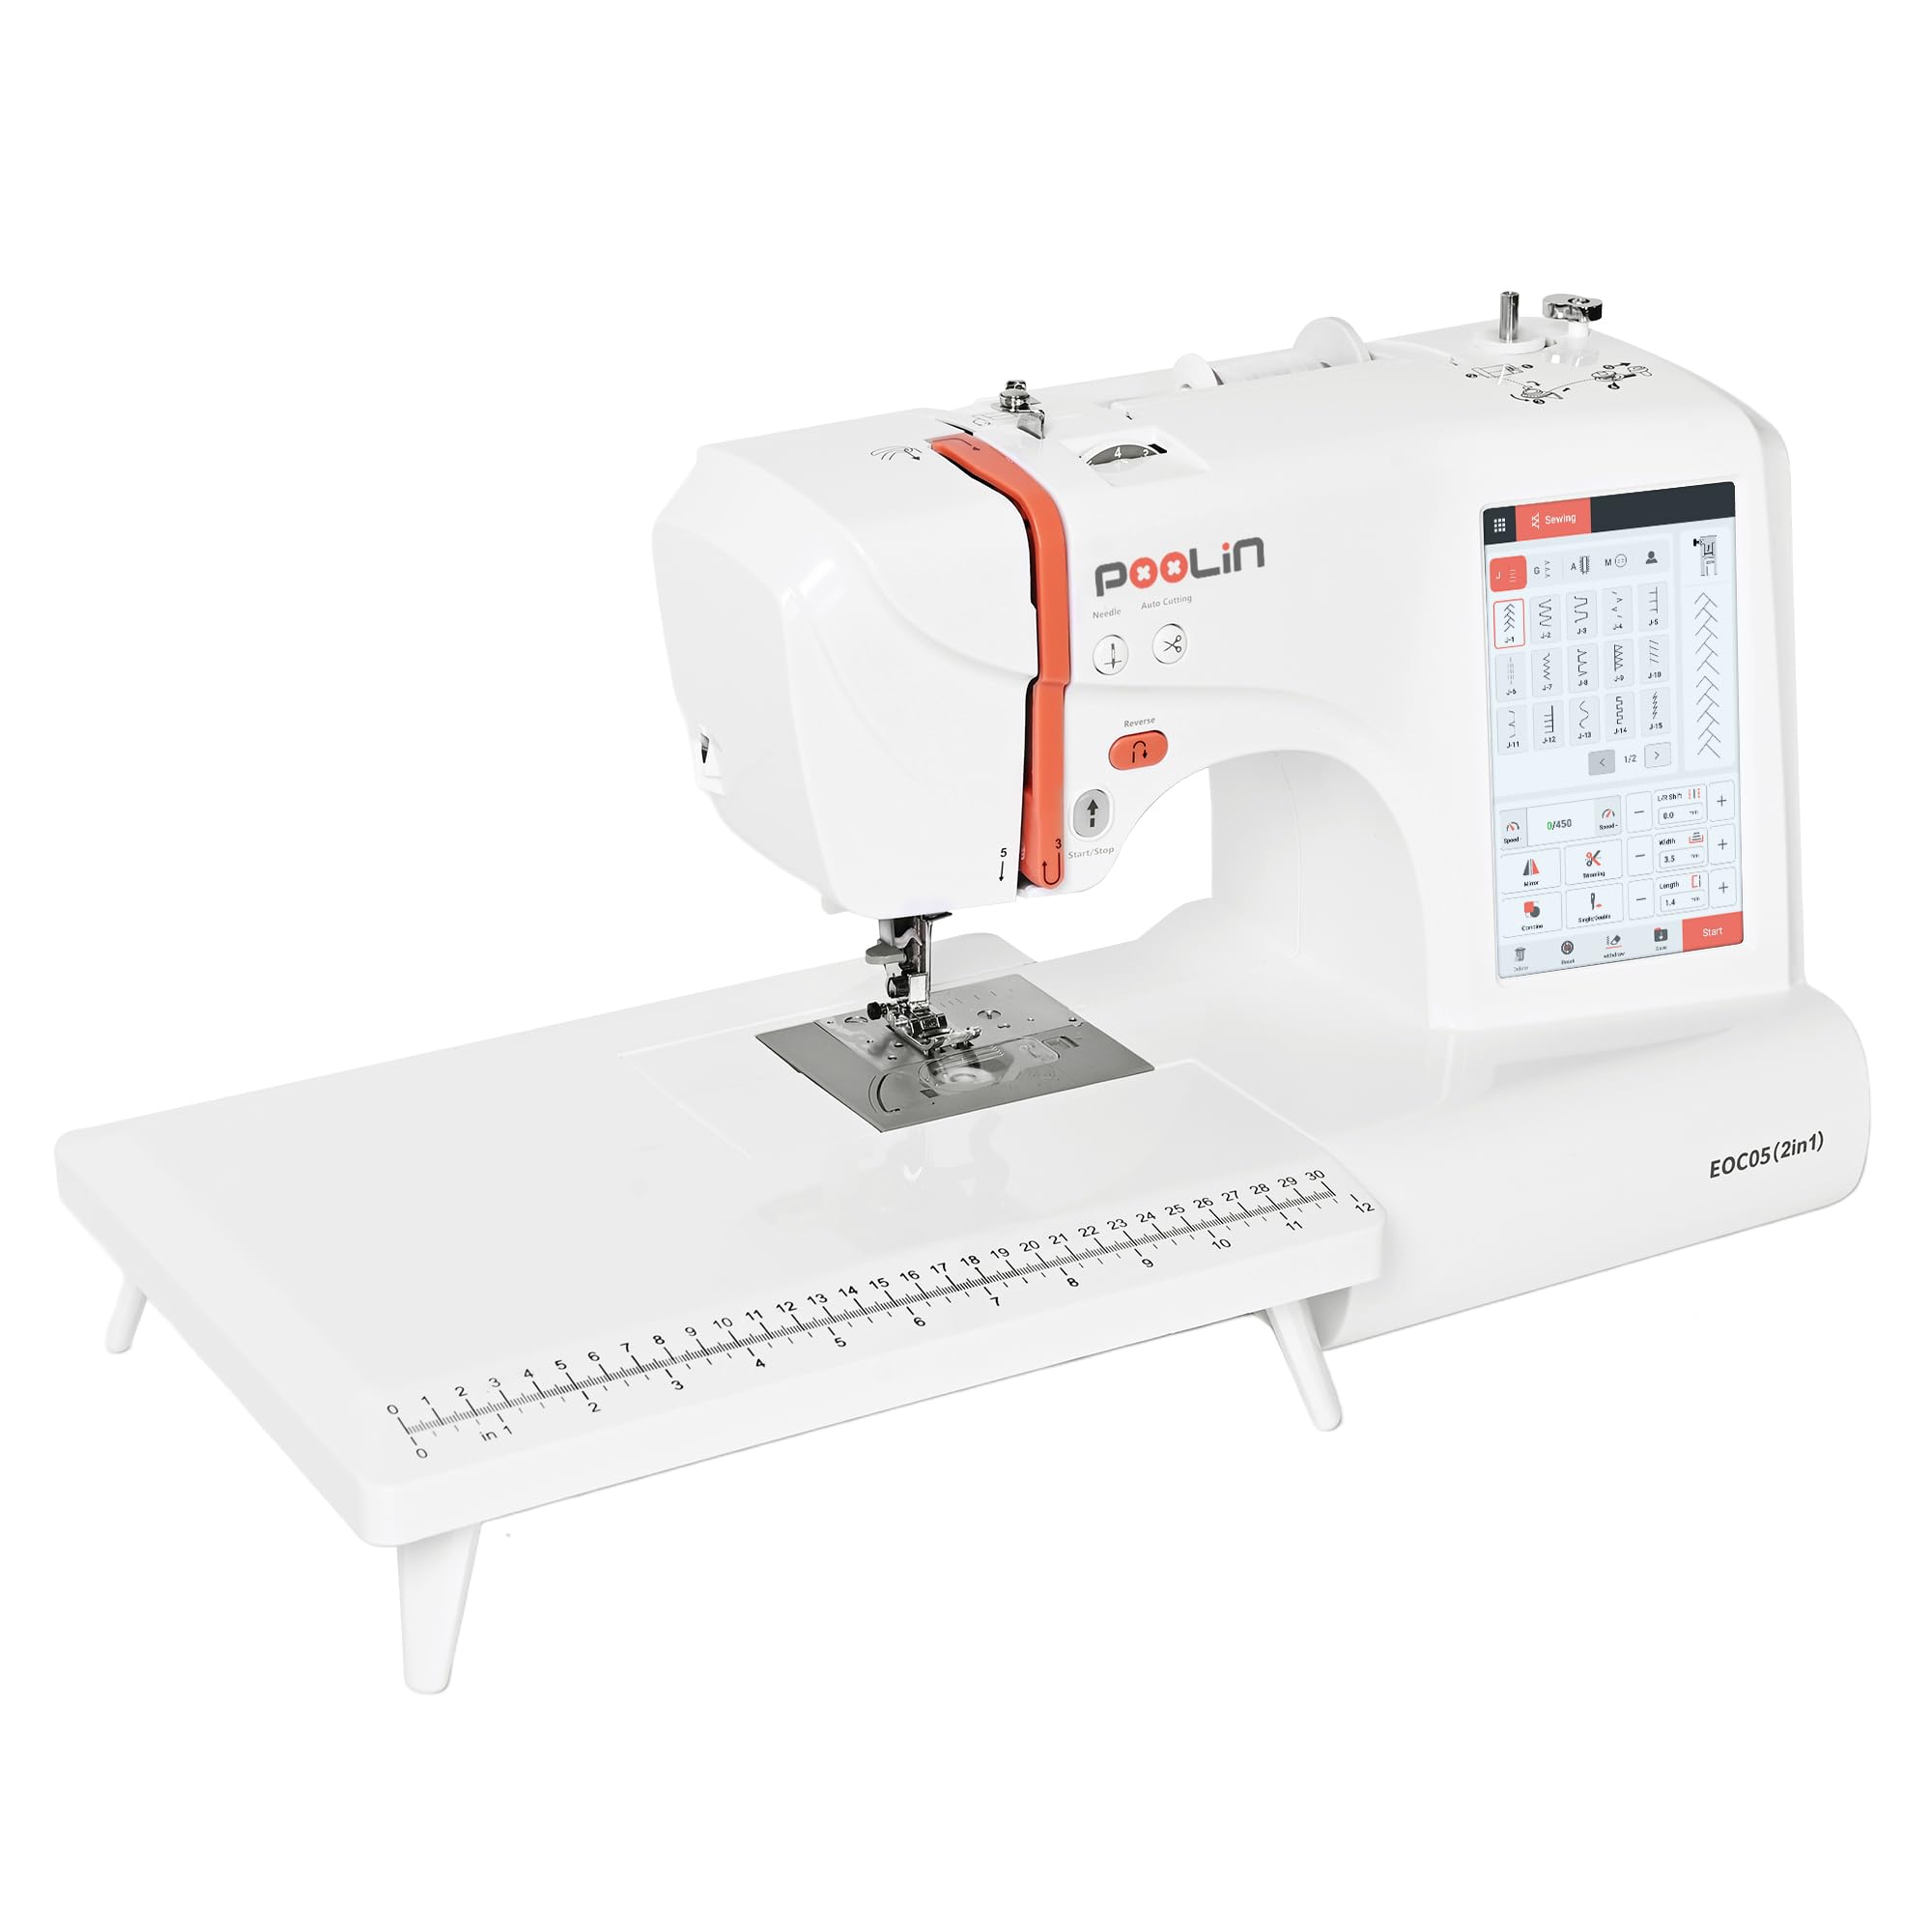
Image: The PooLin EOC05(2in1) Sewing and Embroidery Machine, showcasing its compact design and integrated touchscreen.
2. Setup
2.1 Unboxing and Initial Inspection
Carefully remove all components from the packaging. Verify that all included accessories are present as listed in the packing list. Inspect the machine for any signs of damage during transit. Keep the original packaging for future storage or transport.
2.2 Power Connection
Connect the power cord to the machine and then to a suitable electrical outlet. Ensure the machine is placed on a stable, flat surface.
2.3 Threading the Machine
Proper threading is crucial for optimal performance. Follow the numbered guides on the machine for correct upper thread path. The machine features an automatic needle threader for convenience.
Video: This video demonstrates correct settings to prevent spindle stuck issues, which often relates to proper threading and tension.
2.4 Attaching the Embroidery Hoop
Select the appropriate embroidery hoop size for your design (4"x4" or 4"x9.25"). Secure your fabric and stabilizer within the hoop. Attach the hoop to the embroidery unit on the machine.
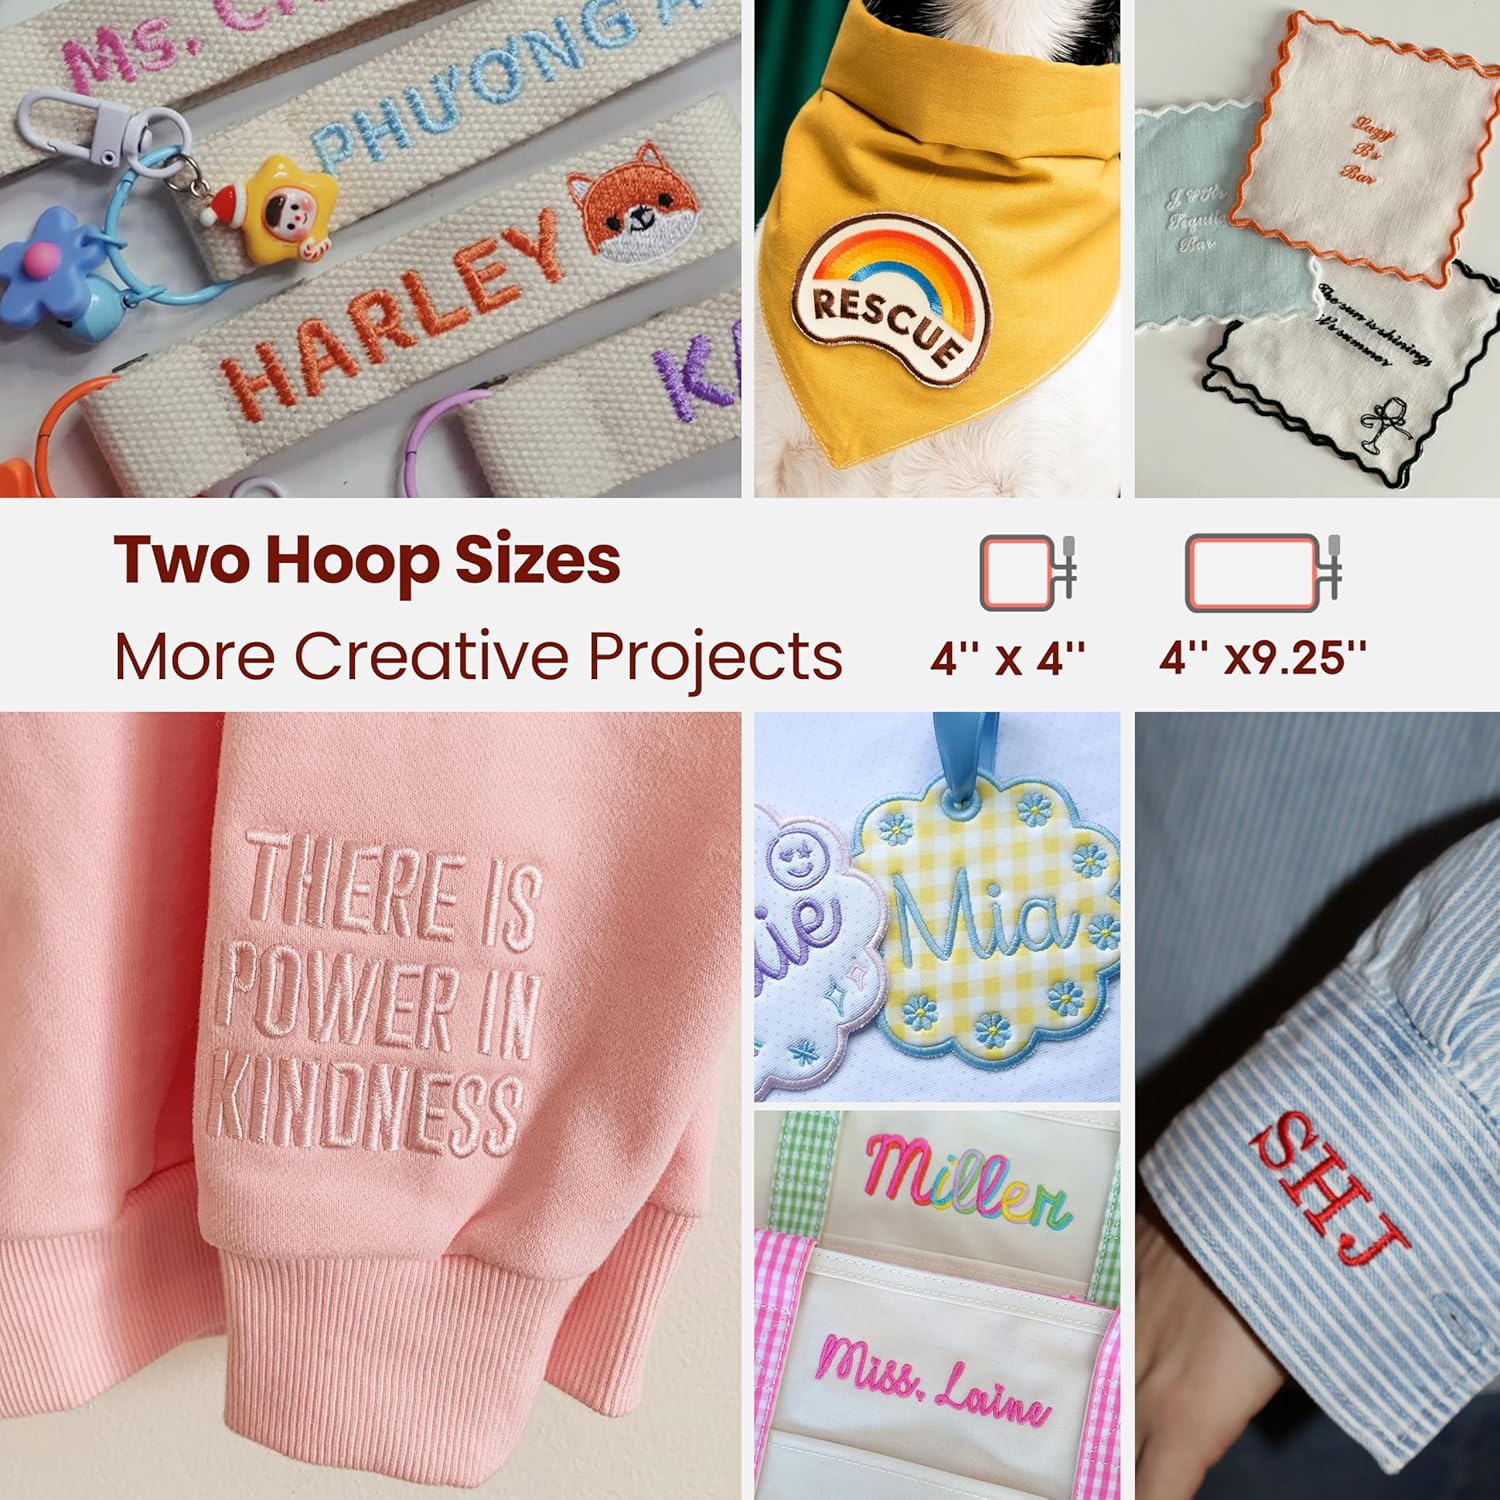
Image: Two embroidery hoop sizes (4"x4" and 4"x9.25") for various creative projects.
3. Operating the Machine
3.1 Touch Screen Interface
The 7-inch touchscreen with the InStitch i2 system provides an intuitive, phone-like experience. Navigate through menus, select designs, and adjust settings directly on the screen.

Image: The 7-inch touchscreen displaying the "Start Embroidery in 3 Easy Steps" interface.
3.2 Selecting and Editing Embroidery Designs
Choose from 130 built-in embroidery designs. You can combine letters, edit patterns, or mix designs for unique results. Use the Wi-Fi transfer feature or USB to import your own designs.

Image: The touchscreen showing options for letter embroidery transformation, including angle, spacing, individual letter editing, and stitch density adjustment.
3.3 Sewing Functions
Access 207 built-in stitches and a one-step buttonhole function for all your sewing needs. The system automatically recommends the correct presser foot for selected stitches.

Image: The clear sewing interface displaying various stitch patterns and recommended presser feet.
3.4 Starting a Project
Once your design is selected and fabric is hooped/prepared, follow the on-screen prompts to begin sewing or embroidering. The machine will guide you through the process, including color changes for embroidery.
Video: This video demonstrates gentle embroidery for baby bibs and soft fabrics, showcasing the machine in action.
Video: This video demonstrates towel embroidery with thick fabric stitch control, highlighting the machine's capability with different materials.
Video: This video demonstrates soft hat embroidery without internal structure, showing the machine's versatility.
Video: This video demonstrates detailed clover keychain embroidery on small projects, illustrating precision.
4. Maintenance
Regular maintenance ensures the longevity and optimal performance of your PooLin EOC05 machine. Always turn off and unplug the machine before performing any maintenance.
4.1 Cleaning
Use the provided brush to remove lint and dust from the bobbin area and feed dogs. Wipe the exterior of the machine with a soft, dry cloth. Avoid using harsh chemicals.
4.2 Lubrication
Refer to the detailed operation manual for specific lubrication points and recommended frequency. Use only sewing machine oil.
4.3 Needle Replacement
Replace needles regularly, especially when working with different fabric types or if the needle becomes dull or bent. A dull needle can cause skipped stitches or fabric damage.
5. Troubleshooting
This section addresses common issues you might encounter. For more detailed solutions, consult the full operation manual or contact customer support.
5.1 Thread Breaking
- Check Threading: Ensure the machine is threaded correctly, both upper thread and bobbin.
- Needle Condition: Replace the needle if it is bent, dull, or the wrong type for your fabric.
- Tension Settings: Adjust the upper thread tension. Incorrect tension is a common cause of thread breaks.
- Spindle Stuck: Ensure correct settings are applied to prevent the spindle from getting stuck. Refer to the threading video in the Setup section.
5.2 Skipped Stitches
- Needle Type/Size: Use the correct needle type and size for your fabric.
- Needle Insertion: Ensure the needle is inserted correctly and fully into the needle clamp.
- Threading: Re-thread the machine completely.
5.3 Fabric Puckering/Bunching
- Stabilizer Use: Always use an appropriate stabilizer for embroidery projects.
- Hooping: Ensure the fabric is hooped correctly and taut, but not stretched.
- Tension: Adjust thread tension as needed.
6. Specifications
| Feature | Detail |
|---|---|
| Model Number | EOC05 (2 in 1) |
| Product Dimensions | 17.72"D x 14.57"W x 15.35"H |
| Item Weight | 26.4 pounds (12 Kilograms) |
| Embroidery Area | 4"x4" & 4"x9.25" |
| Built-in Embroidery Designs | 130 |
| Built-in Sewing Stitches | 207 |
| Touch Screen Size | 7-inch |
| Connectivity | WiFi Transfer |
| Included Components | 1 embroidery machine, 1 sewing stable, 1 embroidery stable, 6 embroidery threads, 1 sewing thread, 24 Pre-wound bobbins, 1 supply kit, 1 tool kit |
| Material | Metal, Plastic |
| Power Source | Corded Electric |
7. Warranty & Support
7.1 Warranty Information
The PooLin EOC05(2in1) Sewing and Embroidery Machine comes with a 1-year warranty. Please retain your proof of purchase for warranty claims.
7.2 Customer Support
For any questions, technical assistance, or support, please utilize the following resources:
- PooLin Official User Group: Join our online community for expert tips and peer support.
- YouTube Tutorials: Search "PooLin" on YouTube for step-by-step video guides and demonstrations.
- Direct Contact: Find contact methods included in your product box for one-on-one technical support.
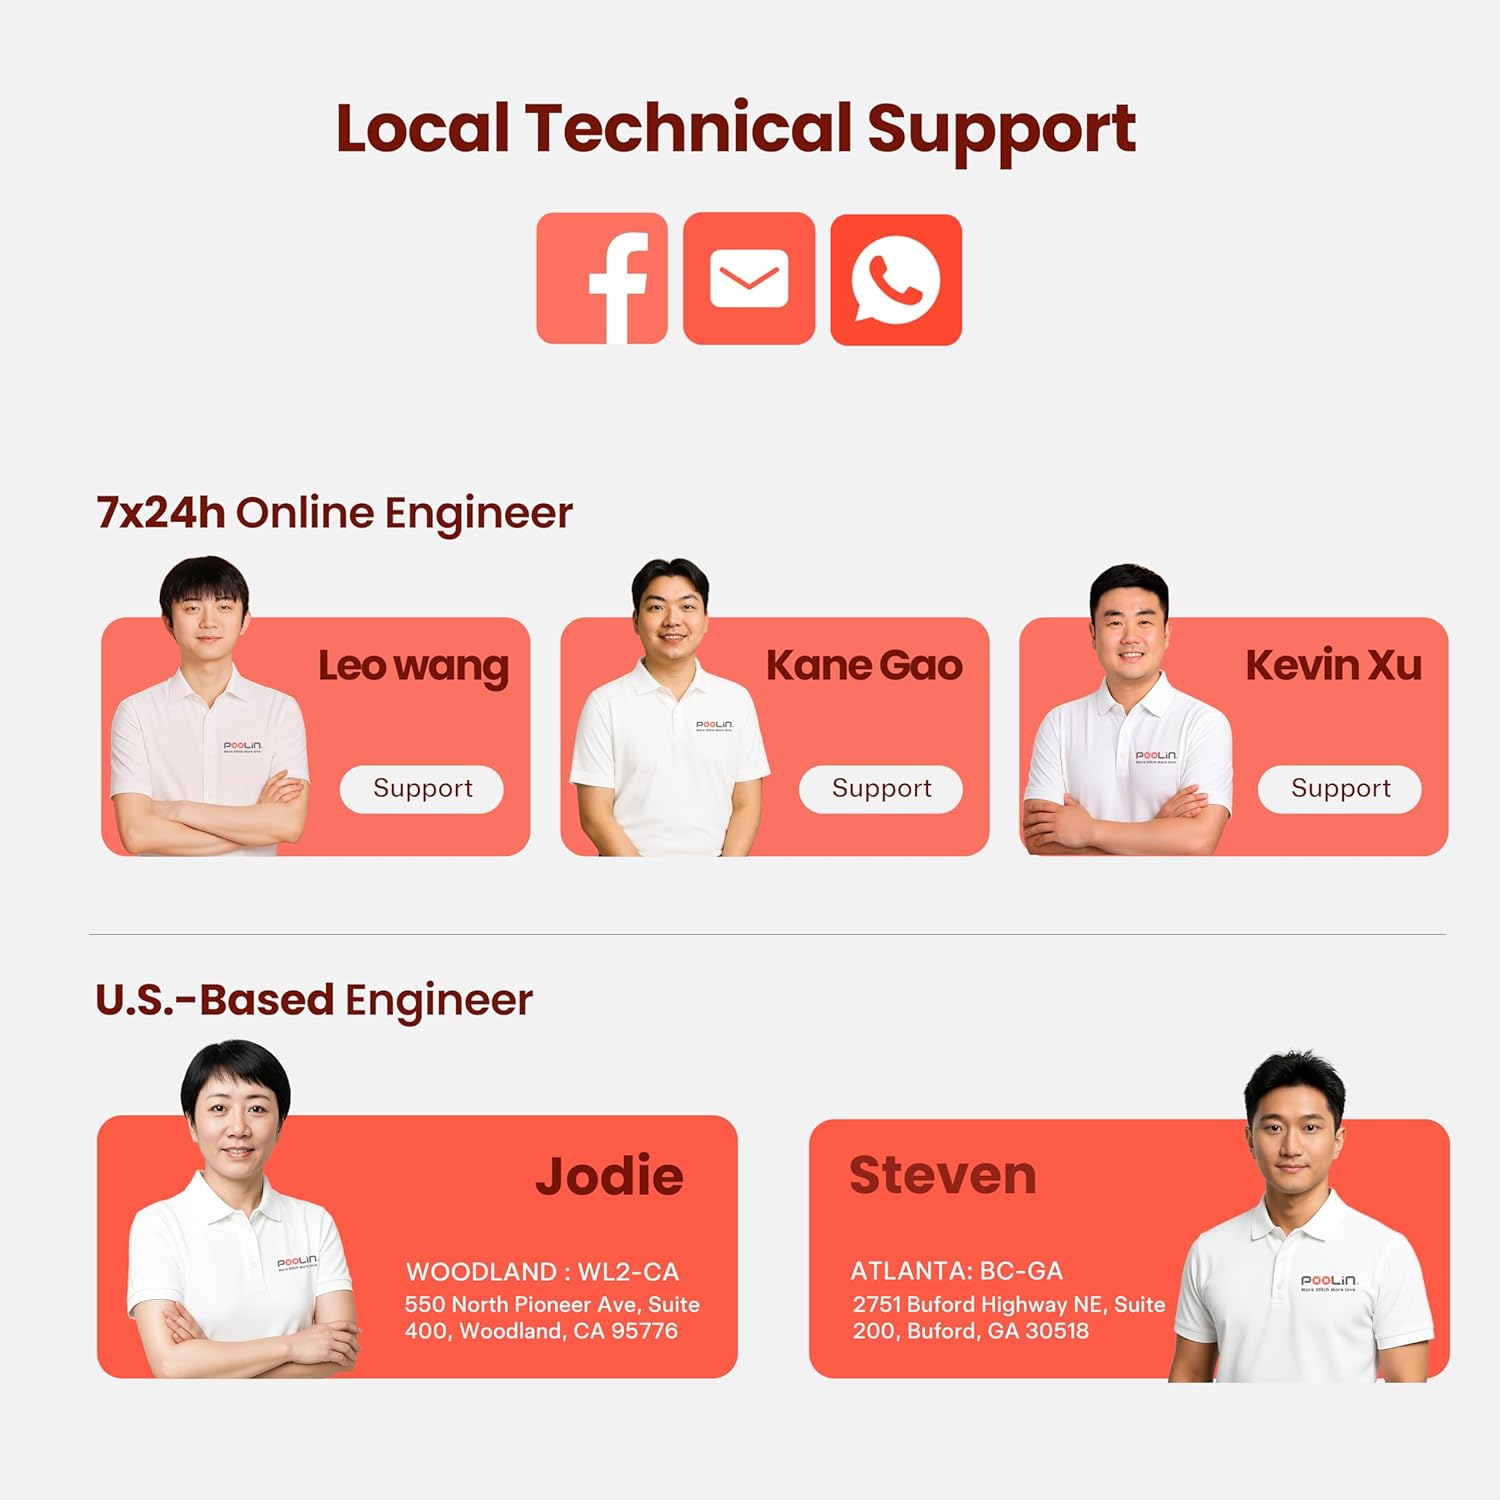
Image: Information regarding PooLin's local technical support, including online engineers and U.S.-based engineers.


