
1. Introduction
This manual provides essential information for the safe installation, operation, and maintenance of your Stelpro Brava Electric Baseboard Heater, Model AB03029W. This unit is designed to provide efficient and silent convection heating for indoor spaces.
The Stelpro Brava heater delivers 300W of comfort at 240V (or 225W at 208V), capable of warming up to 30 sq ft. It features a durable steel construction with rounded corners and an epoxy-polyester powdercoat for a crisp matte white finish. The design ensures optimal hot air distribution and eliminates expansion and contraction noises for quiet operation.

Image 1.1: Front view of the Stelpro Brava Electric Baseboard Heater.

Image 1.2: Close-up of the heater highlighting its sturdy rounded corners.
2. Important Safety Information
Please read all instructions before installing or using this heater. Failure to follow these instructions may result in fire, electric shock, personal injury, or property damage.
- This heater is designed for hardwired connection only. It is not a plug-in unit. Installation must be performed by a qualified electrician in accordance with all local and national electrical codes.
- Ensure the power supply is disconnected at the main circuit breaker before attempting any installation, maintenance, or repair.
- Do not install the heater near combustible materials, curtains, or furniture. Maintain adequate clearance as specified in the installation instructions.
- Do not insert or allow foreign objects to enter any ventilation or exhaust opening as this may cause an electric shock or fire, or damage the heater.
- This heater is equipped with full-length thermal protection with automatic reset for dependable operation. If the heater overheats, it will automatically shut off and restart once it cools down.
- Do not use this heater in wet or moist locations, such as bathrooms or laundry areas, unless specifically rated for such environments.
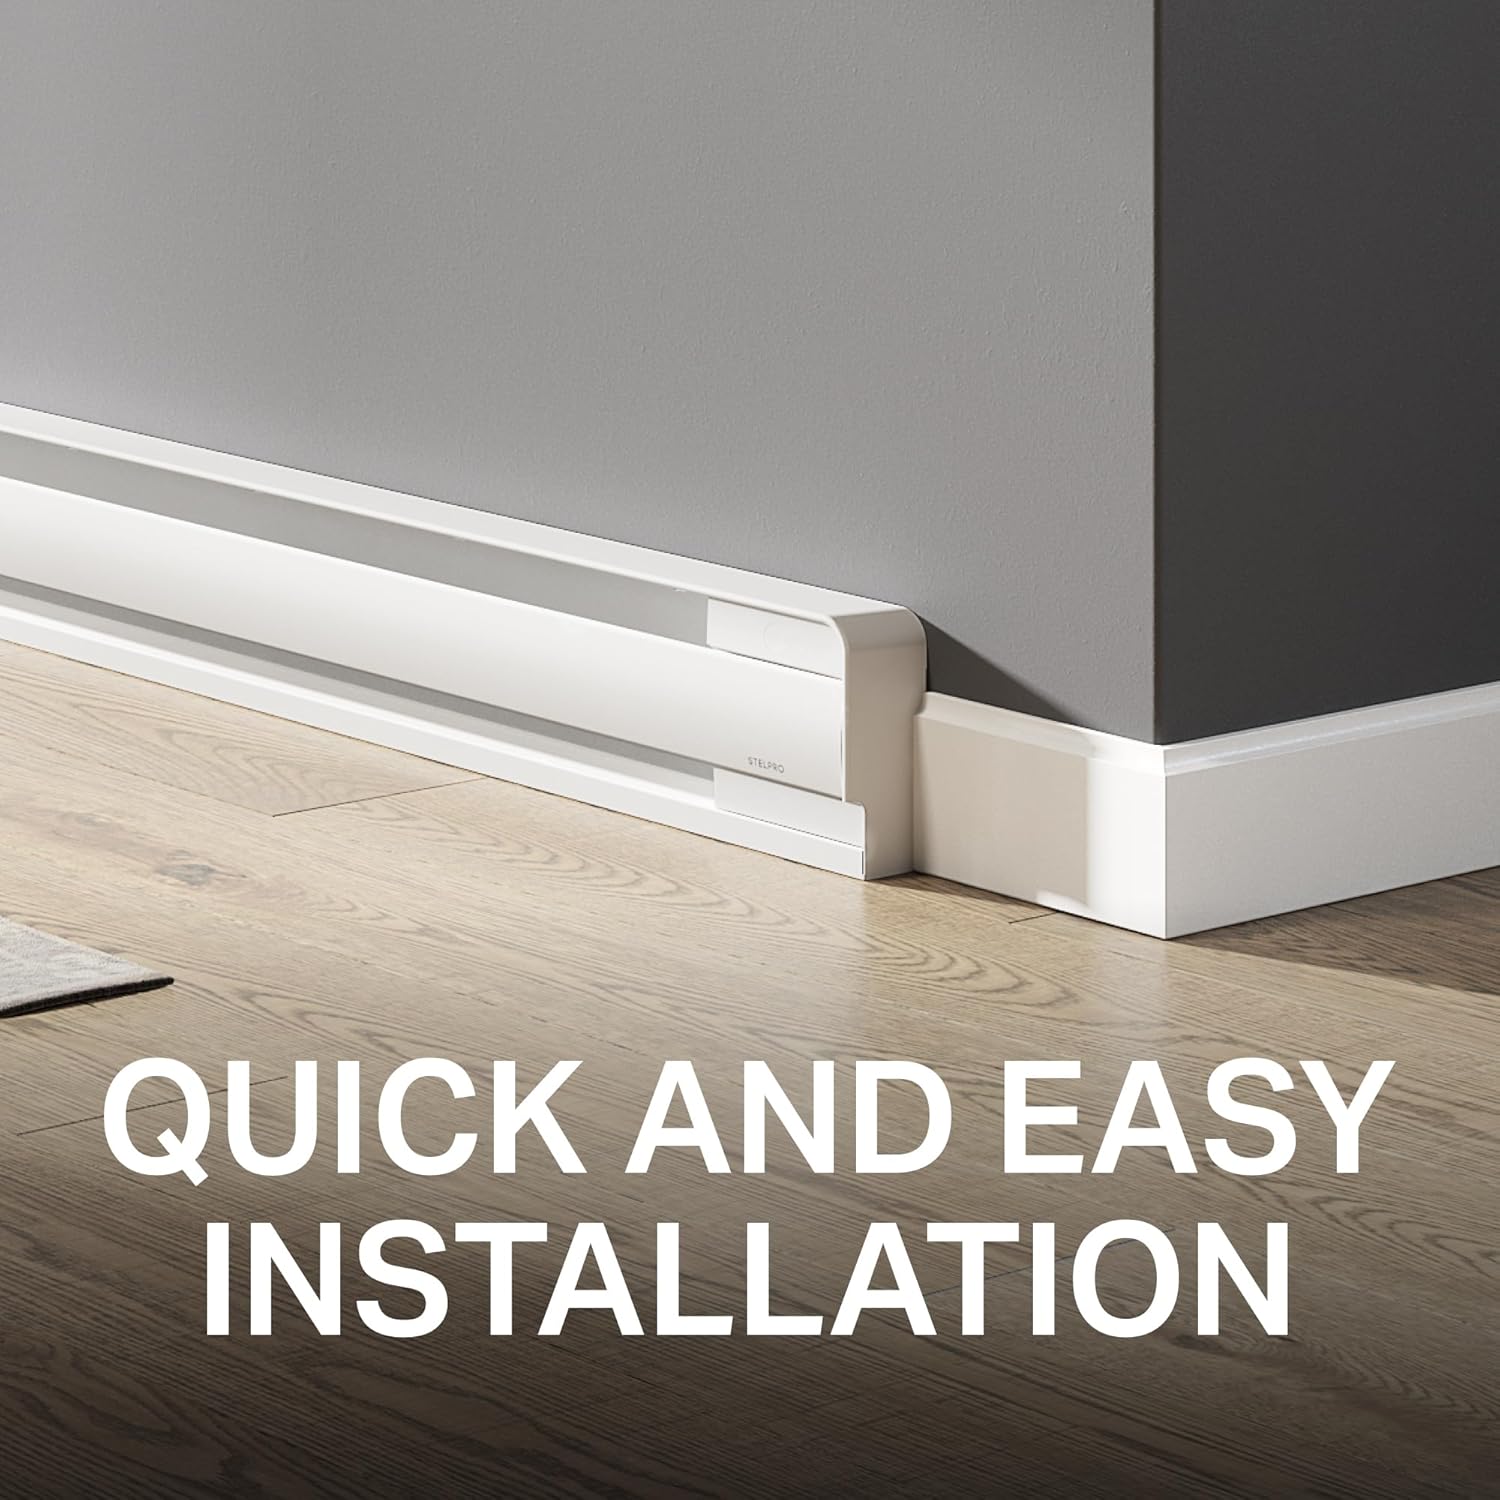
Image 2.1: Illustration emphasizing that the heater requires a hardwired connection and is not a plug-in device.
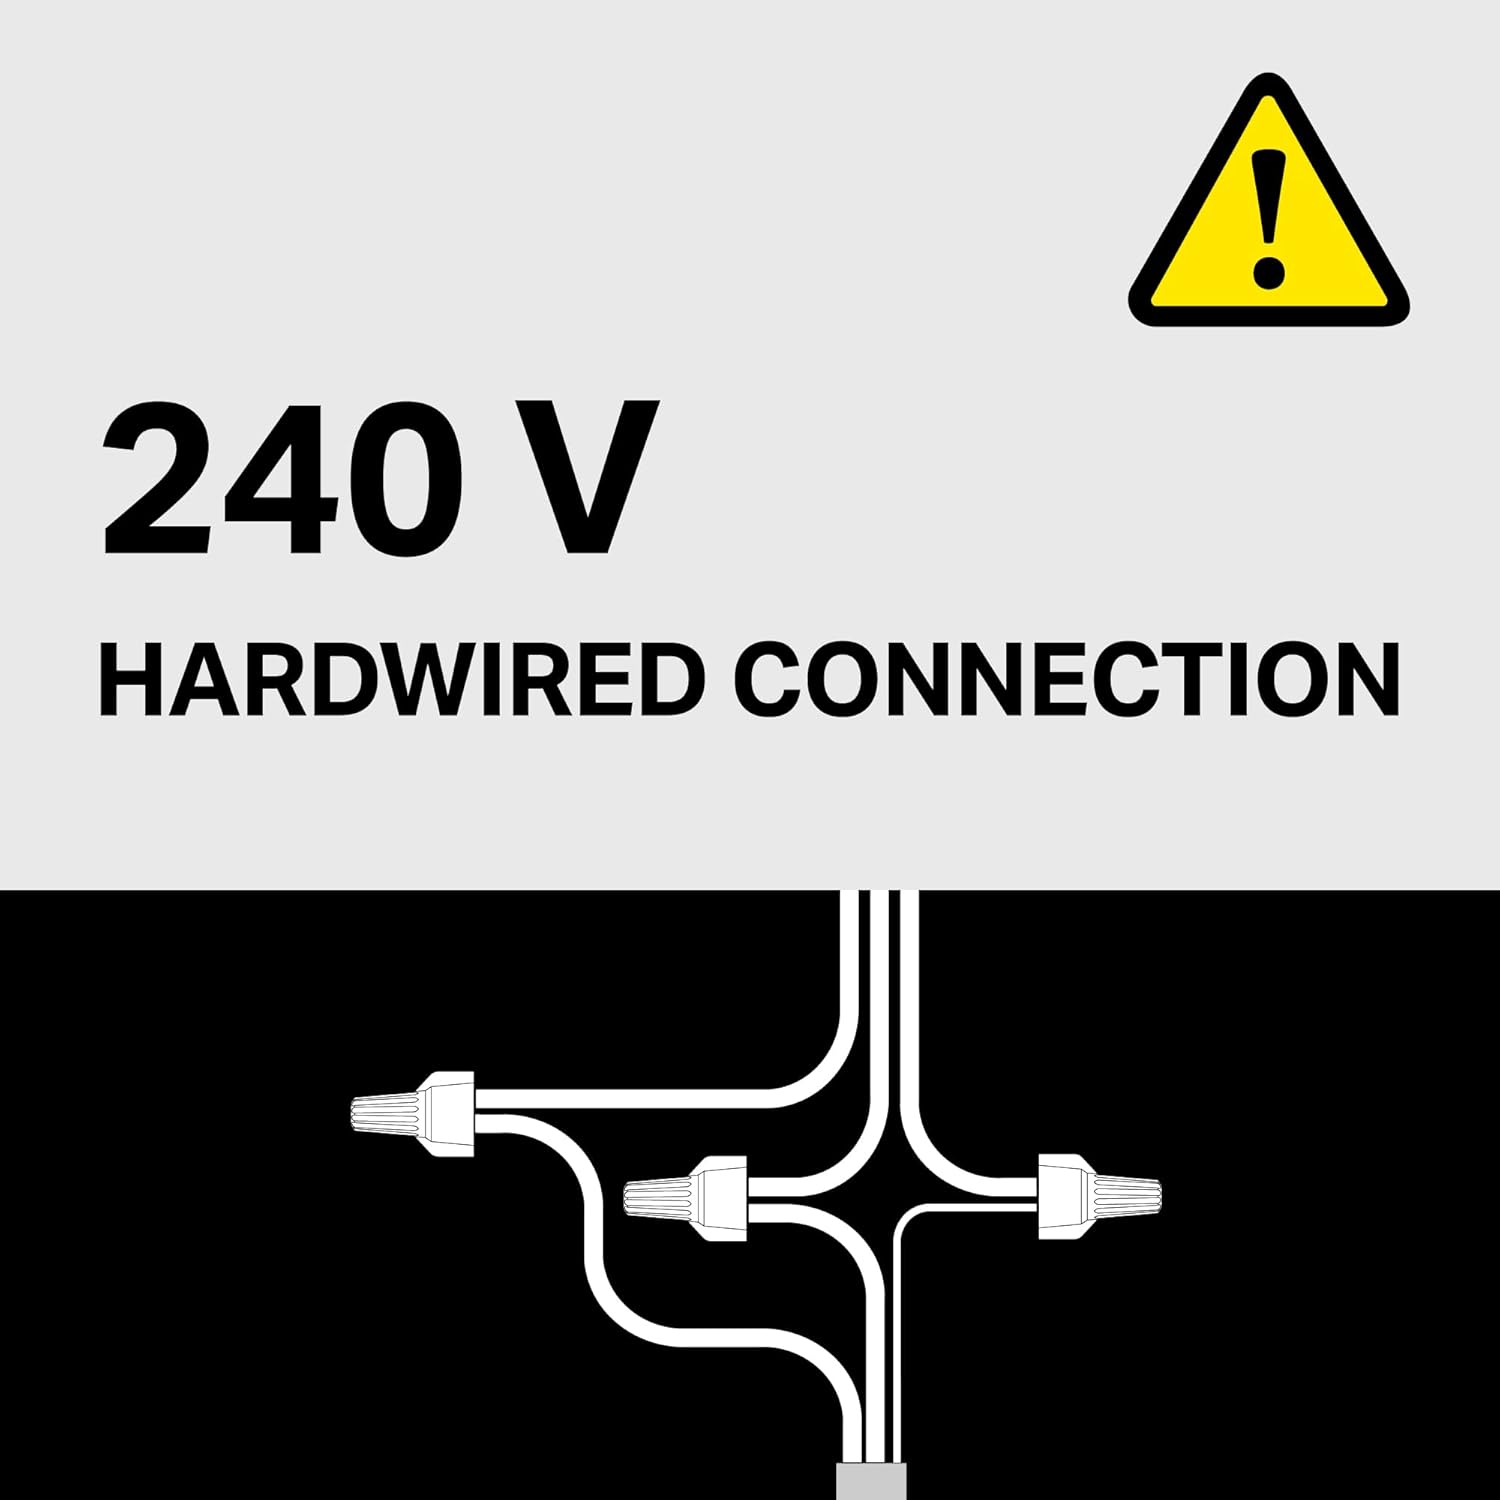
Image 2.2: Diagram illustrating the 240V hardwired connection requirement.
3. Setup and Installation
The Stelpro Brava baseboard heater is designed for easy and fast installation. However, due to its hardwired nature, installation should be performed by a qualified professional.
3.1 Pre-Installation Checks
- Verify that the voltage and wattage of the heater match your electrical supply (240V, 300W for this model).
- Ensure the installation location provides sufficient clearance from walls, floors, and any obstructions to allow for proper air circulation.
- Confirm that the circuit breaker for the heater circuit is turned OFF before beginning installation.
3.2 Mounting the Heater
The heater features pre-punched mounting holes for secure wall mounting. Position the heater on a flat, stable wall surface, ensuring it is level.

Image 3.1: The Stelpro Brava heater installed, demonstrating its quick and easy installation process.
3.3 Electrical Connection
The heater includes built-in cable clamps and universal wiring compartments on both ends for flexible electrical connections. Connect the heater to your electrical system according to the wiring diagram provided in the full installation guide (not included in this manual) and all applicable electrical codes.
3.4 Thermostat Options
This heater requires a thermostat for temperature control. You have two primary options:
- Wall-Mounted Thermostat: Connect the heater to a compatible wall-mounted thermostat (sold separately) for centralized room control.
- Optional Built-in Thermostat Kit: Install an optional built-in thermostat kit directly into the heater for on-unit adjustment. Compatible kits include SIBTE12F (electronic), SIBT1W (mechanical single-pole), or SIBT2W (mechanical double-pole), all sold separately.

Image 3.2: Various optional built-in thermostat kits (SIBTE, SIBT1W, SIBT2W) available for integration with the heater.
4. Operating Instructions
Once properly installed and connected to a thermostat, operating your Stelpro Brava heater is straightforward.
- Power On: After installation, turn on the power at the main circuit breaker.
- Set Temperature: Use the connected wall-mounted or built-in thermostat to set your desired room temperature. The heater will activate when the ambient temperature falls below the set point.
- Convection Heating: The Brava heater uses natural convection to circulate warm air silently throughout the room. Hot air rises from the top of the unit, drawing cooler air in from below.
- Silent Operation: The unique design and absence of moving parts ensure quiet comfort without fan noise.
Video 4.1: Official product video demonstrating the features and appearance of the Brava Electric Baseboard Heater.
5. Maintenance
Your Stelpro Brava heater requires minimal maintenance to ensure optimal performance and longevity.
- Cleaning: Periodically clean the exterior of the heater with a soft, damp cloth. Do not use abrasive cleaners or solvents. Ensure the heater is completely cool and power is disconnected before cleaning.
- Clearances: Regularly check that no objects are obstructing the air intake or exhaust vents of the heater.
- No Internal Servicing: There are no user-serviceable parts inside the heater. Any internal servicing should be performed by qualified personnel.
6. Troubleshooting
If your Stelpro Brava heater is not functioning as expected, consider the following common issues:
- No Heat:
- Check if the circuit breaker for the heater is ON.
- Ensure the thermostat is set to a temperature higher than the current room temperature.
- Verify that the heater is properly hardwired and all electrical connections are secure (consult a qualified electrician if unsure).
- Heater Overheating/Shutting Off:
- Check for any obstructions blocking the air vents. Clear any dust or debris.
- Ensure adequate clearance around the heater as per installation guidelines.
- The thermal protection may have activated. Allow the unit to cool down; it should reset automatically. If it frequently trips, consult an electrician.
- Unusual Noises:
- The Brava heater is designed for silent operation. If unusual noises occur, ensure the unit is securely mounted and not vibrating against the wall.
- If persistent or loud noises are heard, disconnect power and contact customer support.
For issues not resolved by these steps, contact Stelpro customer support or a qualified electrician.
7. Specifications
| Feature | Detail |
|---|---|
| Brand | Stelpro |
| Model Number | AB03029W |
| Voltage | 240 Volts (also operates at 208V) |
| Wattage | 300 Watts (225 Watts at 208V) |
| Amperage | 1.25 Amps |
| Heating Coverage | Up to 30 sq feet |
| Product Dimensions (D x W x H) | 2.56"D x 22"W x 5.75"H |
| Item Weight | 4.5 pounds |
| Color | White |
| Fuel Type | Electric |
| Special Features | Bladeless, Energy Efficient, Fast Heating, Noiseless, Overheat Protection |
| Mounting Type | Wall Mount |
| Indoor/Outdoor Usage | Indoor |
| Min Temperature Setting | 32 Degrees Fahrenheit |
| Max Temperature Setting | 104 Degrees Fahrenheit |
| UPC | 626296735916 |

Image 7.1: Side view of the Stelpro Brava heater with key dimensions indicated.
8. Warranty and Support
Stelpro stands behind the quality of its products.
- Warranty: This product is backed by Stelpro’s 5-year limited warranty. The heating element carries a lifetime warranty for long-term peace of mind.
- Customer Support: For technical assistance, warranty claims, or further information, please visit the official Stelpro website or contact their customer service department.


