
Introduction
Thank you for choosing the Relndoo TAB9 12-inch Android 15 Tablet. This device is designed to provide a versatile and powerful computing experience, whether for work, entertainment, or communication. This user manual will guide you through the setup, operation, maintenance, and troubleshooting of your new tablet, ensuring you can fully utilize its features.
What's in the Box
Carefully unpack your Relndoo TAB9 tablet and check for the following items:
- 1 x Relndoo TAB9 12-inch Android Tablet
- 1 x Bluetooth Keyboard
- 1 x Wireless Mouse
- 1 x Stylus Pen
- 1 x Foldable Protective Case
- 1 x Screen Protector (pre-applied or separate)
- 1 x Charging Adapter
- 1 x USB-C Charging Cable
- 1 x User Manual (this document)
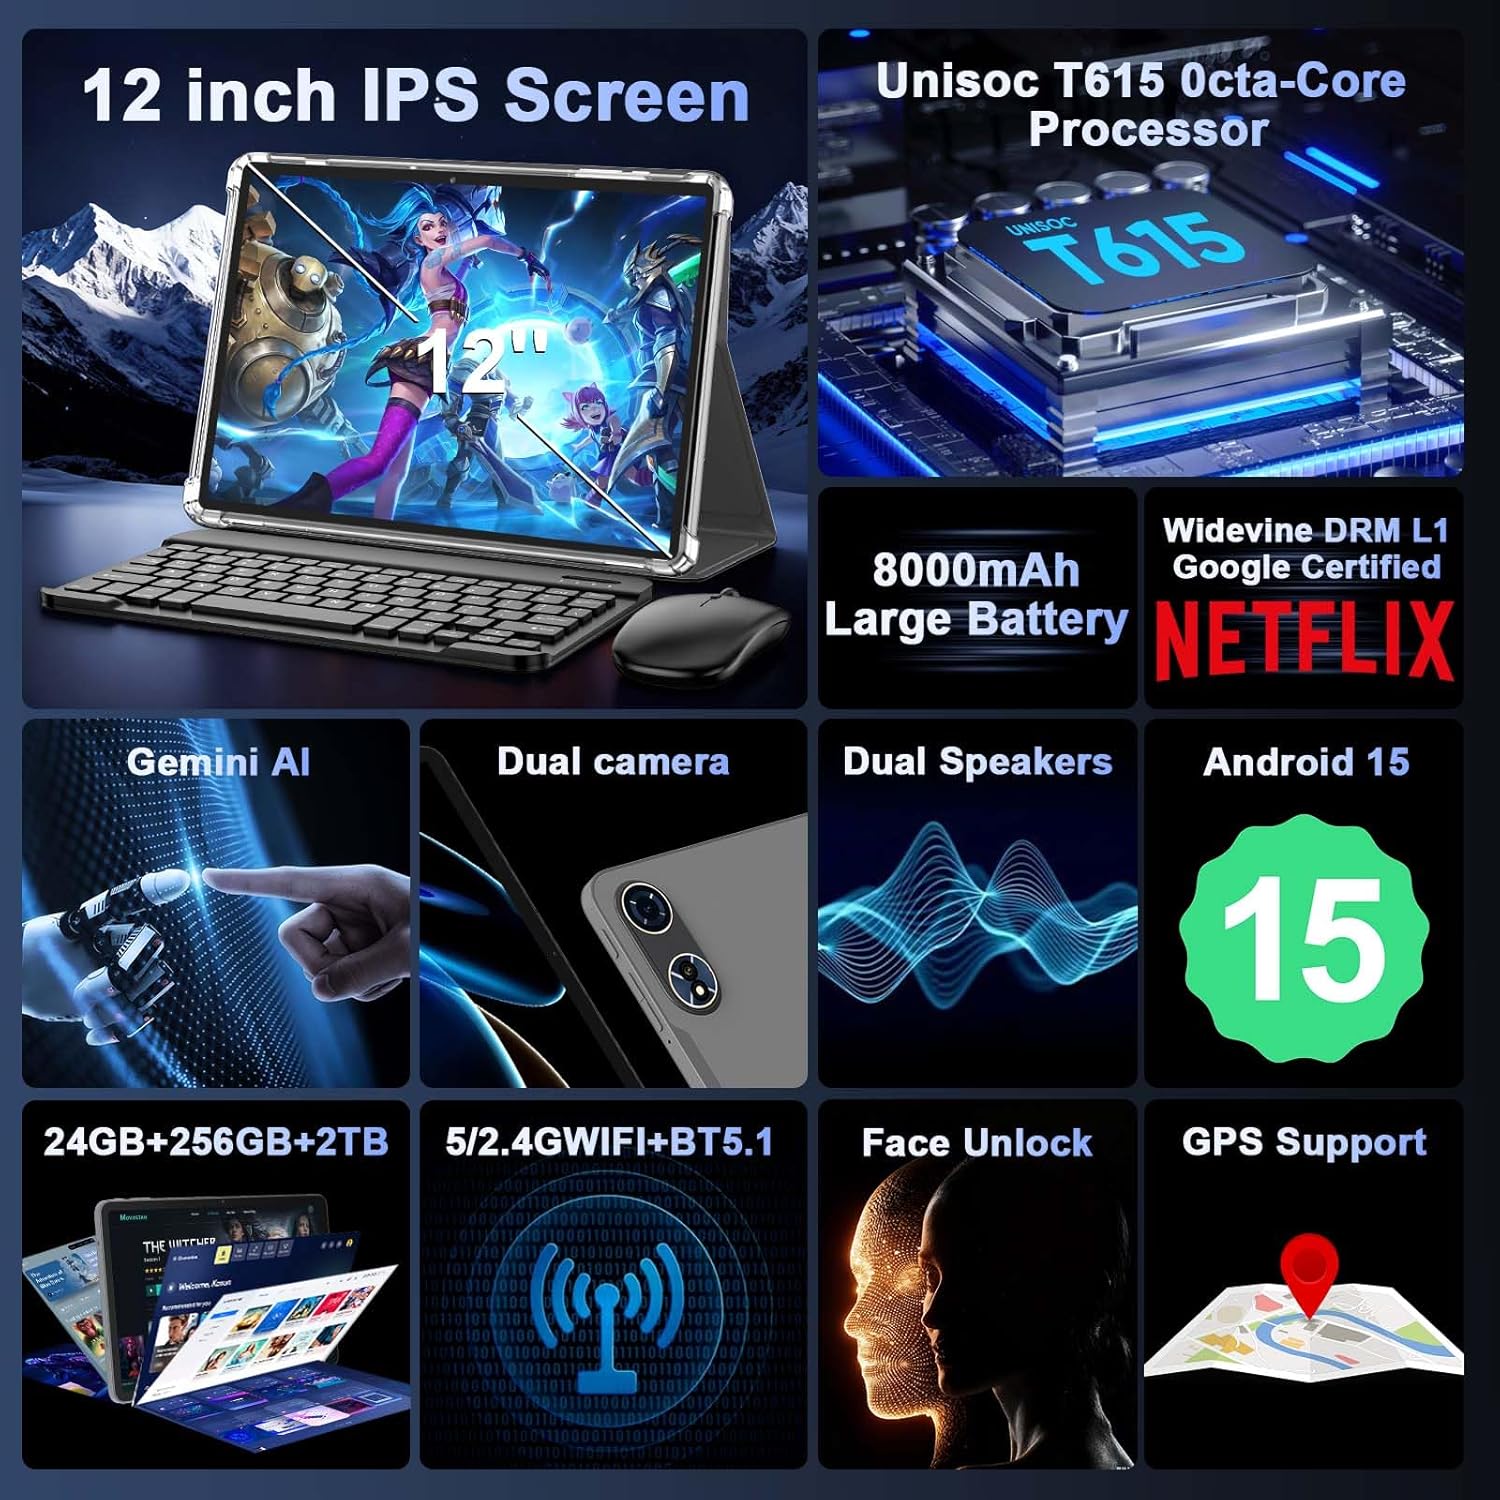
Image: The Relndoo TAB9 tablet shown with its complete accessory bundle, including the keyboard, mouse, stylus, and protective case.
Product Overview
Familiarize yourself with the physical components and ports of your Relndoo TAB9 tablet.
Tablet Layout

Image: Front and rear views of the Relndoo TAB9 tablet, highlighting the camera, speakers, and various ports.
Front Camera: Located at the top center when held vertically, used for video calls and selfies.
Rear Camera: Located on the back, used for high-resolution photos and videos.
Power Button: Typically on the side, press and hold to power on/off or restart. Short press to sleep/wake.
Volume Buttons: Adjust the audio volume.
USB-C Port: For charging the tablet and connecting to a computer for data transfer.
3.5mm Headphone Jack: For connecting wired headphones or external speakers.
MicroSD Card Slot: Expand storage capacity up to 2TB.
Speakers: Dual stereo speakers for enhanced audio output.
Setup Guide
1. Initial Charging
Before first use, fully charge your tablet. Connect the USB-C charging cable to the tablet's USB-C port and the charging adapter to a power outlet. The battery indicator on the screen will show charging progress.
2. Powering On/Off
To power on, press and hold the Power button until the screen lights up. To power off, press and hold the Power button, then select "Power off" from the options. A short press of the Power button will put the tablet to sleep or wake it up.
3. Wi-Fi Connection
- Go to Settings > Network & internet > Wi-Fi.
- Toggle Wi-Fi On.
- Select your desired Wi-Fi network from the list.
- Enter the password if prompted and tap Connect.
4. Google Account Setup
During initial setup or later via Settings, sign in with your Google account. This is essential for accessing the Google Play Store, Gmail, Google Drive, and other Google services.
5. Inserting a MicroSD Card
Locate the MicroSD card slot on the side of the tablet. Gently insert a compatible MicroSD card (up to 2TB, FAT32 format) into the slot until it clicks into place. The tablet will recognize the new storage.
6. Connecting Accessories (Keyboard, Mouse, Stylus)
The included keyboard and mouse connect via Bluetooth. The stylus may also connect via Bluetooth or be passive.
Bluetooth Keyboard & Mouse:
- Ensure the keyboard/mouse are charged and in pairing mode (refer to their individual manuals if needed).
- On your tablet, go to Settings > Connected devices > Pair new device.
- Select the keyboard or mouse from the list of available devices and follow on-screen prompts to complete pairing.
Stylus Pen:
The stylus pen is typically ready for use upon removal from its holder or may require a simple Bluetooth pairing as described above if it's an active stylus.
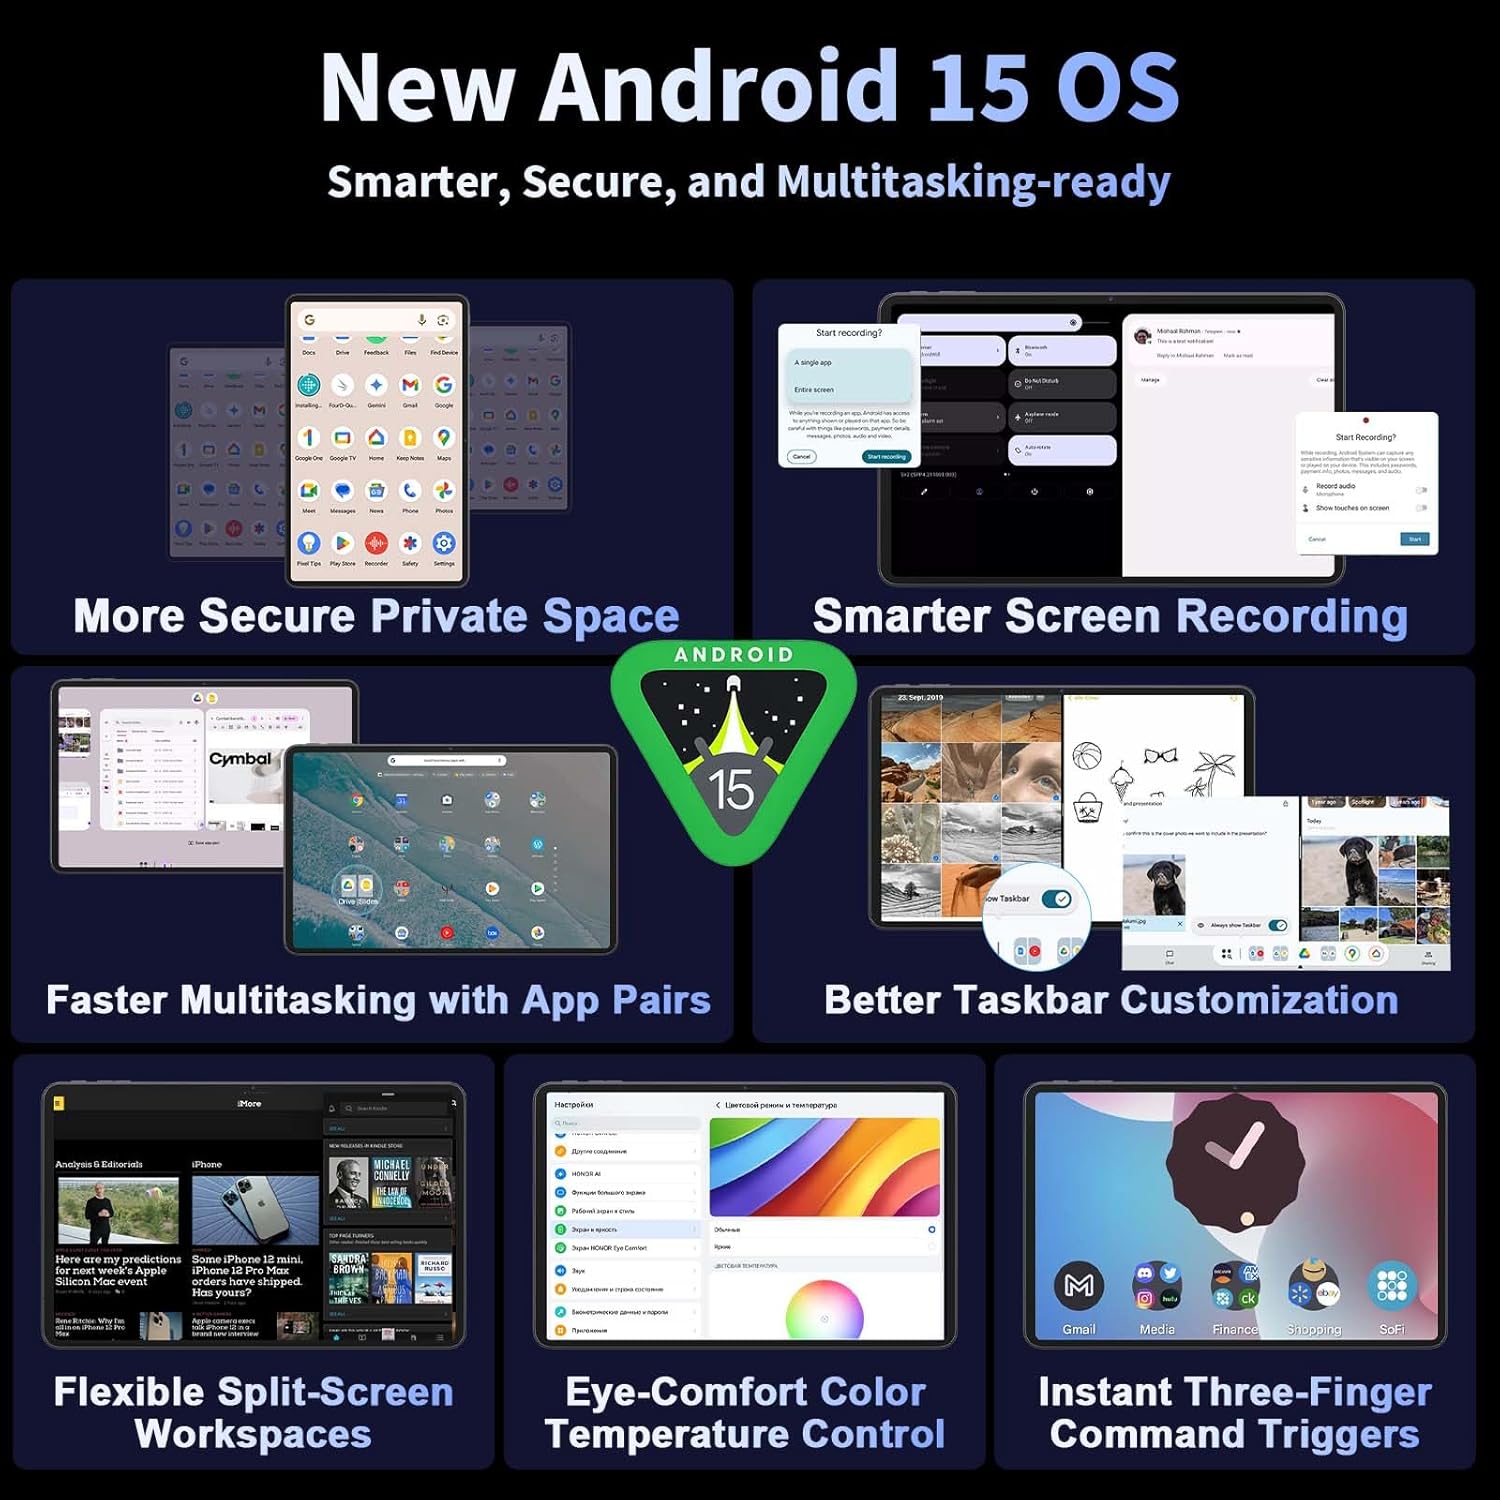
Image: The Relndoo TAB9 tablet configured in laptop mode with the Bluetooth keyboard and wireless mouse.
Operating Instructions
1. Android 15 Interface
Your tablet runs on Android 15, offering an intuitive and secure user experience. Navigate using touch gestures: swipe, tap, pinch, and spread. The home screen can be customized with widgets and app shortcuts.
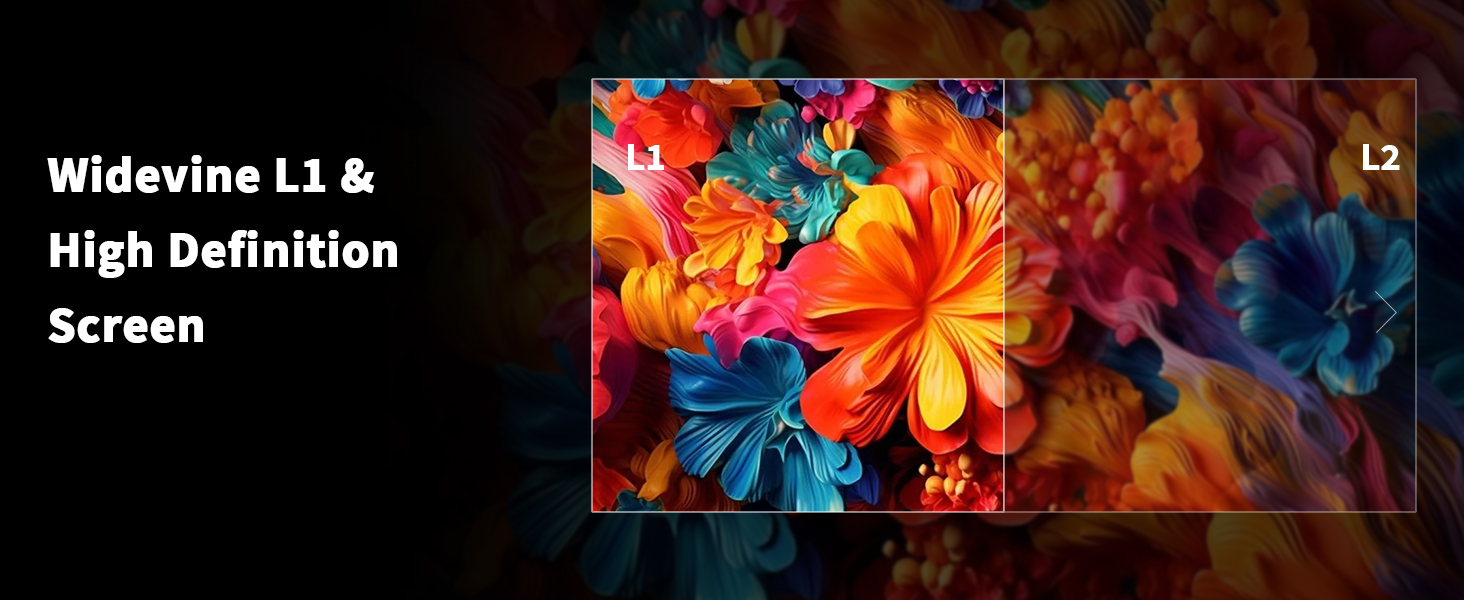
Image: Overview of key features in the Android 15 operating system, such as enhanced privacy, multitasking, and customization options.
2. Multitasking with Split-Screen
To use split-screen mode for efficient multitasking:
- Open an app.
- Swipe up from the bottom of the screen and hold to view recent apps.
- Tap the app icon at the top of the app's card and select Split screen.
- Choose a second app from your recent apps or app drawer to open alongside the first.
3. Camera Operation
The tablet features an 8MP front camera and a 16MP rear camera.
- Open the Camera app.
- Tap the shutter button to take a photo.
- Switch between front and rear cameras using the camera flip icon.
- Select video mode to record videos.
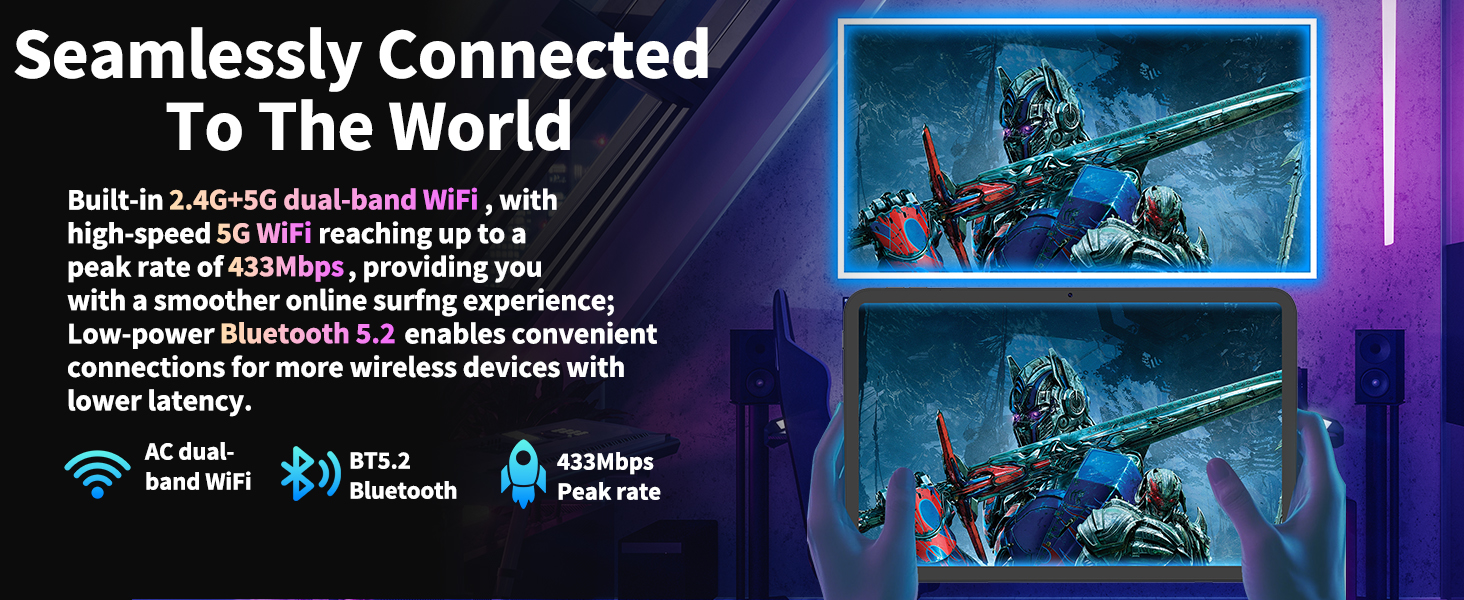
Image: Details of the tablet's dual cameras, highlighting the 16MP rear and 8MP front cameras, along with Google Lens integration.
4. Display Settings and Eye Protection
Adjust display settings for optimal viewing comfort:
- Go to Settings > Display.
- Adjust Brightness level.
- Enable Night Light or Reading Mode to reduce blue light for eye comfort.
- Activate Dark Mode for a darker interface.
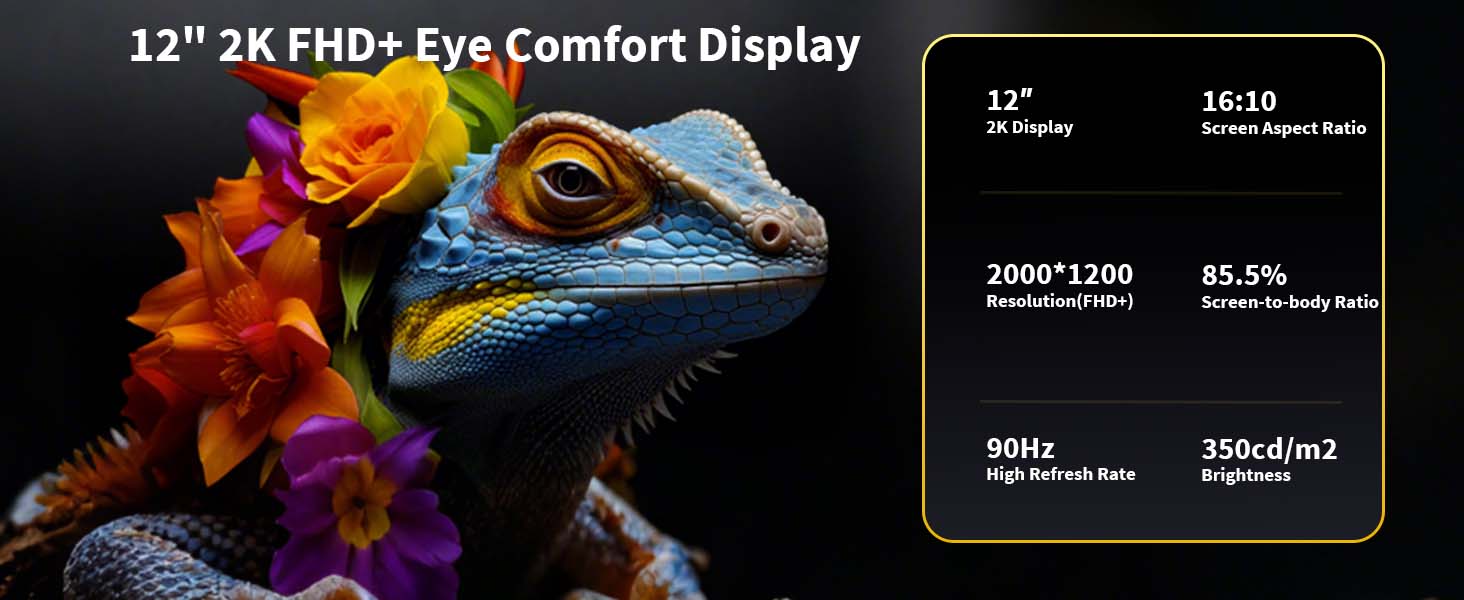
Image: The tablet's display features, including Widevine L1 certification for HD streaming and various eye-protection modes.
5. Audio and Entertainment
The tablet features dual stereo speakers for an immersive audio experience. Connect headphones via the 3.5mm jack for private listening.
With Widevine L1 certification, you can stream 1080P HD content from platforms like Netflix, YouTube, HBO, and Amazon Prime Video.
6. GPS Navigation
The built-in GPS provides precise location services. Use navigation apps for travel and outdoor activities.
7. Face Unlock
Set up Face Unlock for convenient and secure access to your tablet:
- Go to Settings > Security & privacy > Face unlock.
- Follow the on-screen instructions to register your face.
8. Gemini AI Integration
The tablet integrates Gemini AI for enhanced functionality, including content creation, information retrieval, image analysis, code development, language learning, and intelligent assistance.
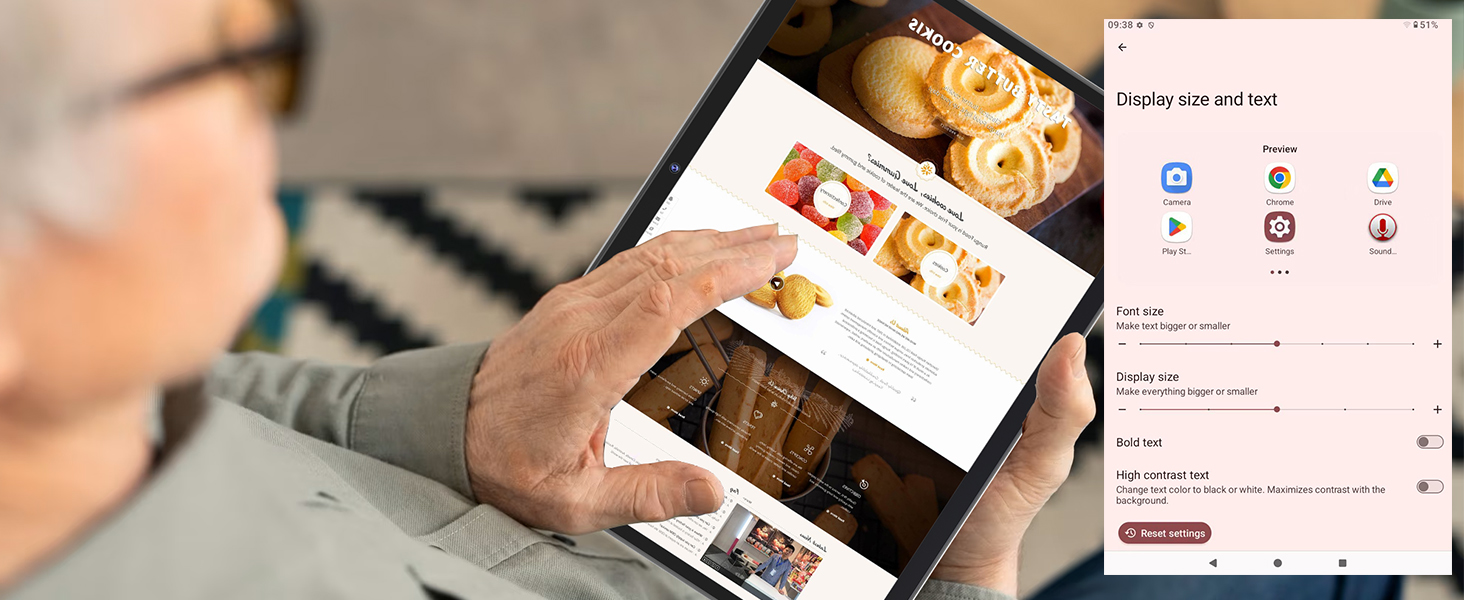
Image: An overview of the Gemini AI features integrated into the tablet, enhancing productivity and user interaction.
9. Parental Controls
Utilize built-in parental controls to create a safe browsing and usage environment for children. Access these settings via Settings > Digital Wellbeing & parental controls.
Maintenance
1. Cleaning the Tablet
Use a soft, lint-free cloth to clean the screen and body of the tablet. For stubborn smudges, slightly dampen the cloth with water or a screen cleaner designed for electronics. Avoid harsh chemicals or abrasive materials.
2. Software Updates
Regularly check for and install system updates to ensure optimal performance, security, and access to new features. Go to Settings > System > System update.
3. Storage Management
To maintain performance, periodically review and manage your tablet's storage. Delete unnecessary files, uninstall unused apps, and move large media files to the expandable MicroSD card or cloud storage. Go to Settings > Storage.
4. Battery Care
To prolong battery life:
- Avoid extreme temperatures.
- Do not let the battery fully discharge frequently.
- Use the provided charging adapter and cable.
- Enable battery saver mode when needed.
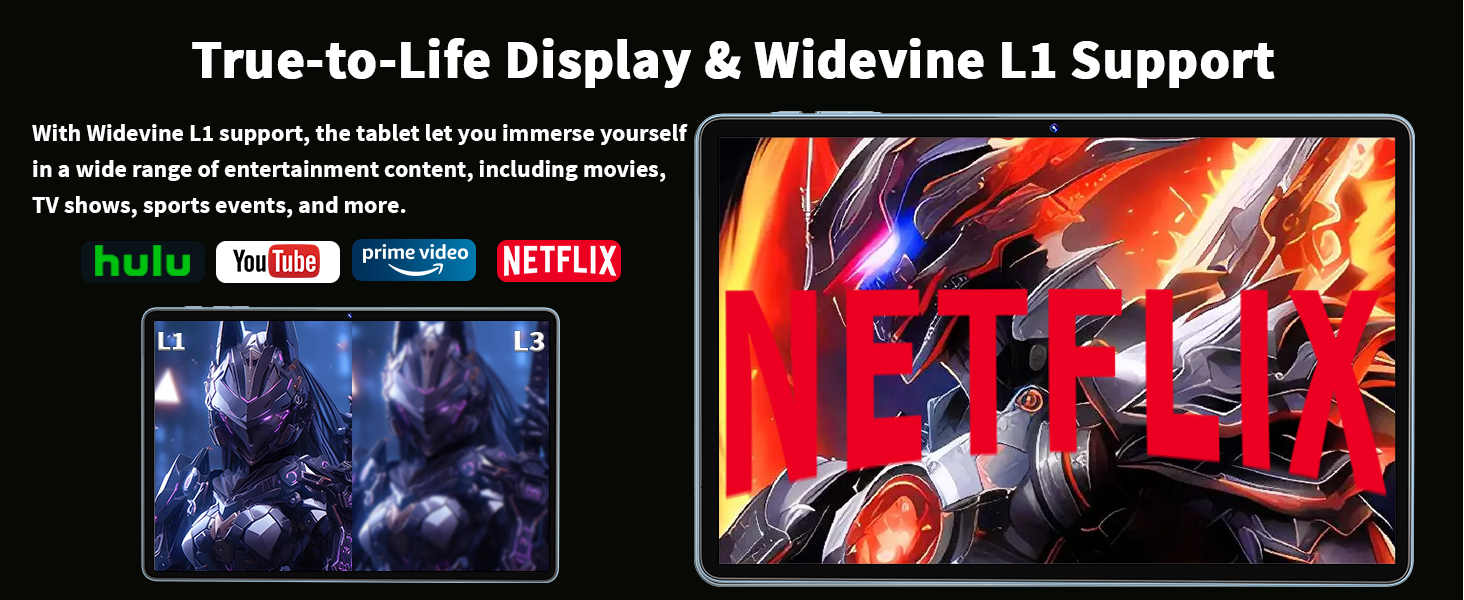
Image: Details on the tablet's 8000mAh battery and 18W fast charging capabilities, including estimated usage durations.
Troubleshooting
If you encounter issues with your Relndoo TAB9 tablet, refer to the following common solutions:
Tablet Not Powering On
- Ensure the tablet is sufficiently charged. Connect it to the charger for at least 30 minutes.
- Press and hold the Power button for 10-15 seconds to force a restart.
Wi-Fi Connectivity Issues
- Toggle Wi-Fi off and on in Settings.
- Restart your Wi-Fi router.
- Forget the network and reconnect, entering the password again.
- Ensure the tablet is within range of the Wi-Fi signal.
Slow Performance or Freezing
- Close unused apps running in the background.
- Clear cache for frequently used apps (Settings > Apps > select app > Storage & cache > Clear cache).
- Restart the tablet.
- Check for system updates.
- Ensure sufficient storage space is available.
Battery Drains Quickly
- Reduce screen brightness.
- Disable Wi-Fi, Bluetooth, and GPS when not in use.
- Close power-intensive apps.
- Check battery usage in Settings > Battery to identify apps consuming the most power.
- Enable Battery Saver mode.
Accessories Not Connecting
- Ensure Bluetooth is enabled on the tablet.
- Put the accessory (keyboard, mouse) into pairing mode.
- Ensure accessories are charged.
- Remove previously paired accessories from the tablet's Bluetooth settings and try pairing again.
If problems persist, contact customer support for further assistance.
Specifications
Below are the detailed technical specifications for the Relndoo TAB9 12-inch Android 15 Tablet:
| Feature | Detail |
|---|---|
| Model Name | TAB9 |
| Operating System | Android 15 (GMS Certified) |
| Processor | Unisoc T615 Octa-Core (ARM Cortex-A75) |
| RAM Memory | 24GB (8GB physical + 16GB extended) |
| Internal Storage | 256GB |
| Expandable Storage | Up to 2TB via MicroSD (FAT32 format) |
| Screen Size | 12 Inches |
| Display Resolution | 1200*2000 Pixels (2K Display) |
| Wireless Connectivity | 5G Wi-Fi (2.4G/5G AC), Bluetooth 5.0 |
| Cellular Technology | 5G (Refers to 5G Wi-Fi, not cellular data) |
| GPS | Built-in GPS/Beidou/Glonass |
| Front Camera | 8MP |
| Rear Camera | 16MP |
| Battery Capacity | 8000mAh Lithium Polymer |
| Charging | USB-C, 18W Fast Charging |
| Audio | Dual Stereo Speakers, 3.5mm Headphone Jack |
| Special Features | Widevine L1, Face Unlock, Gemini AI, Parental Controls |
| Dimensions (L x W x Thickness) | 17.5"L x 6"W x 16.2"Th (Note: These dimensions may refer to packaging or an error in listing. Please refer to the product page for precise tablet dimensions.) |
| Color | Pink (Tablet itself is blue, case is pink) |
Warranty and Support
Warranty Information
The Relndoo TAB9 tablet comes with a limited warranty. For specific details regarding the warranty period and coverage, please refer to the warranty card included in your product packaging or visit the official Relndoo website.
Customer Support
If you require technical assistance, have questions about your product, or need to report an issue, please contact Relndoo customer support through their official website or the contact information provided in your product documentation.