
1. Introduction
This manual provides essential instructions for the safe and effective operation of your Monitech S210 Digital Camera. Please read this manual thoroughly before using the camera and retain it for future reference.
2. Package Contents
Verify that all items listed below are included in your package:
- Monitech S210 Digital Camera Body
- Camera Lens
- 2 x Rechargeable Lithium Polymer Batteries
- Battery Charger
- USB Cable
- 64GB SDHC Memory Card
- Lens Cap
- Lens Hood
- UV Filter (58mm)
- Camera Strap
- Mini Tripod/Grip
- Cleaning Cloth
Video: Unboxing and initial setup of the Monitech S210 Digital Camera, demonstrating how to prepare the camera for first use.
3. Setup
3.1 Battery Installation
- Locate the battery compartment cover on the bottom of the camera.
- Slide the latch to open the cover.
- Insert a charged battery into the compartment, ensuring the contacts align correctly.
- Close the battery compartment cover until it clicks securely into place.
3.2 Memory Card Installation
The camera supports SDHC memory cards up to 64GB.
- Locate the memory card slot on the side of the camera.
- Insert the SDHC memory card with the metal contacts facing the lens until it clicks into place.
- To remove, press the card gently inward until it springs out.

Image: Proper insertion of the memory card into the camera's designated slot.
3.3 Attaching the Lens Filter and Hood
- Gently screw the UV filter onto the front of the lens in a clockwise direction until secure.
- Align the lens hood with the front of the lens and twist it clockwise until it locks into place.
3.4 Attaching the Mini Tripod/Grip
- Extend the mini tripod legs if desired.
- Screw the tripod's mounting screw into the tripod socket on the bottom of the camera until it is firmly attached.
4. Operating the Camera
4.1 Powering On/Off
Press and hold the power button located on the top of the camera to turn it on or off.
4.2 Basic Controls
Familiarize yourself with the main controls:
- Shutter Button: Half-press to focus, full-press to capture.
- Mode Dial: Selects shooting modes (Auto, Manual, Video, etc.).
- Navigation Buttons: Used for menu navigation and setting adjustments.
- Zoom Lever: Controls optical and digital zoom.
4.3 Adjusting Resolution (Photo/Video)
To change photo or video resolution:
- Press the OK button to access the quick menu.
- Navigate to the photo or video settings icon.
- Select your desired resolution (e.g., 64MP for photos, 8K for video).

Image: Visual guide for adjusting photo and video resolution settings on the camera's display.
4.4 Shooting Modes
Rotate the mode dial to select from various shooting modes:
- Video Mode: For recording 8K/15FPS or 5K/30FPS videos.
- Night Mode: Optimized for excellent low-light performance.
- Macro Mode: For close-up shooting of small details.
- Auto Mode: Intelligent shooting for general use.
- Manual Mode: Provides full control over camera settings.
- Program Auto (P Mode): Semi-automatic control.
- High-Speed Capture (S Mode): For capturing fast-moving subjects.
- Aperture Priority (A Mode): Allows control over depth of field.
- Moon Mode: Specifically designed for photographing the moon.

Image: Overview of the camera's mode dial and various shooting options for quick selection.
4.5 Autofocus Function
The camera features a hybrid autofocus system. To focus, half-press the shutter button. The camera will automatically adjust focus. A green box indicates the subject is in focus, while a white box indicates it is out of focus.

Image: Illustration of the autofocus mechanism, showing how to half-press the shutter button to achieve focus.
4.6 Zoom Function
The Monitech S210 offers 16X optical zoom and 3X digital zoom, totaling 48X zoom. Use the zoom lever to adjust the focal length. Optical zoom retains image quality, while digital zoom may result in some detail degradation.
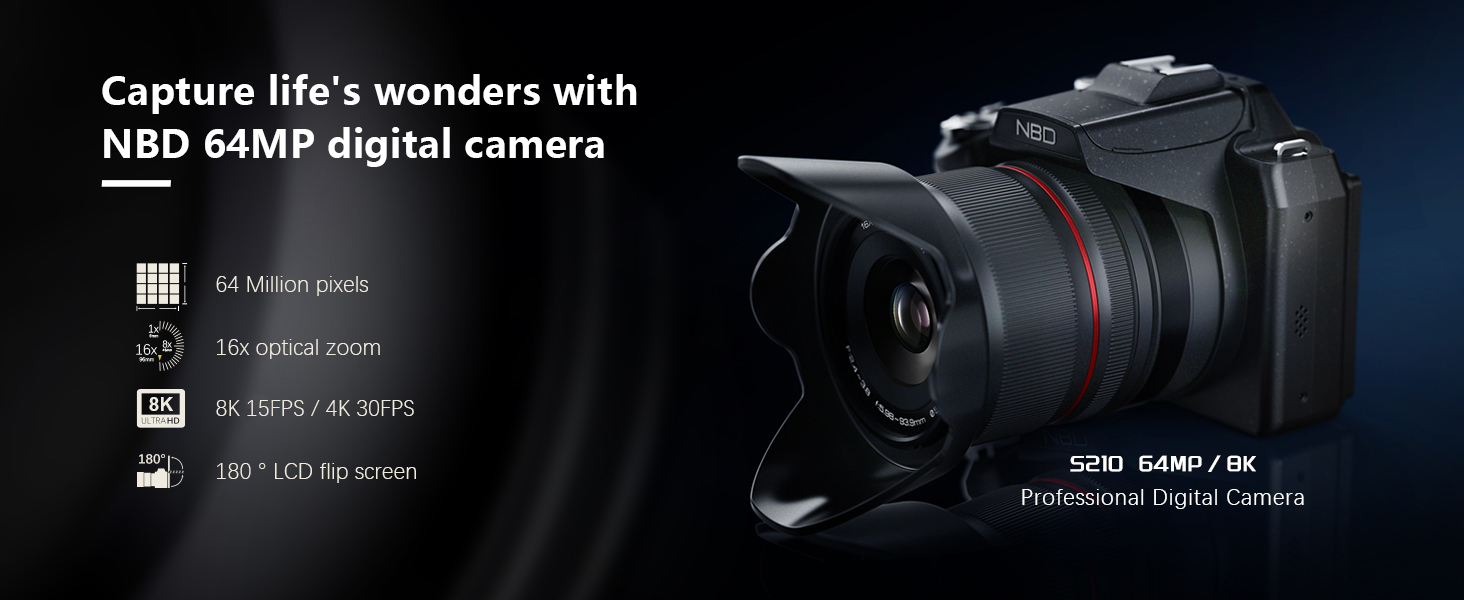
Image: Comparison demonstrating the clarity of 16X optical zoom versus the detail degradation of digital zoom.
4.7 Video Recording
Record videos in resolutions up to 8K UHD (4320p) at 15 frames per second, or 4K at 30 frames per second. Ensure sufficient memory card space for high-resolution video files.

Image: Visual representation of the camera's capability to record videos in up to 8K resolution, highlighting intricate visual details.
4.8 Using the 180° Flip Screen
The 2.8-inch LCD screen can be articulated 180 degrees, making it suitable for vlogging, selfies, and low-angle shots. Adjust the screen to your preferred viewing angle.
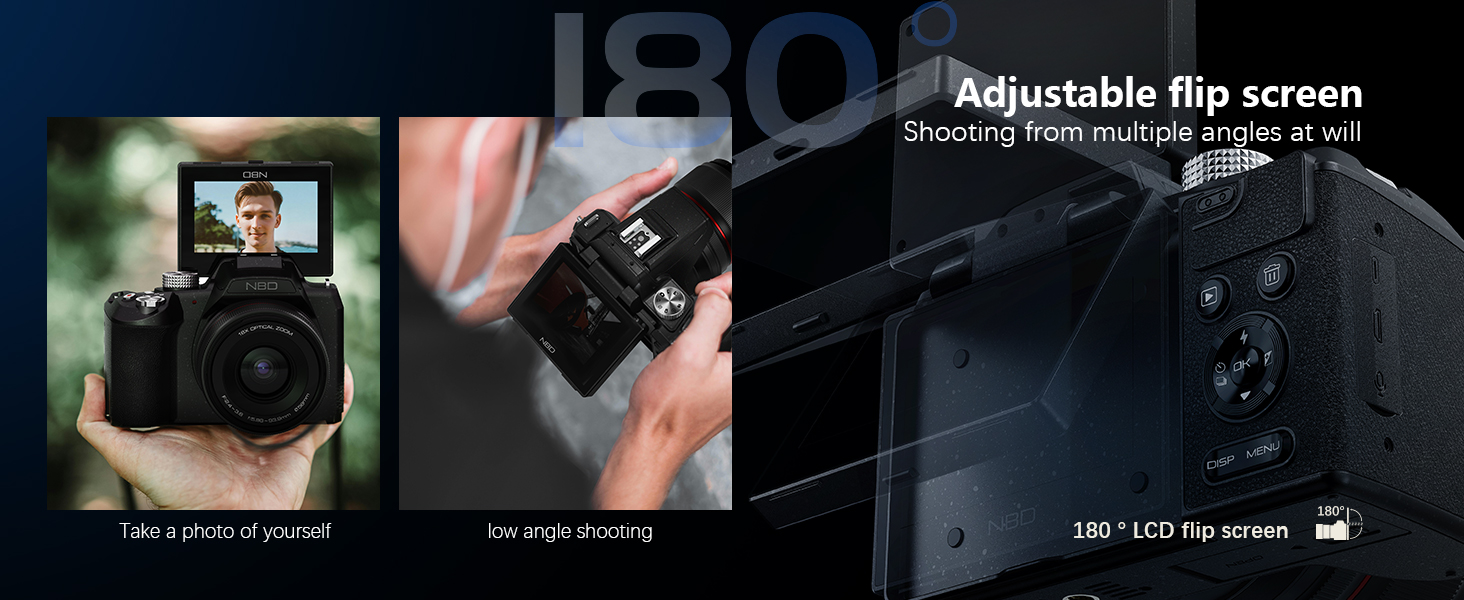
Image: Demonstrates the 180-degree adjustable flip screen, useful for various shooting angles including selfies and low-angle shots.
4.9 Wi-Fi Function and Image Transfer
To transfer photos and videos wirelessly:
- Enable Wi-Fi on the camera via the menu.
- Download the companion mobile application (refer to the camera's display for QR code or app name).
- Connect your smartphone to the camera's Wi-Fi network.
- Use the app to browse and transfer files to your device.

Image: Step-by-step guide on how to use the camera's Wi-Fi function to transfer images to a smartphone.
4.10 Connecting to External Devices (Micro HDMI)
The camera features a Micro HDMI port for connecting to external displays like TVs or monitors. Use a Micro HDMI to HDMI cable (not included) to view your photos and videos on a larger screen.

Image: Illustrates the camera's various ports, including Micro HDMI, for connecting to external devices and accessories.
5. Maintenance
5.1 Cleaning the Camera and Lens
- Use a soft, lint-free cloth to clean the camera body.
- For the lens, use a lens brush to remove dust, then gently wipe with a specialized lens cleaning cloth and solution. Avoid touching the lens surface with your fingers.
5.2 Battery Care
- Charge batteries fully before first use.
- Store batteries in a cool, dry place when not in use.
- Do not expose batteries to extreme temperatures.
5.3 Storage
When not in use for extended periods, remove the battery and memory card. Store the camera in a dry, dust-free environment, preferably in a camera bag.
6. Troubleshooting
| Problem | Possible Cause | Solution |
|---|---|---|
| Camera does not power on. | Battery is depleted or incorrectly inserted. | Charge the battery fully. Reinsert the battery correctly. |
| Images are blurry. | Incorrect focus, dirty lens, or camera shake. | Ensure autofocus is engaged. Clean the lens. Use a tripod or increase shutter speed. |
| Wi-Fi connection fails. | Incorrect password, app not installed, or distance too far. | Verify Wi-Fi password. Install the correct app. Move closer to the camera. |
| Memory card error. | Card is full, corrupted, or incompatible. | Delete unnecessary files or use a new card. Format the card (this will erase all data). Ensure card is SDHC compatible. |
7. Specifications
| Feature | Specification |
|---|---|
| Model Name | S100 (also referred to as S210) |
| Photo Sensor Resolution | 64 MP |
| Video Resolution | 8K (4320p) at 15 FPS, 4K at 30 FPS |
| Optical Zoom | 16x |
| Digital Zoom | 3x |
| Display Type | 2.8-inch Articulating LCD |
| Connectivity | Wi-Fi, Micro HDMI |
| Storage Media | SDHC (up to 64 GB included) |
| Battery Type | Rechargeable Lithium Polymer |
| Sensor Type | CMOS |
| Shutter Speed | Minimum 1/24 seconds, Maximum 1/2000 seconds |
| Shooting Modes | Automatic, Landscape, Macro, Moon, Movie, Sports, Night, Program Auto, Aperture Priority, High-Speed Capture |
8. Warranty and Support
8.1 Warranty Information
The Monitech S210 Digital Camera comes with a 1-year limited warranty. Please retain your proof of purchase for warranty claims. For EU customers, spare part availability is guaranteed for 2 years.
8.2 Customer Support
For technical assistance, troubleshooting, or warranty inquiries, please contact Monitech customer support through the official website or the contact information provided with your purchase. Please have your model number and purchase date ready when contacting support.