
1. Introduction
Welcome to the Monitech 8K Digital Camera S205E-A user manual. This guide provides detailed instructions on how to set up, operate, and maintain your new digital camera. The Monitech S205E-A is designed for both photography and video recording, featuring a 64MP sensor for high-resolution images and 8K ultra-HD video capabilities. It includes a 3-inch flip IPS screen, 16X digital zoom, autofocus, Wi-Fi connectivity, and various shooting modes to enhance your creative experience.

Image: The Monitech S205E-A camera in use, highlighting its compact design and key features like 8K video, 3-inch screen, time-lapse, webcam function, 64GB card support, flash, photo/video modes, playback, and 16X zoom.
2. What's in the Box
Upon unpacking, please ensure all items listed below are present:
- Camera Body
- 64GB TF Card
- Two Rechargeable Batteries
- Battery Charger
- USB Cable
- External Microphone
- User Manual
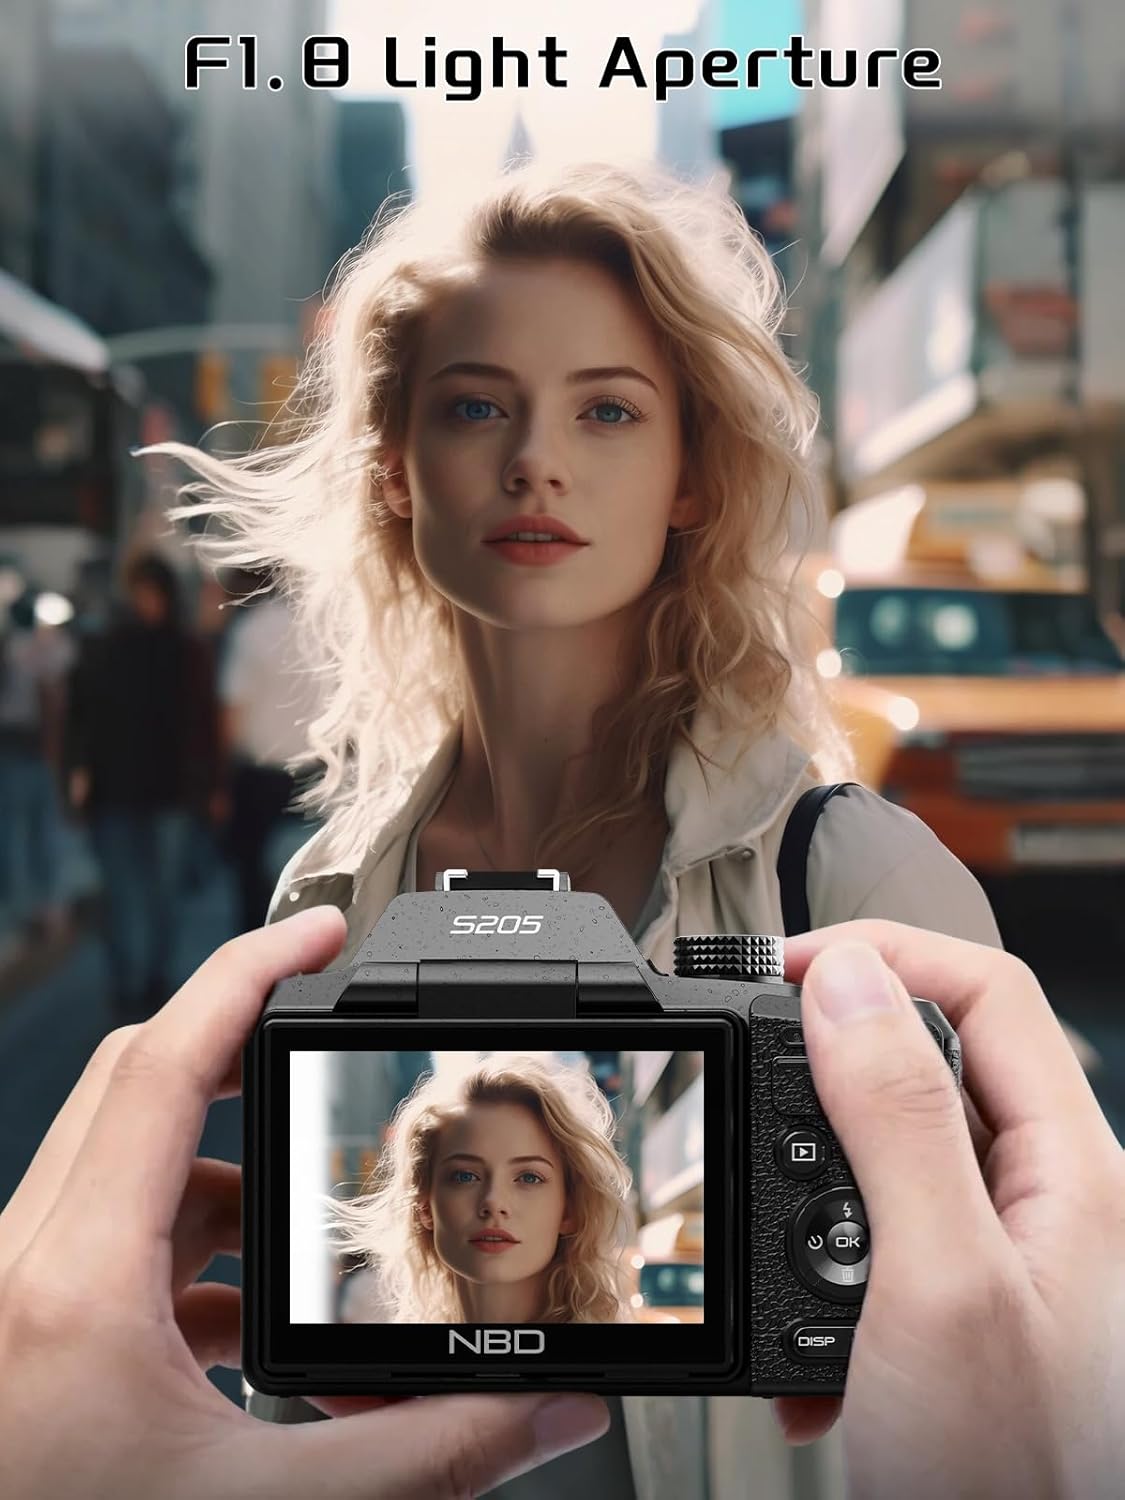
Image: The Monitech S205E-A camera laid out with its included accessories: camera body, manual, battery charger, 64GB TF card, USB 2.0 adapter, two batteries, cleaning tools, and USB-C cable.
3. Product Overview
3.1 Camera Components
Familiarize yourself with the main components of your Monitech S205E-A camera.

Image: Front view of the Monitech S205E-A digital camera, showcasing its lens and ergonomic design.

Image: Rear view of the Monitech S205E-A digital camera, displaying the 3-inch flip screen in an extended position, ideal for vlogging and selfies.
3.2 Controls and Ports
- Power Button: Turns the camera on or off.
- Shutter Button: Half-press to focus, full-press to capture.
- Mode Dial: Selects various shooting modes (Intelligent Scene, Program, Aperture Priority, Shutter Priority, Manual Exposure, Scene Mode, Continuous Shooting, Filter Mode).
- Zoom Lever: Controls the 16X digital zoom.
- Navigation Buttons: For menu navigation and settings adjustment.
- Flip Screen: 3-inch IPS screen that can rotate 180 degrees for selfies and vlogging.
- USB Port: For data transfer and webcam functionality.
- HDMI Port: For connecting to external displays.
- Microphone Input: For connecting the external microphone.
4. Setup
4.1 Battery Installation
- Open the battery compartment cover located at the bottom of the camera.
- Insert the rechargeable battery, ensuring the correct orientation as indicated inside the compartment.
- Close the battery compartment cover until it clicks securely into place.
Charge the battery fully before first use using the provided charger.
4.2 Memory Card Installation
The camera supports Micro SD (TF) cards up to 64GB.
- Locate the memory card slot on the side of the camera.
- Insert the 64GB TF card with the metal contacts facing down, pushing it gently until it clicks into place. The TF card slot should face the icon.
- To eject the card, push it in again until you hear a click, and it will spring out.

Image: Visual guide for installing the memory card. Insert the TF card facing the icon until it clicks. Push again to eject.
5. Basic Operation
5.1 Power On/Off
Press and hold the power button to turn the camera on or off.
5.2 Taking Photos
- Turn the mode dial to the desired photo mode (e.g., Intelligent Scene, Program).
- Frame your shot using the 3-inch flip screen.
- Half-press the shutter button to activate autofocus. The focus frame will turn green when the subject is in focus.
- Fully press the shutter button to capture the photo.
5.3 Recording Videos
- Turn the mode dial to video mode.
- Press the shutter button to start recording. A red 'REC' indicator will appear on the screen.
- Press the shutter button again to stop recording.
5.4 Autofocus
The camera features precise autofocus. To use autofocus, half-press the shutter button. The camera will automatically detect and focus on the subject. The focus indicator on the screen will change to green when focus is achieved.

Image: Instructions on using autofocus. Half-press the shutter button to focus; a green box indicates focus, while a dashed box indicates out of focus.
5.5 Zoom
Use the zoom lever to adjust the 16X digital zoom. Zoom in to magnify distant subjects or zoom out for a wider field of view.

Image: Demonstration of the 16X digital zoom capability, showing how images remain clear even when enlarged. Examples include 4X, 8X, and 16X zoom levels on a distant subject.
5.6 Flash
The camera features a built-in flash. You can adjust flash settings (e.g., Fill Flash) through the camera menu to suit different lighting conditions.

Image: Top panel shows a scene with and without flash, indicating flash activation. Bottom panel illustrates the anti-shake feature, showing a clear image versus a blurry one without stabilization.
5.7 Shooting Modes
Rotate the mode dial to select from various shooting modes:
- Intelligent Scene: Automatically optimizes settings for common scenes.
- Program: Camera sets aperture and shutter speed, you control other settings.
- Aperture Priority: You set aperture, camera sets shutter speed.
- Shutter Priority: You set shutter speed, camera sets aperture.
- Manual Exposure: Full control over aperture and shutter speed.
- Scene Mode: Pre-set modes for specific scenarios (e.g., Portrait, Landscape).
- Continuous Shooting: Captures multiple photos in quick succession.
- Filter Mode: Applies creative filters to your photos.

Image: The camera's mode dial, illustrating the selection of various shooting modes such as Intelligent Scene, Program, Aperture Priority, Shutter Priority, Manual Exposure, Scene Mode, Continuous Shooting, and Filter Mode.
5.8 Adjusting Picture and Video Quality
You can adjust the resolution for both photos and videos through the camera's menu.
- Press the OK button to access the menu.
- Navigate to the settings for Photo Resolution or Video Resolution.
- Select your desired resolution. For photos, options include up to 64MP. For videos, options include 8K 15FPS, 6K 25FPS, 5K 30FPS, and 4K 60FPS.

Image: Menu interface for adjusting photo resolution (up to 64MP) and video resolution (up to 8K 15FPS) on the camera.
6. Advanced Features
6.1 Wi-Fi Connectivity and App Control
The camera supports Wi-Fi for instant sharing and remote control via a mobile app.
- On the camera, navigate to the Wi-Fi settings in the menu and turn Wi-Fi on.
- Download the dedicated mobile app (scan the QR code displayed on the camera screen or refer to the manual for app name).
- Connect your smartphone to the camera's Wi-Fi network (SSID and password will be displayed on the camera).
- Use the app to transfer photos/videos, control camera functions remotely, and share directly to social media platforms.

Image: The Monitech S205E-A camera on a tripod, connected to a smartphone via Wi-Fi for app control and sharing to platforms like Facebook, Twitter, YouTube, Instagram, and Line.

Image: Step-by-step guide on how to enable Wi-Fi on the camera, connect to the mobile app, and transfer photos. Includes QR code for app download.
For app download, please visit: https://qr19.cn/BIamDW
6.2 Webcam Functionality
Connect the camera to your PC via USB to use it as a high-quality webcam for live streaming or video calls.
- Connect the camera to your computer using the provided USB cable.
- Select 'Webcam Mode' on the camera screen if prompted.
- Your computer should recognize the camera as a webcam. Select it in your video conferencing or streaming software.
6.3 HDMI Output
View your photos and videos on a larger screen by connecting the camera to a TV or monitor via HDMI.
- Connect one end of an HDMI cable (not included) to the camera's HDMI port.
- Connect the other end to an HDMI input on your TV or monitor.
- Select the correct HDMI input on your display device.
6.4 Special Shooting Modes
The camera offers advanced shooting modes for creative content creation:
- Time-Lapse: Capture a series of images over time and combine them into a sped-up video.
- Slow Motion: Record videos at a higher frame rate to play back in slow motion.
- Continuous Shooting: Capture a burst of photos, ideal for fast-moving subjects.
Image: Icons illustrating key features: Time-Lapse Mode, Advanced AF Algorithm, Creative Filter Presets, and Anti-Shake technology.
7. Maintenance
7.1 Cleaning the Camera
- Use a soft, lint-free cloth to clean the camera body.
- For the lens and screen, use a specialized lens cleaning cloth and solution. Avoid harsh chemicals.
- Use an air blower to remove dust from the lens surface.
7.2 Battery Care
- Store batteries in a cool, dry place when not in use.
- Avoid fully discharging the batteries regularly to prolong their lifespan.
- Use only the provided charger for charging.
8. Troubleshooting
If you encounter issues with your camera, please refer to the following common solutions:
| Problem | Possible Cause | Solution |
|---|---|---|
| Camera does not power on | Battery is depleted or incorrectly inserted. | Charge the battery fully. Reinsert the battery correctly. |
| Blurry photos | Incorrect focus, camera shake, or low light. | Ensure autofocus is engaged (half-press shutter). Use anti-shake feature. Increase ISO or use flash in low light. |
| Cannot record video/take photos | Memory card full or not inserted. | Insert a memory card. Delete unnecessary files or replace the card. |
| Wi-Fi connection issues | Incorrect password or app issues. | Verify Wi-Fi password. Restart camera and phone. Reinstall the app. |
| Dark photos/videos | Insufficient lighting or incorrect exposure settings. | Use flash. Adjust ISO, aperture, or shutter speed in manual modes. |
If the problem persists, please contact Monitech customer support.
9. Specifications
Detailed technical specifications for the Monitech 8K Digital Camera S205E-A:
- Model Name: S205E-A
- Brand: Monitech
- Photo Sensor Resolution: 64 MP
- Video Resolution: 8K (30 fps)
- Digital Zoom: 16x
- Screen Size: 3 Inches (Articulating LCD)
- Photo Sensor Technology: CMOS
- Image Stabilization: Digital
- Autofocus: Yes (Face Detection)
- Connectivity: Wi-Fi, USB, HDMI
- Memory Storage: Micro SD (up to 64 GB included)
- Battery Type: Lithium Ion (2 included)
- Supported File Format: MP4 (Video), JPEG (Image)
- Shooting Modes: Continuous Shooting, Macro, Slow Motion, Timelapse
- Color: Black
- Water Resistance Level: Not Water Resistant
10. Warranty and Support
Your Monitech 8K Digital Camera S205E-A comes with a 2-year warranty. This warranty covers manufacturing defects and ensures product reliability. For any technical assistance, troubleshooting not covered in this manual, or warranty claims, please contact Monitech customer support through the official website or your purchase platform.