
1. Introduction
The Godox X3 Pro O is a compact and advanced TTL wireless flash trigger designed for Olympus cameras. It features a 2.4-inch full-color touchscreen for intuitive control, a built-in lithium battery, and supports the Godox 2.4GHz Wireless X System. This manual provides essential information for setting up, operating, maintaining, and troubleshooting your X3 Pro O flash trigger.
2. What's in the Box
Verify that all items are included in your package:
- Flash Trigger x 1
- Storage Bag x 1
- USB-C Charging Cable x 1

Image: Godox X3 Pro O Flash Trigger, storage bag, and USB-C charging cable.
3. Product Features
- Intuitive Touchscreen Interface: The 2.4-inch full-color touchscreen displays up to four lighting groups simultaneously for real-time monitoring and control. It supports control of up to 16 groups, allowing for unified parameter application or individual unit refinement.
- Precise Group Control: Adjust TCM, Zoom Value, and Modeling Lamp settings independently for each lighting group. Complex settings can be saved and instantly recalled.
- Godox 2.4GHz Wireless X System: Ensures wide transmission range, interference-resistant channel scanning, and reliable triggering with support for 16 groups and 32 channels.
- Bluetooth Integration & App Control: Connect the X3 Pro O to the Godox Flash App via Bluetooth for remote control from your smartphone or tablet, allowing adjustment of power and group settings.
- Creative Shutter Control: Program single-shot, time-lapse, and long-exposure sequences directly from the touchscreen. Trigger via the PC sync port or optional Godox XR/TR-RX receivers to minimize camera vibration.
- Compact and Portable Design: Weighing approximately 103g, the X3 Pro O is designed for effortless portability without compromising durability or functionality.
- Fast Charging, Long Runtime: Equipped with a built-in lithium battery, offering up to one month of standby time. A universal USB-C port allows for a full recharge in approximately 2 hours.

Image: The X3 Pro O's touchscreen interface for managing flash groups.

Image: Demonstrates shaping light group by group with the X3 Pro O.
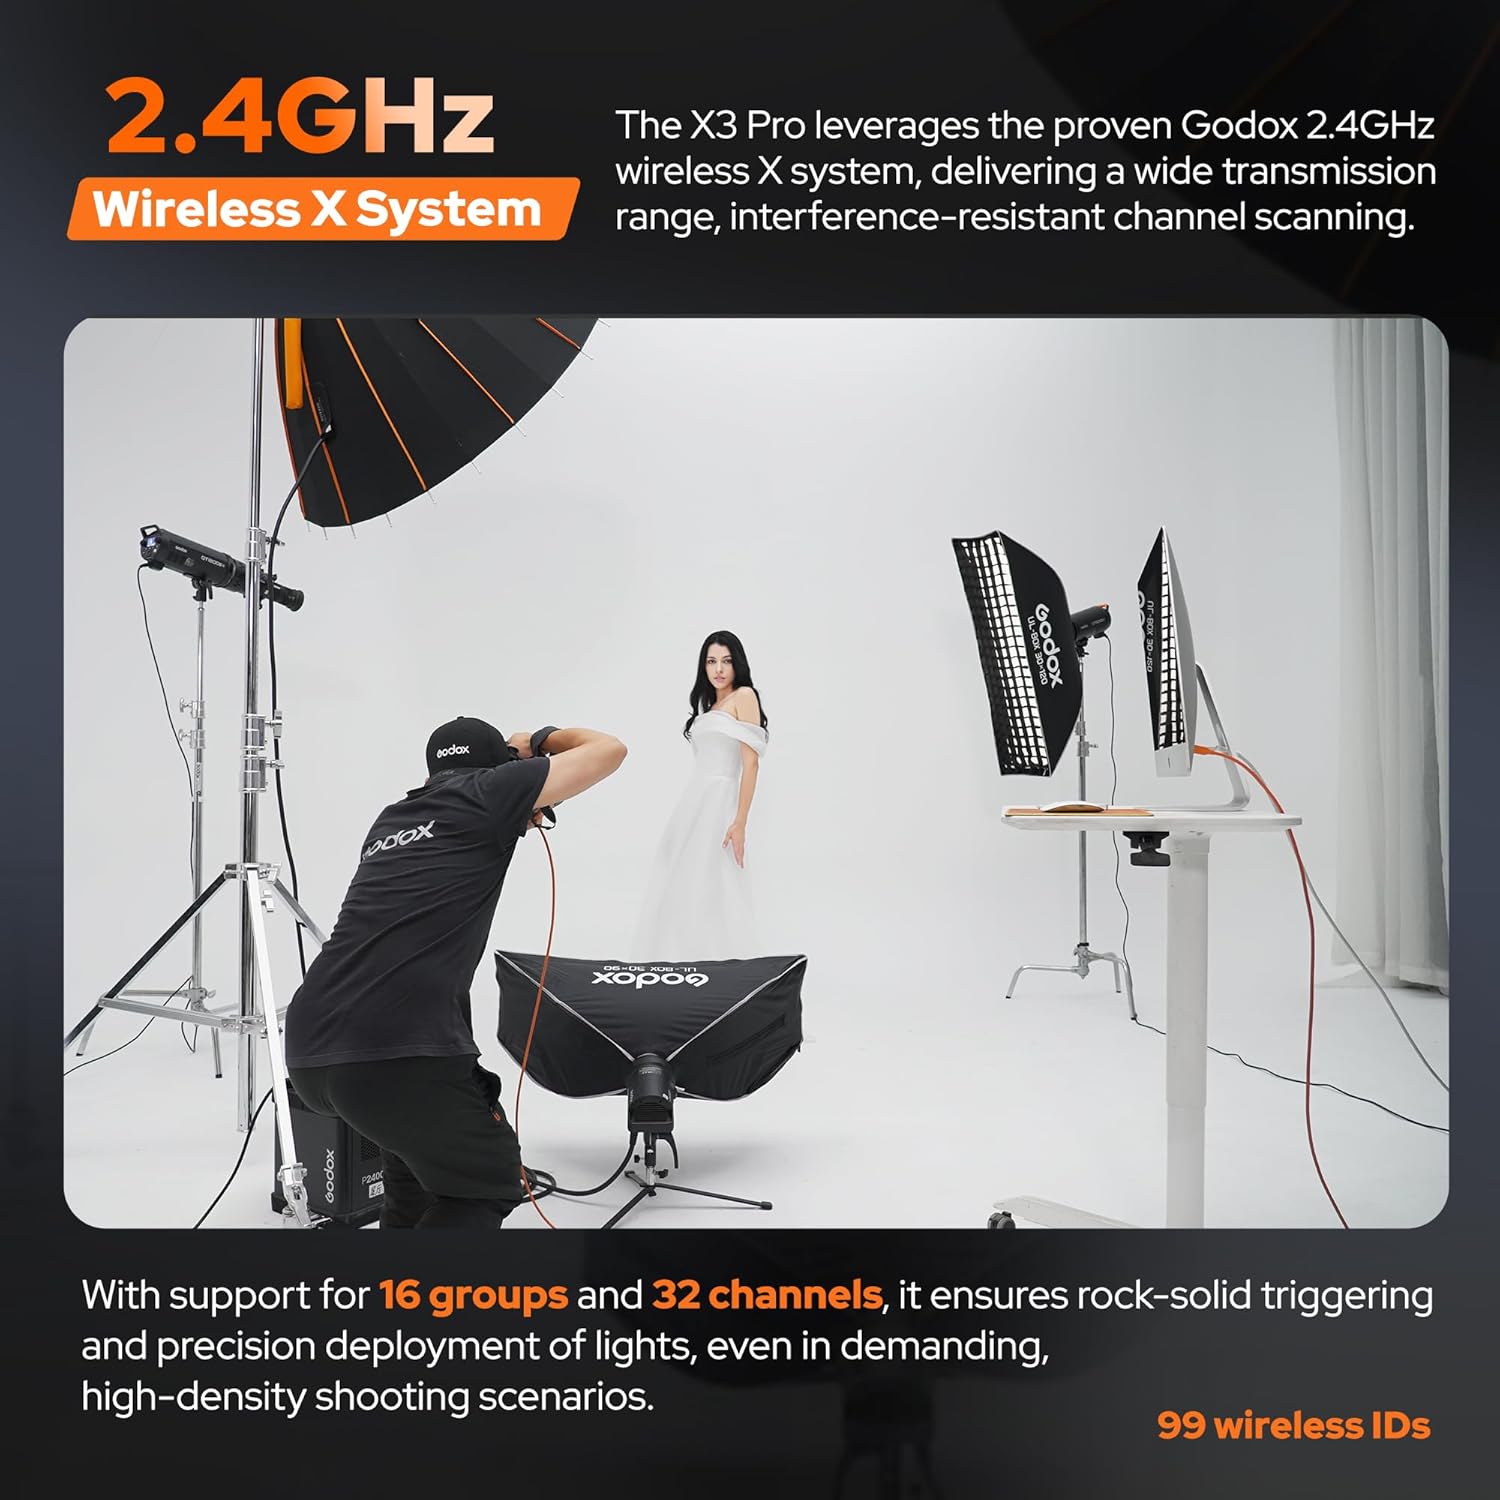
Image: The X3 Pro O utilizing the 2.4GHz Wireless X System in a studio environment.

Image: Bluetooth integration and app control for the X3 Pro O.

Image: Creative shutter control features for time-lapse and long exposure photography.

Image: The compact design of the Godox X3 Pro O, fitting easily into a pocket.

Image: USB-C fast charging and long battery runtime of the X3 Pro O.
4. Setup
4.1 Charging the Battery
- Locate the USB-C port on the side of the X3 Pro O trigger.
- Connect the provided USB-C charging cable to the trigger and a compatible USB power source (e.g., wall adapter, computer USB port).
- The battery indicator on the touchscreen will show charging status. A full charge takes approximately 2 hours.
4.2 Mounting on Camera
- Slide the X3 Pro O's hot shoe mount into your Olympus camera's hot shoe.
- Secure the trigger by engaging the locking mechanism (if present) on the trigger or camera.
4.3 Initial Power On and Settings
- Press and hold the power button to turn on the trigger.
- The touchscreen will display the main interface.
- Navigate through the settings using the touchscreen and the control dial to set the desired channel and group for your flashes. Ensure these match your Godox flashes.
5. Operating Instructions
5.1 Basic Flash Control
- Group Selection: Tap on a group (A, B, C, D, etc.) on the touchscreen to select it for individual adjustment.
- Parameter Adjustment: Use the control dial or swipe gestures on the touchscreen to adjust flash power, zoom, or modeling lamp settings for the selected group.
- Mode Switching: Switch between TTL, Manual (M), and Multi-flash modes as needed.
5.2 Bluetooth and App Control
- Download and install the Godox Flash App on your smartphone or tablet.
- Enable Bluetooth on your mobile device and the X3 Pro O.
- Open the Godox Flash App and pair it with your X3 Pro O. The initial password for Bluetooth is typically 000000.
- Control flash settings remotely through the app interface.
5.3 Creative Shutter Control
The X3 Pro O offers advanced shutter control features:
- Single Shot: Standard single photo capture.
- Time-Lapse: Program sequences with custom intervals and shot counts.
- Long Exposure: Set specific exposure durations for extended captures.
These functions can be accessed and configured via the touchscreen interface. For minimizing camera shake, use the PC sync port or an optional Godox XR/TR-RX receiver (purchased separately).
5.4 Shooting Modes
The X3 Pro O supports three professional shooting modes:
- One-Shoot: Sends only the trigger signal, ideal for simple, single-shooter setups.
- All-Shoot: Delivers both settings and trigger signals, suitable for group sessions or multi-photographer teams.
- L-858 Mode: Works seamlessly with Sekonic L-858 light meters for precise, meter-based flash control.
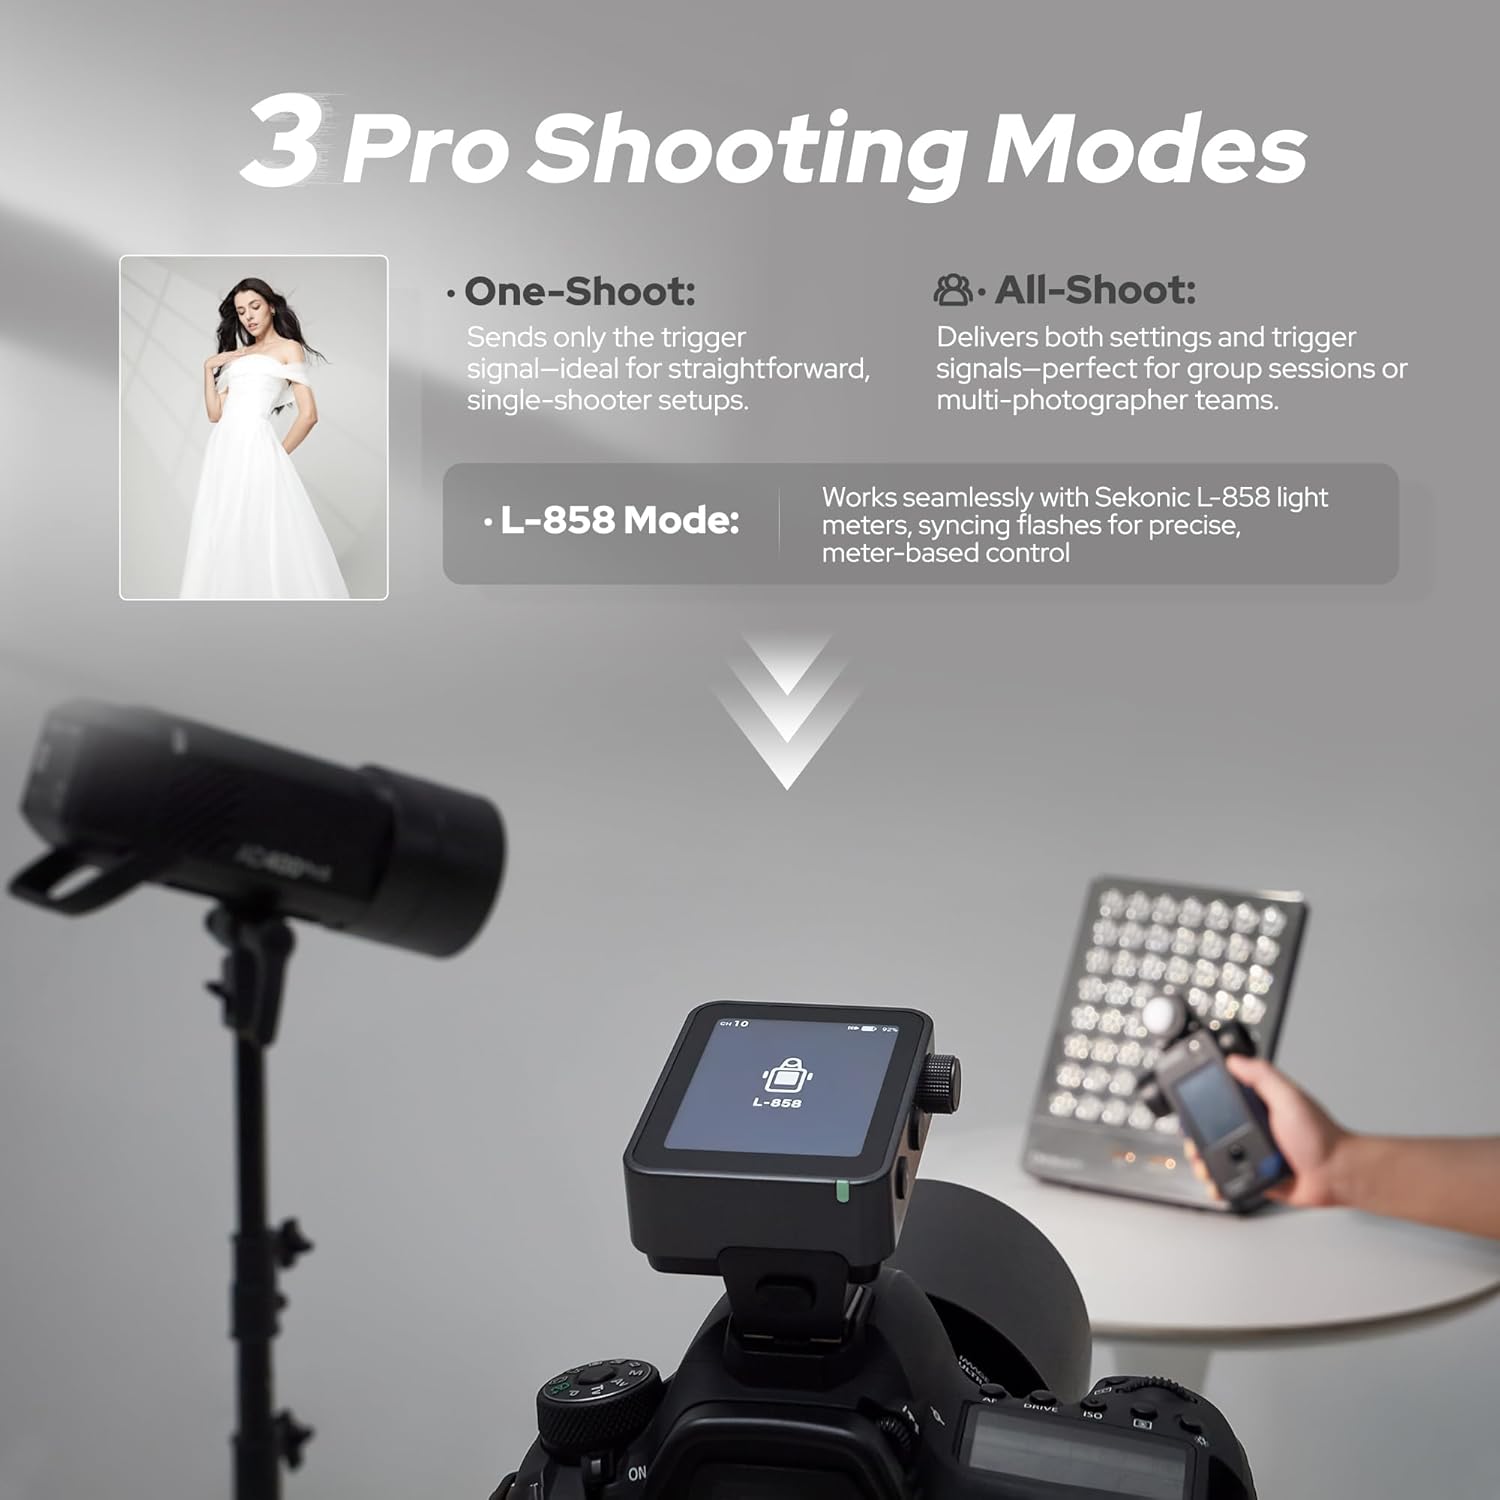
Image: Overview of the X3 Pro O's three professional shooting modes.
6. Maintenance
- Cleaning: Use a soft, dry cloth to clean the exterior of the trigger. For the touchscreen, use a microfiber cloth specifically designed for electronics. Avoid abrasive cleaners or solvents.
- Storage: Store the X3 Pro O in a cool, dry place, away from direct sunlight and extreme temperatures. Use the provided storage bag for protection.
- Battery Care: For long-term storage, ensure the battery is charged to approximately 50-70% to prolong its lifespan. Recharge periodically if stored for extended periods.
- Firmware Updates: Check the official Godox website for available firmware updates. Updates are typically performed via the USB-C port.
7. Troubleshooting
- Trigger not powering on:
- Ensure the battery is charged. Connect the USB-C cable to a power source and attempt to power on while charging.
- Flashes not firing:
- Verify that the trigger and flashes are set to the same channel and group. Check that the flashes are powered on and within range. Ensure the trigger is securely mounted on the camera's hot shoe.
- Bluetooth connection issues:
- Ensure Bluetooth is enabled on both the trigger and your mobile device. Restart both devices and try pairing again. Confirm the correct pairing password (000000 by default).
- Touchscreen unresponsive:
- Restart the device. Ensure the screen is clean and free of moisture or debris. If the issue persists, contact customer support.
8. Specifications
| Feature | Detail |
|---|---|
| Model | X3 Pro for Olympus |
| Compatible Mountings | Olympus cameras, Panasonic DMC-GX85 |
| Built-in Lithium Battery | 3.87V 2930mAh 11.34Wh |
| Charging Time | Approx. 2 hours (USB-C) |
| Standby Time | Approx. 35 days |
| Display Panel | 2.4" LCD Touch Screen |
| Transmission Range | Approx. 0-100m |
| Built-in Wireless | 2.4GHz/Bluetooth |
| 2.4G Wireless Channel | 32 |
| Groups | A-F, 0-9 (16 groups total) |
| Wireless IDs | OFF, 01-99 |
| Net Weight | Approx. 103g |
| Dimensions | 3.9 x 3.9 x 2.36 inches (Package) |
| Item Weight | 6.9 ounces |
Image: Product Standard List detailing specifications for various X3 Pro models.
9. Warranty and Support
For warranty information, please refer to the warranty card included with your product or visit the official GODOX website. For technical support, product inquiries, or service, please contact GODOX customer service through their official channels. You can also visit the GODOX Store on Amazon for additional resources and contact options.