
Introduction
The Godox X3 Pro S is a TTL wireless flash trigger designed for Sony cameras, offering advanced control over your lighting setup. Featuring a responsive touchscreen interface, 2.4GHz wireless X system, and Bluetooth connectivity, this transmitter provides precise and intuitive control for professional photographers. This manual provides detailed instructions for setting up, operating, and maintaining your X3 Pro S.

Image: The Godox X3 Pro S flash trigger, showcasing its compact design and touchscreen interface.
What's in the Box
- Flash Trigger x 1
- Storage Bag x 1
- USB-C Charging Cable x 1

Image: Contents of the Godox X3 Pro S package, including the trigger, a storage bag, and a USB-C charging cable.
Setup
1. Charging the Device
The X3 Pro S features a built-in lithium battery. To charge, connect the provided USB-C cable to the trigger's USB-C port and a compatible USB power source. A full charge typically takes approximately 2 hours, providing up to a month of standby time.

Image: The Godox X3 Pro S connected via its USB-C port for charging, illustrating its fast charging capability.
2. Mounting on Camera
Slide the X3 Pro S onto your Sony camera's hot shoe. Secure it by pushing the lock button on the trigger's base. Ensure it is firmly seated to maintain a stable connection.
3. Power On/Off
Press and hold the power button (M/O) located on the side of the trigger to turn the device on or off. The touchscreen will illuminate upon activation.
4. Bluetooth Integration & App Control
Pair the X3 Pro S with the Godox Flash App via Bluetooth for wireless control from your smartphone or tablet. This allows for remote adjustment of power, group settings, and flash triggering. The initial password for Bluetooth is uniformly set as 000000.
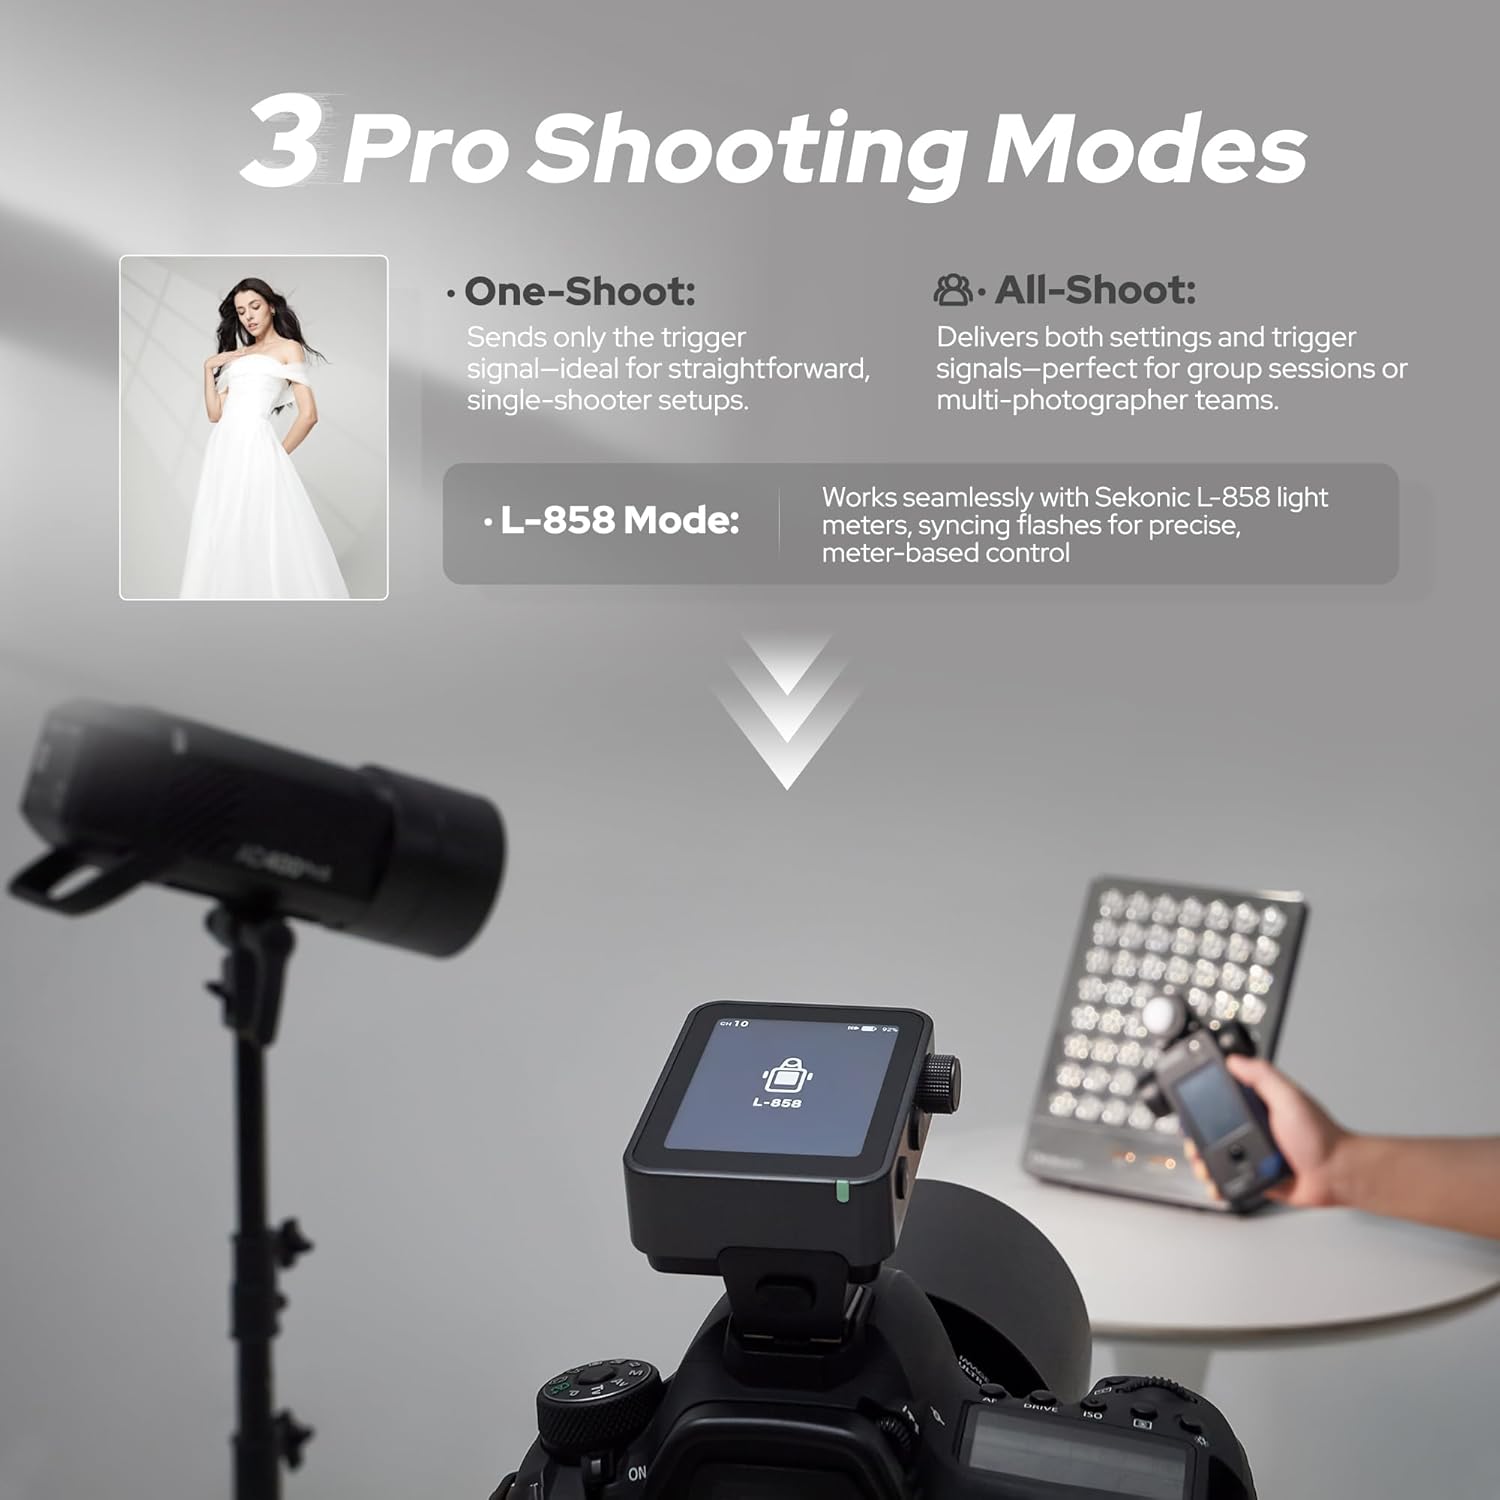
Image: A smartphone displaying the Godox Flash App interface, wirelessly controlling the X3 Pro S mounted on a camera, with an off-camera flash unit in the background.
Operating Instructions
1. Touchscreen Interface
The 2.4-inch full-color touchscreen displays up to four lighting groups simultaneously for real-time monitoring. It supports control of up to 16 groups. You can instantly apply unified parameters across all groups or select individual units for fine-tuned adjustments. Swipe down from the top of the screen to access the main menu for various settings.

Image: A close-up of the Godox X3 Pro S touchscreen, displaying flash power settings for multiple groups (A, B, C, D).
2. Adjusting Flash Groups (TCM, Zoom, Modeling Lamp)
The X3 Pro S allows precise control over each lighting group. You can independently adjust TCM (TTL Convert to Manual), Zoom Value, and Modeling Lamp settings. Complex settings can be saved and instantly recalled for efficient workflow.

Image: A photographer adjusting settings on the X3 Pro S while shooting with multiple off-camera Godox flashes, demonstrating group control.
3. 2.4GHz Wireless X System
The trigger utilizes the Godox 2.4GHz wireless X system, providing a wide transmission range and interference-resistant channel scanning. With support for 16 groups and 32 channels, it ensures reliable triggering and precise light deployment in various shooting environments.
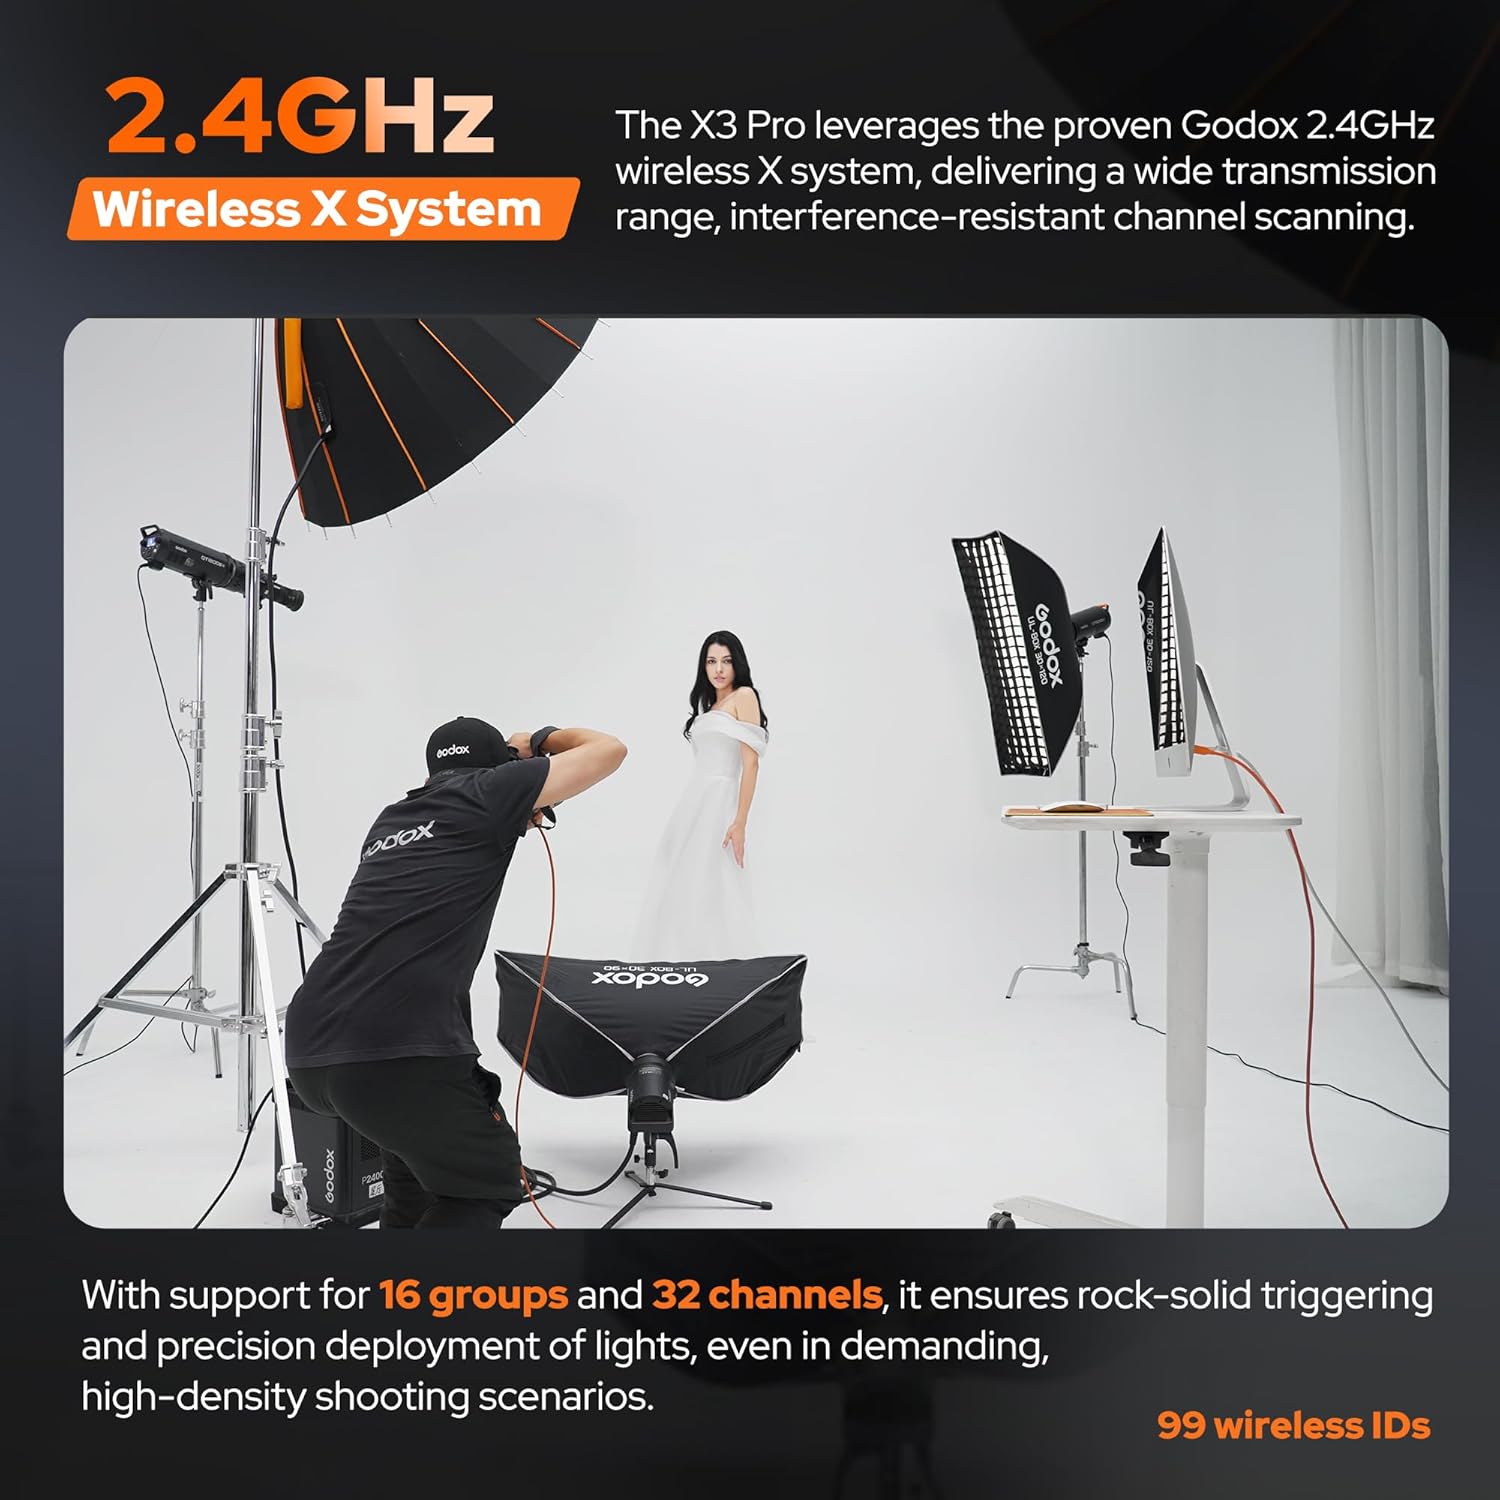
Image: A studio setup showing a photographer using the Godox X3 Pro S to control multiple Godox flashes, highlighting the 2.4GHz wireless system.
4. Creative Shutter Control
Program single-shot, time-lapse, and long-exposure sequences directly through the intuitive touchscreen. Customize exposure duration, intervals, and shot count. Triggering can also be done via the PC sync port or optional Godox XR/TR-RX receivers to minimize camera vibration.

Image: The Godox X3 Pro S mounted on a camera, illustrating its use for creative shutter control in a long-exposure cityscape photograph.
5. Shooting Modes
The X3 Pro S offers various shooting modes:
- One-Shoot: Sends only the trigger signal, ideal for single-shooter setups.
- All-Shoot: Delivers both settings and trigger signals, suitable for group sessions or multi-photographer teams.
- L-858 Mode: Works seamlessly with Sekonic L-858 light meters for precise, meter-based control.

Image: The Godox X3 Pro S screen showing different shooting modes, including integration with an L-858 light meter.
Maintenance
1. Battery Care
The built-in lithium battery provides long runtime. To maximize battery life, avoid extreme temperatures and store the device with a partial charge if not used for extended periods. Universal USB-C charging ensures convenient power replenishment.
2. Cleaning
Use a soft, dry cloth to clean the touchscreen and body of the trigger. Avoid using harsh chemicals or abrasive materials that could damage the surface or internal components.
3. Firmware Upgrades
Firmware upgrades can be performed through the USB-C port. Check the official Godox website for the latest firmware versions and instructions to ensure optimal performance and access to new features.
Troubleshooting
1. Connectivity Issues
- No connection to flash: Ensure both the trigger and flash unit are powered on and set to the same channel and group. Check battery levels.
- Interference: Use the channel scanning feature on the X3 Pro S to find the clearest channel in your environment.
2. Screen Responsiveness
- Unresponsive screen: Ensure the screen is clean and dry. Restart the device.
3. Flash Misfires
- Inconsistent firing: Verify the trigger is securely mounted on the camera's hot shoe. Check the distance between the trigger and flash units to ensure they are within the effective range.
Specifications
| Feature | Detail |
|---|---|
| Product Dimensions | 2.13 x 2.13 x 1.61 inches |
| Item Weight | 10.6 ounces |
| Item Model Number | GD-X3Pro-WSJ250911 |
| Batteries | 1 D batteries required (included) - Note: Product features a built-in lithium battery, 'D batteries' may be a listing error. |
| Connectivity Technology | Bluetooth, 2.4GHz Radio Frequency |
| Hardware Interface | Bluetooth, Radio Frequency |
| Manufacturer | GODOX |
| Display Panel | 2.4" LCD touch screen |
| Transmission Range (approx.) | 0-100m |
| Built-in Wireless | 2.4GHz/Bluetooth |
| 2.4G Wireless Channel | 32 |
| Group Control | A-F, 0-9 |
| Net Weight | ~103g |

Image: A visual representation of the Godox X3 Pro S with its dimensions and a table summarizing its standard product specifications.
Warranty and Support
For warranty information and technical support, please refer to the official GODOX website or contact your local distributor. Keep your purchase receipt as proof of purchase for any warranty claims.
Additional protection plans may be available for purchase through your retailer. These plans typically offer extended coverage beyond the manufacturer's standard warranty.