1. Introduction
Thank you for choosing the Greenvelly 53-inch Wall Gun Safe. This manual provides essential information for the safe and effective use of your new gun safe. Please read all instructions carefully before installation and operation to ensure proper functionality and security. This safe is designed to securely store firearms and other valuables, offering multiple unlocking methods and customizable interior storage.
2. Safety Information
- Always keep the emergency keys and digital codes confidential and stored in a secure location away from the safe.
- Ensure the safe is securely mounted to prevent tipping, especially in households with children.
- Do not store loaded firearms in the safe unless specifically designed for quick access with appropriate safety measures.
- Keep the safe's keypad and fingerprint reader clean to ensure reliable operation.
- Test the alarm system regularly to ensure its functionality.
3. Package Contents
Verify that all items are present before beginning installation:
- Greenvelly 53-inch Wall Gun Safe
- Emergency Keys (2 sets)
- Expansion Screws for mounting
- Removable Shelves (3 units)
- Instruction Manual
- Battery Pack (for external power)
4. Product Overview
The Greenvelly 53-inch Wall Gun Safe is designed for secure storage of firearms and valuables. It features a robust metal construction and multiple access options.

Figure 1: Product dimensions and included components.
- Dimensions: 53" (H) x 18" (W) x 6" (D)
- Material: Metal with powder-coated finish
- Locking Mechanism: Biometric Fingerprint, Digital Keypad, Emergency Key
- Interior: 3 adjustable/removable shelves, gun racks, door pockets (pistol, zip, ammunition, tools)
- Security Features: Anti-theft alarm system, stiffened cabinet wall
5. Installation
The safe is designed for wall-mounted installation, ideally between wall studs for optimal security and a hidden appearance. Two people are recommended for assembly and installation due to the safe's size and weight.
5.1 Wall Mounting
- Identify the desired location for the safe. Ensure there are wall studs to secure the safe properly.
- Mark the drilling points on the wall using the pre-drilled holes on the back of the safe as a template.
- Drill pilot holes into the wall studs.
- Position the safe against the wall and align the holes.
- Insert the provided expansion screws through the safe's back panel and into the drilled holes in the wall studs. Tighten securely.
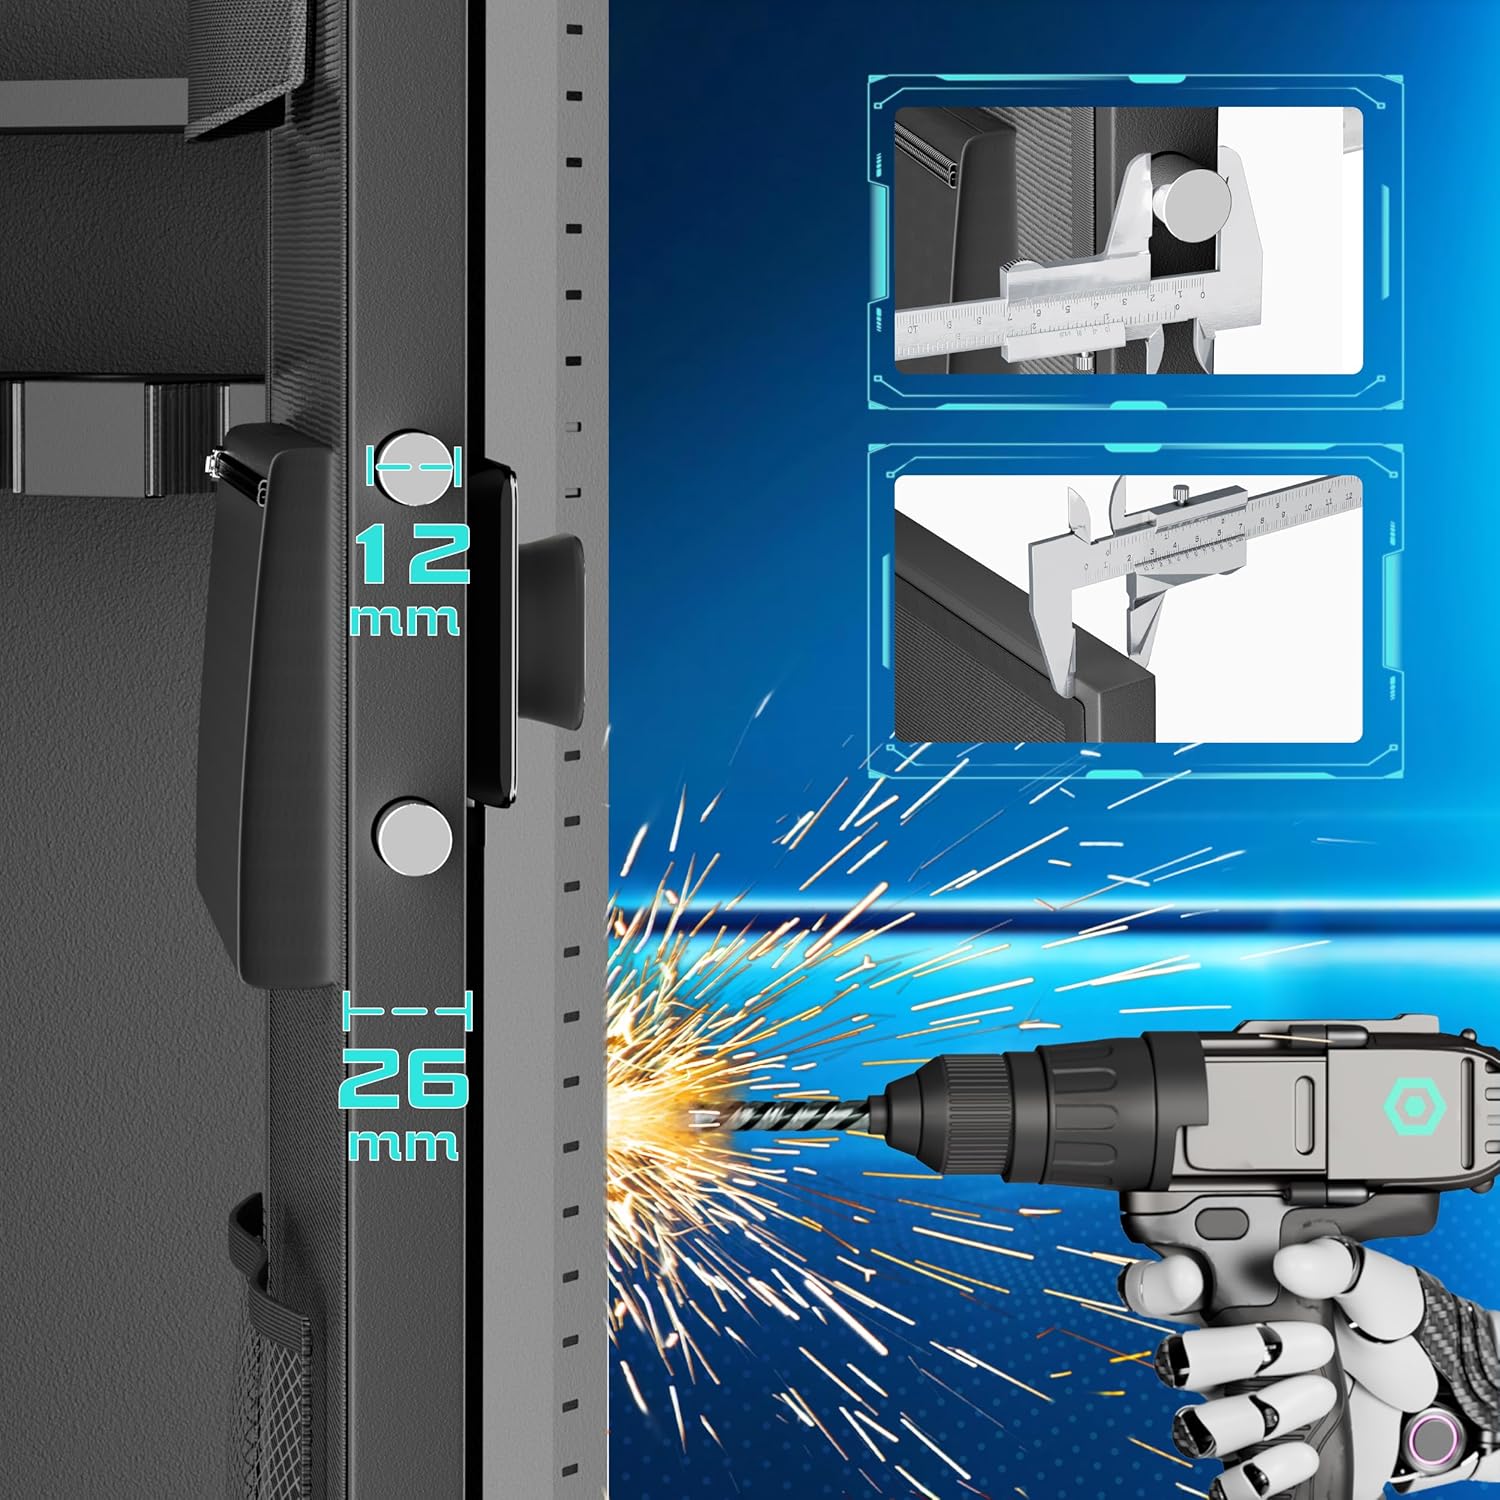
Figure 2: Illustration of wall mounting process.
The safe can also be placed against a wall and anchored using the provided screws, without being recessed between studs.
6. Operation
Your Greenvelly safe offers three methods for access: emergency key, digital keypad, and biometric fingerprint.
6.1 Unlocking Methods

Figure 3: Overview of the three unlocking methods.
- Emergency Key: Insert the emergency key into the keyhole located on the lock panel and turn to unlock. This method is primarily for initial access or in case of battery failure.
- Digital Keypad: Enter your programmed numerical code on the keypad. The numbers will light up upon touch. Press '#' to confirm. If the code is correct, the safe will unlock.
- Biometric Fingerprint: Place your registered fingerprint on the fingerprint reader. If the fingerprint is recognized, the safe will unlock. The safe can store up to 10 different fingerprints.
6.2 Setting Up Codes and Fingerprints
Refer to the detailed instructions in the included manual for programming your digital code and registering fingerprints. The 'Setting Button' inside the safe is used for these configurations.
6.3 Emergency Access and Battery Backup
In the event of battery depletion or if you forget your digital code, the emergency keys can be used to open the safe. Additionally, an external battery pack can be connected to the USB-C port on the lock panel to temporarily power the digital lock, allowing access via your code or fingerprint.
Video 1: Demonstration of unlocking methods and interior features.
7. Features
7.1 Interior Organization
The safe's interior is designed for versatile storage:

Figure 4: Interior organization with adjustable shelves and door storage.
- Adjustable Shelves: Three removable shelves allow for customized storage configurations. These can be repositioned to accommodate items of various sizes.
- Gun Racks: Dedicated foam gun racks are provided for securing rifles and shotguns.
- Door Pockets: The inside of the door features multiple pockets, including two pistol pockets, a zippered pocket, an ammunition pocket, and a tools pocket for smaller items.
- Key Hooks: Convenient hooks are available for hanging keys or other small accessories.
7.2 Anti-Theft Alarm System
The safe is equipped with a security smart alarm system:

Figure 5: Details of the alarm system.
- Wrong Access Alarm: Entering the wrong password or fingerprint three times in a row will activate a warning beep for 60 seconds.
- Timeout Unlocked Alarm: If the safe is unlocked but not opened for more than three minutes, an alarm reminder will sound.
- Emergency Key Release: The emergency key can be used to access the safe even if the battery is low or the alarm is active.
7.3 Internal Lighting
The safe includes internal LED lights to illuminate the contents, making it easier to locate items in low-light conditions.
Video 2: Overview of interior storage and features, including door pouches and top compartment.
8. Maintenance
- Battery Replacement: Replace the batteries in the digital lock when the low battery indicator appears. Use high-quality alkaline batteries for optimal performance.
- Cleaning: Wipe the exterior and interior surfaces with a soft, damp cloth. Avoid using abrasive cleaners or solvents.
- Lock Mechanism: Do not lubricate the lock mechanism. If the lock becomes stiff, contact customer support.
9. Troubleshooting
- Safe Not Opening:
- Check if batteries are depleted. Use emergency keys or external battery pack.
- Ensure the correct digital code or registered fingerprint is used.
- Alarm Triggering:
- If the wrong code/fingerprint is entered multiple times, the alarm will sound. Enter the correct code to stop.
- If the safe is left unlocked for an extended period, the timeout alarm will sound. Close and lock the safe to stop.
- Keypad Unresponsive:
- Ensure batteries are properly installed and charged.
- Clean the keypad surface.
10. Specifications
| Feature | Specification |
|---|---|
| Brand | Greenvelly |
| Model | 53-inch Wall Gun Safe |
| Product Dimensions | 6"D x 18"W x 53"H |
| Color | Black |
| Material | Metal |
| Finish Type | Powder Coated |
| Mounting Type | Wall Mount |
| Door Style | Biometric Fingerprint Lock, Digital Keypad |
| Number of Shelves | 3 (removable) |
| Special Feature | Lockable, Anti-Theft Alarm |
| UPC | 784227749170 |
| ASIN | B0FQNQ1SF9 |
11. Warranty and Support
For warranty information and customer support, please refer to the documentation included with your purchase or contact Greenvelly customer service directly. Keep your purchase receipt for warranty claims.


