
1. Introduction
This manual provides detailed instructions for the installation, operation, and maintenance of your Oceanlend Smart WiFi Thermostat. This device is designed to control gas boilers, offering intelligent temperature management through its programmable features, remote access via smartphone applications, and voice control capabilities. Please read this manual thoroughly before installation and use to ensure proper function and safety.

Image 1.1: The Oceanlend Smart WiFi Thermostat displaying current temperature and set temperature, alongside a smartphone showing the remote control application.
2. Product Overview
2.1 Key Features
- Seasonal Adaptability: Supports both heating and cooling modes for year-round comfort.
- Remote Access: Control your thermostat from anywhere using the Tuya Smart or Smart Life mobile applications.
- Voice Activation: Compatible with Amazon Alexa, Google Assistant, and Yandex Alice for hands-free operation.
- Customizable Scheduling: Program up to 7 days a week with 6 distinct temperature periods per day.
- Family Sharing: Share device control with family members through the app.
- Dual Power Options: Can be powered by AAA batteries or a USB cable for flexible installation.
- Safety Features: Includes child lock, anti-freeze protection, and power-off memory.
- Energy-Saving Display: Screen automatically turns off after 3 seconds of inactivity to conserve power.
2.2 Package Contents
Upon unpacking, please ensure all the following items are present:
- 1 x Oceanlend Smart WiFi Thermostat
- 1 x USB Charging Cable
- 2 x Mounting Screws
3. Specifications
| Product Name | Oceanlend Smart WiFi Thermostat |
| Model Number | QRIR9IWS01XG17681126 |
| Material | ABS Plastic |
| Dimensions (L x W x H) | 140 mm x 81 mm x 20 mm |
| Weight | 300 g |
| Power Supply | AAA Batteries or USB Cable (5V DC) |
| Charging Current | 3A |
| Temperature Range | 5°C - 60°C |
| Temperature Accuracy | ±1°C (adjustable to 0.5°C in advanced settings) |
| Wi-Fi Connectivity | 2.4G Network |
| Compatible Applications | Tuya Smart / Smart Life |

Image 3.1: Detailed dimensions of the thermostat, showing a length of 140mm, height of 81mm, and depth of 24mm, with a stand depth of 85mm.
4. Setup
4.1 Physical Installation and Wiring
The thermostat is designed for use with gas boilers that have potential-free control terminals. Professional installation is recommended to ensure correct wiring and safety.
- Mounting: Secure the thermostat to a wall using the provided screws at an appropriate height, away from direct sunlight, drafts, or heat sources.
- Wiring: Connect the thermostat to your gas boiler's potential-free control terminals (NO, COM, NC) according to the wiring diagram. Ensure power is off before making any connections.

Image 4.1: A wiring diagram illustrating how to connect the thermostat to a gas boiler using potential-free control terminals (NO, COM, NC).
4.2 Powering the Device
The thermostat offers two power options:
- AAA Batteries: Insert 3 AAA batteries into the battery compartment.
- USB Cable: Connect the provided USB cable to the thermostat and a 5V DC power adapter (not included).
4.3 App Installation and Wi-Fi Connection
- Download App: Download the "Tuya Smart" or "Smart Life" app from the Google Play Store or Apple App Store.
- Register/Log In: Create an account or log in to your existing account.
- Add Device: Follow the in-app instructions to add your new thermostat. Ensure your smartphone is connected to a 2.4GHz Wi-Fi network during the pairing process.
- Connect Thermostat: Put the thermostat into pairing mode (refer to the device's on-screen instructions or the app's guide for specific steps).

Image 4.2: The thermostat screen alongside a smartphone showing the Tuya Smart and Smart Life app logos, indicating remote control capabilities.
5. Operating Instructions
5.1 Basic Controls
The thermostat features a touch-sensitive display and physical buttons for manual control:
- Up/Down Arrows (▲ / ▼): Adjust the set temperature or navigate menu options.
- Mode Button (M): Cycle through operating modes (e.g., Manual, Program, Heating, Cooling).
- Power Button (○): Turn the thermostat on or off.
5.2 Heating and Cooling Modes
The thermostat can switch between heating and cooling functions to maintain your desired indoor climate throughout the year.
- Switching Modes: Use the 'M' button or the mobile app to select between heating (indicated by a flame icon) and cooling (indicated by a snowflake icon) modes.
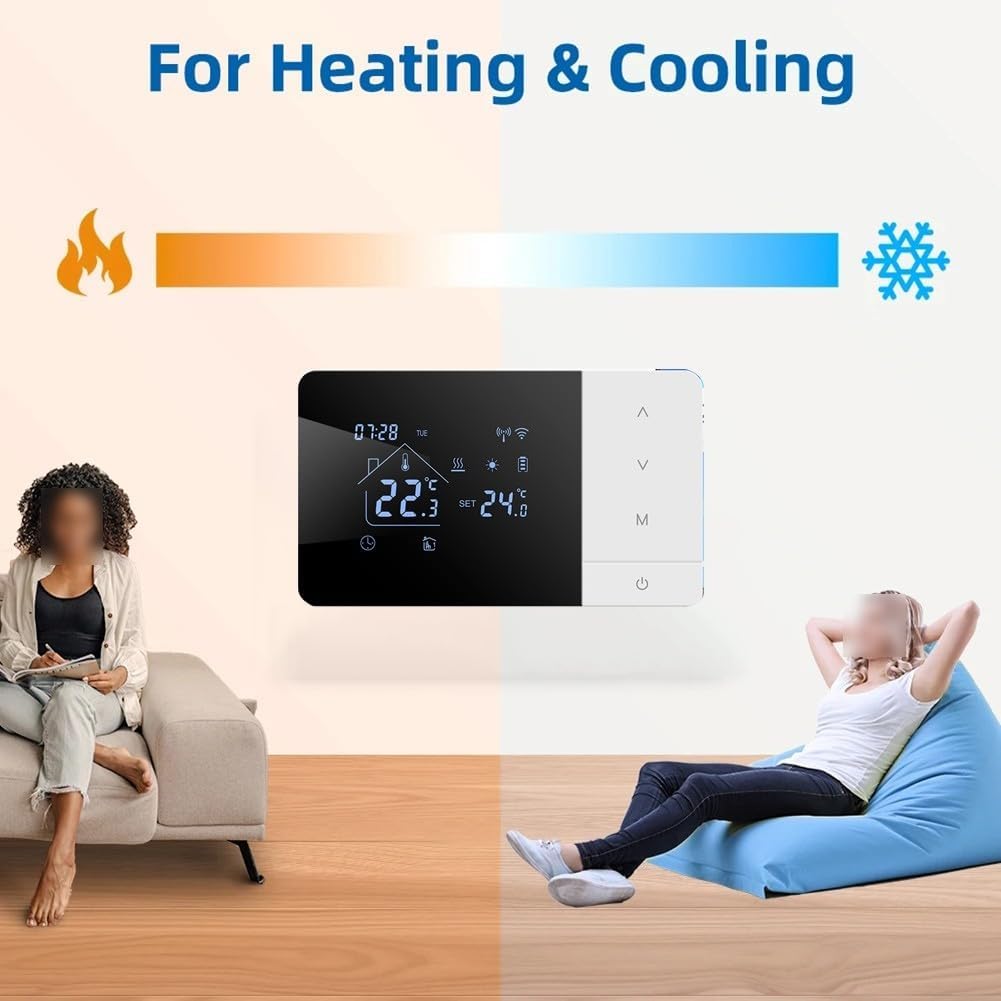
Image 5.1: The thermostat screen showing icons for heating (flame) and cooling (snowflake), illustrating its dual-mode capability.
5.3 Programmable Scheduling
Set a personalized schedule for your heating or cooling needs, with up to 6 distinct time periods per day for 7 days a week.
- Access Schedule: Navigate to the programming section via the thermostat's menu or the mobile app.
- Set Periods: For each day, define up to 6 time periods and their corresponding desired temperatures.
- Save: Save your schedule to activate programmed operation.

Image 5.2: A smartphone screen displaying the daily programming interface within the app, showing 6 settable periods per day with adjustable start times and temperatures.
5.4 Voice Control
Integrate your thermostat with smart home assistants for convenient voice commands.
- Compatibility: Works with Amazon Alexa, Google Assistant, and Yandex Alice.
- Setup: Link your Tuya Smart or Smart Life account within your smart assistant's app.
- Commands: Use commands such as "Alexa, set thermostat to 24 degrees Celsius" or "Hey Google, what is the living room temperature?"

Image 5.3: A woman interacting with the thermostat using a voice command, demonstrating compatibility with Amazon Alexa, Google Assistant, and Yandex Alice.
5.5 Child Lock
Activate the child lock feature to prevent unauthorized changes to the thermostat settings. This can typically be enabled or disabled through the advanced settings menu on the device or within the mobile application.
5.6 Night Mode
The night mode feature turns off the backlight during nighttime hours to avoid disturbance, while the thermostat continues to operate according to its programmed schedule.
5.7 Energy-Saving Display
To optimize battery life, the thermostat's screen automatically turns off after 3 seconds of inactivity. The device continues to function and maintain your set temperature in the background. Simply touch the screen to wake it up.

Image 5.4: A visual representation of the thermostat's energy-saving display, showing the screen automatically turning off after 3 seconds of inactivity and how to reactivate it by touch.
6. Maintenance
- Cleaning: Wipe the thermostat's screen and body with a soft, dry cloth. Avoid using abrasive cleaners or solvents.
- Battery Replacement: If using battery power, replace AAA batteries when the low battery indicator appears on the screen.
- Software Updates: Periodically check the Tuya Smart or Smart Life app for available firmware updates to ensure optimal performance and access to new features.
7. Troubleshooting
7.1 Common Issues and Solutions
- Thermostat not powering on:
- Check battery installation or USB cable connection.
- Ensure power source is active.
- Cannot connect to Wi-Fi:
- Ensure your Wi-Fi network is 2.4GHz.
- Verify correct Wi-Fi password.
- Move the thermostat closer to the Wi-Fi router.
- Restart your router and the thermostat.
- Temperature readings seem inaccurate:
- Ensure the thermostat is not exposed to direct sunlight, drafts, or heat sources.
- Check advanced settings for temperature calibration options (adjustable to 0.5°C).
- Thermostat not controlling boiler:
- Verify wiring connections to the boiler.
- Ensure the thermostat is in the correct operating mode (heating/cooling).
- Check boiler power supply.
- Voice control not working:
- Confirm the Tuya Smart/Smart Life account is correctly linked in your smart assistant's app.
- Ensure your smart assistant device is online and within hearing range.
8. Warranty and Support
8.1 Warranty Information
Specific warranty details for the Oceanlend Smart WiFi Thermostat are not provided in this document. Please refer to your purchase documentation or contact the retailer for warranty terms and conditions.
8.2 Customer Support
For technical assistance, troubleshooting, or further inquiries, please contact your point of purchase or refer to the support section within the Tuya Smart or Smart Life applications. Manufacturer contact information is not available in this document.