
Introduction
This manual provides comprehensive instructions for the safe and efficient assembly, operation, maintenance, and troubleshooting of your Quictent 16x32 Heavy Duty Party Tent. Please read all instructions carefully before beginning assembly or use to ensure proper setup and to maximize the lifespan of your product.
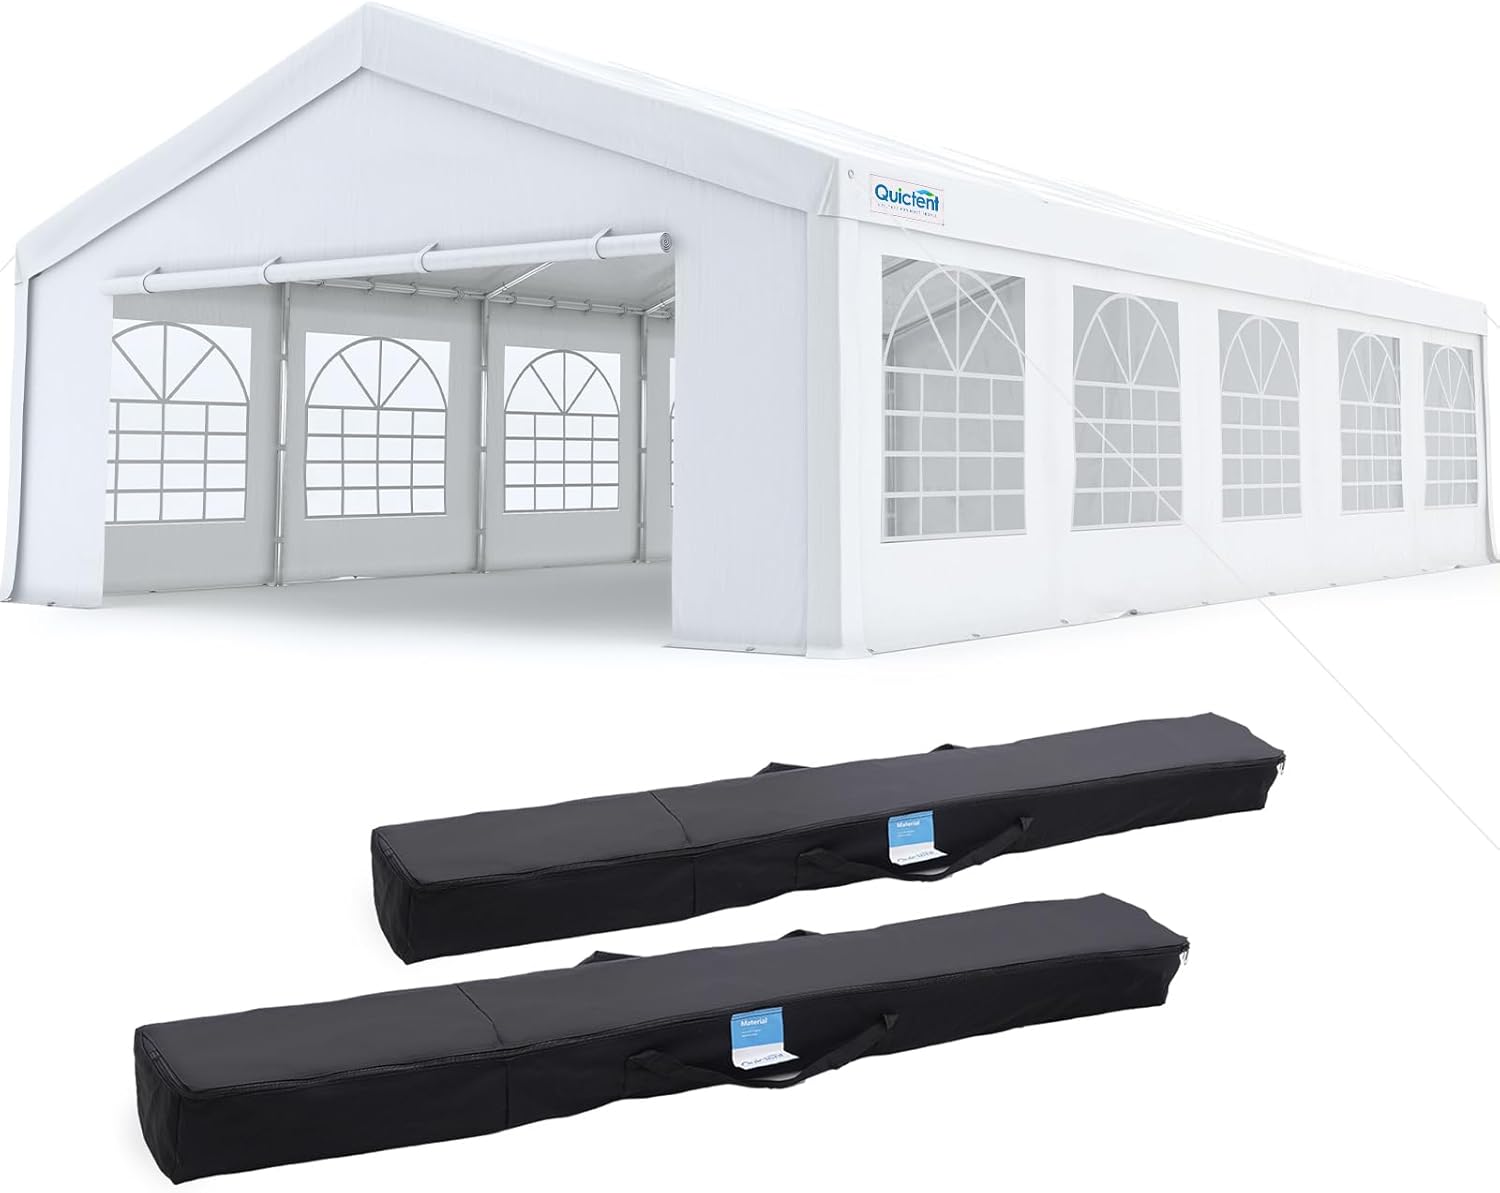
Figure 1: Quictent 16x32 Heavy Duty Party Tent
Safety Information
Your safety is paramount. Adhere to the following guidelines:
- Wind Conditions: Do not use the tent in wind speeds of 25 mph or higher. Take preventative measures to avoid wind damage.
- Anchoring: Ensure stability on grassy surfaces using ground nails. For cement surfaces, use expansion screws (not included).
- Assembly: Safety measures and professional installation are highly recommended. A minimum of 4 adults is recommended for assembly.
- Water Accumulation: Promptly clear any water accumulation on the roof caused by prolonged rainfall to prevent structural damage.
- Fire Safety: Keep all flame and heat sources away from the tent fabric.
Package Contents
The Quictent 16x32 Heavy Duty Party Tent is delivered in 4 boxes, which may arrive separately. Verify all components upon receipt:
- 1 x Top Cover (160g imported PE fabric)
- 1 x Frame (Heavy-duty iron metal frame with 1.5-inch diameter poles, 1.2 mm thickness)
- 2 x Sidewalls with Chapel-Designed Windows
- 2 x Zipper Doors
- 2 x Oxford Storage Bags
- Ground Nails
- Wind Ropes
- Connectors, Pegs, Elastic Ropes (various quantities)
Total weight: Approximately 226 pounds.
Specifications
| Feature | Detail |
|---|---|
| Brand | Quictent |
| Model Number | PT-18XX-MVL-CWS |
| Material | Iron, Polyethylene (PE) |
| Color | White |
| Product Dimensions | 480"L x 240"W x 118"H (16ft L x 32ft W x 9.8ft H) |
| Floor Area | 512 Square Feet |
| Capacity | 40-55 people (seated) |
| UV Protection | Yes |
| Water Resistance Level | Waterproof |
| Frame Material | Metal (Hot-dip galvanized iron) |
| Pole Material Type | Iron |
| Assembly Required | Yes |
| Item Weight | 225 pounds |

Figure 2: Product Dimensions and Capacity Overview

Figure 3: Tent Size and Installation Guide
Setup and Assembly
Assembly requires careful attention to detail and is best performed by 4 adults. Follow these general steps:
- Assemble the Top Frame: Lay out all frame components on a flat, clear surface. Connect the roof poles and connectors according to the included instructions. Ensure all connections are secure.
- Install the Top Cover: Carefully drape the top cover over the assembled roof frame. Secure it using the bungee balls and other fasteners provided.
- Attach the Legs: Connect the leg poles to the roof frame. Once all legs are attached, carefully raise the tent to its full height.
- Install Sidewalls and Doors: Attach the sidewalls and zipper doors to the frame using the integrated Velcro straps and bungee balls. The chapel-designed windows can be rolled up for ventilation or left down for enclosure.
- Secure the Tent: Use ground nails for grassy surfaces or expansion screws (not included) for cement surfaces to firmly anchor the tent. Utilize wind ropes for additional stability.

Figure 4: Easy Installation Steps
Assembly Video Guide
Video 1: Detailed guide on setting up a Quictent party tent. This video demonstrates the assembly process for a similar tent model, providing visual assistance for connecting frame pieces, installing the cover, and attaching sidewalls.
Video 2: Assembly instructions for a Quictent 16x20 Party Tent. This video offers a step-by-step visual guide that can be applied to the 16x32 model, focusing on frame construction and cover attachment.
Operating Instructions
The Quictent Party Tent offers versatile configurations for various events:
- Sidewall Configuration: The tent includes 2 removable sidewalls and 2 zippered doors. These can be fully enclosed for privacy and weather protection, partially removed for an open-air feel, or completely dismantled to create an open canopy structure.
- Ventilation: The chapel-designed windows on the sidewalls provide excellent cross-ventilation when in use.
- Entry/Exit: The zippered doors allow for easy entry and exit and can be rolled up and secured to remain open.

Figure 5: Multi-Use Removable Sidewall Configurations

Figure 6: Key Features for Operation and Stability
Maintenance
- Cleaning: Clean the PE fabric top cover and sidewalls with mild soap and water. Avoid harsh chemicals or abrasive cleaners that could damage the material.
- Drying: Ensure all fabric components are completely dry before disassembling and storing to prevent mold and mildew.
- Frame Inspection: Regularly inspect the metal frame for any signs of rust, bending, or damage. The hot-dip galvanized frame is designed for rust resistance, but proper care extends its lifespan.
- Storage: Store the tent components in the provided Oxford storage bags in a cool, dry place away from direct sunlight when not in use.

Figure 7: Oxford Storage Bag for Tent Components
Troubleshooting
- Instability in Wind: If the tent feels unstable, ensure all ground nails/expansion screws are fully secured and wind ropes are properly tensioned. Disassemble the tent if wind speeds exceed 25 mph.
- Water Pooling on Roof: This indicates insufficient tension in the top cover or prolonged heavy rain. Regularly check and clear any accumulated water. Ensure the cover is taut during setup.
- Difficulty Connecting Poles: Check for any debris inside the poles or connectors. Ensure you are using the correct numbered poles for each section as per the assembly instructions.
Durability Testing Video
Video 3: This video demonstrates the Quictent party tent's wind and waterproof capabilities under controlled testing conditions, showing its resilience against up to 40mph winds and heavy rainfall.
Warranty and Support
Quictent stands behind the quality of its products:
- Warranty: Enjoy 1 year of protection for canopy frames and covers.
- Lifetime Replacement: Lifetime replacement is offered for connectors, pegs, ropes, elastic ropes, and other small components.
- Customer Service: If you encounter any issues with your party tent, our dedicated customer service team is available to provide professional technical support and solutions within 12 hours.
Your purchase is secured, so buy with confidence!
Manufacturing Quality Video
Video 4: A brief look into the manufacturing process of Quictent party tents, highlighting the attention to detail and quality control in production.