1. Product Overview
The NEXPOW T11 and X7 Portable Car Jump Starter is a versatile device designed to provide reliable power for various vehicles and electronic devices. Featuring a powerful 6000A peak current and 24000mAh capacity, it can jump-start all gas engines and diesel engines up to 12.0L. The unit also functions as a power bank with multiple charging outputs and includes a high-definition display for easy monitoring.

Image: The NEXPOW T11 and X7 Portable Car Jump Starter unit shown with its included jumper cables and charging accessories.
2. What's in the Box?
Your NEXPOW Portable Car Jump Starter package includes the following components:
- NEXPOW T11/X7 Jump Starter Unit
- Smart Jumper Cables with Clamps
- USB-C to USB-A Charging Cable
- 12V DC Output Adapter (Cigarette Lighter Socket)
- User Manual & Quick Start Guide
- Hard Shell Carrying Case
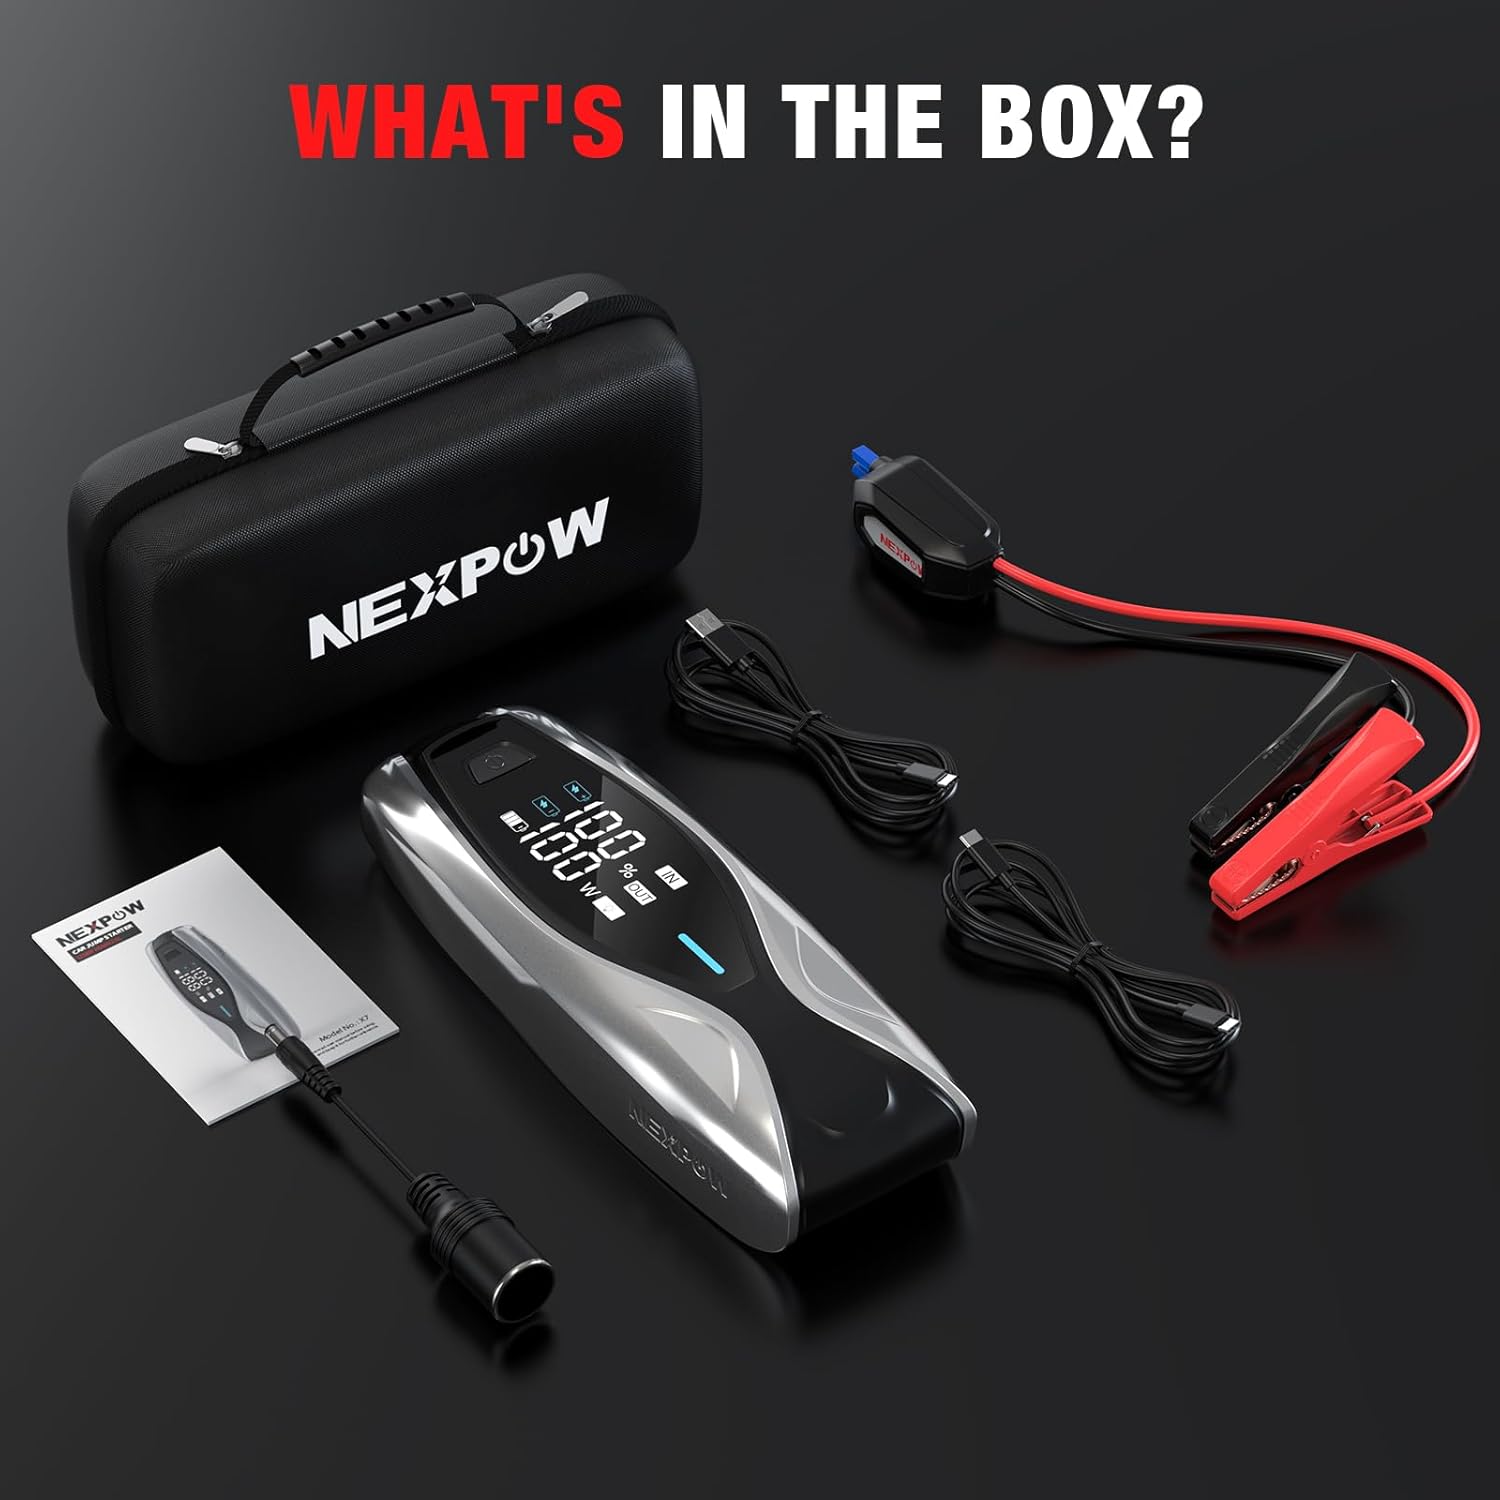
Image: All items included in the NEXPOW jump starter package, neatly arranged in their carrying case.
3. Specifications
| Feature | Specification |
|---|---|
| Brand | NEXPOW |
| Model | T11 / X7 |
| Peak Current | 6000A (T11), 4000A (X7) |
| Battery Capacity | 24000mAh |
| Engine Compatibility | All Gas Engines, up to 12.0L Diesel Engines |
| Charging Input/Output | 60W PD Bi-directional (Type-C) |
| USB Output | USB-A Port |
| DC Output | 12V/10A |
| Display | 3.2-inch HD LCD Screen |
| Charge Retention | Up to 2 years |
4. Setup
Connecting the Jump Starter
Before jump-starting, ensure the jump starter unit is adequately charged (preferably above 50%).
- Insert Jumper Cables: Open the rubber cap on the jump starter unit and firmly insert the smart jumper cable connector into the EC5 port. The blue light on the jumper cable indicator should turn on, indicating standby mode.
- Connect to Vehicle Battery: Attach the red (+) clamp to the positive terminal of the vehicle battery and the black (-) clamp to the negative terminal. Ensure a secure connection. The jumper cable indicator should show a green light, indicating it's ready to jump-start.

Image: The intelligent wire clips of the jumper cables, designed for safe and correct connection to the vehicle battery.
5. Operating Instructions
Powering On and Battery Status
To power on the jump starter, press the power button located on the unit. The 3.2-inch HD LCD screen will display the current battery percentage and working status.

Image: The 3.2-inch HD display monitoring the working status and power level of the jump starter.
Using the Flashlight
The jump starter includes a 600LM LED flashlight with multiple modes:
- Solid Light: Press the flashlight button once for a steady beam.
- SOS Mode: Press the flashlight button twice for an SOS signal.
- Strobe Mode: Press the flashlight button three times for a flashing strobe light.
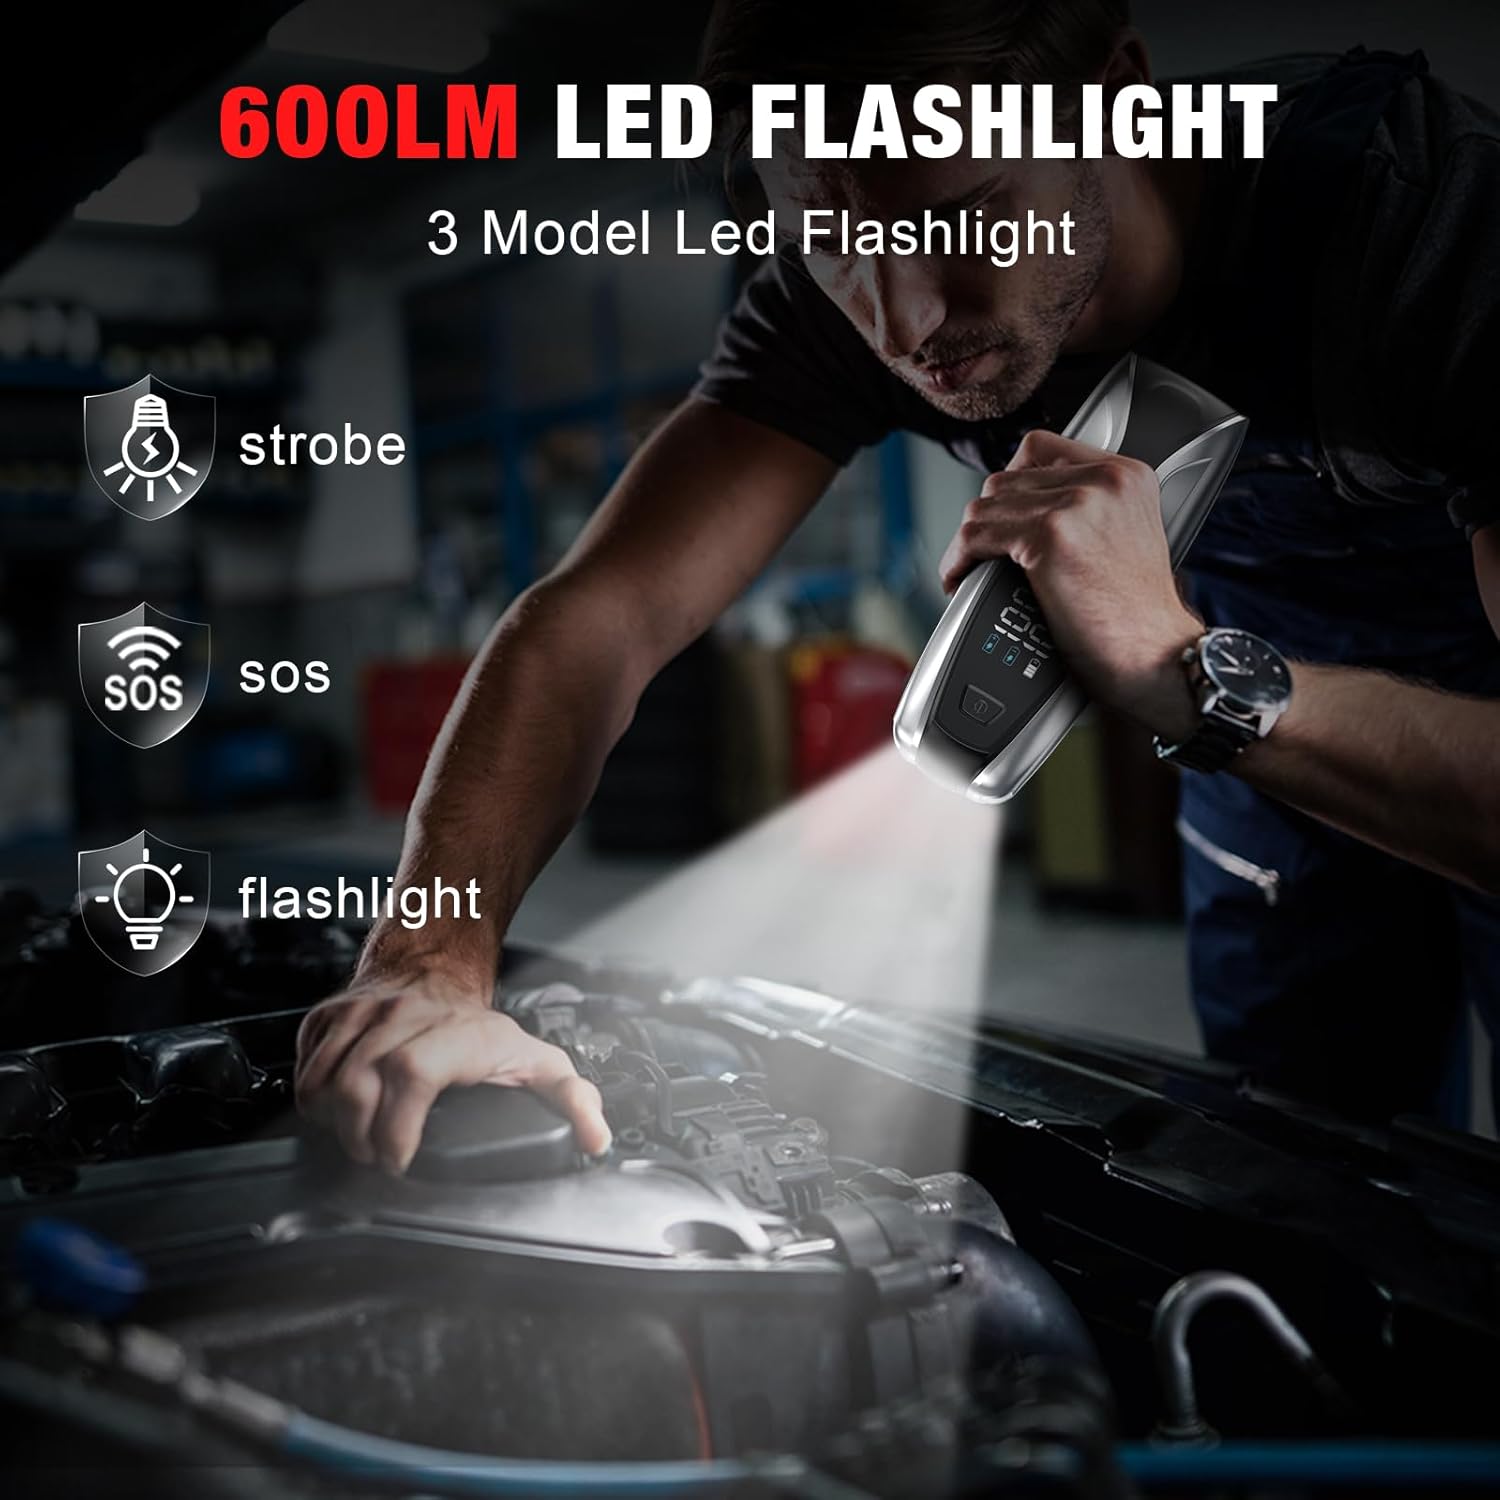
Image: The 600LM LED flashlight demonstrating its various modes, including solid, strobe, and SOS.
Jump Starting a Vehicle
- Ensure the jump starter is connected to the vehicle battery terminals correctly and the indicator light on the jumper cables is green.
- Enter your vehicle and start the engine.
- Once the engine starts, immediately remove the jumper cables from the vehicle battery terminals, then disconnect them from the jump starter unit.
6. Charging the Jump Starter
The NEXPOW jump starter features 60W PD bi-directional fast charging via its Type-C port, allowing for rapid recharging of the unit itself.
- Connect the USB-C charging cable to the Type-C input port on the jump starter.
- Connect the other end of the cable to a compatible 60W PD wall adapter (not included) or car charger.
- The 3.2-inch HD LCD screen will display the charging progress. A full charge can be achieved in approximately 1.7 hours with a 60W charger.

Image: The jump starter's 60W PD dual-way in/output for faster charging, illustrating recharge times based on charger wattage.
7. Maintenance
To ensure optimal performance and longevity of your NEXPOW jump starter, follow these maintenance guidelines:
- Regular Charging: Although the unit can hold its charge for up to 2 years, it is recommended to recharge it periodically, especially if it has been used.
- Storage: Store the jump starter in its hard shell carrying case in a cool, dry place away from direct sunlight and extreme temperatures.
- Cleaning: Use a soft, dry cloth to clean the unit. Avoid using harsh chemicals or abrasive materials.
8. Safety Features and Troubleshooting
Built-in Protections
The NEXPOW jump starter is equipped with 8 types of intelligent protections to ensure safe operation:
- Over-discharge Protection
- Reverse Polarity Protection
- Low-temperature Protection
- High-temperature Protection
- Over-load Protection
- Short Circuit Protection
- Over-charge Protection
- Over-current Protection
Jumper Clamp Indicator Instructions
The indicator lights on the smart jumper cables provide important status and troubleshooting information:
| Status | Description | Solution |
|---|---|---|
| Blue Light | Standby indication (jumper cables connected to jump starter, not yet to car battery) | Connect clamps to car battery. |
| Green Light | Automatic conduction status (ready to jump start your car) | Start your car engine. |
| Red Light | Error indication (e.g., reverse polarity, short circuit, over-temperature) | Check connections, refer to the user manual for specific error codes. |
9. Warranty and Support
For detailed warranty information, product support, or to register your NEXPOW T11/X7 Portable Car Jump Starter, please refer to the warranty card included in your product packaging or visit the official NEXPOW website. Keep your purchase receipt as proof of purchase for any warranty claims.


