
Introduction
Thank you for choosing the ErGear Single Monitor Mount. This manual provides detailed instructions for the safe and efficient installation, operation, and maintenance of your monitor mount. Please read this manual thoroughly before installation and keep it for future reference.
This monitor mount is designed to enhance your workspace by providing flexible positioning for a single monitor, promoting ergonomic viewing, and freeing up desk space. It supports monitors from 13 to 34 inches with VESA patterns of 75x75mm or 100x100mm, and a maximum load of 19.8 lbs (9 kg).
Safety Information
WARNING: Failure to read and follow all instructions may result in personal injury, property damage, or voiding of warranty. If you do not understand these instructions or have doubts about the safety of the installation, please contact customer support.
- Do not exceed the maximum load capacity of 19.8 lbs (9 kg).
- Ensure the mounting surface (desk) can safely support the combined weight of the mount and your monitor.
- Use only the provided hardware. Do not use damaged or missing parts.
- This product is intended for indoor use only.
- Keep children and pets away during installation.
- Periodically check that the mount is secure and all fasteners are tight.
Package Contents
Please verify that all components are present and undamaged before proceeding with installation. If any parts are missing or damaged, contact customer support for assistance.
- Monitor Arm Assembly
- Desk Clamp Base
- VESA Plate
- Hardware Kit (screws, washers, spacers for VESA mounting)
- Allen Keys for adjustments
- Cable Clips
Setup Instructions
Step 1: Attach the Desk Clamp
Secure the desk clamp base to your desk. Ensure the clamp is tightened firmly to provide a stable foundation for the monitor arm. The clamp features an anti-slip base and a larger contact area for improved stability.

Step 2: Attach the VESA Plate to Your Monitor
Align the VESA plate with the mounting holes on the back of your monitor. Use the appropriate screws, washers, and spacers from the hardware kit. This mount supports VESA patterns of 75x75mm and 100x100mm. The design allows for tool-free installation of the VESA plate onto the monitor arm.

Step 3: Mount the Monitor to the Arm
Once the VESA plate is secured to your monitor, slide the monitor (with the attached VESA plate) onto the monitor arm. Ensure it clicks into place or is secured with the provided locking mechanism.
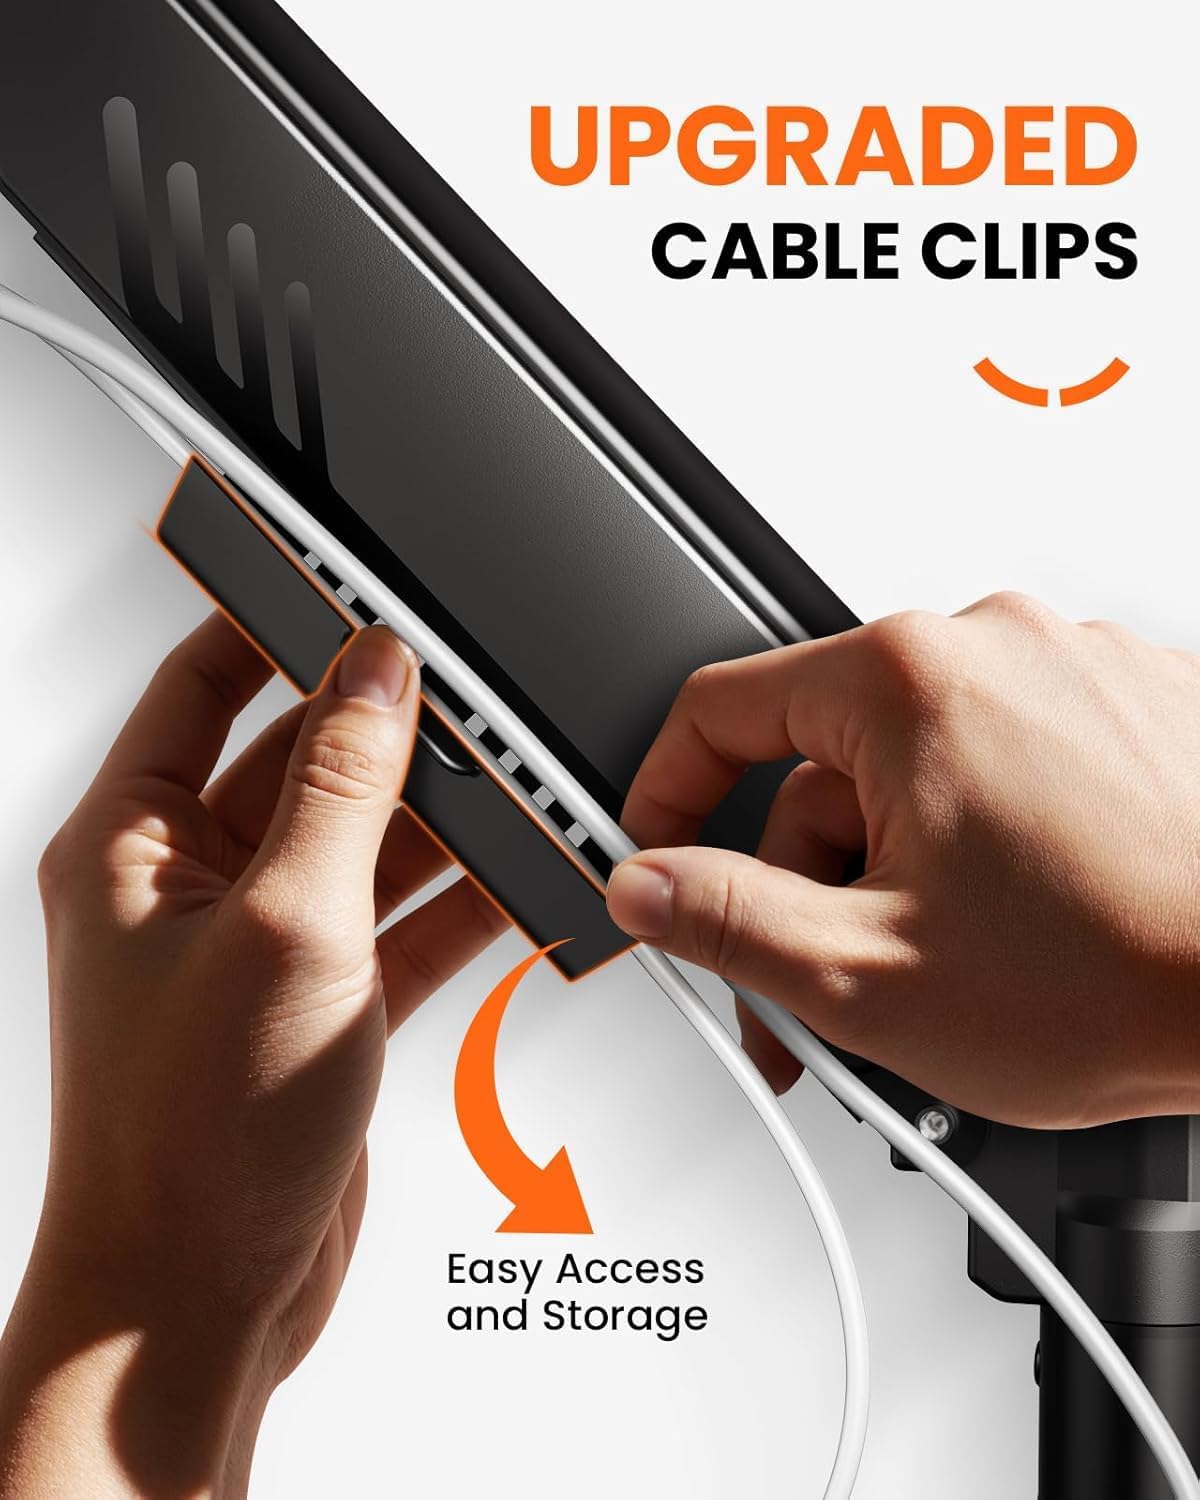
Step 4: Cable Management
Utilize the integrated cable clips on the monitor arm to route and organize your monitor and power cables. This helps maintain a clean and tidy workspace.
Operating Instructions
The ErGear Single Monitor Mount offers dynamic flexibility for optimal viewing comfort.
Height Adjustment
The monitor arm allows for flexible height adjustment to achieve an ergonomic eye-level viewing position. Gently push or pull the monitor to the desired height. If the monitor sags or rises too easily, adjust the gas spring tension using the provided Allen key (refer to the tension adjustment section in troubleshooting if needed).

Tilt, Swivel, and Rotation
The monitor arm provides extensive movement capabilities:
- Tilt: Adjust the monitor screen from +80° to -50° to reduce glare and optimize viewing angles.
- Swivel: Swivel the monitor ±90° left or right to share your screen or adjust for different tasks.
- Rotation: Rotate the monitor 360° for portrait or landscape orientation.

Maintenance
To ensure the longevity and optimal performance of your ErGear Single Monitor Mount, follow these maintenance guidelines:
- Cleaning: Wipe the mount with a soft, damp cloth. Avoid abrasive cleaners or solvents that could damage the finish.
- Periodic Checks: Regularly check all screws and connections to ensure they remain tight. Re-tighten if necessary.
- Gas Spring Adjustment: If the monitor does not stay in position or is difficult to move, adjust the gas spring tension as described in the troubleshooting section.
Troubleshooting
| Problem | Possible Cause | Solution |
|---|---|---|
| Monitor sags or does not stay at desired height. | Gas spring tension is too low for the monitor's weight. | Use the provided Allen key to turn the tension screw clockwise (+) to increase tension until the monitor holds its position. |
| Monitor is difficult to move up or down. | Gas spring tension is too high. | Use the provided Allen key to turn the tension screw counter-clockwise (-) to decrease tension until the monitor moves smoothly. |
| Monitor is unstable or wobbles. | Desk clamp is not tight enough or VESA plate screws are loose. | Ensure the desk clamp is securely tightened to the desk. Check and tighten all VESA plate screws. |
| Monitor does not fit the mount. | Incorrect monitor size or VESA pattern. | Verify your monitor's size (13-34 inches) and VESA pattern (75x75mm or 100x100mm) against the product specifications. |
Specifications
| Feature | Detail |
|---|---|
| Model Number | EGDMA71B-SS-EU |
| Brand | ErGear |
| Compatible Monitor Size | 13 - 34 inches |
| Max Load Capacity | 19.8 lbs (9 kg) |
| VESA Compatibility | 75x75mm, 100x100mm |
| Mounting Type | Desk Clamp |
| Movement Type | Articulating Gas Spring |
| Height Adjustment | Up to 14.17 inches (from desk surface) |
| Max Extension | 20.6 inches |
| Tilt Range | +80° / -50° |
| Swivel Range | ±90° |
| Rotation | 360° |
| Color | Black |
| UPC | 840478844160 |
| GTIN | 840478844160 |

Warranty & Support
ErGear is committed to providing high-quality products and customer satisfaction. This product comes with a standard manufacturer's warranty. For specific warranty details, please refer to the documentation included with your purchase or visit the official ErGear website.
If you encounter any issues during installation or operation, or if you have any questions, please do not hesitate to contact ErGear customer support. Our team is available to assist you.
Contact Information: Please refer to your product packaging or the official ErGear website for the most up-to-date customer support contact details.


