
AKNEAR GK-AF95800-K1
AKNEAR Rechargeable LED Flashlight GK-AF95800-K1 User Manual
Model: GK-AF95800-K1 | Brand: AKNEAR
1. Introduction
Thank you for choosing the AKNEAR Rechargeable LED Flashlight. This powerful and versatile flashlight is designed for various applications, from home use to outdoor activities like hiking and camping. It features high brightness, multiple lighting modes, a zoomable beam, USB-C charging, and a power bank function, all housed in a durable, waterproof aluminum alloy body.
2. Package Contents
Please check the package for the following items:
- 2 x AKNEAR Rechargeable LED Flashlights
- 2 x Lanyards
- 2 x USB-C Charging Cables
- User Manual (this document)
3. Product Features
The AKNEAR LED Flashlight is equipped with advanced features for optimal performance:
- High Lumens Output: Delivers up to 99000 lumens for exceptional brightness.
- 5 Lighting Modes: Includes High, Medium, Low, Strobe, and SOS for various situations.
- Zoomable Function: Easily switch between a wide floodlight and a focused spotlight by stretching the flashlight head.
- USB-C Rechargeable: Fast charging via the built-in Type-C port.
- Power Bank Function: USB output port allows charging of mobile phones or other devices.
- Power Display: LED indicators show battery status (25%/50%/75%/100%).
- Long-Lasting Battery: Features a 5000mAh high-capacity battery, providing up to 30 hours of runtime in SOS mode.
- Durable Construction: Made from military-grade aluminum alloy, offering IPX-7 waterproof and drop-resistant performance.
Feature Visuals:

Figure 3.1: Aluminum Precision Design. The flashlight's robust construction ensures durability and reliability.

Figure 3.2: Super Bright Illumination. Experience powerful lighting for any environment.

Figure 3.3: Zoomable Function. Adjust the beam from a wide floodlight to a focused spotlight.

Figure 3.4: Five Lighting Modes. Cycle through High, Medium, Low, Strobe, and SOS modes.

Figure 3.5: Ultra Long Runtime. The 5000mAh battery provides extended usage.

Figure 3.6: USB-C Fast Charging and Power Bank Function. Charge the flashlight quickly and use it to power other devices.
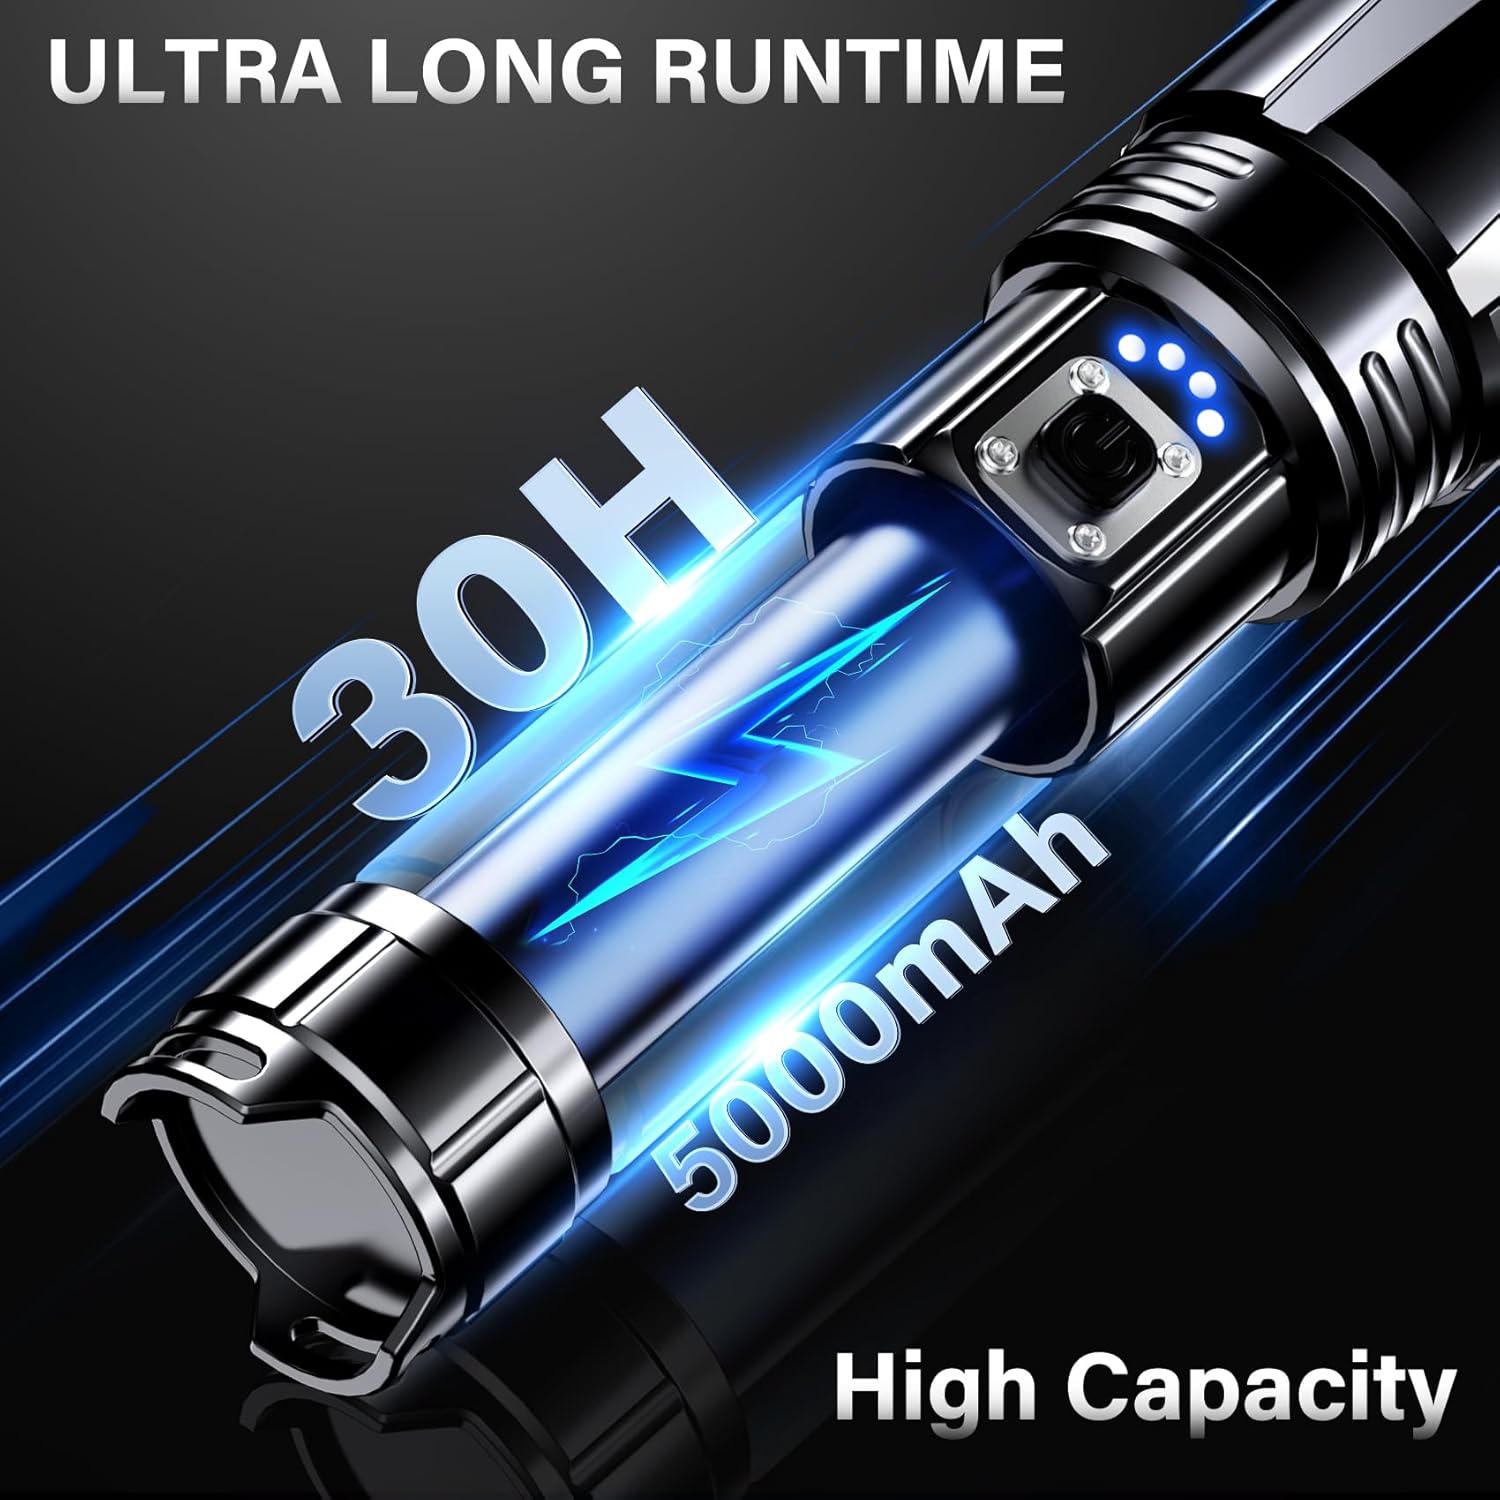
Figure 3.7: IPX-7 Waterproof. Designed to withstand rain and wet conditions.
4. Setup
4.1 Initial Charging
Before first use, fully charge the flashlight. Connect the provided USB-C cable to the flashlight's charging port and plug the other end into a USB power adapter (not included) or a computer USB port. The LED power indicators will show charging progress. All four lights will be solid when fully charged.
4.2 Attaching the Lanyard
Thread the lanyard through the designated loop at the tail cap of the flashlight to prevent accidental drops and for convenient carrying.
5. Operating Instructions
5.1 Power On/Off
Press the power button once to turn the flashlight on. Press and hold the power button for 1.5 seconds to turn the flashlight off from any mode.
5.2 Changing Lighting Modes
With the flashlight on, press the power button repeatedly to cycle through the 5 lighting modes: High > Medium > Low > Strobe > SOS.
5.3 Zoom Function
To adjust the beam, gently pull the head of the flashlight forward to narrow the beam into a spotlight, or push it backward to widen it into a floodlight.
5.4 Power Bank Function
To use the flashlight as a power bank, connect your device's charging cable to the USB output port on the flashlight. The flashlight will automatically begin charging your device.
5.5 Power Display Indicators
The four blue LED indicators near the power button show the remaining battery charge:
- 1 LED: 0-25% charge
- 2 LEDs: 25-50% charge
- 3 LEDs: 50-75% charge
- 4 LEDs: 75-100% charge
6. Maintenance
- Cleaning: Wipe the flashlight body with a soft, damp cloth. Do not use abrasive cleaners or solvents.
- Storage: Store the flashlight in a cool, dry place away from direct sunlight and extreme temperatures.
- Battery Care: To maintain battery health, fully charge the flashlight every 3-6 months if not in regular use. Avoid fully discharging the battery for extended periods.
- Lubrication: Periodically apply silicone grease to the O-rings and threads to maintain water resistance and smooth operation.
7. Troubleshooting
| Problem | Possible Cause | Solution |
|---|---|---|
| Flashlight does not turn on. | Low battery or battery depleted. | Charge the flashlight fully using the provided USB-C cable. |
| Light is dim or flickers. | Low battery. | Recharge the flashlight. |
| Flashlight not charging. | Cable or adapter issue; charging port obstruction. | Ensure the USB-C cable is securely connected. Try a different USB power adapter or cable. Check the charging port for debris. |
| Power bank function not working. | Low flashlight battery; incorrect cable. | Ensure the flashlight has sufficient charge. Use a compatible charging cable for your external device. |
8. Specifications
| Feature | Detail |
|---|---|
| Model Number | GK-AF95800-K1 |
| Brightness | Up to 99000 Lumens |
| Light Source | LED |
| Battery Capacity | 5000mAh (Lithium Polymer) |
| Charging Port | USB Type-C |
| Output Port | USB (for power bank function) |
| Lighting Modes | High, Medium, Low, Strobe, SOS |
| Waterproof Rating | IPX-7 |
| Material | Aluminum Alloy |
| Dimensions | 1.56"D x 1.56"W x 6.29"H |
| Weight (per flashlight) | Approximately 0.65 pounds |
9. Safety Information
- Do not look directly into the LED light when it is on, as it can cause temporary vision impairment.
- Keep out of reach of children.
- Do not disassemble the flashlight, as this may void the warranty and cause damage.
- Avoid exposing the flashlight to extreme heat or fire.
- Use only the provided USB-C cable for charging.
10. Warranty and Support
AKNEAR provides a 10-year product service for this flashlight. For any questions, concerns, or professional service, please contact our customer support team. We are available 7 days a week, 24 hours a day, to provide satisfactory solutions.
Contact Information: [Please refer to your product packaging or the AKNEAR official website for the most current contact details.]
Ask a question about this manual
Ask about setup, troubleshooting, compatibility, parts, safety, or missing instructions. Manuals+ will review the question and use this page’s manual context to help answer it.