1. Introduction
This manual provides essential instructions for the safe and efficient operation of your OOYCYOO 100A MPPT Solar Charge Controller. Please read this manual thoroughly before installation and use, and retain it for future reference. This controller is designed to optimize power harvesting from your solar panels and manage battery charging for various 12V, 24V, 36V, and 48V battery systems.
2. Safety Instructions
- Ensure all wiring is correctly polarized (+ to + and - to -) to prevent damage to the controller and connected devices.
- Always connect the battery first, then the solar panels, and finally the load. Disconnect in reverse order.
- Install appropriate circuit breakers for each line (solar, battery, load) to protect against overcurrent.
- Mount the controller in a well-ventilated area, away from direct sunlight, high temperatures, and moisture.
- Do not attempt to disassemble or repair the controller yourself. Contact qualified personnel for service.
- Wear appropriate personal protective equipment (PPE) during installation, including gloves and eye protection.
3. Product Overview
The OOYCYOO 100A MPPT Solar Charge Controller utilizes advanced Maximum Power Point Tracking (MPPT) technology to achieve up to 99% tracking efficiency and 98% peak conversion efficiency. It supports a wide range of battery types and system voltages, ensuring optimal charging and system protection.
Key Features:
- Battery Compatibility: Supports 12V/24V/36V/48V Lead-acid (Sealed, Gel, AGM, Flooded) and Lithium batteries.
- High Efficiency: Up to 99% tracking efficiency and 98% peak conversion efficiency.
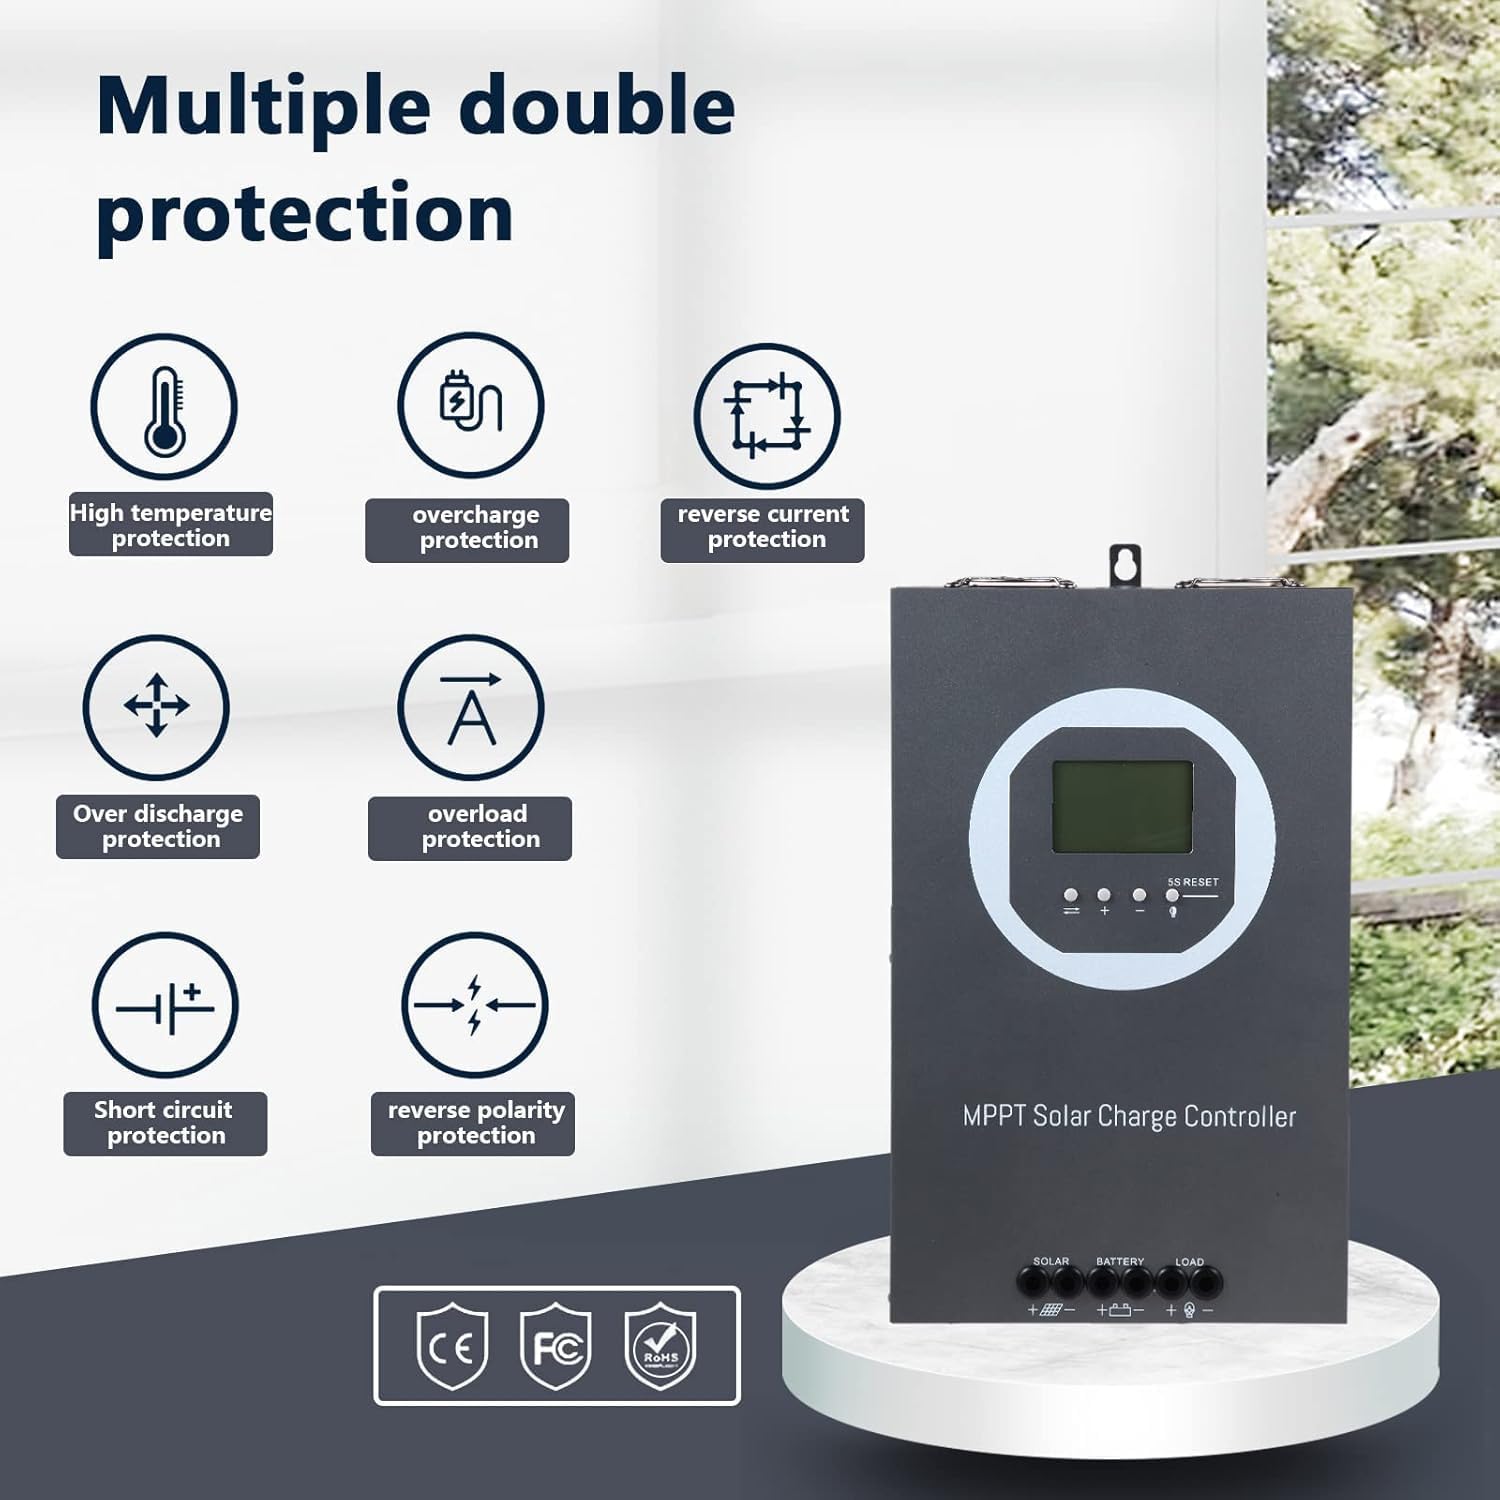
- Comprehensive Protection: Includes PV array short-circuit, PV input over-current, load short-circuit, PV/battery polarity reversal, and over-temperature protection.
- Wide Voltage/Power Support: Max PV input voltage up to 150V. Max input power up to 5000W (for 48V system).
- Efficient Cooling: Die-cast aluminum construction with a turbofan for active cooling (activates >45°C, turns off <40°C).
- LCD Display: Provides real-time system information.
Component Identification:


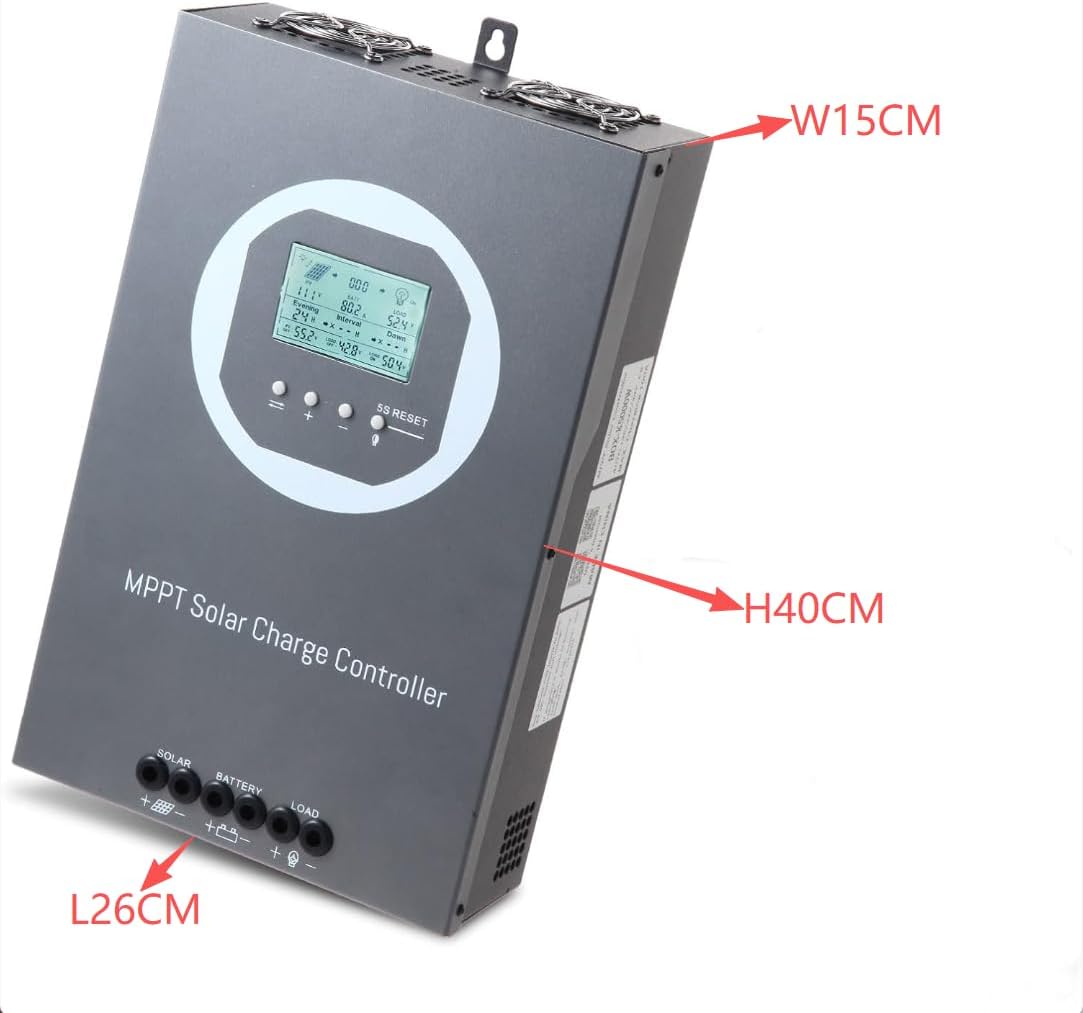
4. Setup and Installation
4.1 Mounting the Controller
Mount the controller vertically on a wall or suitable surface using screws. Ensure there is ample space around the controller for proper heat dissipation. Avoid mounting in direct sunlight or areas with high humidity.
4.2 Wiring Connections
Follow the connection order carefully to prevent damage. Always connect the battery first, then the solar panels, and finally the load.
- Battery Connection: Connect the battery positive and negative terminals to the controller's BATTERY terminals. Ensure correct polarity.
- Solar Panel Connection: Connect the solar array positive and negative terminals to the controller's SOLAR terminals. Ensure correct polarity.
- Load Connection: Connect the DC load positive and negative terminals to the controller's LOAD terminals. Ensure correct polarity.

4.3 Battery Type Selection
After initial power-up, configure the battery type on the controller's LCD display. The controller supports Lead-acid (Sealed, Gel, AGM, Flooded) and Lithium batteries. Refer to the detailed operating instructions for navigating the menu and selecting the appropriate battery type.
4.4 Parallel Communication Setup (Optional)
For systems requiring multiple charge controllers, parallel communication can be established. This allows controllers to synchronize their operations. The following video demonstrates the process:
5. Operating Instructions
5.1 LCD Display Information
The LCD display provides real-time monitoring of your solar system's status. Information typically includes:
- PV Input Voltage and Power
- Battery Voltage and Charging Current
- Load Output Current and Power
- Battery Temperature
- System Status and Error Codes
5.2 Button Functions
The controller features several buttons for navigation and settings adjustment:
- PV/SET: Used to view PV parameters and enter/save settings.
- BAT/▲: Used to view battery parameters and increase values in settings.
- BAT/▼: Used to view battery parameters and decrease values in settings.
- LOAD/5S RESET: Used to control load output and perform a 5-second reset.
For detailed operation and setting adjustments, refer to the specific instructions in the full product manual.
5.3 General Operation Demonstration
The following videos provide visual demonstrations of the controller's basic operation and connection procedures:
6. Maintenance
6.1 Cooling System
The controller is equipped with a die-cast aluminum casing and a turbofan for efficient heat dissipation. The fan activates automatically when the internal temperature exceeds 45°C and turns off when it drops below 40°C. Ensure the ventilation openings are clear of obstructions to maintain optimal cooling performance.

6.2 General Care
- Regularly inspect all wiring connections for tightness and corrosion.
- Keep the controller clean and free from dust and debris. Use a dry cloth for cleaning.
- Periodically check the battery terminals for any signs of wear or damage.
7. Troubleshooting
This section provides guidance for common issues. For complex problems, consult the full product manual or contact customer support.
Common Issues:
- No Power/Display: Check battery connections and ensure the battery circuit breaker is closed.
- No Charging: Verify solar panel connections, ensure sufficient sunlight, and check for any PV array short-circuits.
- Load Not Working: Check load connections, ensure the load output is enabled, and verify the load is not exceeding the controller's capacity.
- Error Codes: Refer to the specific error code definitions in the comprehensive manual for diagnostic steps.

8. Specifications
| Feature | Specification |
|---|---|
| Brand | OOYCYOO |
| Model Number | 100A 48V 36V 24V 12V |
| System Voltage | 12V/24V/36V/48V Auto |
| Max PV Input Voltage | 150V |
| Max Input Power (12V System) | 1200W (PV input voltage range: DC20V~DC80V) |
| Max Input Power (24V System) | 2400W (PV input voltage range: DC37V~DC105V) |
| Max Input Power (36V System) | 3600W (PV input voltage range: DC50V~DC150V) |
| Max Input Power (48V System) | 4800W (PV input voltage range: DC72V~DC150V) |
| Battery Types Supported | Lead-acid (Sealed, Gel, AGM, Flooded), Lithium |
| Tracking Efficiency | Up to 99% |
| Conversion Efficiency | Up to 98% |
| Cooling | Die-cast aluminum with turbofan |
| Display Type | LCD |
| Item Weight | 8.58 pounds |
| Package Dimensions | 15.75 x 10.24 x 5.91 inches |
| Material | Aluminum |

9. Warranty Information
Please refer to the product packaging or the official OOYCYOO website for detailed warranty terms and conditions. Typically, products are covered against manufacturing defects for a specified period from the date of purchase.
10. Customer Support
For technical assistance, troubleshooting, or any inquiries regarding your OOYCYOO MPPT Solar Charge Controller, please contact OOYCYOO customer support through the vendor's contact information provided at the point of purchase or on their official website.


