1. Safety Information
Always read and understand all safety warnings and instructions before operating this pneumatic staple gun. Failure to follow these instructions may result in serious injury.
- Wear Eye Protection: Always wear ANSI-approved safety glasses or goggles when operating the tool.
- Wear Hearing Protection: Prolonged exposure to noise from pneumatic tools can cause hearing damage.
- Keep Work Area Clear: Ensure your work area is well-lit and free from clutter.
- Disconnect Air Supply: Always disconnect the air supply before making adjustments, clearing jams, or servicing the tool.
- Use Correct Air Pressure: Do not exceed the maximum recommended air pressure for the tool.
- Never Point at Yourself or Others: Treat the tool as if it is always loaded.
- Use Correct Fasteners: Only use staples compatible with this tool.
- Secure Workpiece: Always secure the material being stapled to prevent movement.
2. Product Overview
The VEVOR MT5016SLN is a 20 gauge pneumatic staple gun designed for fine wire staples, ideal for upholstery, woodworking, and various DIY projects. It features a long nose for precision in tight spaces and an ergonomic design for comfortable, extended use.
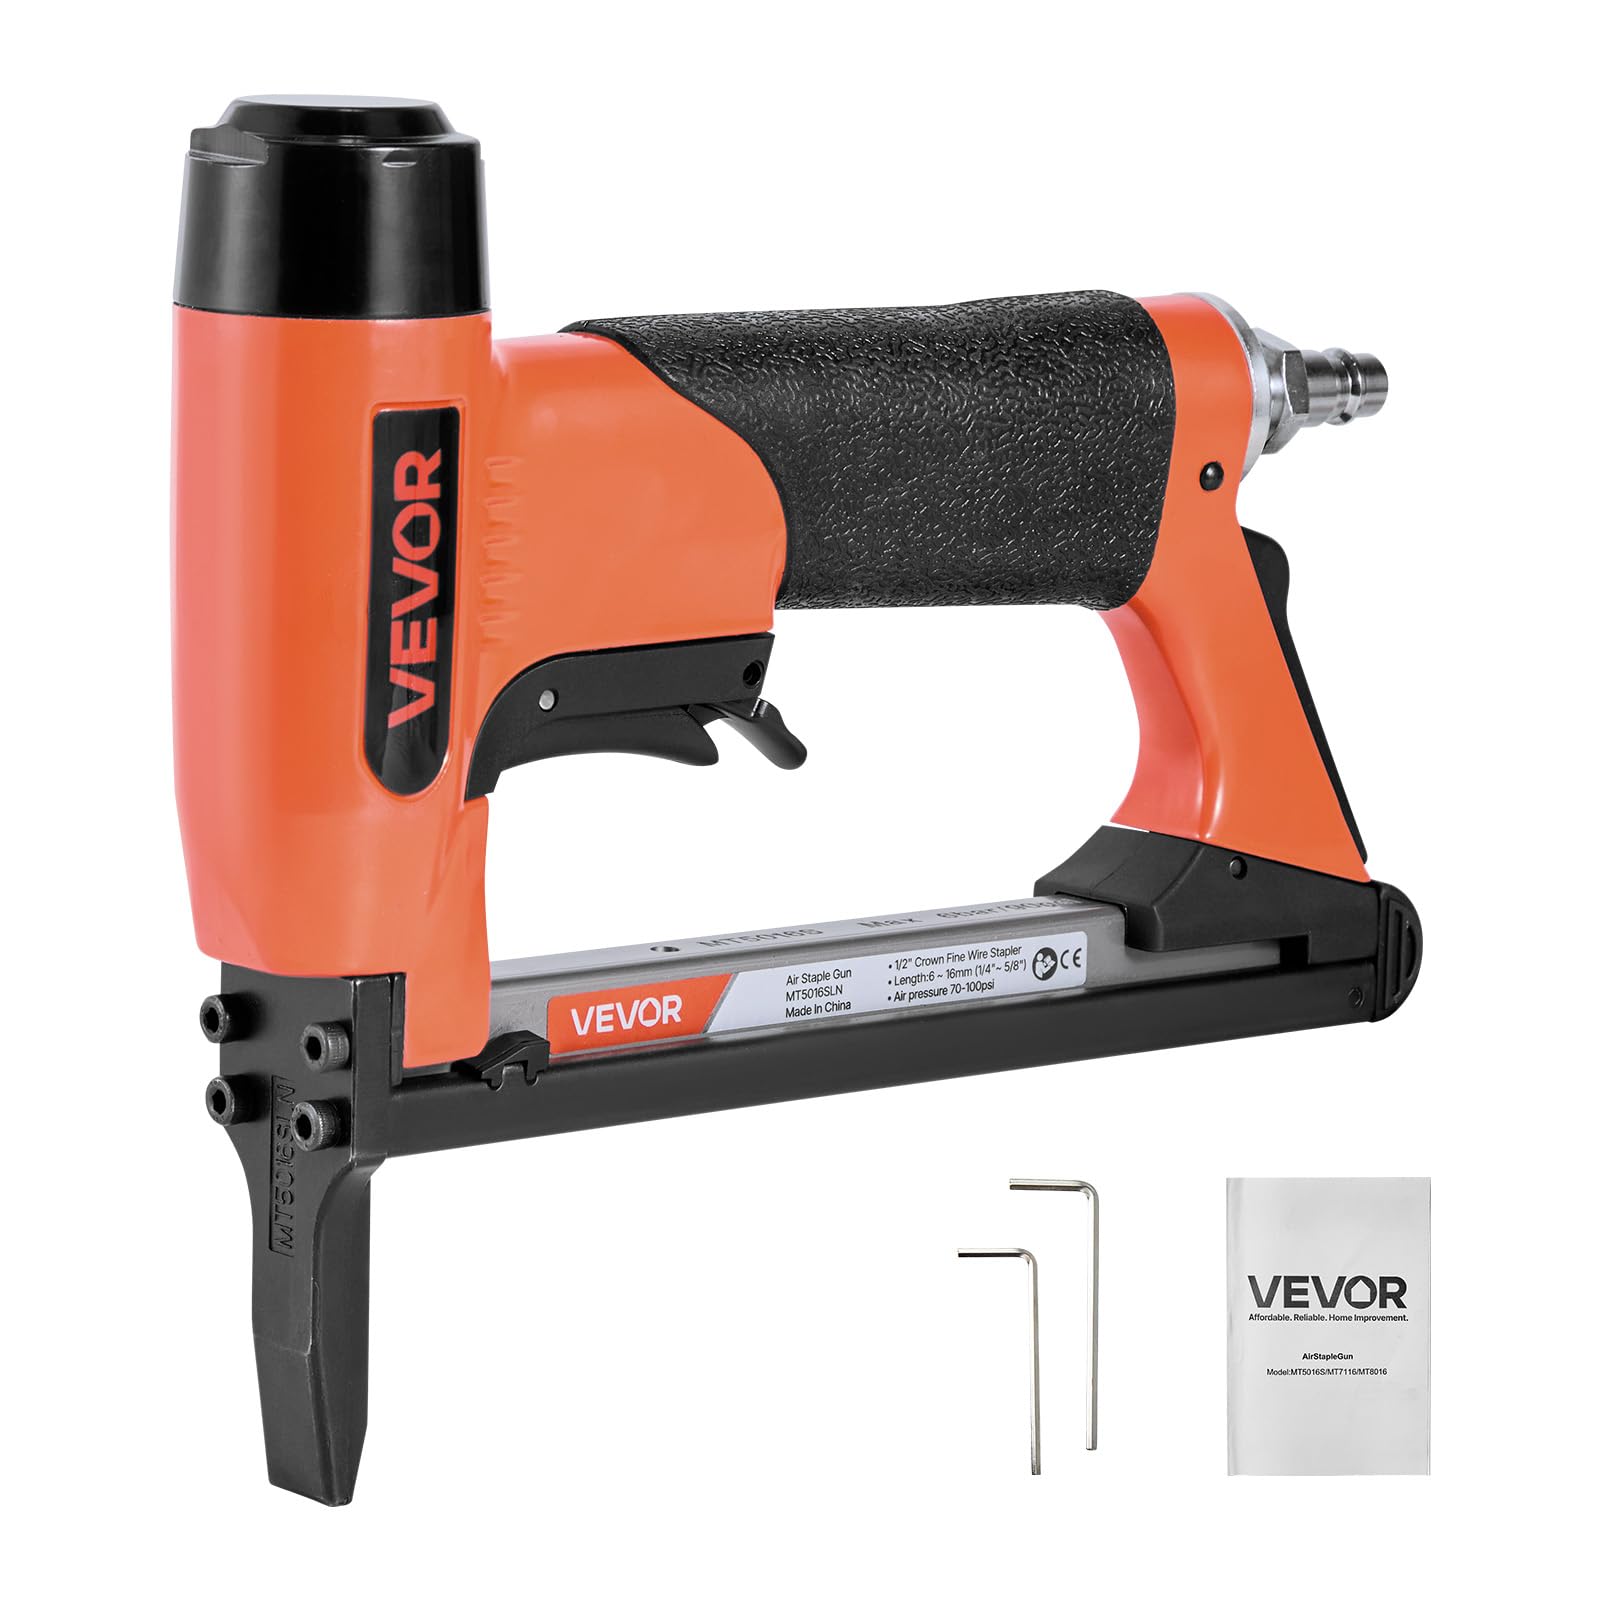
Figure 1: VEVOR 20 Gauge Pneumatic Upholstery Staple Gun, general view.
Key Features:
- Staple Compatibility: Compatible with 50 series fine wire staples, featuring a 1/2-inch (12.8mm) crown size and 1/4" to 5/8" (6mm - 16mm) staple lengths.
- High Loading Capacity: Magazine holds up to 110 staples, reducing the need for frequent reloading.
- Extended Nose Design: Allows for smooth operation in confined or hard-to-reach areas, enhancing precision.
- Sequential Firing Mode: Prevents accidental firings, improving user safety.
- Rear Exhaust Design: Directs exhaust away from the user and workpiece.
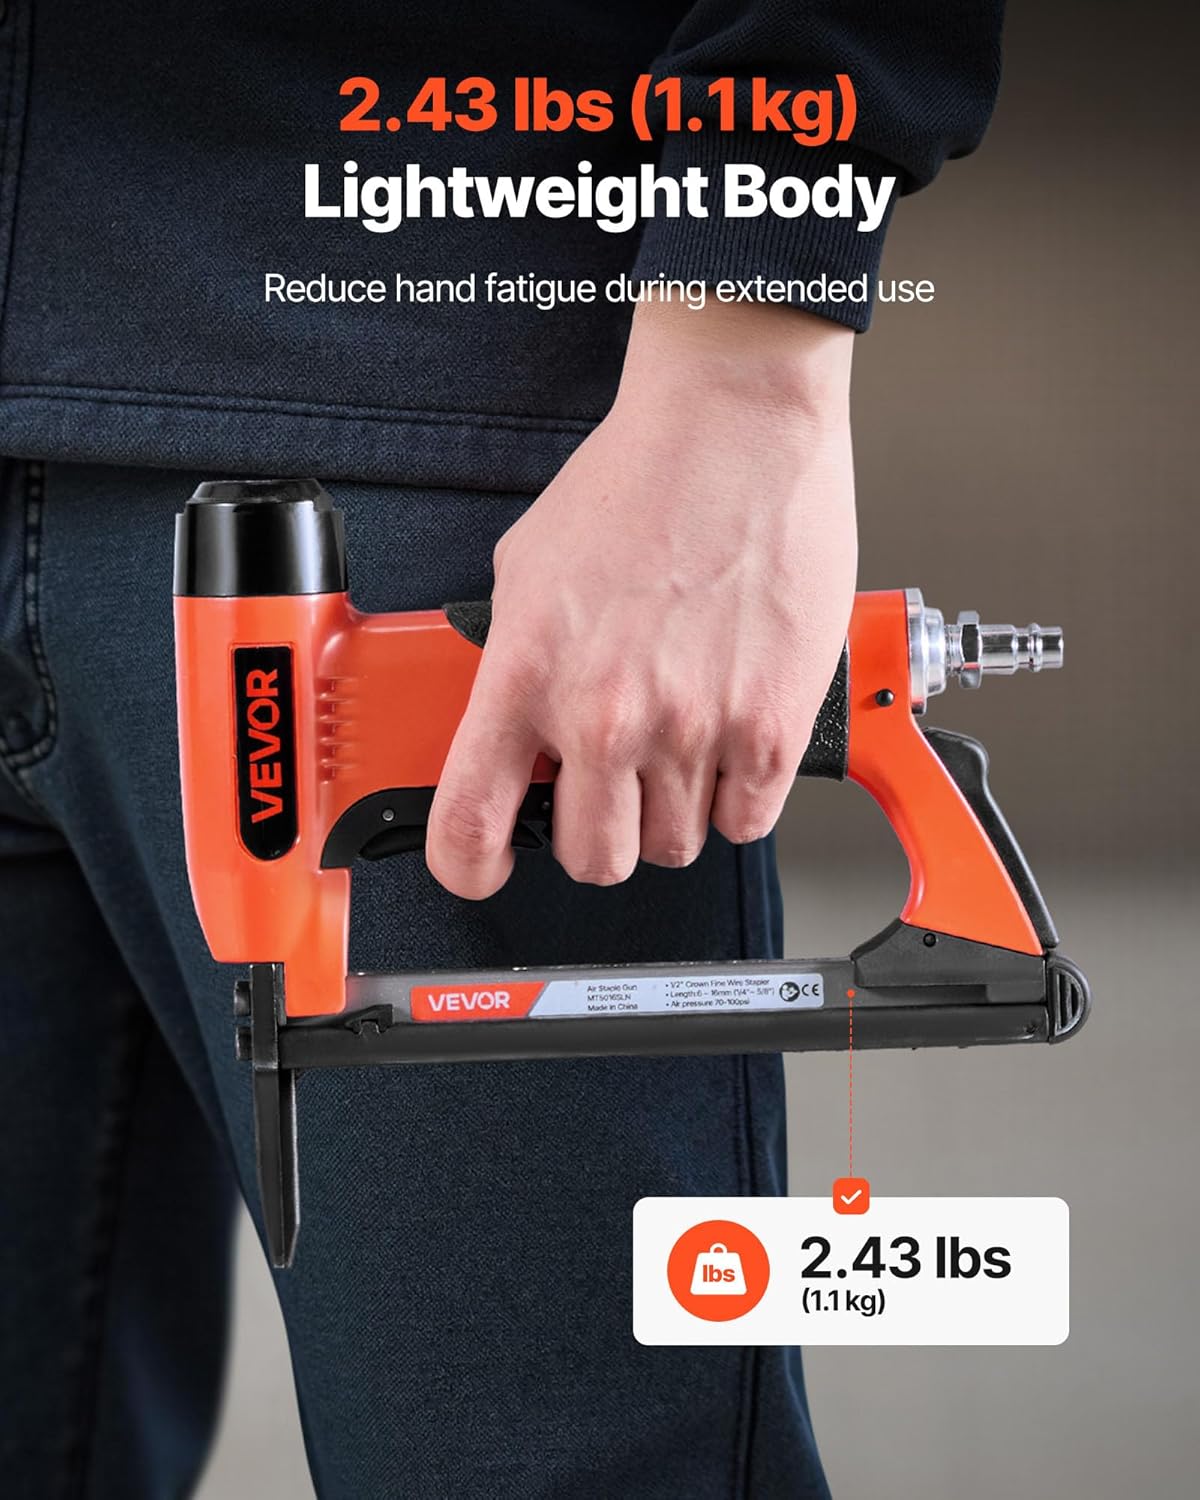
- Comfortable Grip: Equipped with an ergonomic non-slip rubber grip and lightweight build (2.43 lbs / 1.1 kg) to reduce hand fatigue during extended use.
- Durable Construction: Features a high-quality aluminum alloy housing for durability and reliability.


3. Specifications
| Feature | Detail |
|---|---|
| Item Model Number | MT5016SLN |
| Staple Gun Type | 20-Gauge |
| Compatible Staples | 50 Series Fine Wire Staples |
| Compatible Crown Size | 1/2 inch (12.6mm) |
| Compatible Staple Length | 1/4 - 5/8 inch (6mm - 16mm) |
| Magazine Capacity | Max 110 PCS |
| Operating Pressure | 70 - 100 PSI |
| Air Inlet | 1/4" NPT |
| Main Material | Aluminum Alloy |
| Net Weight | 2.43 lbs (1.1 kg) |
| Product Dimensions | 8.66 x 7.48 x 1.77 inches (220 x 190 x 45 mm) |
| Accessories Included | 1x M2.5 Hex Wrench, 1x M3 Hex Wrench, 1x User Manual |
4. Setup
4.1 Connecting to Air Compressor
- Ensure the air compressor is turned off and depressurized.
- Connect a 1/4" NPT air hose to the tool's air inlet.
- Set the air compressor pressure between 70-100 PSI.
- Before first use, or after extended storage, apply a few drops of pneumatic tool oil into the air inlet.
4.2 Loading Staples
- Disconnect the air supply from the tool for safety.
- Press the magazine latch to release the magazine cover.
- Slide the magazine cover open.
- Insert a strip of compatible 50 series fine wire staples into the magazine. Ensure the staple legs are pointing downwards.
- Slide the magazine cover closed until it latches securely.

Figure 8: Visual guide for the 4-step quick staple reload process.
5. Operating Instructions
5.1 General Operation
- Ensure the tool is properly connected to an air supply and loaded with staples.
- Position the nose of the stapler firmly against the workpiece. The safety trigger switch will engage when pressed against the surface.
- Press the main trigger to drive a staple. The sequential firing mode ensures one staple is fired per trigger pull.
- Release the trigger and lift the tool from the workpiece.
5.2 Important Operating Notes
- The tool features a safety mechanism that requires the nose to be pressed against the workpiece for firing. If the tool does not fire, ensure this mechanism is fully engaged.
- Adjust air pressure within the 70-100 PSI range to achieve optimal staple depth for different materials.
- This tool is suitable for applications such as upholstery, woodworking, fabric attaching, light-duty furniture assembly, wooden frame assembly, decorative trim fastening, and picture framing.
Video 1: Demonstration of the VEVOR 21 Gauge Upholstery Stapler, showcasing its features, staple loading, and firing mechanism. Note: The video refers to a 21 gauge model, but the operational principles for loading and firing are similar to the 20 gauge MT5016SLN.
6. Maintenance
Regular maintenance ensures the longevity and optimal performance of your pneumatic staple gun.
- Oiling: Apply a few drops of pneumatic tool oil into the air inlet daily or before each use. This lubricates internal components and prevents corrosion.
- Cleaning: Keep the tool clean and free from debris. Wipe down the exterior with a clean cloth.
- Inspecting: Periodically inspect the tool for any signs of wear, damage, or loose fasteners. Tighten any loose screws.
- Storage: Store the tool in a dry, clean environment when not in use. Disconnect the air supply before storing.
7. Troubleshooting
| Problem | Possible Cause | Solution |
|---|---|---|
| Tool does not fire | Air supply not connected or insufficient pressure; Safety mechanism not engaged; Magazine empty or jammed. | Check air connection and pressure (70-100 PSI); Ensure nose is firmly pressed against workpiece; Reload magazine or clear jam. |
| Staples not driving fully | Low air pressure; Incorrect staple length for material; Worn driver blade. | Increase air pressure; Use shorter staples or adjust depth; Contact VEVOR support for driver blade replacement. |
| Staples jamming frequently | Incorrect staple type or size; Damaged staples; Debris in magazine or nose. | Use only 50 series fine wire staples (1/2" crown, 1/4"-5/8" length); Inspect staples for damage; Disconnect air, open nose assembly (using hex wrenches), and clear debris. |
| Air leaks | Loose fittings; Damaged O-rings or seals. | Tighten all air fittings; Contact VEVOR support for replacement seals. |
8. Warranty & Support
VEVOR products are designed for reliability and performance. For specific warranty information, please refer to the warranty card included with your product or visit the official VEVOR website. If you encounter any issues or require technical assistance, please contact VEVOR customer support. Ensure you have your model number (MT5016SLN) and purchase details available when contacting support.
Thank you for choosing VEVOR.


