
QKMPOM L206
QKMPOM L206 180PSI Portable Tire Inflator Air Compressor User Manual
Model: L206 | Brand: QKMPOM
1. Introduction
Thank you for choosing the QKMPOM L206 Portable Tire Inflator. This device is designed for efficient and convenient inflation of various items, including car tires, motorcycle tires, bicycle tires, and sports balls. It features a high-performance motor, digital pressure gauge with auto shut-off, and multiple power options for versatile use. Please read this manual thoroughly before operation to ensure safe and proper use.
2. Package Contents
Verify that all items listed below are included in your package:
- Portable tire inflator x1
- Air hose x1
- 12V DC car adapter x1
- Tire nozzle x1
- Presta valve adapter x1
- Schrader valve adapter x1
- Ball needle x1
- USB-C cable x1
- Storage bag x1
- User manual x1

Image: QKMPOM L206 Portable Tire Inflator and its complete set of accessories.
3. Product Features
- Fast Inflation: High-performance 25,000RPM motor delivers 36L/min airflow, inflating a car tire (225/75 R17) from 28PSI to 36PSI in under 1 minute.
- Preset Modes & Auto Shut-off: 5 preset inflation modes (Car, Motorcycle, Bicycle, Ball, Custom up to 180 PSI) and 4 pressure units (PSI, kPa, Bar, kg/cm²). Automatically stops when target pressure is reached.
- Dual Power Supply: Features a high-capacity rechargeable battery and includes a 12V DC car adapter for continuous use.
- Multifunctional Tool: Integrated super-bright LED flashlight with 3 modes (SOS, flashlight, strobe) and a 5V/2A USB output port for charging devices.
- Dual Screen Display: Digital LCD display shows real-time and preset pressure values simultaneously with an accuracy of ±1 PSI.
- Compact and Portable: Designed to be smartphone-sized for easy carrying and storage.

Image: The QKMPOM L206 inflates tires up to 6 times faster with a maximum pressure of 180 PSI.

Image: The dual digital LCD display provides clear real-time and preset pressure readings.
4. Setup
4.1 Initial Charging
Before first use, fully charge the tire inflator using the provided USB-C cable and a compatible USB power adapter (not included) or the 12V DC car adapter. The battery indicator on the display will show charging status.
4.2 Connecting the Air Hose
- Screw the air hose securely onto the inflator's air outlet.
- Select the appropriate nozzle adapter for your item (tire, ball, etc.).
- Attach the selected adapter to the other end of the air hose.

Image: Visual guide for connecting the air hose and operating the inflator.
5. Operating Instructions
5.1 Powering On/Off
- To power on, long press the power button (U).
- The device will automatically power off after 3 minutes of inactivity to conserve battery.
5.2 Selecting Inflation Mode
Press the 'M' button to cycle through the 5 preset modes:
- Car Mode: Default pressure range for car tires (e.g., 28-50 PSI).
- Motorcycle Mode: Default pressure range for motorcycle tires (e.g., 26-45 PSI).
- Bicycle Mode: Default pressure range for bicycle tires (e.g., 30-120 PSI).
- Ball Mode: Default pressure range for sports balls (e.g., 4-16 PSI).
- Custom Mode: Allows manual setting of pressure from 3-180 PSI.

Image: The inflator offers 5 preset modes for various inflation needs.
5.3 Setting Pressure Units
Short press the 'M' button to switch between pressure units: PSI, kPa, Bar, kg/cm².
5.4 Adjusting Target Pressure
Use the '+' and '-' buttons to increase or decrease the desired target pressure. The display will show the preset value.
5.5 Starting and Stopping Inflation
- Connect the nozzle to the item's valve.
- Press the power button (U) to start inflation. The real-time pressure will be displayed.
- The inflator will automatically stop once the preset target pressure is reached.
- To manually stop inflation, press the power button (U) again.

Image: The auto shut-off feature ensures precise inflation by stopping automatically.
6. Charging and Power Supply
6.1 Battery Powered Operation
The L206 features a built-in rechargeable lithium-ion battery. Ensure the battery is sufficiently charged for cordless operation. The battery level is indicated on the display.

Image: The inflator's powerful battery allows for multiple inflations on a single charge.
6.2 12V DC Car Adapter
For extended use or when the battery is low, connect the inflator to your vehicle's 12V DC cigarette lighter socket using the provided adapter. This allows you to use the inflator directly from your car's power supply.
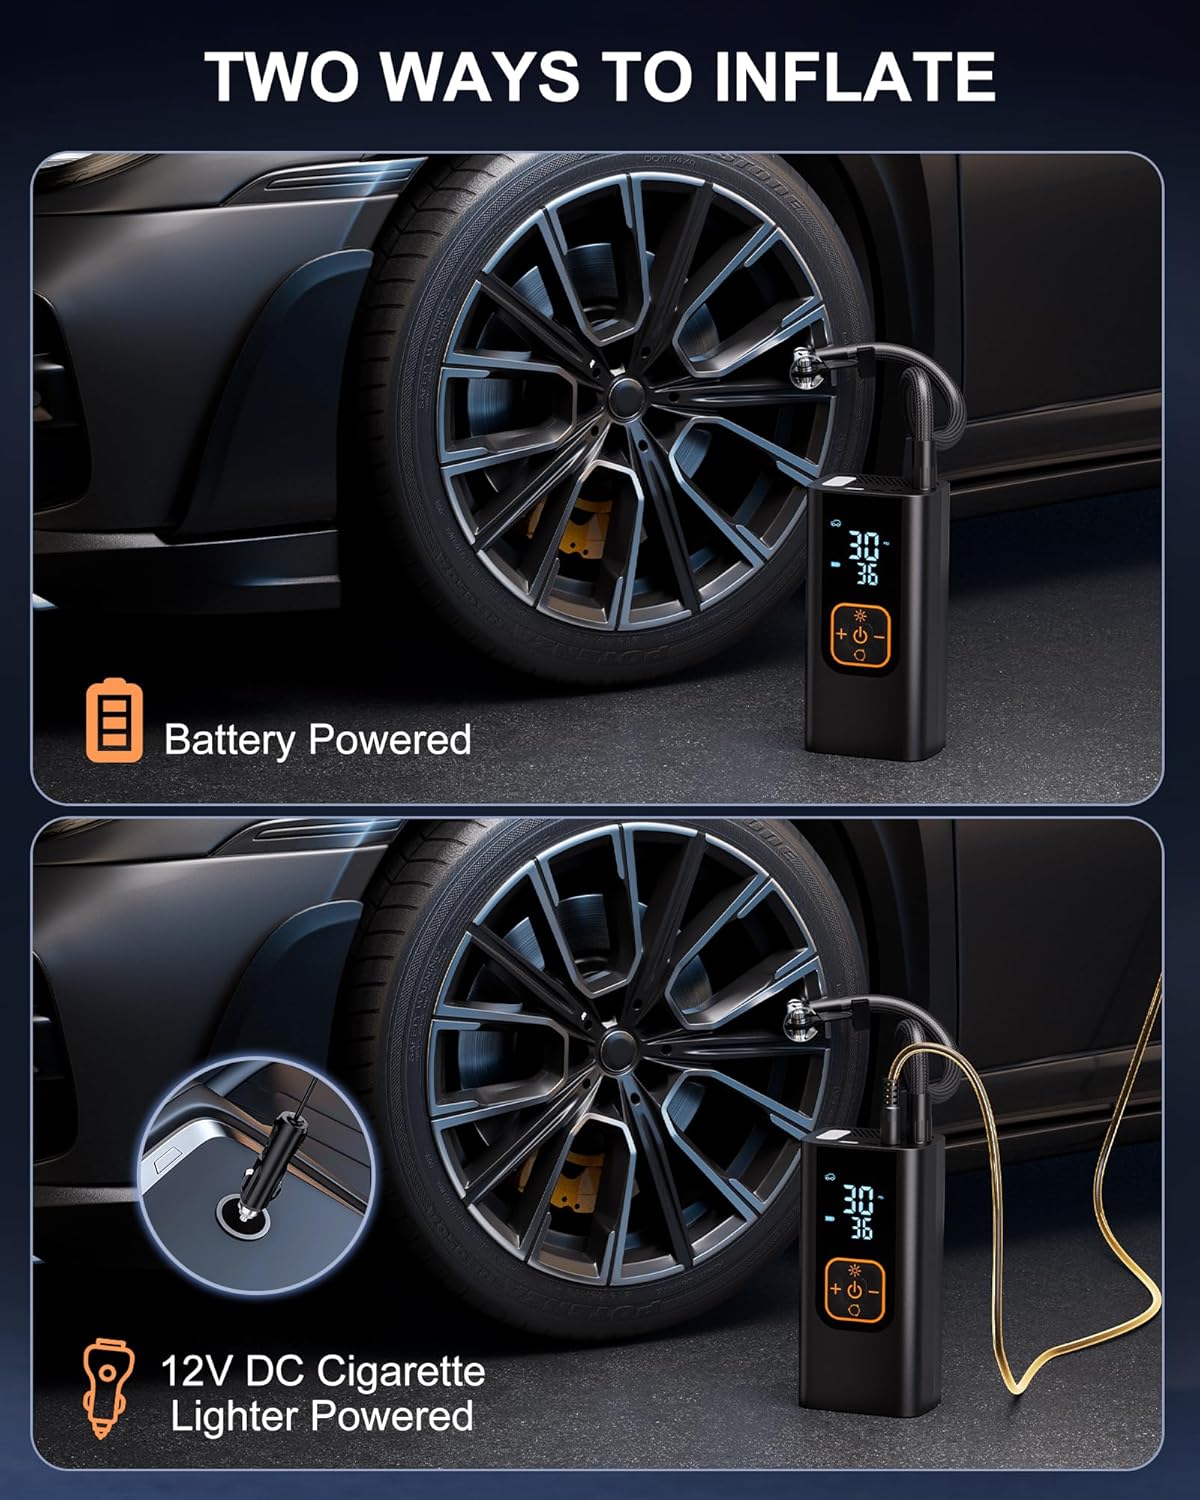
Image: The inflator supports both battery power and 12V DC car adapter for flexible use.
7. Multifunctional Use
7.1 LED Flashlight
The inflator includes a built-in LED flashlight with three modes:
- Lighting Mode: Standard illumination.
- Alarm Light Mode: Flashing light for attention.
- SOS Light Mode: Morse code SOS signal for emergencies.
Press the light button (☀) to cycle through the modes.

Image: The inflator features a 3-mode LED light for various situations.
7.2 Power Bank Function
The inflator can also serve as a power bank to charge your electronic devices. It includes a USB-C charging port and a 5V/2A USB output port.
- Connect your device to the USB-C or USB output port using a compatible cable.
- The inflator's battery will provide power to your device.
8. Maintenance
- Cleaning: Wipe the device with a soft, dry cloth. Do not use harsh chemicals or abrasive cleaners.
- Storage: Store the inflator in a cool, dry place away from direct sunlight and extreme temperatures. Ensure the battery is partially charged (around 50%) if storing for extended periods.
- Battery Care: To prolong battery life, avoid fully discharging the battery frequently. Recharge when the battery indicator is low.
- Hose and Nozzles: Keep the air hose and nozzle adapters clean and free from debris.
9. Troubleshooting
| Problem | Possible Cause | Solution |
|---|---|---|
| Inflator does not turn on. | Low battery or not charged. | Charge the inflator using the USB-C cable or 12V DC adapter. |
| Inflator stops before reaching target pressure. | Target pressure set too low or battery low. | Check preset pressure. Recharge battery if low. |
| Inflation is slow or weak. | Air hose or nozzle not securely connected; low battery. | Ensure all connections are tight. Recharge battery. |
| Inaccurate pressure reading. | Nozzle not fully seated on valve. | Ensure the nozzle is firmly attached to the valve. |
| LED light not working. | Device off or malfunction. | Ensure device is on. If problem persists, contact support. |
10. Specifications
| Feature | Detail |
|---|---|
| Model Number | L206 |
| Maximum Pressure | 180 PSI |
| Air Flow Capacity | 36 liters per minute |
| Power Source | Battery Powered (1 Lithium Ion battery included), 12V DC Adapter |
| Noise Level | 50 dB |
| Special Features | Automatic Shut-Off, Built-In Gauge, Cordless, LCD Display, LED Light |
| Material | Metal, ABS Plastic |
| Hose Length | 11 feet |
| Battery Charge Time | 2 hours |
| Parcel Dimensions | 18.7 x 13.5 x 9.7 cm |
| Weight | 730 g |
11. Warranty and Support
The QKMPOM L206 Portable Tire Inflator comes with a 2-year product warranty. For technical support or warranty claims, please contact QKMPOM Direct. Lifetime technical support is also provided for added peace of mind.
- Warranty Period: 2 Years
- Technical Support: Lifetime
- Manufacturer Contact: QKMPOM Direct

Image: QKMPOM offers comprehensive customer support and warranty services.
Ask a question about this manual
Ask about setup, troubleshooting, compatibility, parts, safety, or missing instructions. Manuals+ will review the question and use this page’s manual context to help answer it.