1. Introduction
This manual provides detailed instructions for the installation, operation, and maintenance of your AIDA Single Pole Double Paddle Rocker Decorator Light Switch. This 15 Amp, self-grounding electrical light switch is designed for residential and most commercial applications where space in the electrical wall box is limited. It is UL and CUL listed, ensuring compliance with safety and quality standards.
The AIDA double paddle rocker switch allows you to control two separate light fixtures or devices from a single wall location, offering convenience and efficient use of space.
2. Product Overview

Front view of the AIDA double paddle rocker light switch, featuring a glossy black finish and two distinct paddles for controlling separate circuits.
Key Features:
- Two Combined Single Pole Switches: Controls two fixtures from one location, ideal for limited wall box space.
- Self-Grounding: Automatically connects to a well-grounded metal wall junction box for enhanced safety.
- High Quality Construction: Made from impact-resistant polycarbonate thermoplastic and solid steel for durability.
- Easy Installation: Supports both back wiring and side wiring. Features a shallow back body for more wire space.
- Universal Application: Suitable for residential and most commercial areas requiring 15 Amp switches.
- Certifications: UL & CUL listed for safety and quality assurance.

An exploded diagram illustrating the main components of the AIDA double paddle rocker switch, including the two single-pole switches, the self-grounding chip, and the decorator faceplate.
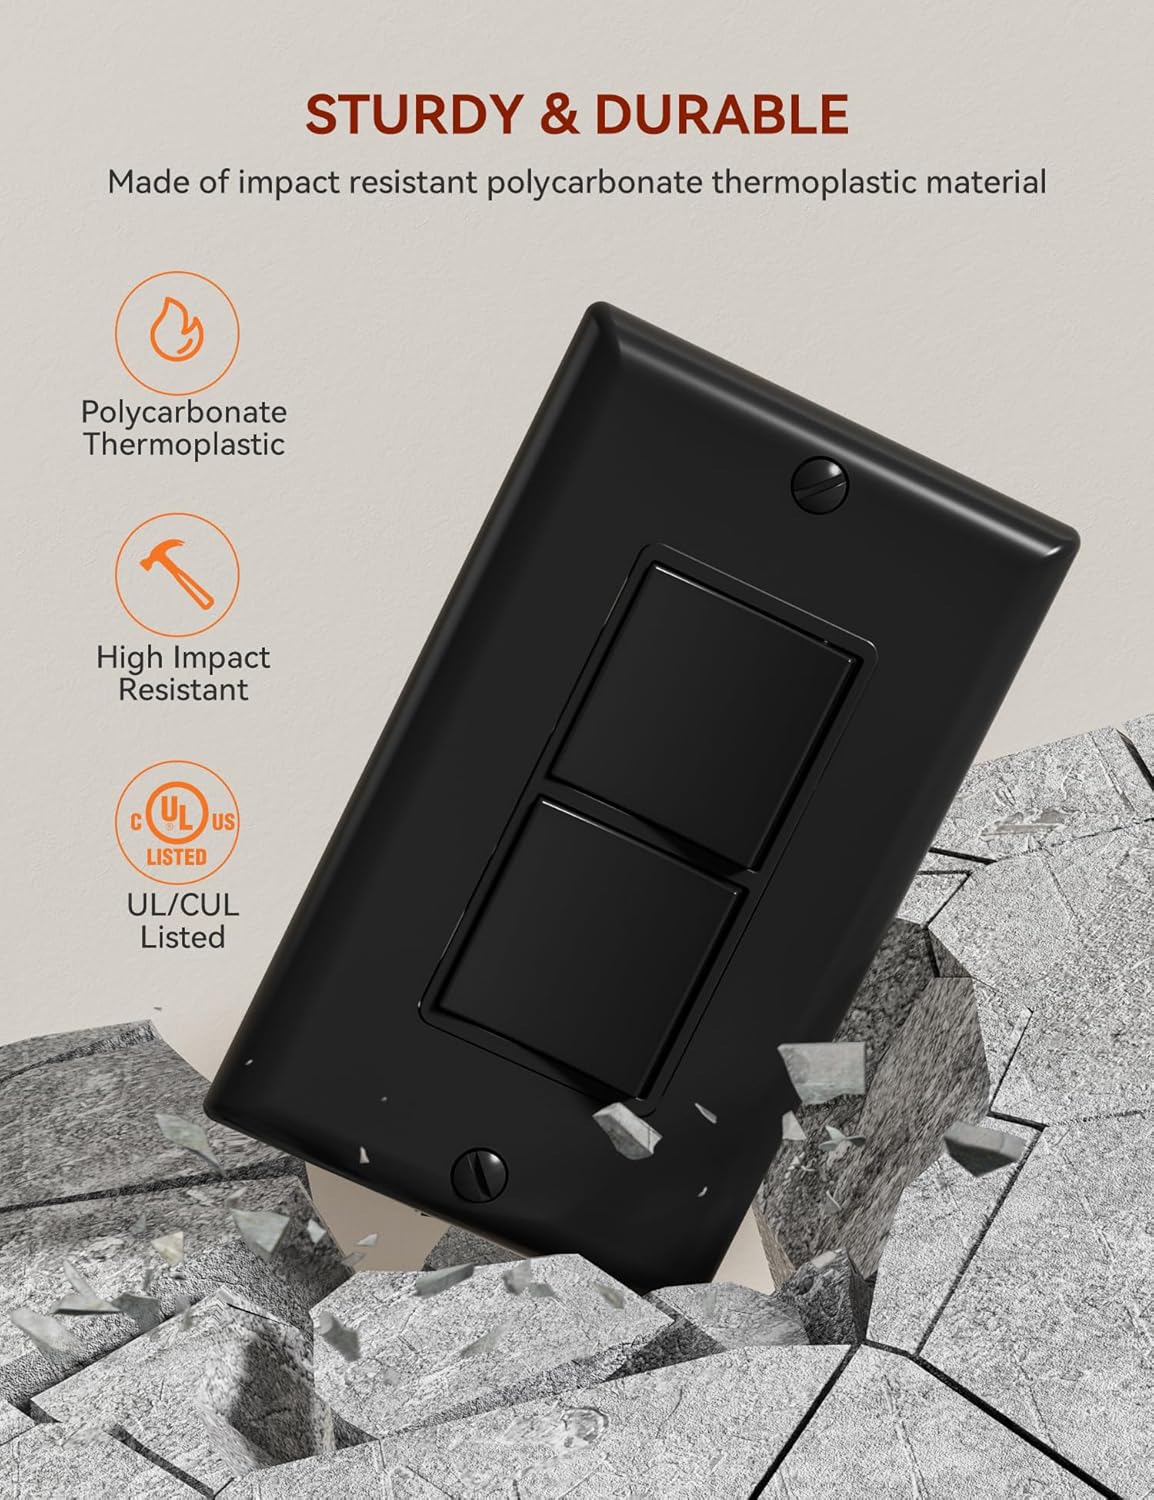
Image highlighting the switch's durability, made from impact-resistant polycarbonate thermoplastic, and its UL/CUL certification.

Illustration showing how the double paddle switch can control two separate light fixtures, such as a ceiling fan and kitchen lights, from one wall box.

A visual comparison demonstrating the space-saving advantage of the AIDA double paddle switch in a limited space setup, compared to a larger, less efficient switch.
3. Setup and Installation
Safety Information:
- WARNING: To avoid fire, shock, or death, turn off power at the circuit breaker or fuse box and test that power is off before wiring.
- Installation should be performed by a qualified electrician or in accordance with local electrical codes.
- Use only copper or copper-clad wire. Do not use with aluminum wire.
Installation Steps:
- Turn Off Power: Locate the circuit breaker or fuse that controls the switch you are replacing or the area where you are installing the new switch. Turn off the power. Verify power is off using a voltage tester.
- Remove Old Switch (if applicable): Carefully remove the wall plate and unscrew the old switch from the electrical box. Disconnect the wires, noting their connections.
- Prepare Wires: Strip approximately 1/2 inch (12.7 mm) of insulation from each wire end.
- Wiring Connections: The AIDA double paddle switch supports both back wiring (push-in) and side wiring (screw terminals). Choose the method suitable for your installation.

Detailed wiring diagrams illustrating both common feed and separate feed configurations for the double paddle switch, showing connections for hot, neutral, and ground wires.
- Ground Wire: Connect the bare copper or green insulated ground wire from the electrical box to the green grounding screw on the switch. The switch is self-grounding when installed in a properly grounded metal box.
- Hot/Line Wires: Connect the incoming hot (line) wire(s) to the appropriate terminal(s) on the switch.
- Load Wires: Connect the load wire(s) (going to the light fixtures) to the remaining terminal(s). Ensure correct connections for each paddle to control its intended fixture.
- Neutral Wire: Neutral wires are typically connected together with a wire nut and do not connect directly to the switch unless it's a smart switch or dimmer (this is a standard switch).
- Mount the Switch: Carefully fold the wires into the electrical box. Secure the switch to the electrical box using the provided mounting screws.
- Install Wall Plate: Attach the decorator-style wall plate over the switch.
- Restore Power: Turn the power back on at the circuit breaker or fuse box. Test the functionality of both paddles on the switch.
Product Dimensions:

Diagram providing precise measurements of the switch and wall plate, along with a table of electrical specifications including amperage, voltage, and certification.
Installation Video Guide:
Official video demonstrating the installation process for the AIDA Decorative Light Switch, including wiring and mounting steps.
Additional official video showcasing the AIDA Decorative Light Switch in various settings and highlighting its features.
4. Operation
The AIDA Double Paddle Rocker Light Switch operates like a standard light switch. Each paddle controls a separate circuit. Simply press the top or bottom of the paddle to toggle the connected light fixture or device ON or OFF. The smooth, quiet paddle action provides a satisfying tactile response.
5. Maintenance
Your AIDA light switch requires minimal maintenance. To ensure longevity and proper function:
- Cleaning: Periodically wipe the switch and wall plate with a soft, damp cloth. Avoid using abrasive cleaners, solvents, or harsh chemicals, as these can damage the finish.
- Inspection: Occasionally inspect the switch for any signs of damage, loose connections, or unusual operation. If any issues are observed, turn off power at the circuit breaker and consult a qualified electrician.
6. Troubleshooting
| Problem | Possible Cause | Solution |
|---|---|---|
| Light does not turn ON/OFF | No power to the switch; Loose wiring connection; Faulty bulb/fixture; Defective switch. | Check circuit breaker/fuse. Ensure all wire connections are secure. Test bulb/fixture. If issues persist, replace the switch. |
| Switch feels loose or wobbly | Mounting screws are loose. | Turn off power at the circuit breaker. Tighten the mounting screws securing the switch to the electrical box. |
| Switch is hot to the touch | Overload; Loose connection; Incorrect wiring. | Immediately turn off power. Check for overloaded circuits. Inspect wiring for loose connections or incorrect installation. Consult a qualified electrician. |
7. Specifications
| Feature | Detail |
|---|---|
| Operation Mode | ON-OFF |
| Current Rating | 15 Amps |
| Contact Type | Normally Open |
| Connector Type | Screw Terminals |
| Brand | AIDA |
| Terminal | Screw, Quick-connect |
| Circuit Type | 2-way |
| Actuator Type | Rocker |
| Number of Positions | 2 |
| Control Method | Push Button |
| Package Dimensions | 4.92 x 3.07 x 2.2 inches; 4.66 ounces |
| Manufacturer | AIDA |
| Voltage | 120 Volt |
| Pole | Two Single Pole |
| Flammability | Rated V-2 per UL94 |
| Operating Temperature | -40°C to 60°C |
| Wall Plate Size | 4.53"*2.75" (114.3mm*69.8mm) |
| Switch Size | 1.67"*4.16*1.35" (42.5mm*105.7mm*34.2mm) |
| Certification | UL/CUL Listed |
| Remark | Color Matched Wall Plate Included |
8. Warranty and Support
AIDA stands behind the quality of its products. This light switch is backed by a 30-day free return policy and free lifetime technical online support available within 24 hours. For any questions, concerns, or technical assistance, please contact AIDA customer support.


