Introduction
This manual provides detailed instructions for the assembly, operation, and maintenance of your DWVO Shoe Cabinet. Please read this manual thoroughly before assembly and use to ensure proper function and longevity of the product. Keep this manual for future reference.
Safety Information
- Always assemble the product on a soft, clean surface to prevent scratches.
- Ensure all parts are securely fastened before use. Loose connections can lead to instability.
- Do not overload the shelves. Refer to the specifications for weight limits per shelf.
- Keep small parts and packaging materials away from children to prevent choking hazards.
- If wall-mounting hardware is included, it is recommended to secure the cabinet to a wall to prevent tipping, especially in households with children or pets.
- Use only the tools provided or recommended for assembly.
Package Contents
Before beginning assembly, verify that all components listed in the included parts diagram are present and undamaged. If any parts are missing or damaged, contact customer support for assistance.
The package typically includes:
- Cabinet panels (top, bottom, sides, back)
- Doors and hinges
- Adjustable shelves
- Legs and mounting hardware
- Assembly hardware (screws, dowels, cam locks, etc.)
- Assembly tools (e.g., Allen wrench)
- Instruction manual
Setup and Assembly
The DWVO Shoe Cabinet is designed for straightforward assembly. All parts are pre-marked, and clear instructions along with necessary tools are provided. It is recommended to have a second person assist with assembly for stability and ease.
Assembly Steps:
- Prepare the Area: Clear a spacious, flat, and soft surface for assembly to prevent damage to the cabinet components.
- Identify Parts: Unpack all components and hardware. Refer to the parts list in your included manual to identify each piece.
- Assemble the Frame: Begin by attaching the side panels to the bottom panel using the provided hardware (e.g., cam locks and dowels). Ensure connections are snug.
- Install Back Panel: Slide or fasten the back panel into the grooves or attach it to the rear of the frame.
- Attach Top Panel: Secure the top panel to the assembled frame.
- Install Legs: Attach the golden legs to the bottom of the cabinet using the designated screws. Ensure they are firmly tightened.
- Install Shelves: Insert the adjustable shelf pins into the desired holes on the side panels. Place the shelves onto these pins. Adjust as needed for shoe height.
- Attach Doors: Mount the hinges to the doors and then attach the doors to the cabinet frame. Adjust hinges to ensure proper door alignment and smooth opening/closing.
- Final Check: Verify that all screws and fasteners are tightened. Gently move the cabinet to its desired location.
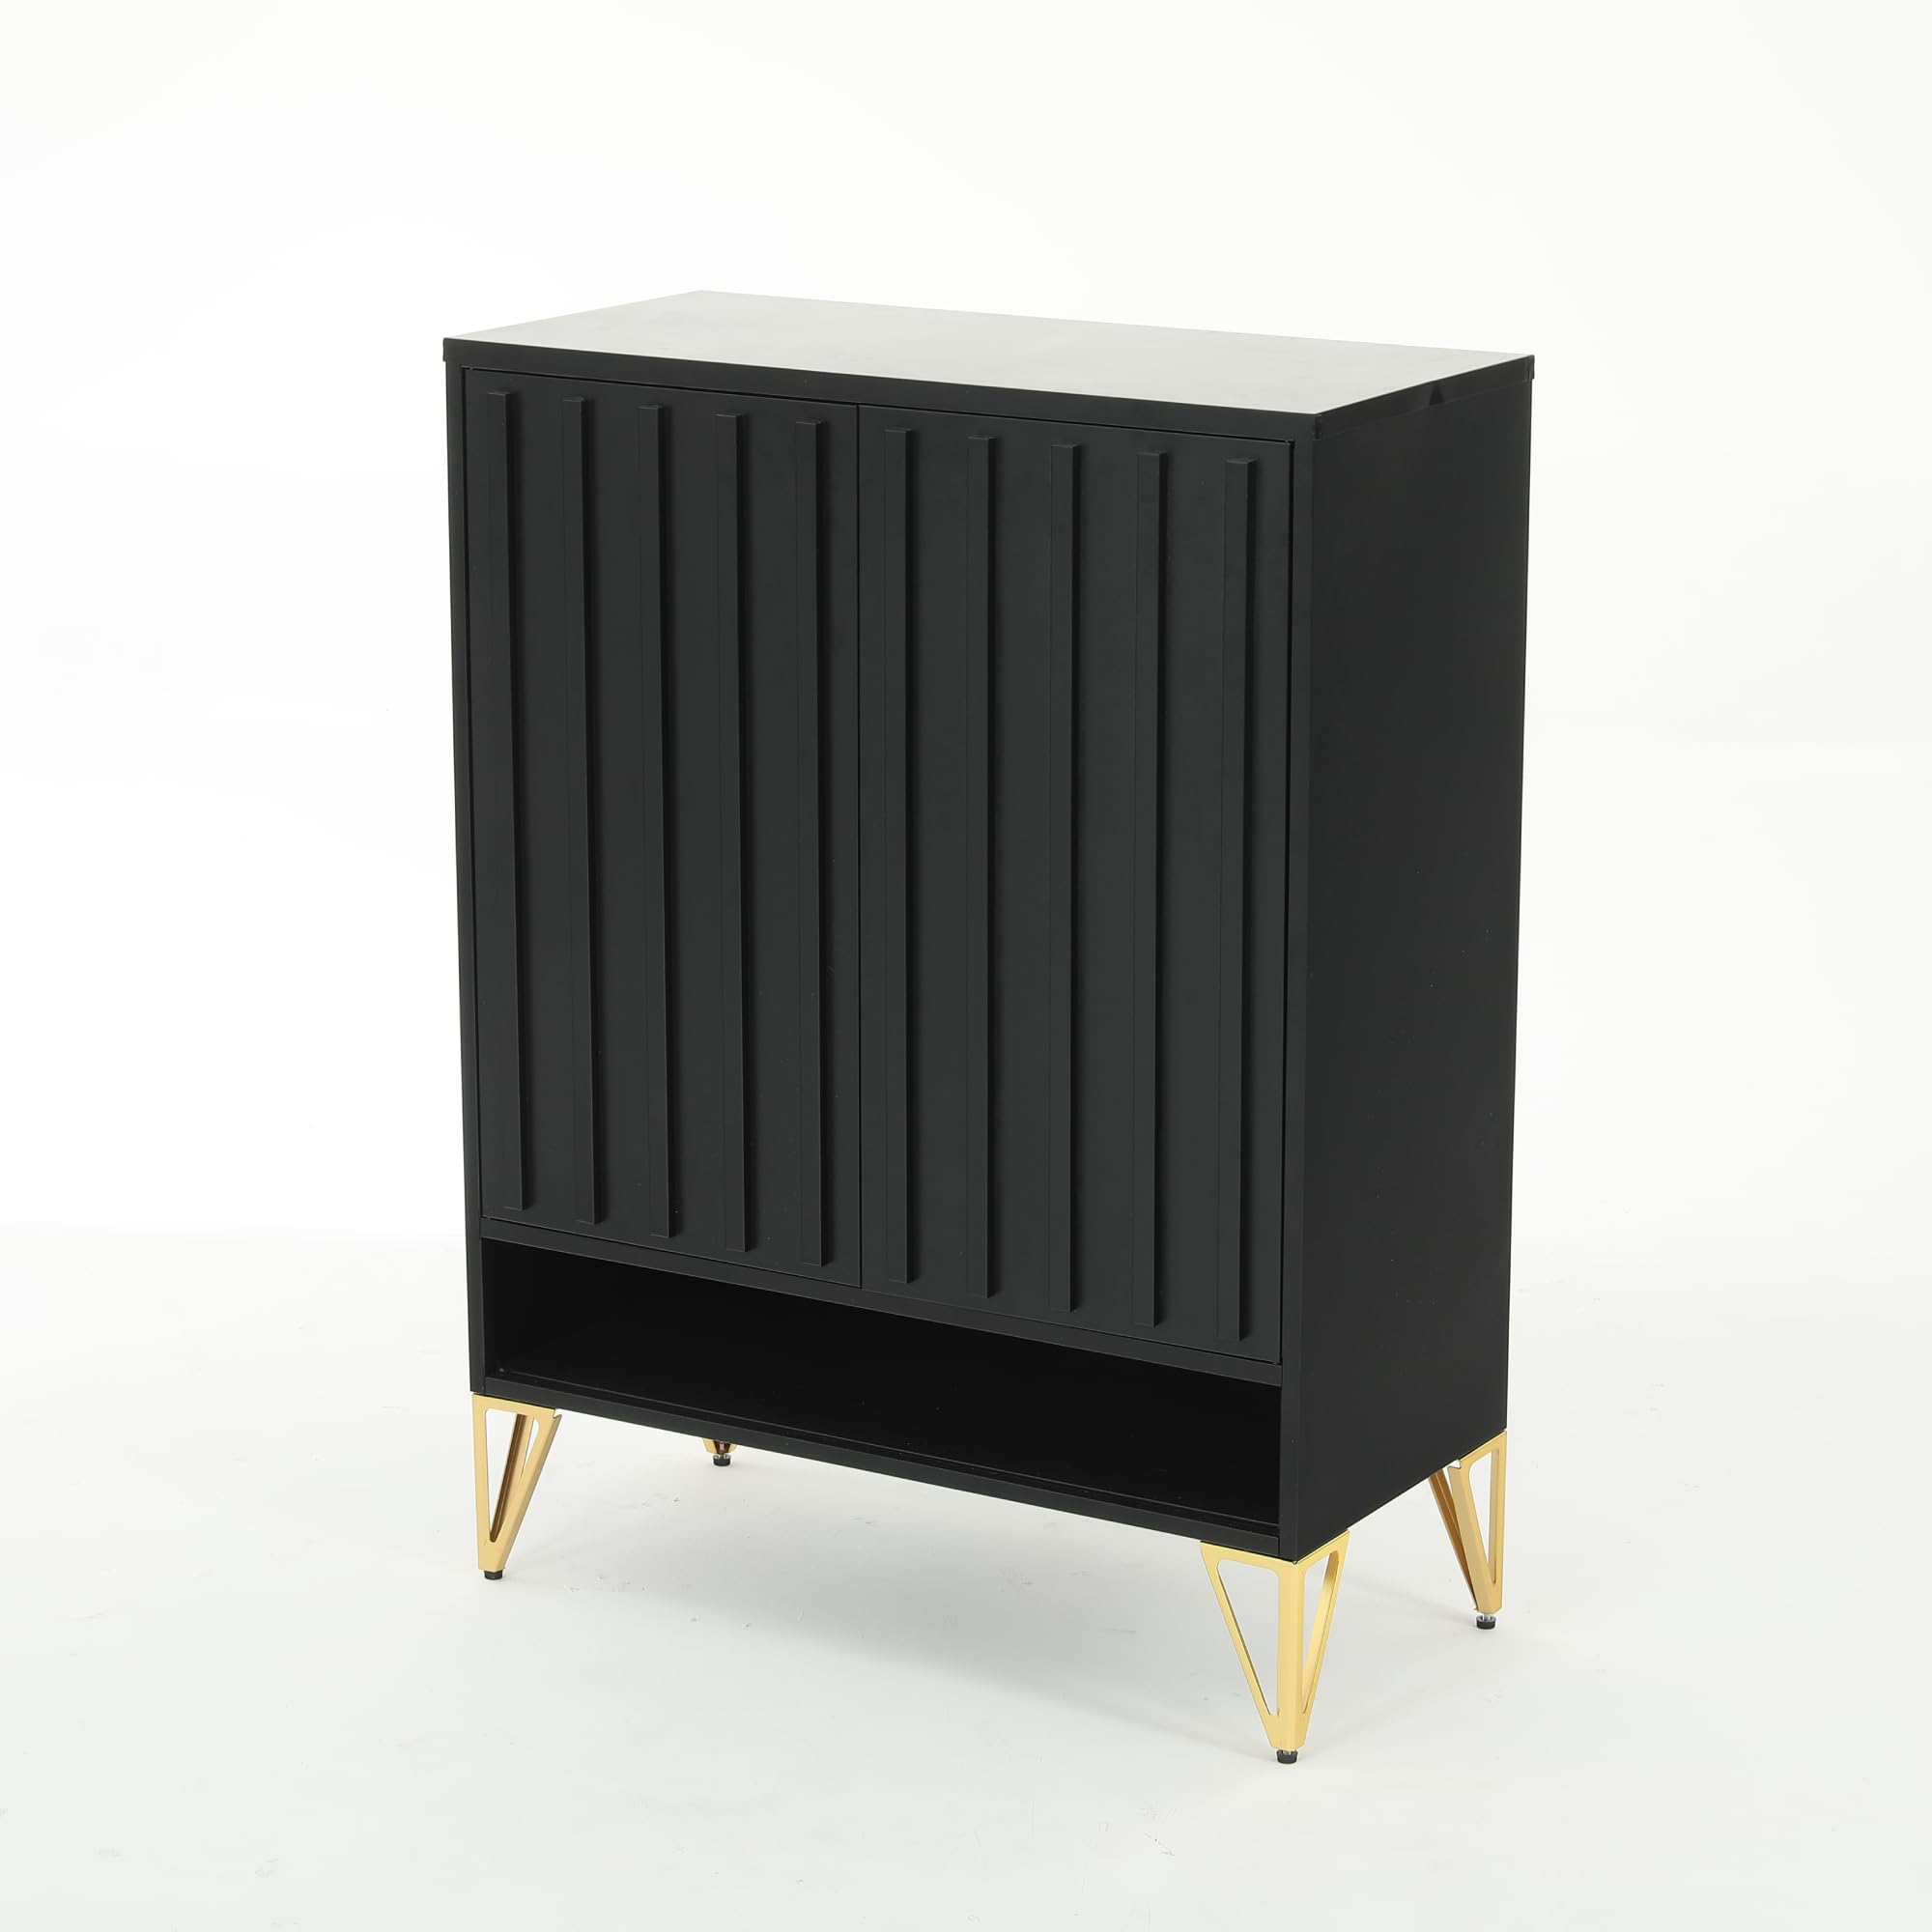
Image: The fully assembled DWVO Shoe Cabinet, showcasing its two doors, five tiers, and modern fluted design with golden legs.

Image: A detailed view of the DWVO Shoe Cabinet, highlighting the interior storage capacity and adjustable shelves.
Operating Instructions
Adjusting Shelves:
The DWVO Shoe Cabinet features adjustable shelves to accommodate various shoe sizes and types, including boots. To adjust a shelf:
- Empty the shelf of all contents.
- Carefully lift the shelf to remove it from its support pins.
- Remove the four shelf support pins from their current holes.
- Insert the pins into the desired new holes, ensuring they are level and securely seated.
- Place the shelf back onto the support pins.
Storing Shoes:
Place shoes neatly on the shelves. Avoid forcing oversized items into compartments, as this can damage the cabinet or the items. Distribute weight evenly across shelves.
Maintenance
- Cleaning: Wipe the cabinet surfaces with a soft, damp cloth. Avoid abrasive cleaners or harsh chemicals, which can damage the finish.
- Dusting: Regularly dust the cabinet to prevent buildup.
- Hardware Check: Periodically check all screws and fasteners to ensure they remain tight. Retighten if necessary to maintain stability.
- Avoid Moisture: Do not expose the cabinet to excessive moisture or direct sunlight, which can cause warping or fading.
Troubleshooting
| Problem | Possible Cause | Solution |
|---|---|---|
| Cabinet is wobbly/unstable | Loose fasteners; uneven floor. | Ensure all screws and connections are tightened. Place shims under legs if the floor is uneven. Consider wall-mounting for added stability. |
| Doors do not close properly | Misaligned hinges; obstruction. | Adjust the door hinges according to the instructions in your assembly manual. Check for any items obstructing the door's path. |
| Shelves are not level | Shelf pins incorrectly inserted. | Remove the shelf and ensure all four shelf pins are fully and evenly inserted into the corresponding holes. |
If you encounter issues not listed here or require further assistance, please contact DWVO customer support.
Specifications
| Model Name | Cabinet |
| Model Number | MADWVeX4DZ |
| Brand | DWVO |
| Product Dimensions | 13.7"D x 29.5"W x 45.5"H |
| Material | Alloy Steel |
| Color | Black |
| Number of Shelves | 5 (Adjustable) |
| Item Weight | 38.1 pounds |
| Mounting Type | Floor Mount (Freestanding) |
| Assembly Required | Yes |
| UPC | 199449853688 |
Warranty and Customer Support
For information regarding product warranty, please refer to the warranty card included with your purchase or visit the official DWVO website. If you have any questions, require replacement parts, or need technical assistance, please contact DWVO customer support through the contact information provided in your purchase documentation or on the brand's official website.
Online Support: Visit the DWVO Store on Amazon