
Samsung Galaxy Tab A11
Samsung Galaxy Tab A11 8.7-inch LTE Android Tablet User Manual
Model: SM-X135GZAEMEA
1. Introduction
Welcome to the user manual for your Samsung Galaxy Tab A11. This guide provides essential information to help you set up, operate, maintain, and troubleshoot your device. Please read this manual carefully to ensure optimal performance and longevity of your tablet.
2. Design and Display
The Samsung Galaxy Tab A11 features a modern, sleek, and refined design, drawing inspiration from the renowned Galaxy S series. Its smooth finish and premium aesthetic integrate seamlessly into your daily life. The tablet is available in classic gray and silver.
Experience a bright and clear display with smooth motion, enhanced for entertainment. The 90Hz refresh rate ensures natural and fluid visuals for videos, games, and social media browsing. The screen maintains excellent visibility even under direct sunlight, providing a superior viewing experience anytime, anywhere.

Image: Rear view of the Samsung Galaxy Tab A11, showcasing its modern design in both silver and gray color options.
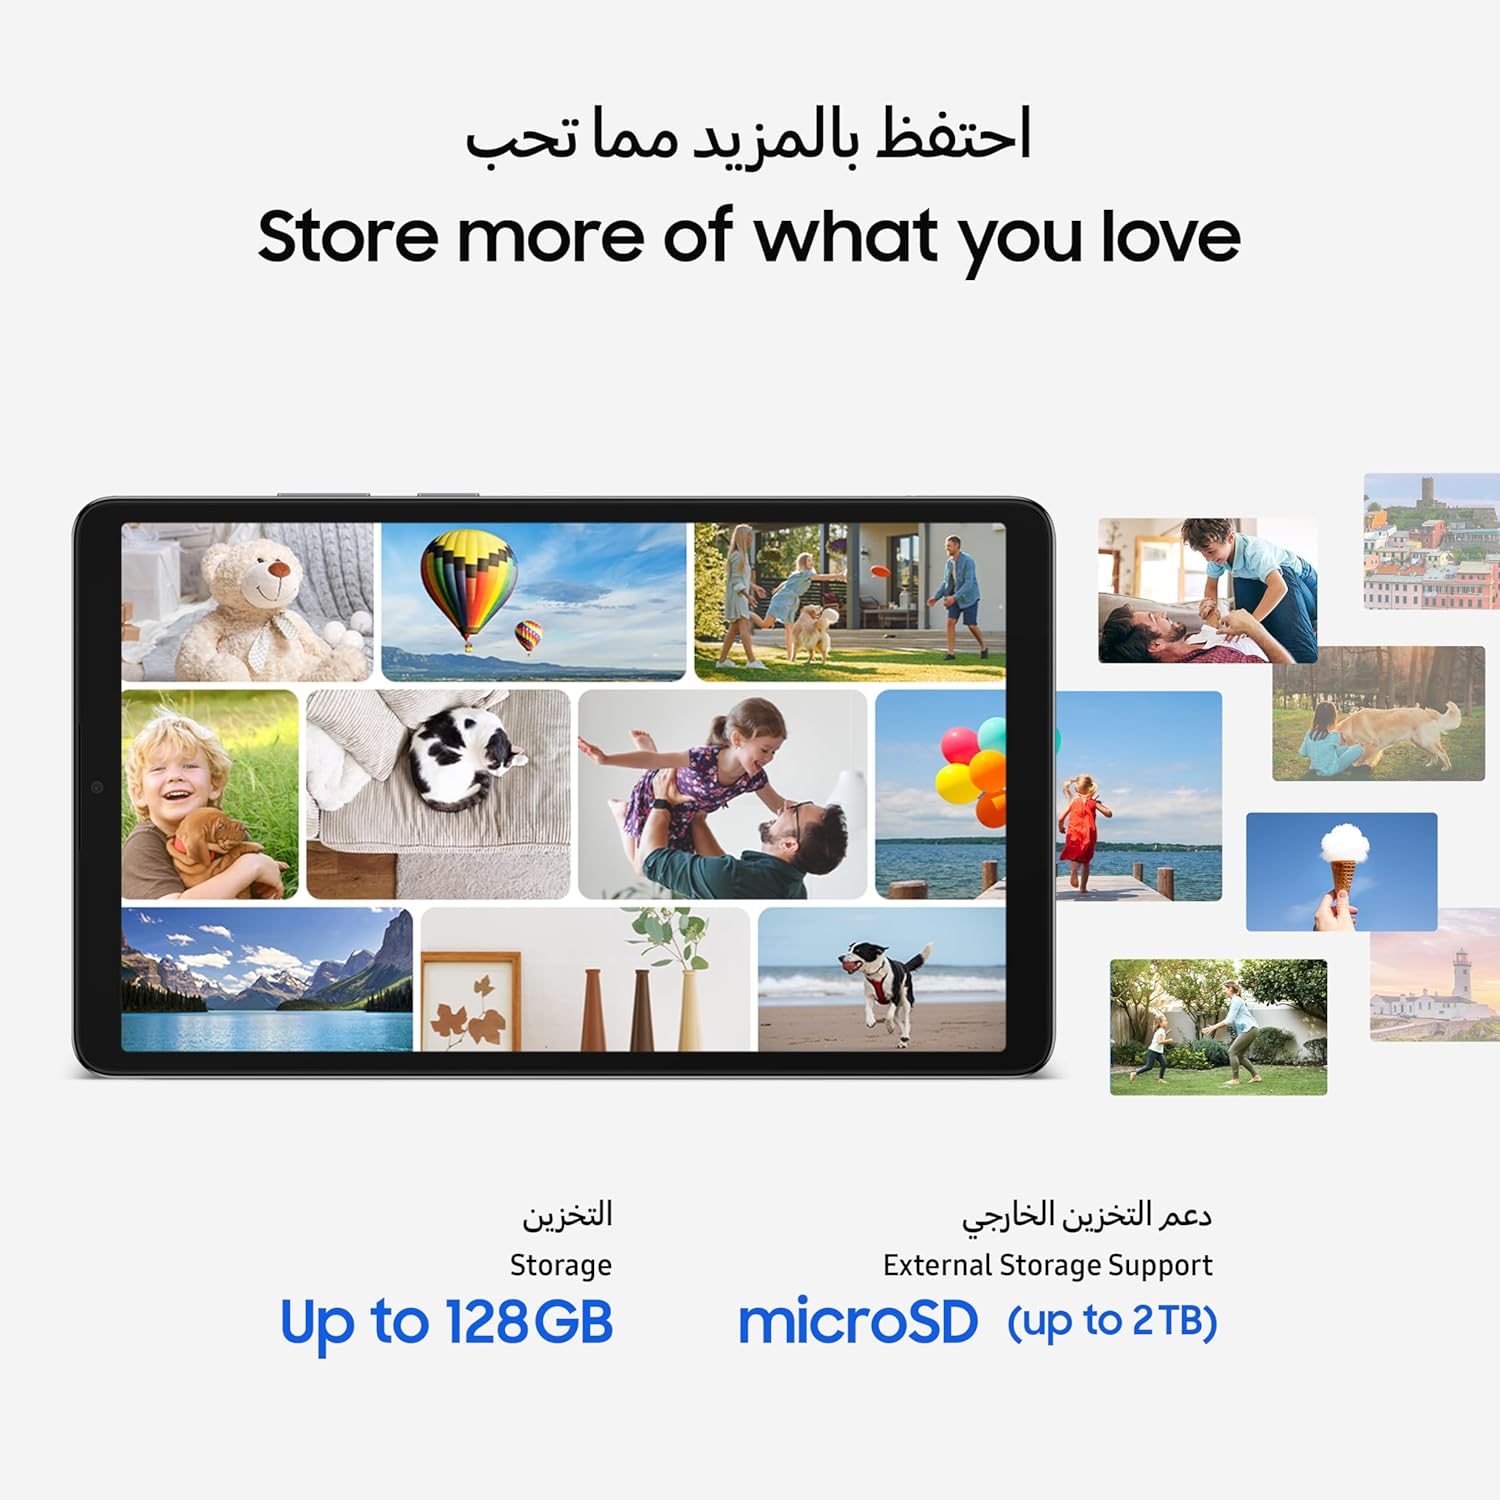
Image: The Galaxy Tab A11 display, illustrating its bright and clear screen with a 90Hz refresh rate for smooth visuals.
3. Performance and Storage
The Galaxy Tab A11 is equipped with ample memory and storage capacity to accommodate your needs. With 8GB of RAM, it facilitates quick and easy multitasking. The 128GB internal storage provides significant space for your files. Should you require more, the storage can be expanded up to 2TB using a MicroSD card (sold separately).

Image: The tablet screen filled with various photos, highlighting the 128GB internal storage and the option to expand up to 2TB with a MicroSD card.
4. Camera
Stay connected with clearer face-to-face interactions. The Galaxy Tab A11 features a 5-megapixel front camera, designed to deliver clearer and sharper video calls. This enhanced clarity allows you to capture and view expressions in vivid detail, whether you're connecting with family or collaborating with your team.
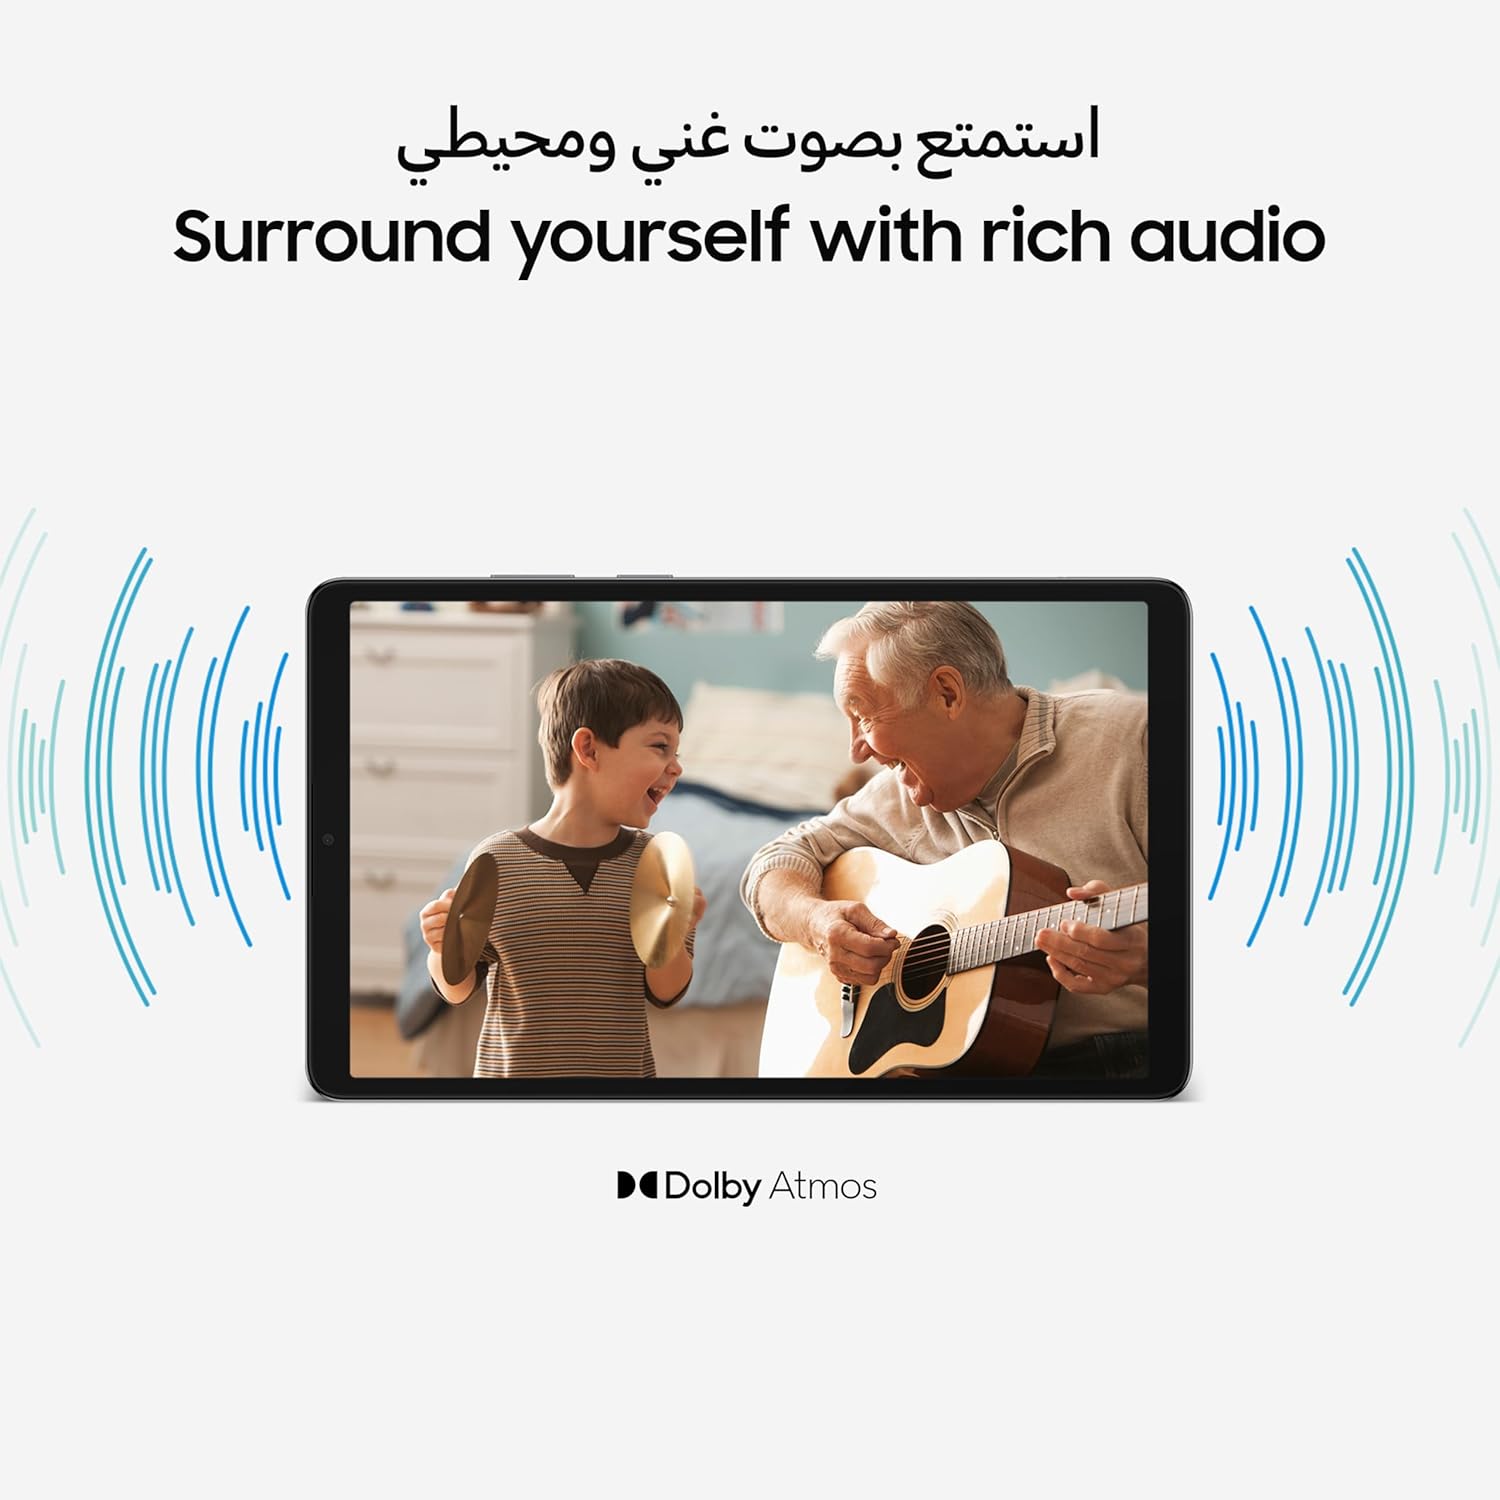
Image: The Galaxy Tab A11 screen showing a clear video call in progress, demonstrating the quality of the front camera.
5. Audio
Immerse yourself in rich, clear audio. The Galaxy Tab A11 tablet is equipped with dual speakers featuring Dolby technology, providing a rich and multi-dimensional audio experience. From your favorite music playlists to the latest movies, the immersive 3D audio draws you into a clear, deep, and engaging soundscape. The tablet also includes a 3.5mm audio jack for easy connection with wired headphones.

Image: The Galaxy Tab A11 screen with visual sound waves and the Dolby Atmos logo, indicating its enhanced audio capabilities.
6. What's in the Box
Upon unboxing your Samsung Galaxy Tab A11, you should find the following items:
- Samsung Galaxy Tab A11 Tablet
- USB-C Charging Cable
- SIM Ejector Tool
- Quick Start Guide (may vary by region)
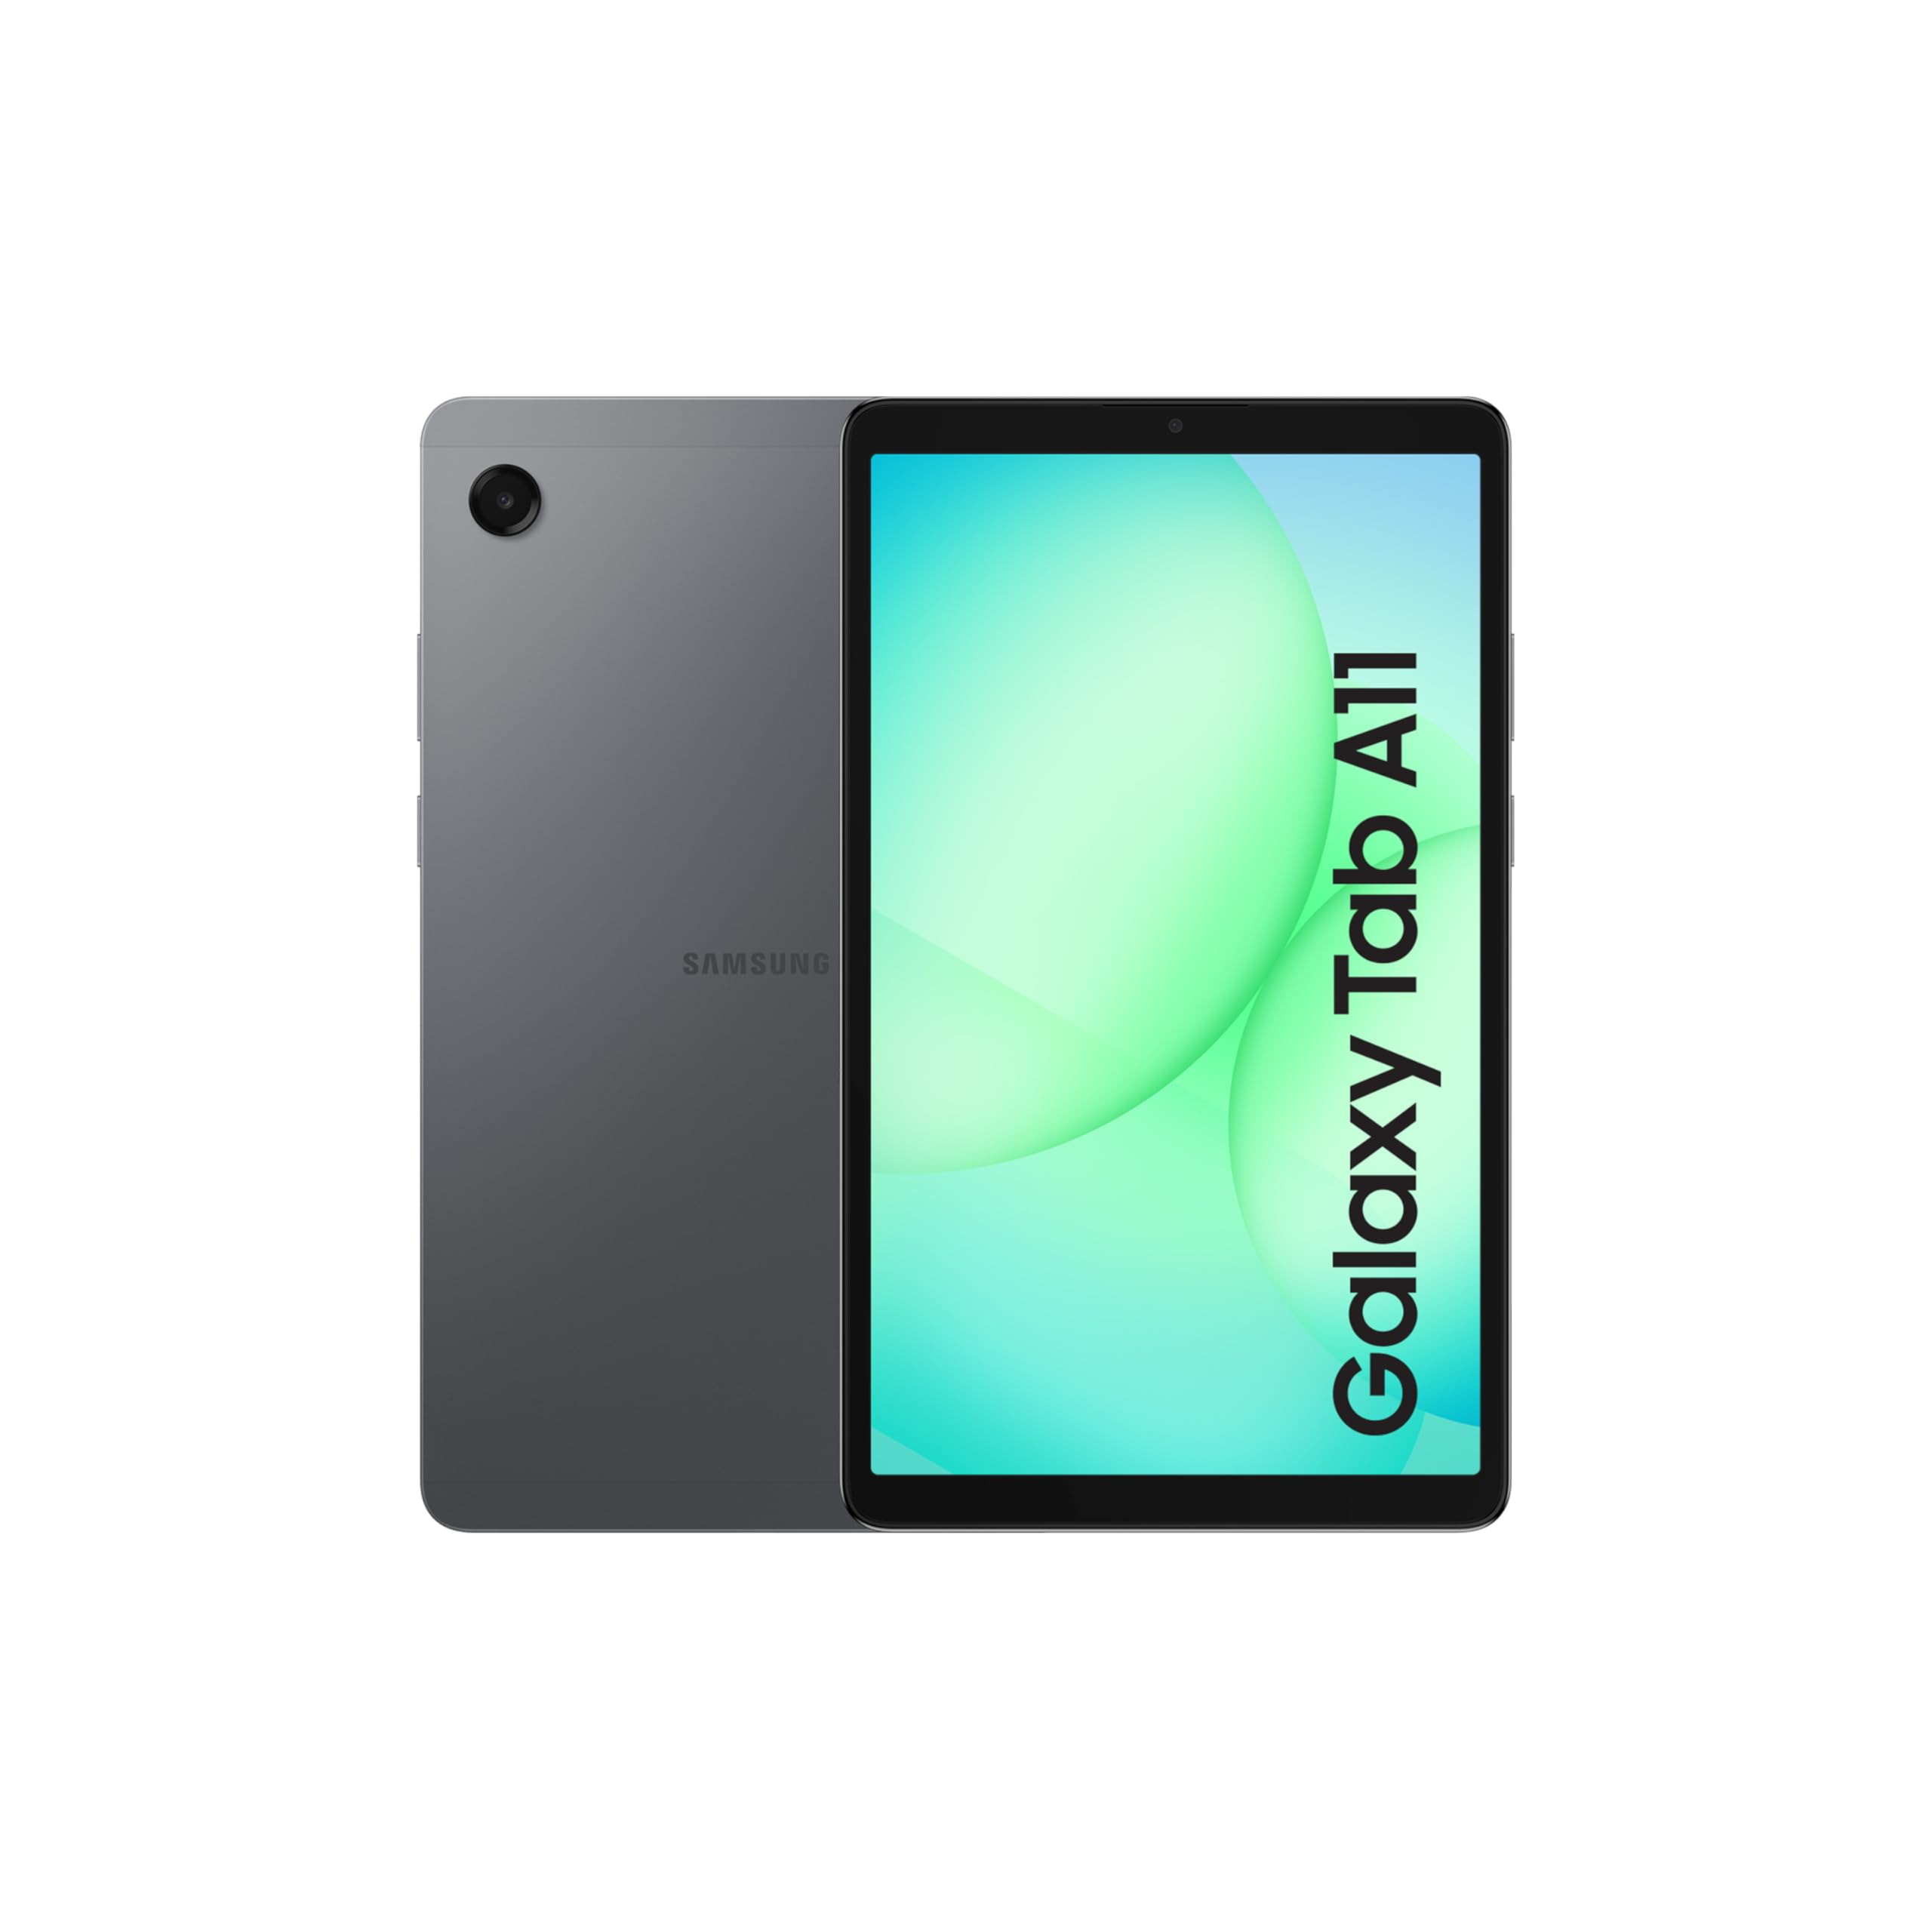
Image: The contents of the product box, including the Samsung Galaxy Tab A11 tablet, a USB-C charging cable, and a SIM ejector tool.
7. Setup
7.1 Initial Power On
- Press and hold the Power button located on the side of the tablet until the Samsung logo appears.
- Follow the on-screen prompts to select your language and region.
7.2 Wi-Fi Connection
- During setup, select your preferred Wi-Fi network from the list.
- Enter the Wi-Fi password if prompted and tap 'Connect'.
7.3 Google Account Setup
- Sign in with your existing Google account or create a new one. This is essential for accessing the Google Play Store and other Google services.
- Review and accept the Google Terms of Service and Privacy Policy.
7.4 SIM Card Installation (for LTE models)
- Locate the SIM card tray on the side of the tablet.
- Insert the provided SIM ejector tool into the small hole next to the tray and push gently until the tray pops out.
- Place your Nano-SIM card into the tray with the gold contacts facing down.
- Carefully reinsert the tray into the tablet.
8. Operating Your Tablet
8.1 Basic Navigation
- Home Screen: Swipe left or right to navigate between home screens.
- App Drawer: Swipe up from the bottom of the screen to access all installed applications.
- Notifications Panel: Swipe down from the top of the screen to view notifications and quick settings.
- Recent Apps: Tap the square icon (or swipe up and hold from the bottom on gesture navigation) to see recently used applications.
8.2 Gestures and Controls
- Tap: Select an item or open an app.
- Touch and Hold: Access contextual menus or move icons.
- Swipe: Scroll through pages or navigate between screens.
- Pinch-to-Zoom: Zoom in or out on images and web pages.
8.3 Installing Applications
- Open the 'Play Store' app.
- Search for the desired application.
- Tap 'Install' and follow the on-screen instructions.
9. Maintenance
9.1 Battery Care
- Avoid extreme temperatures.
- Do not let the battery drain completely regularly.
- Use only Samsung-approved chargers and cables.
9.2 Cleaning Your Tablet
- Use a soft, lint-free cloth to clean the screen and body.
- Avoid harsh chemicals or abrasive materials.
- Do not spray cleaners directly onto the tablet.
9.3 Software Updates
- Regularly check for software updates in Settings > Software update.
- Updates provide security patches and new features.
10. Troubleshooting
10.1 Tablet Not Turning On
- Ensure the battery is charged. Connect the charger and wait a few minutes before attempting to power on.
- Press and hold the Power button for at least 10 seconds to perform a forced restart.
10.2 Wi-Fi Connectivity Issues
- Restart your Wi-Fi router and the tablet.
- Go to Settings > Connections > Wi-Fi, forget the network, and then reconnect.
- Ensure you are within range of the Wi-Fi signal.
10.3 Apps Crashing or Freezing
- Close the app and reopen it.
- Clear the app's cache and data in Settings > Apps > [App Name] > Storage.
- Ensure the app is updated to its latest version.
10.4 Slow Performance
- Close unnecessary background apps.
- Clear cache and temporary files regularly.
- Consider performing a factory reset if issues persist (back up your data first).
11. Specifications
| Feature | Specification |
|---|---|
| Brand | Samsung |
| Model Name | Galaxy Tab A11 |
| Model Number | SM-X135GZAEMEA |
| Operating System | Android |
| Screen Size | 8.7 inches |
| Display Refresh Rate | 90 Hz |
| Aspect Ratio | 16:10 |
| Installed RAM | 8 GB |
| Memory Storage Capacity | 128 GB |
| Compatible Flash Memory Type | MicroSD Card (up to 2TB) |
| Front Camera | 5 Megapixels |
| Wireless Communication Technology | Wi-Fi, 4G LTE |
| Wireless Communication Standard | 802.11b, 802.11g, 802.11n |
| Hardware Interface | USB, Bluetooth |
| Human Interface Input | Touchscreen |
| Color | Gray |
| Special Feature | Expandable Storage |
12. Warranty and Support
Your Samsung Galaxy Tab A11 is covered by a manufacturer's warranty. Please refer to the warranty card included in your product packaging for specific terms and conditions, including warranty period and coverage details. Keep your proof of purchase for warranty claims.
For technical support, service, or further assistance, please visit the official Samsung support website or contact their customer service. You can find contact information and support resources on the Samsung website:
Before contacting support, it is recommended to review the troubleshooting section of this manual and the FAQs on the Samsung support website, as many common issues can be resolved quickly.
Ask a question about this manual
Ask about setup, troubleshooting, compatibility, parts, safety, or missing instructions. Manuals+ will review the question and use this page’s manual context to help answer it.