
FOSSIBOT F2400+FAC580
Contents
FOSSiBOT F2400 Portable Power Station and FAC580 DC to DC Charger User Manual
Model: F2400+FAC580
1. Introduction
This manual provides essential instructions for the safe and efficient operation of your FOSSiBOT F2400 Portable Power Station and FAC580 DC to DC Charger. Please read this manual thoroughly before use and retain it for future reference.
The FOSSiBOT F2400 is a high-capacity portable power station designed to provide reliable power for various applications. The FAC580 DC to DC Charger is an accessory that enables efficient charging of your portable power station from a vehicle's alternator, ideal for extended travel and off-grid use.
2. Safety Instructions
Always observe the following safety precautions to prevent injury or damage to the product:
- Do not disassemble, repair, or modify the unit.
- Keep the unit away from fire, water, and extreme temperatures.
- Ensure proper ventilation during operation to prevent overheating.
- Use only approved accessories and cables.
- Keep out of reach of children.
- Avoid dropping or subjecting the unit to strong impacts.
Warning:
Improper use may result in electric shock, fire, or other hazards.
3. Package Contents
Verify that all items are present in your package:
- FOSSiBOT F2400 Portable Power Station
- FOSSiBOT FAC580 DC to DC Charger
- AC Charging Cable
- Car Charging Cable
- User Manual
4. Product Overview
Familiarize yourself with the components of your FOSSiBOT F2400 and FAC580.

Image: The FOSSiBOT F2400 Portable Power Station shown alongside the compact FAC580 DC to DC Charger. The F2400 features multiple output ports, a display screen, and cooling vents. The FAC580 is a smaller, rectangular unit with its own power switch and connection points.
FOSSiBOT F2400 Portable Power Station
- Input Ports: AC, Solar, Car
- Output Ports: AC outlets, USB-A, USB-C (PD), DC 12V ports
- Display Screen: Shows battery level, input/output wattage, and status indicators.
- Control Buttons: Power, AC/DC/USB activation, Light.
FOSSiBOT FAC580 DC to DC Charger
- Input: Connects to vehicle's starter battery.
- Output: Connects to the F2400's DC input.
- Cooling Fans: Integrated for thermal management.
- Protection Features: Over-voltage, over-current, over-heat, reverse polarity.
5. Setup and Initial Charging
5.1 Initial Charging of F2400
Before first use, fully charge the FOSSiBOT F2400 Portable Power Station.
- Connect the AC charging cable to the F2400's AC input port.
- Plug the other end into a standard wall outlet.
- The display will indicate charging status. Charge until 100% is shown.
5.2 Connecting the FAC580 DC to DC Charger
The FAC580 allows charging the F2400 from your vehicle's battery while driving.
- Wire Connection: Connect the FAC580's input wires to your vehicle's starter battery (positive to positive, negative to negative). Ensure secure connections.
- Battery Connection: Connect the FAC580's output cable to the F2400's DC input port.
- Placement: Place the FAC580 in a well-ventilated area, such as the trunk of your car, ensuring cooling fans are not obstructed.

Image: The FOSSiBOT FAC580 DC to DC Charger installed in the trunk of a vehicle, connected to a FOSSiBOT portable power station. The image highlights the compact size and placement for optimal cooling, with text indicating "Professional Cooling System" and "Over-temperature Protection" and "Active cooling".
The FAC580 is compatible with various battery types including AGM, Gel-acid, and Lithium (LiFePO4, NMC/NCA Battery Pack).

Image: An illustration showing the FOSSiBOT FAC580's compatibility. It depicts the FAC580 connecting to various FOSSiBOT power station models and different battery types (AGM, Gel-acid, LiFePO4, NMC/NCA). Below, various vehicle types (car, SUV, truck, RV) are shown, indicating broad vehicle compatibility.
6. Operation
6.1 F2400 Power Station Operation
- Power On/Off: Press and hold the main power button to turn the unit on or off.
- AC Output: Press the AC button to activate the AC outlets. The AC icon will appear on the display.
- DC Output: Press the DC button to activate the 12V DC ports. The DC icon will appear.
- USB Output: Press the USB button to activate the USB-A and USB-C ports. The USB icon will appear.
- Light: Press the Light button to cycle through different lighting modes (e.g., low, high, SOS).
6.2 FAC580 DC to DC Charging Operation
The FAC580 features a two-stage power switch for different charging scenarios:
- Mode 1 (Outdoor Driving): Recommended for charging while the vehicle engine is running. The charger automatically adjusts output power based on input voltage.
- Mode 2 (RV Travel / Emergency Use): For urgent power needs when the engine is off.
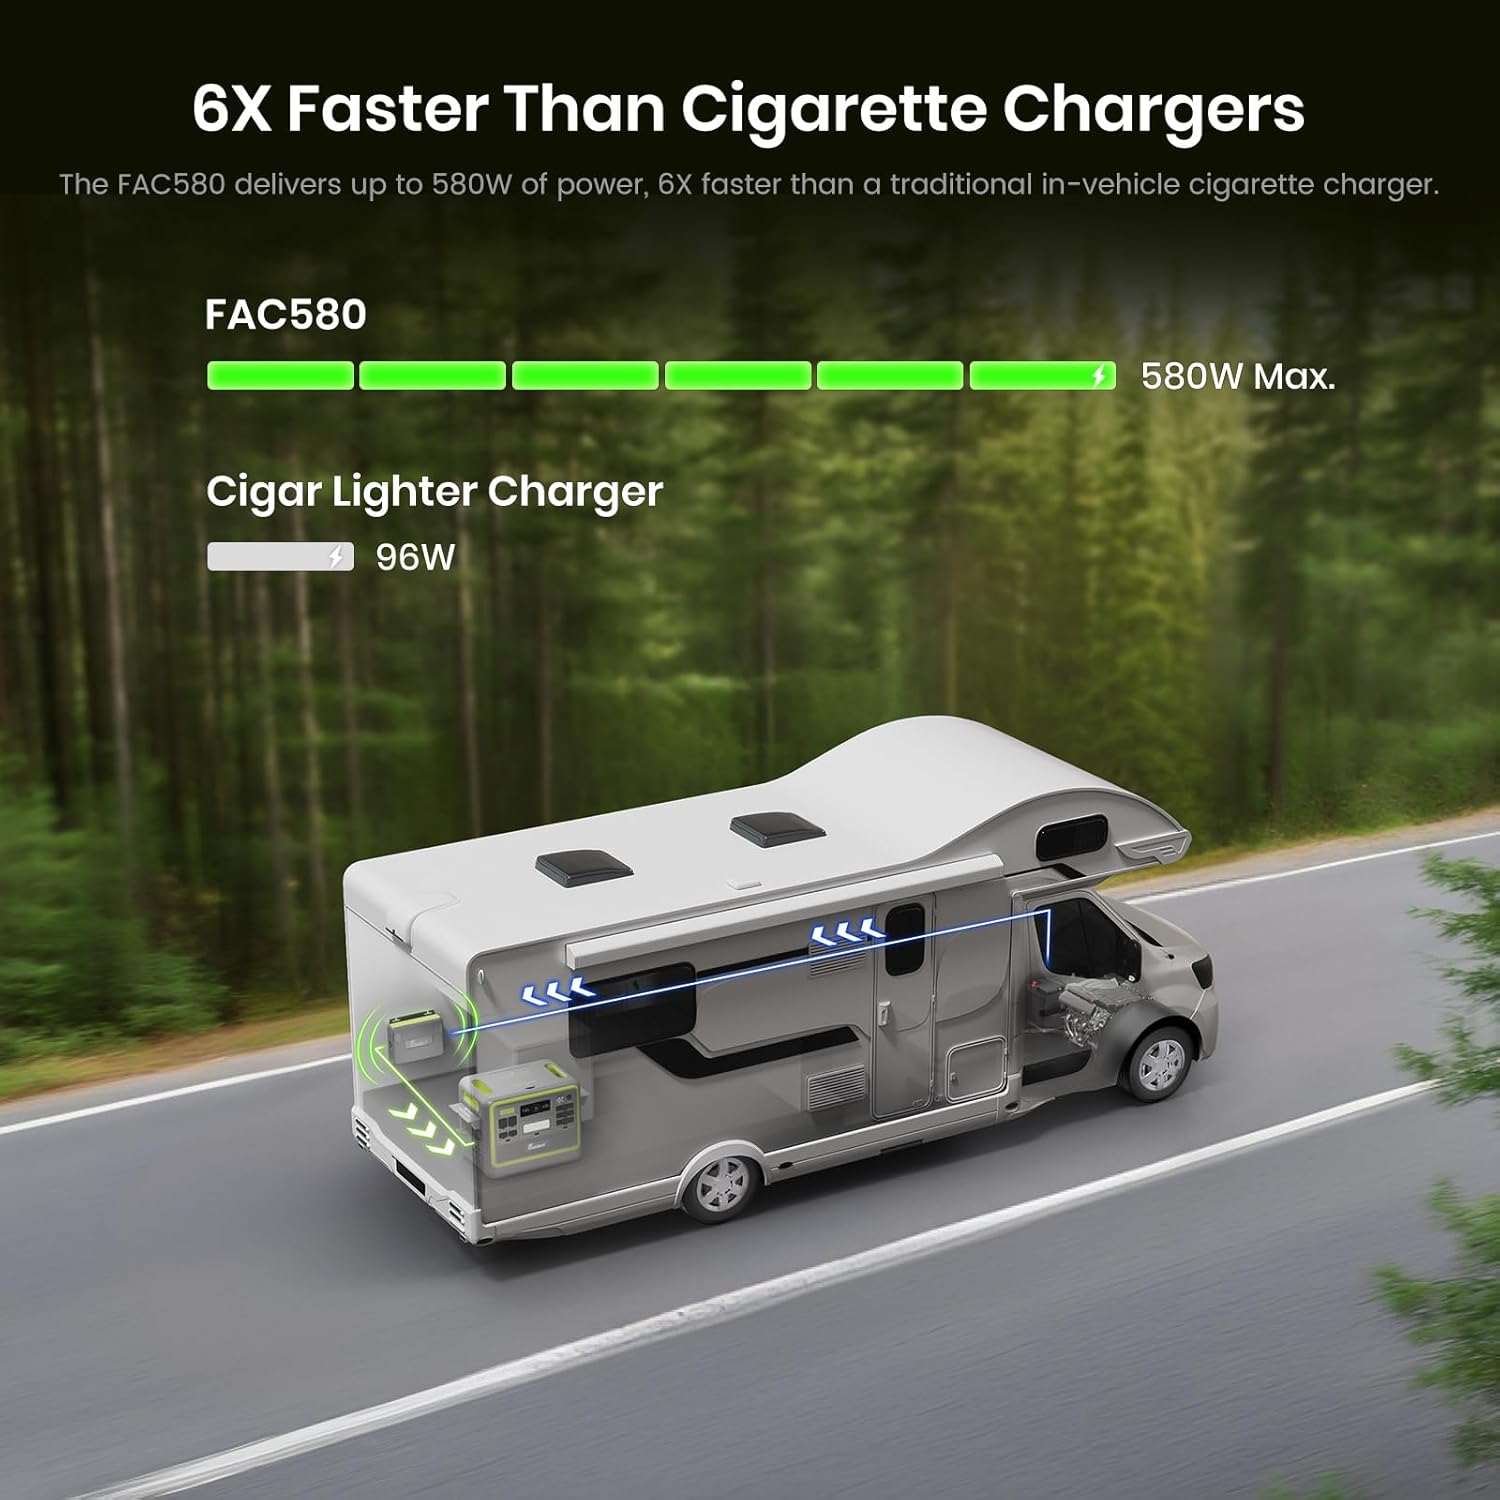
Image: An illustration demonstrating the two operational modes of the FOSSiBOT FAC580 DC to DC Charger. The top panel shows "Outdoor Driving" (Mode 1) with a jeep on a road, indicating activation during journeys. The bottom panel shows "RV Travel" (Mode 2) with an RV parked at night, indicating emergency use when the engine is off. The text explains that the charger automatically adjusts output power according to input voltage.
The FAC580 provides 580W of power, offering significantly faster charging than standard vehicle cigarette lighter chargers.

Image: A graphic illustrating the charging speed of the FOSSiBOT FAC580 compared to a traditional cigarette lighter charger. It shows an RV on a road with arrows indicating power flow from the vehicle to the FAC580, which then charges the power station. A bar graph compares FAC580's 580W max output to a cigarette lighter charger's 96W, highlighting "6X Faster Than Cigarette Chargers".
7. Maintenance
- Cleaning: Use a dry, soft cloth to wipe the surface of the unit. Do not use liquids or corrosive cleaners.
- Storage: Store the unit in a cool, dry place, away from direct sunlight and extreme temperatures. For long-term storage, charge the unit to 50-80% every 3-6 months to prolong battery life.
- Ventilation: Ensure that the cooling vents on both the F2400 and FAC580 are clear of obstructions during use.
8. Troubleshooting
| Problem | Possible Cause | Solution |
|---|---|---|
| Unit not turning on | Battery depleted; Power button not pressed correctly. | Charge the unit; Press and hold the power button for 3 seconds. |
| No output from ports | Output function not activated; Overload protection triggered. | Activate the specific output (AC/DC/USB); Reduce connected load. |
| FAC580 not charging F2400 | Incorrect wiring; Vehicle engine off; Over-temperature protection. | Check wiring connections; Ensure vehicle engine is running (Mode 1); Allow unit to cool down. |
| Overheating warning | Poor ventilation; Excessive load. | Ensure vents are clear; Reduce connected load; Move to a cooler environment. |
If problems persist, contact FOSSIBOT customer support.
9. Specifications
| Feature | Detail |
|---|---|
| Model | F2400+FAC580 |
| Brand | FOSSIBOT |
| F2400 Power Output | 2400W (AC) |
| FAC580 DC Output | 580W (Max) |
| FAC580 Current Rating | 45 Amps |
| Product Dimensions | 4.3 x 2.5 x 5.6 inches (FAC580) |
| Battery Type | Lithium Polymer (included) |
| Certifications | CE, FCC, UL |

Image: A detailed internal view of the FOSSiBOT FAC580 DC to DC Charger, highlighting its multi-layer protection features. Icons and text indicate Short-circuit protection, Over-current protection, Over-heat protection, and Over-voltage protection, emphasizing the device's safety mechanisms.
10. Warranty and Support
FOSSIBOT products come with a standard manufacturer's warranty. For specific warranty terms and conditions, please refer to the warranty card included with your product or visit the official FOSSIBOT website.
For technical support, troubleshooting assistance, or to inquire about replacement parts, please contact FOSSIBOT customer service:
- Website: FOSSIBOT Official Store (for general inquiries and product information)
- Email/Phone: Refer to your product packaging or the official website for the most current contact information.
Protection plans are also available for extended coverage:
- 2-Year Protection Plan
- 3-Year Protection Plan
- Complete Protect (monthly subscription)
Ask a question about this manual
Ask about setup, troubleshooting, compatibility, parts, safety, or missing instructions. Manuals+ will review the question and use this page’s manual context to help answer it.