
1. Introduction
Thank you for purchasing the Philips 3000K Solar Outdoor Projector set. This manual provides essential information for the safe and efficient use of your solar-powered outdoor lights. Please read these instructions carefully before installation and retain them for future reference.
2. Safety Information
- Ensure the solar panel is positioned to receive maximum direct sunlight for optimal charging.
- Do not attempt to open or modify the product. This may void the warranty and pose a safety risk.
- Keep the product away from open flames or extreme heat sources.
- Dispose of batteries according to local regulations. Do not dispose of batteries in fire.
- This product is designed for outdoor use and is water-resistant. However, avoid submerging it in water.
- Clean the solar panel regularly to ensure efficient charging.
3. Package Contents
Verify that all components are present in the package:
- 4 x Philips 3000K Solar Outdoor Projectors
- 4 x Ground Stakes
- 4 x Wall Mounting Hardware (screws and anchors)
- 1 x Instruction Manual
4. Product Features
The Philips Solar Outdoor Projector offers a range of features for effective and convenient outdoor lighting:
- High-Quality Solar Panel: Efficiently converts sunlight into electrical energy.
- 270° Adjustable Heads: Allows for precise light direction.
- Two Installation Methods: Can be installed using a ground stake or wall-mounted.
- No Wiring Required: Simplifies installation and placement.
- Water-Resistant Design: Suitable for various outdoor weather conditions.
- Dusk-to-Dawn Operation: Automatically turns on at dusk and off at dawn.
- Long Autonomy: Up to 32 hours of illumination on a full charge.
- High Capacity Battery: Equipped with a 1200 mAh battery for extended performance.

Figure 4.1: Key features of the Philips Solar Outdoor Projector.

Figure 4.2: Product dimensions and components.

Figure 4.3: Solar panel and battery specifications.
5. Setup and Installation
5.1 Choosing an Installation Location
Select a location where the solar panel can receive at least 6-8 hours of direct sunlight daily. Avoid areas shaded by trees, buildings, or other obstructions, as this will reduce charging efficiency and illumination time.
5.2 Initial Charge
Before first use, ensure the projector is placed in direct sunlight for a full day (approximately 8 hours) to allow the battery to charge completely. The light will automatically activate at dusk once charged.
5.3 Installation Methods
Your Philips Solar Outdoor Projector can be installed in two ways:
5.3.1 Ground Stake Installation
- Attach the ground stake to the bottom of the projector unit.
- Push the assembled unit firmly into soft ground in your desired location. Ensure the solar panel faces upwards towards the sun.
- Adjust the angle of the light head to illuminate the desired area.
5.3.2 Wall Mount Installation
- Mark the desired mounting position on a wall or fence.
- Drill pilot holes at the marked points.
- Insert the provided anchors into the pilot holes (if necessary for your wall material).
- Align the mounting bracket on the projector with the holes and secure it with the provided screws.
- Adjust the angle of the light head and solar panel for optimal light direction and sun exposure.

Figure 5.1: Two available mounting methods.
6. Operating Instructions
6.1 Automatic Operation
The Philips Solar Outdoor Projector is designed for automatic operation. Once fully charged and placed in a suitable location, it will:
- Automatically turn on at dusk.
- Provide illumination for up to 32 hours on a full charge.
- Automatically turn off at dawn to begin recharging.
6.2 Charging
The integrated solar panel charges the internal battery during daylight hours. For optimal performance, ensure the solar panel is clean and unobstructed. A full charge typically requires 8 hours of direct sunlight on a sunny day.
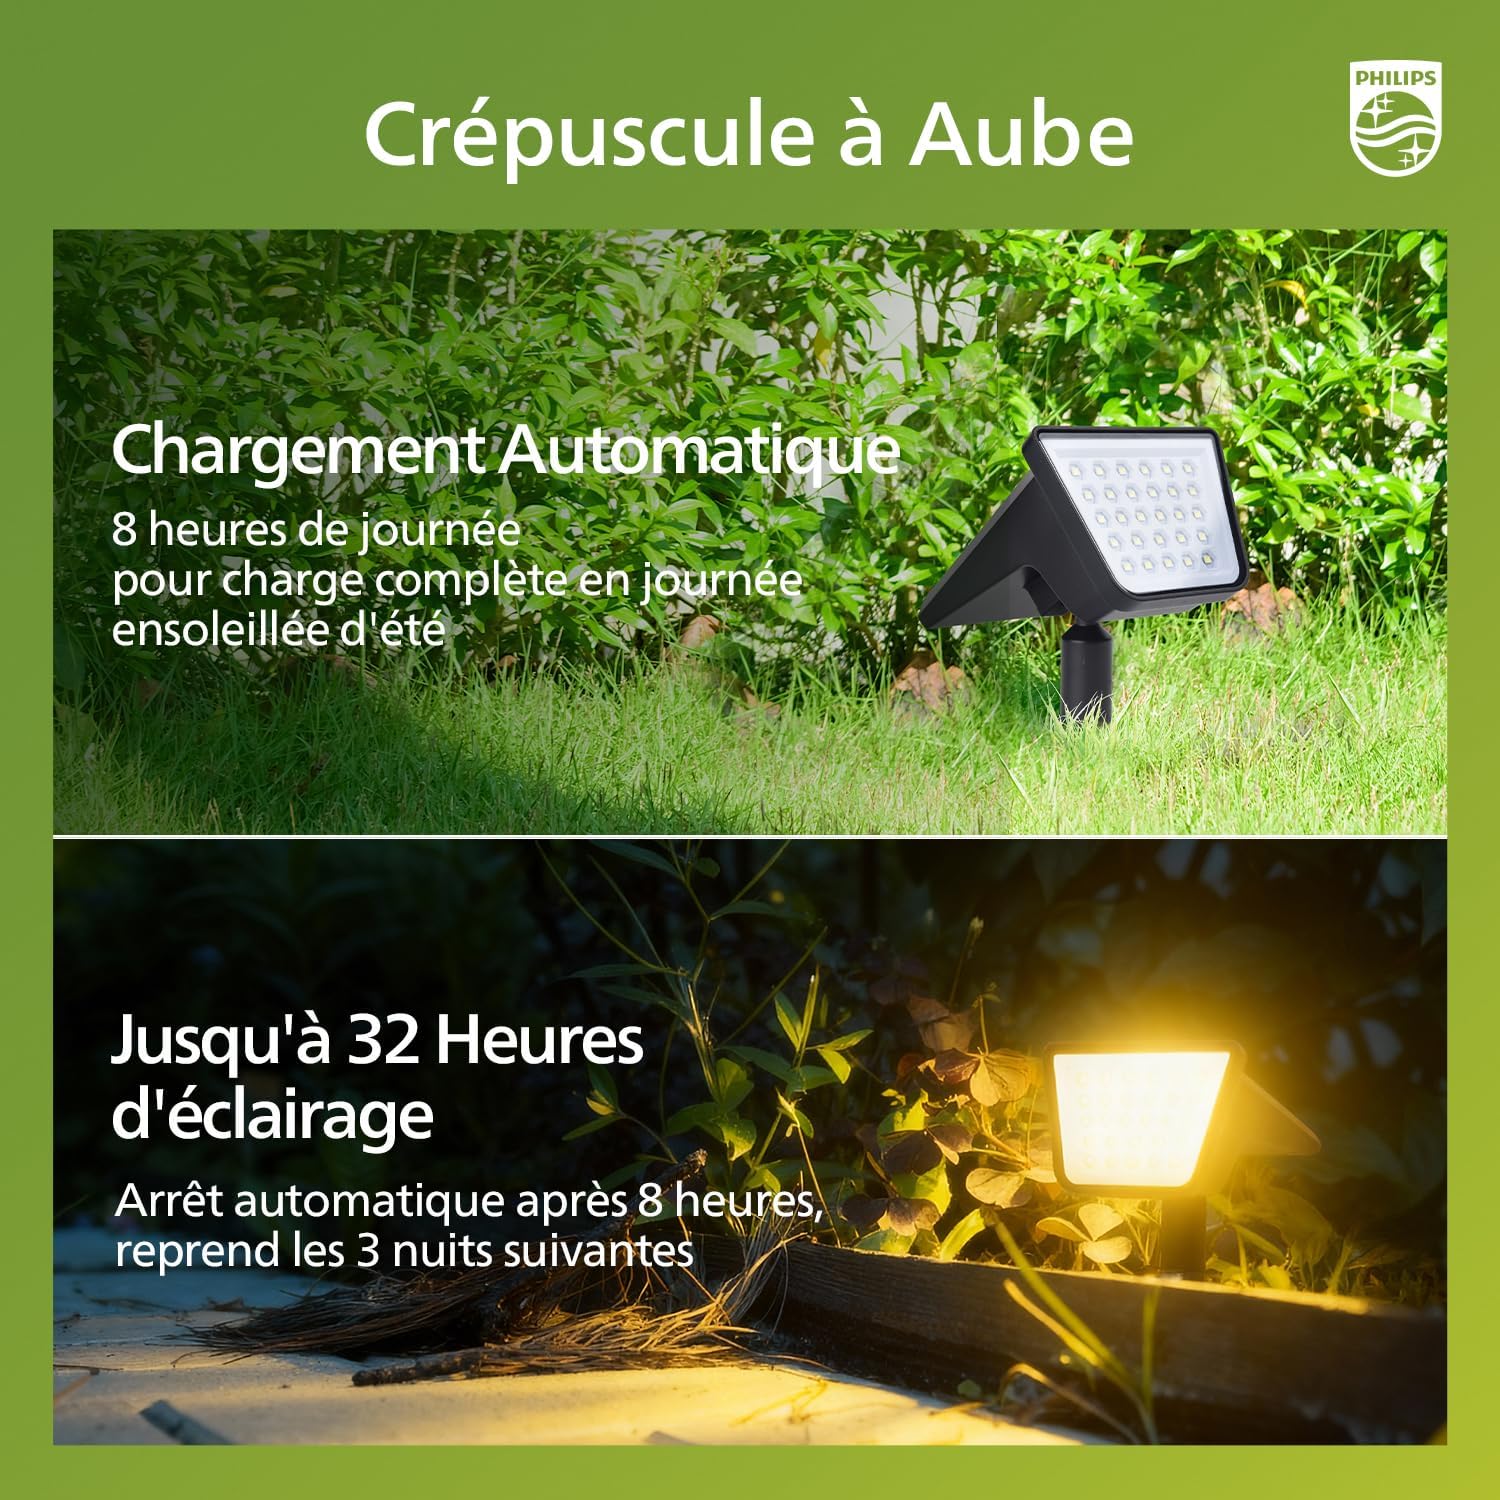
Figure 6.1: Dusk-to-dawn functionality and charging cycle.
7. Maintenance
To ensure the longevity and optimal performance of your solar projector, follow these maintenance guidelines:
- Clean the Solar Panel: Regularly wipe the solar panel with a soft, damp cloth to remove dust, dirt, leaves, or snow. A clean panel ensures maximum sunlight absorption and charging efficiency.
- Inspect for Damage: Periodically check the unit for any physical damage, especially after severe weather conditions.
- Battery Care: The integrated battery is designed for long-term use. Avoid storing the unit in a completely discharged state for extended periods. If storing for a long time, ensure it receives a full charge periodically.

Figure 7.1: The projector is designed for humid outdoor conditions.
8. Troubleshooting
If you encounter issues with your solar projector, refer to the following troubleshooting steps:
- Light does not turn on at night:
- Ensure the solar panel is receiving sufficient direct sunlight during the day. Relocate if necessary.
- Check if the solar panel is clean and free from obstructions.
- Verify that it is dark enough for the light sensor to activate.
- Light duration is short:
- The battery may not be fully charged. Ensure the solar panel receives maximum sunlight for a full day.
- Weather conditions (e.g., cloudy days) can affect charging efficiency.
- The ambient temperature can impact battery performance.
- Light flickers or is dim:
- This usually indicates a low battery charge. Allow the unit to charge for a full day in direct sunlight.
- Ensure the LED lens is clean.
9. Specifications
| Feature | Specification |
|---|---|
| Model Number | 6916405330 |
| Brand | Philips |
| Light Color Temperature | 3000K (Warm White) |
| Power Source | Solar Powered |
| Battery | 1 x Non-standard Battery (included), 1200 mAh |
| Product Dimensions (L x W x H) | 10.71 x 9.5 x 23.52 cm (approximate for one unit) |
| Weight | 830 grams (approximate for one unit) |
| Components Included | LED Lens |
| Manufacturer | SIGNIFY |
10. Warranty and Support
Specific warranty information and customer support details were not provided in the product data. Please refer to the product packaging or contact your retailer for warranty terms and support options.
11. Application Examples
The Philips Solar Outdoor Projectors are versatile and can be used to enhance various outdoor spaces:
- Pathway Lighting: Illuminate garden paths and walkways for safety and ambiance.
- Landscape Accent Lighting: Highlight trees, shrubs, or architectural features.
- Wall Washing: Mount on walls to create a soft glow along facades.

Figure 11.1: Examples of projector applications in outdoor environments.


