
1. Introduction
The BAOFENG UV-5R Mini is a compact and versatile dual-band two-way radio designed for reliable communication across various environments. It features app programming, frequency copying, NOAA weather alerts, and USB-C fast charging, making it suitable for outdoor activities, emergency preparedness, and professional use. This manual provides detailed instructions for the proper setup, operation, and maintenance of your UV-5R Mini radio.
2. What's in the Box
Please check the package contents upon unboxing to ensure all items are present:
- BAOFENG UV-5R Mini Radio Unit
- Antenna
- Battery
- Belt Clip
- USB-C Charging Cable
- User Manual

Image: The BAOFENG UV-5R Mini radio shown with its antenna, battery, belt clip, and USB-C charging cable.
3. Product Overview
Familiarize yourself with the main components and controls of your UV-5R Mini radio:

Image: A detailed diagram labeling the various parts of the BAOFENG UV-5R Mini radio, including the antenna, flashlight, volume/power knob, LED indicator, PTT-A and PTT-B buttons, screen, accessory port, microphone, A/B button, search button, flashlight button, V/M-VFO/MR button, and numeric keypad.
- Antenna: For transmitting and receiving signals.
- Volume/Power Knob: Turns the radio on/off and adjusts volume.
- PTT-A Button: Push-to-Talk for the A-band.
- PTT-B Button: Push-to-Talk for the B-band.
- Screen: 1.44-inch TFT display for channel, frequency, and status information.
- Numeric Keypad: For direct frequency entry and menu navigation.
- V/M-VFO/MR Button: Toggles between Frequency Mode (VFO) and Channel Mode (MR).
- Search Button: Initiates frequency scanning or one-key frequency pairing.
- Flashlight Button: Activates the built-in flashlight.
- Accessory Port: For connecting external audio accessories.
4. Setup
4.1. Battery Installation
- Ensure the radio is powered off.
- Align the battery pack with the grooves on the back of the radio.
- Slide the battery pack upwards until it clicks securely into place.
- To remove, press the battery release latch and slide the battery downwards.
4.2. Antenna Attachment
- Screw the antenna clockwise into the connector on the top of the radio until it is finger-tight. Do not overtighten.
4.3. Initial Charging
Before first use, fully charge the battery. Refer to the "Charging" section for detailed instructions.
5. Operating Instructions
5.1. Power On/Off and Volume Adjustment
Rotate the Volume/Power knob clockwise to turn the radio on. Continue rotating to increase the volume. Rotate counter-clockwise to decrease volume and turn off the radio.
5.2. App Programming (Ola Radio)
The UV-5R Mini supports programming via a mobile application (Ola Radio) for iOS and Android devices. This allows for batch updates of multiple devices and simplified frequency/CTCSS code synchronization.
- Download the "Ola Radio" app from your device's app store.
- On the radio, navigate to the menu and enable "Wireless Cps" (Wireless Copy).
- Open the app and follow the on-screen instructions to connect to your radio.
- You can then modify channel settings, frequency parameters, and other functions directly from the app.

Image: The radio display showing the 'Wireless Cps' option enabled, alongside a mobile phone screen displaying the 'Ola Radio' app interface for device parameters and configuration.
Video: This video demonstrates the process of programming the BAOFENG UV-5R Mini radio using the mobile application, showing how to connect and modify settings.
5.3. One-Key Frequency Pairing (Wireless Copy)
The one-key frequency pairing feature allows for quick synchronization of frequencies and CTCSS/DCS codes between two UV-5R Mini radios without manual input.
- Ensure both radios are powered on and in a suitable mode for frequency copying.
- On the receiving radio, long-press the Search button (often labeled with a square icon) to initiate the search function. The screen will display "SEARCH".
- On the transmitting radio, select the desired frequency/channel.
- The receiving radio will scan and automatically copy the frequency and associated codes from the transmitting radio.

Image: Two BAOFENG UV-5R Mini radios are shown side-by-side. One radio displays 'SEARCH' indicating it is looking for a frequency, while the other displays a set frequency and channel, illustrating the one-key frequency pairing process.
Video: This video demonstrates the one-key frequency pairing function of the BAOFENG UV-5R Mini, showing how to quickly synchronize frequencies between two radios.
5.4. Dual-Frequency Standby (Dual Watch)
The dual-frequency standby feature allows the radio to monitor two different frequencies (A and B bands) simultaneously. You can transmit on either frequency using the dedicated PTT-A and PTT-B buttons.
- Access the radio's menu.
- Navigate to "Radio Set" and then to "Dual Watch".
- Select "ON" to activate dual-frequency standby.
- The screen will display both A and B band frequencies. Use PTT-A to transmit on the A-band and PTT-B to transmit on the B-band.
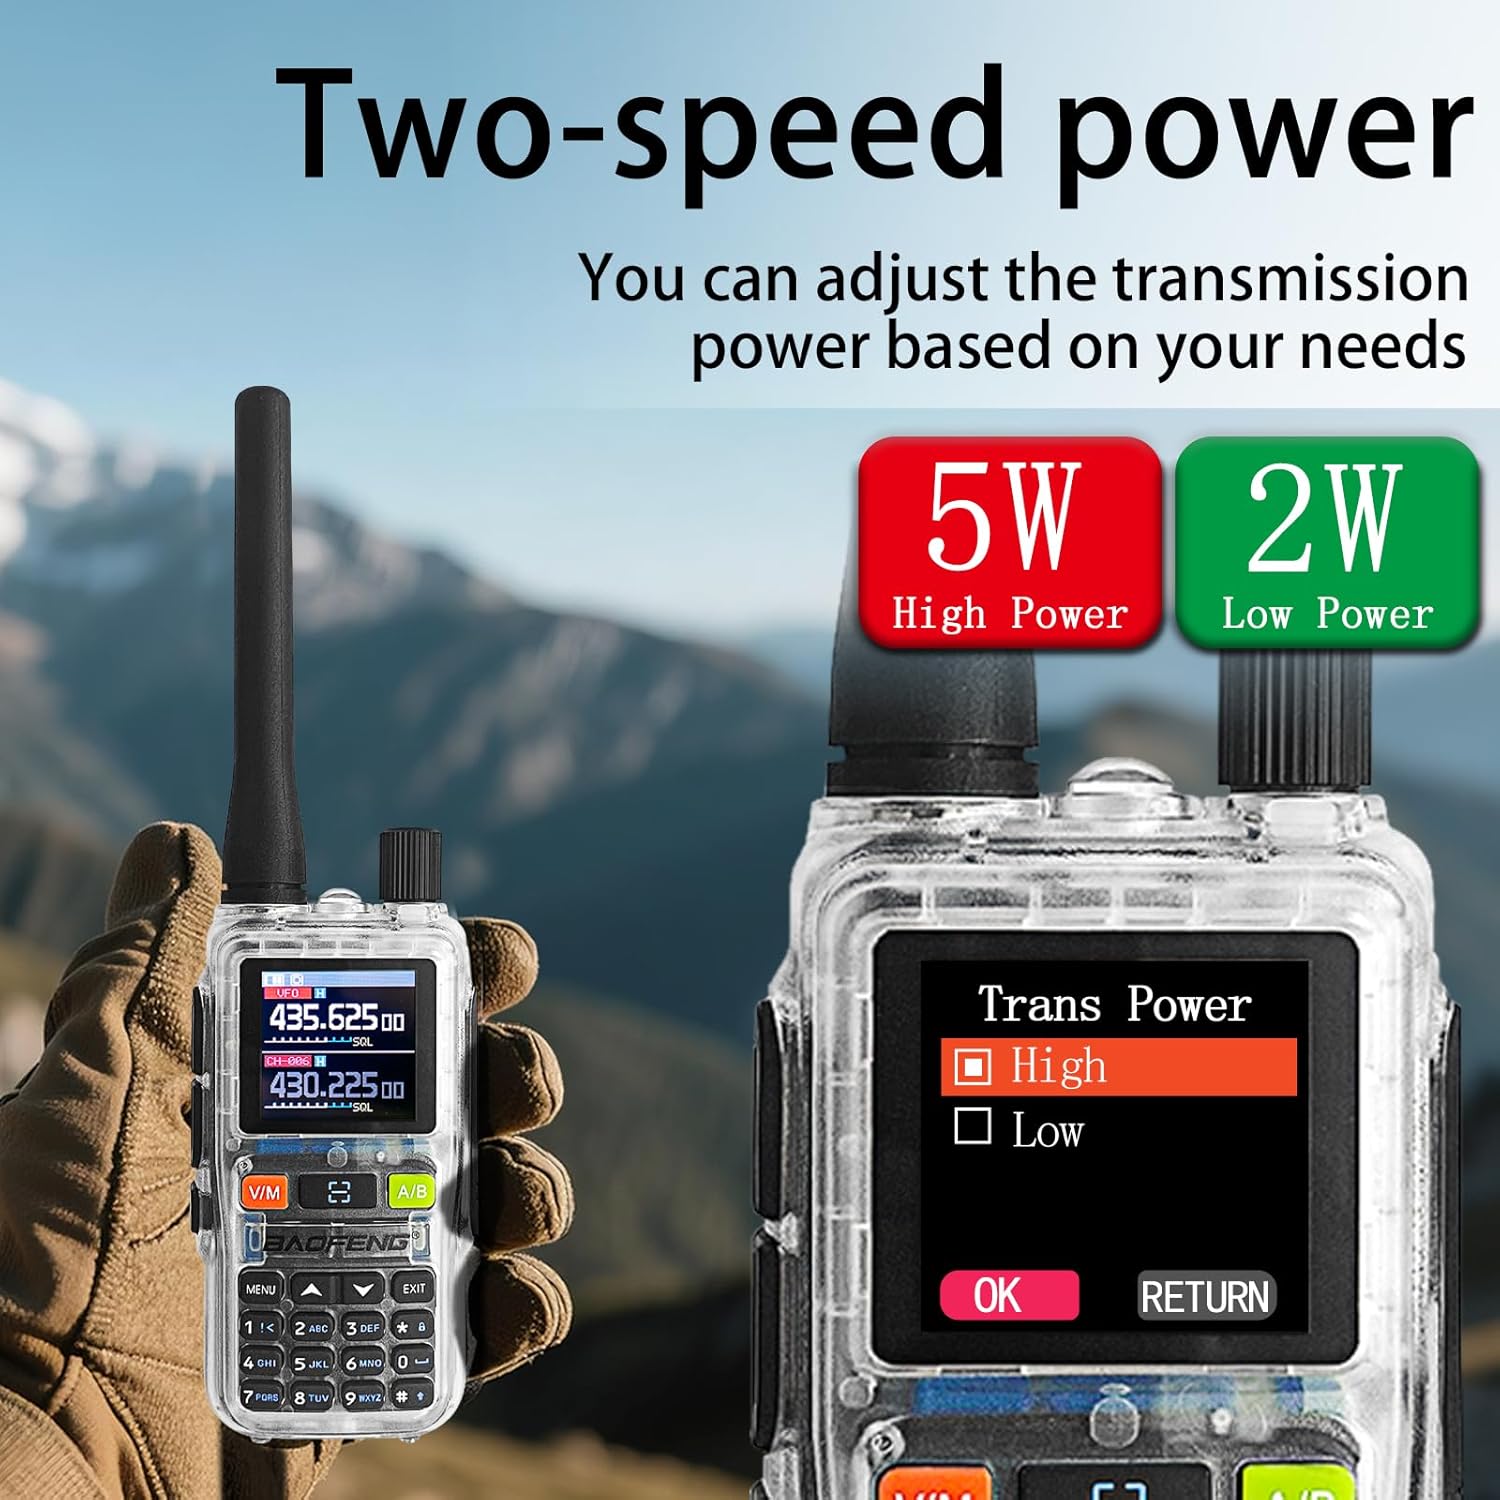
Image: The radio display showing the 'Dual Watch' option in the menu, set to 'ON', and a separate image highlighting the PTT-A and PTT-B buttons for dual-band operation.
5.5. Power Adjustment (5W/2W)
The radio offers adjustable transmission power levels (5W High Power / 2W Low Power) to conserve battery or extend range as needed.
- Access the radio's menu.
- Navigate to the "Trans Power" setting.
- Select either "High" (5W) or "Low" (2W) based on your communication requirements.

Image: The radio display showing the 'Trans Power' menu with options for 'High' (5W) and 'Low' (2W) power settings, indicating adjustable transmission power.
5.6. NOAA Weather Alerts
The UV-5R Mini can receive NOAA weather alerts, providing critical weather information and warnings.
- Access the radio's menu.
- Locate the NOAA weather alert function.
- Enable the feature to receive alerts. The radio will automatically scan for NOAA broadcasts.

Image: The BAOFENG UV-5R Mini radio is shown with a large 'NOAA' graphic, indicating its capability to receive NOAA Weather Alerts, set against a stormy outdoor background.
5.7. Flashlight Function
The radio includes a built-in flashlight for convenience in low-light conditions.
- Press the dedicated Flashlight button (often located on the side or keypad) to turn the flashlight on or off.

Image: A hand holding the BAOFENG UV-5R Mini radio with its flashlight beam illuminating a dark outdoor camping scene, demonstrating the strong flashlight function.
6. Charging
The UV-5R Mini features a USB-C charging port, allowing for flexible charging options.
- Connect the provided USB-C charging cable to the radio's USB-C port.
- Connect the other end of the cable to a compatible USB power source, such as:
- A computer's USB port
- A wall adapter (not included)
- A power bank
- A car charger
- The LED indicator on the radio will typically show red during charging and turn green when fully charged.
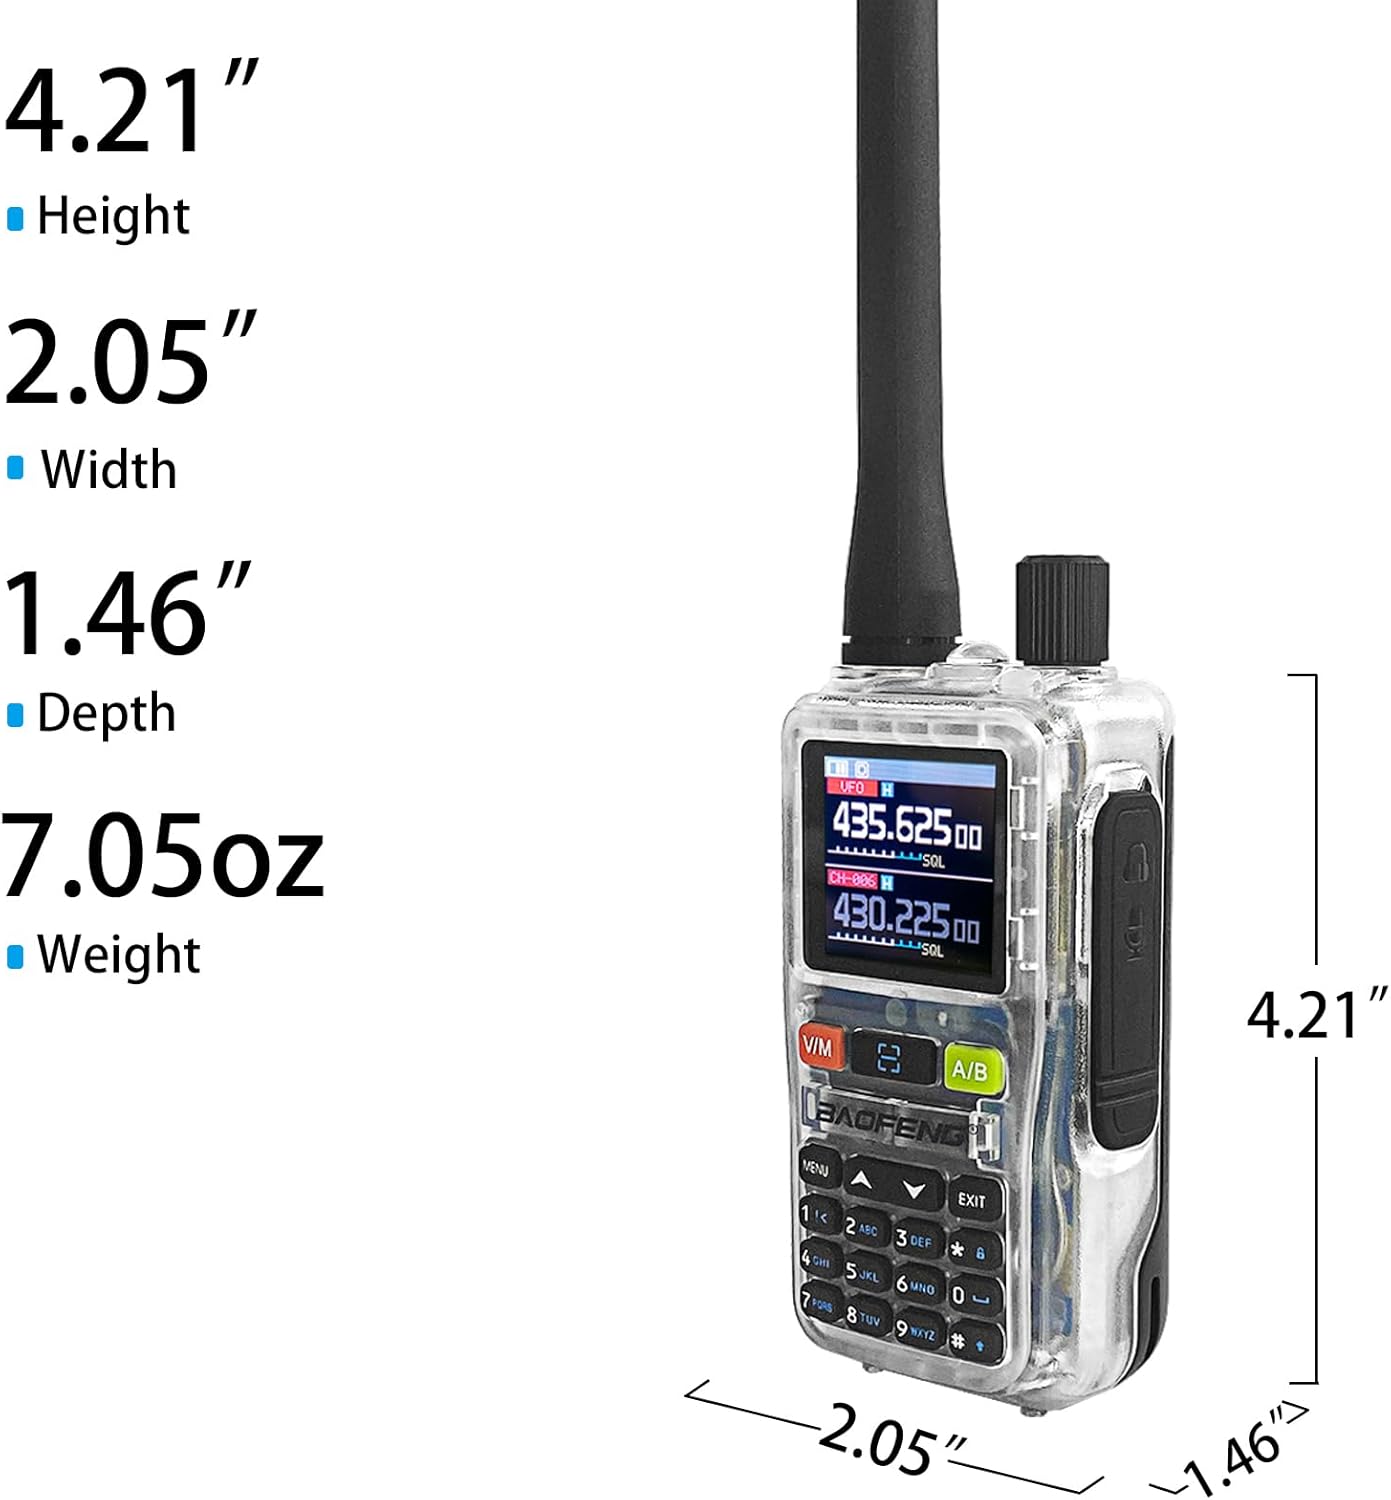
Image: The BAOFENG UV-5R Mini radio connected via USB-C cable to a power source, with smaller inset images showing various charging methods: computer, wall plug, power bank, and car charger.
7. Maintenance
7.1. Cleaning
- Wipe the radio's surface with a soft, damp cloth. Do not use harsh chemicals or abrasive cleaners.
- Ensure the radio is dry before use or charging.
7.2. Storage
- Store the radio in a cool, dry place away from direct sunlight and extreme temperatures.
- If storing for extended periods, remove the battery and charge it periodically to maintain its lifespan.
8. Troubleshooting
| Problem | Possible Cause | Solution |
|---|---|---|
| Radio does not power on | Battery is low or not installed correctly | Charge the battery or re-install it securely. |
| Cannot transmit or receive | Incorrect frequency/channel, antenna not attached, or out of range | Verify frequency settings, ensure antenna is attached, move closer to other radios. |
| App programming fails | "Wireless Cps" not enabled on radio, app connection issue | Ensure "Wireless Cps" is ON in radio menu. Restart app and radio, try reconnecting. |
| Poor audio quality | Weak signal, interference, or incorrect CTCSS/DCS codes | Check signal strength, move to a clearer area, verify CTCSS/DCS settings. |
9. Specifications
| Feature | Detail |
|---|---|
| Brand | BAOFENG |
| Model | UV-5R Mini |
| Number of Channels | 999 |
| Frequency Range | 136-174MHz, 400-520MHz |
| RF Output Power | 5W/2W (adjustable) |
| Talking Range Maximum | 5 kilometers |
| Voltage | 12 volts DC |
| Water Resistance Level | Not Water Resistant |
| Display | 1.44" TFT Screen |
| Charging | USB-C Fast Charging |
| Special Features | APP programming (Ola Radio), Multi-band TX/RX (VHF/UHF tri-band TX; AM/FM/VHF/UHF scan), One-touch frequency sync, SK1 key shortcuts (radio/scan/VOX/flashlight/alarm), NOAA Weather |
10. Warranty and Support
10.1. Warranty Information
The BAOFENG UV-5R Mini radio comes with a 1-year warranty from the date of purchase. This warranty covers manufacturing defects and malfunctions under normal use. It does not cover damage caused by misuse, accidents, unauthorized modifications, or natural disasters.
10.2. Customer Support
For technical assistance, troubleshooting, or warranty claims, please contact BAOFENG customer support through their official website or the retailer where the product was purchased. Please have your product model and purchase date available when contacting support.


