
1. Introduction
Thank you for purchasing the WOOPKER AK50 Home Audio Stereo Amplifier. This amplifier is designed to provide high-quality audio for your home theater, garage, or other personal audio setups. It features Bluetooth 5.0 connectivity, USB and SD card inputs, RCA inputs, and two microphone inputs for versatile use. Please read this manual carefully before operating the device to ensure proper use and to maximize its performance.
2. Safety Instructions
- Power Source: Ensure the power supply voltage matches the requirements specified on the amplifier. Use only the provided power cable.
- Ventilation: Do not block any ventilation openings. Place the amplifier in a well-ventilated area to prevent overheating.
- Water and Moisture: Do not expose the amplifier to rain, moisture, or dripping/splashing liquids. Do not place objects filled with liquids, such as vases, on the apparatus.
- Heat Sources: Keep the amplifier away from heat sources such as radiators, heat registers, stoves, or other apparatus (including amplifiers) that produce heat.
- Cleaning: Unplug the amplifier from the power outlet before cleaning. Use a dry cloth for cleaning.
- Servicing: Do not attempt to service this product yourself. Refer all servicing to qualified service personnel.
- Speaker Impedance: Ensure connected speakers have an impedance between 4-16 ohms. Connecting speakers with incorrect impedance may damage the amplifier.
3. Package Contents
Verify that all items listed below are included in your package:
- 1x WOOPKER AK50 Audio Amplifier
- 1x Power Cable
- 1x User Manual
- 1x Remote Control (Note: Battery for remote is not included. Please purchase 2x AAA batteries separately.)

Image: Package contents of the AK50 amplifier, showing the main unit, power cable, user manual, and remote control.
4. Product Overview
4.1 Front Panel

Image: Detailed view of the AK50 amplifier's front panel, highlighting the USB/SD port, LED display, control buttons, microphone inputs, and various adjustment knobs.
- USB/SD Port: For connecting USB flash drives or SD cards.
- LED Display: Shows current mode, track number, or volume level.
- Mode Button: Switches between input modes (Bluetooth, USB/SD, RCA, FM).
- Previous Button: Skips to the previous track/station.
- Play/Pause Button: Plays or pauses audio playback.
- Next Button: Skips to the next track/station.
- Cycle Button: Repeats current track or playlist.
- Mic Volume: Adjusts the volume of the connected microphones.
- Echo Button: Activates/deactivates or adjusts microphone echo effect.
- Mic Input Jacks (MIC1, MIC2): 6.35mm jacks for connecting microphones.
- Bass Knob: Adjusts the low-frequency audio output.
- Treble Knob: Adjusts the high-frequency audio output.
- Master Volume: Controls the overall output volume of the amplifier.
4.2 Back Panel

Image: Detailed view of the AK50 amplifier's back panel, showing all input and output connections, including power inputs and speaker terminals.
- FM Antenna Jack: Connect the included FM antenna for radio reception.
- Power Switch: Turns the amplifier on or off.
- Audio Input Jacks (AUX, LINE): RCA inputs for connecting external audio sources (e.g., CD player, DVD player, TV).
- Speaker Output Jacks: Terminals for connecting passive speakers (4-16 ohms).
- DC 12V/5A Power: Alternative DC power input.
- AC 90-240V Power: Main AC power input.
5. Setup
5.1 Speaker Connection
Follow these steps to connect your passive speakers to the amplifier:
- Before connecting the speakers, identify the positive and negative terminals. The positive terminal is typically red, and the negative terminal is black.
- Press the clasp on the back of the AK50 amplifier's speaker output terminals and insert the bare speaker wires. Ensure the positive wire from the speaker connects to the positive terminal on the amplifier, and the negative wire to the negative terminal.
- Ensure a secure connection for both left and right channels.
- Caution: Avoid plugging and unplugging USB drives, SD cards, RCA audio cables, or speaker cables while the amplifier is turned on.

Image: Speaker connection diagram, illustrating the proper wiring of passive speakers to the amplifier and RCA input connections for other devices.
5.2 Power Connection
Connect the provided power cable to the AC 90-240V power input on the back panel of the amplifier, then plug the other end into a standard wall outlet.
6. Operating Instructions
6.1 Power On/Off
Flip the Power Switch on the back panel to the 'ON' position to power on the amplifier. Flip it to 'OFF' to power off.
6.2 Input Modes
Press the Mode button on the front panel or the remote control to cycle through available input modes: Bluetooth, USB, SD, RCA (AUX/LINE), and FM Radio.
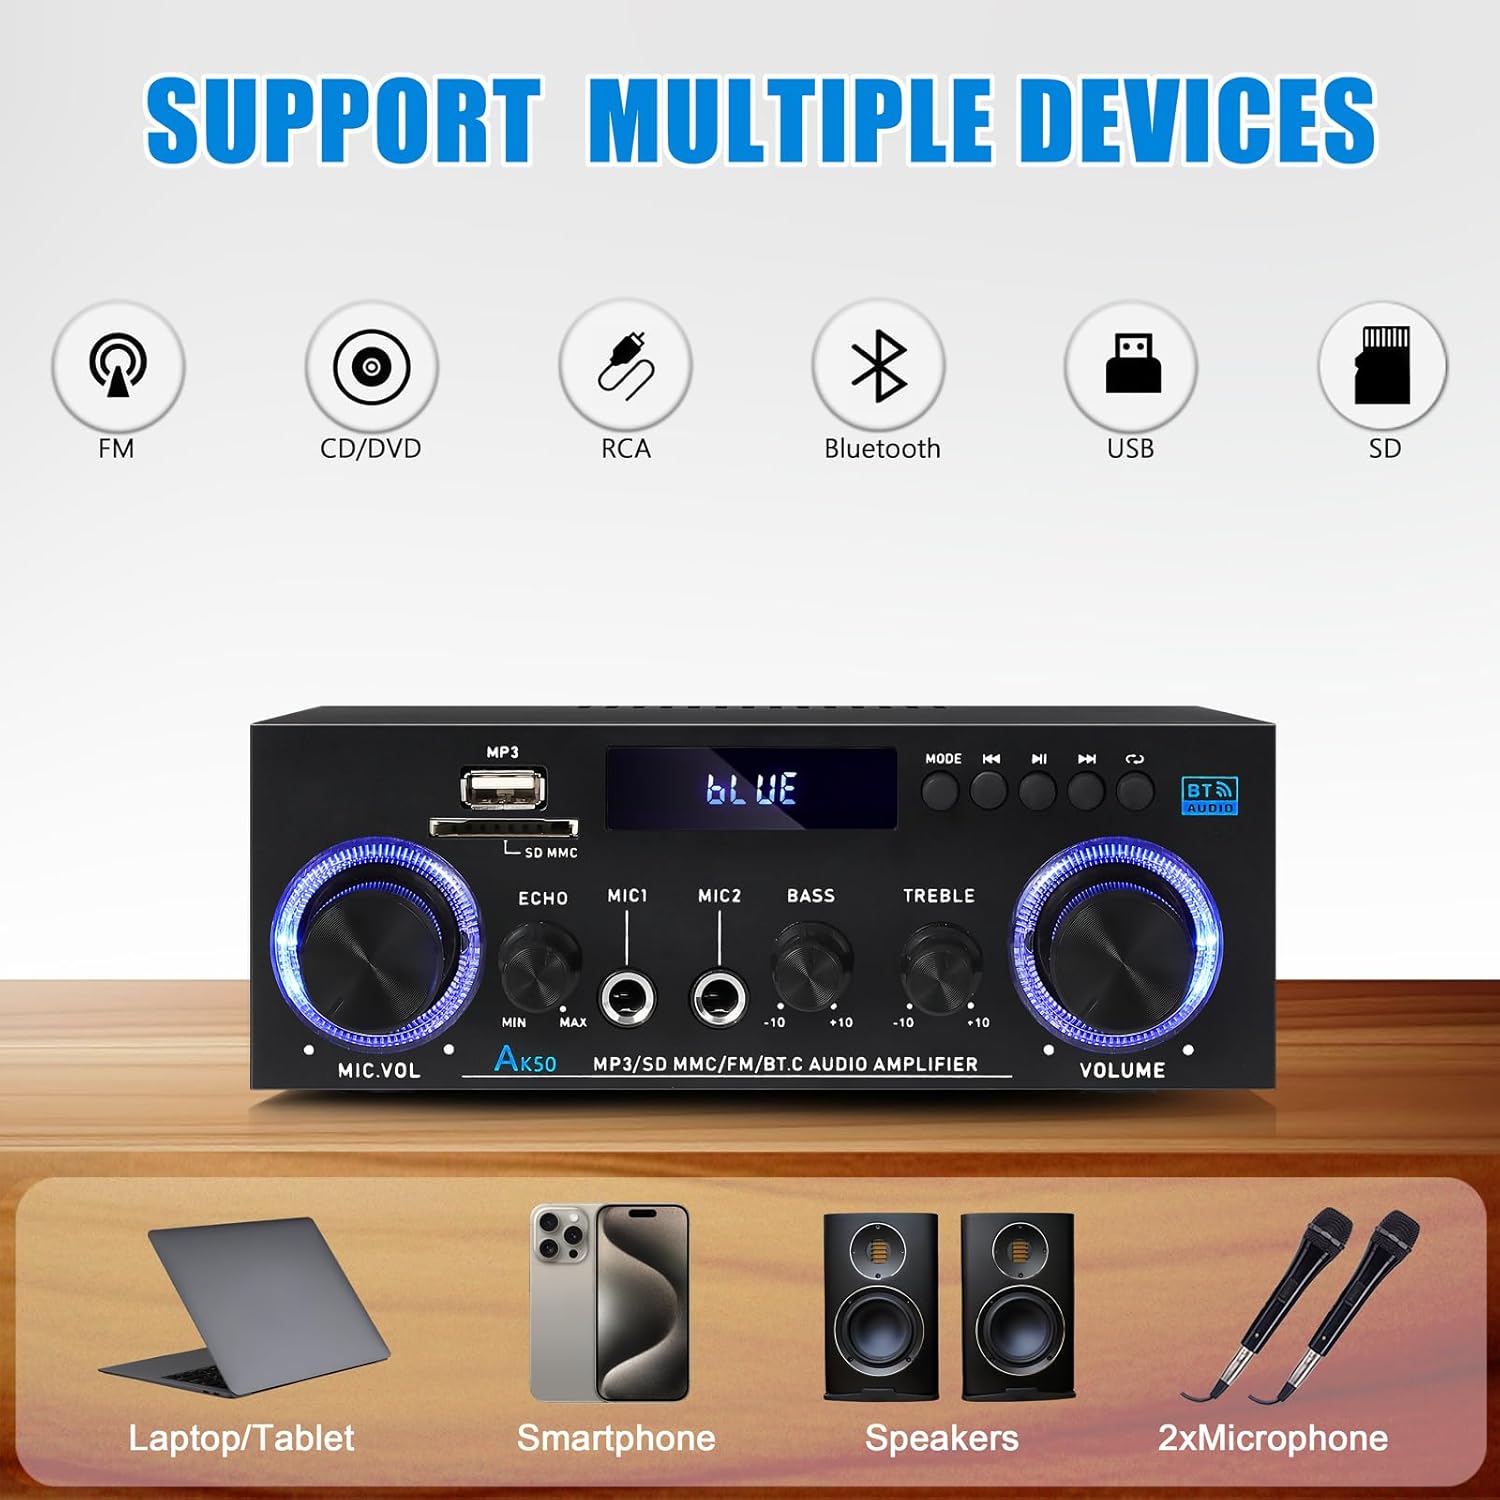
Image: Visual representation of the AK50 amplifier's compatibility with various input sources like FM, CD/DVD, RCA, Bluetooth, USB, and SD.
6.2.1 Bluetooth Mode
- Switch the amplifier to Bluetooth mode using the Mode button. The LED display will show 'BLUE'.
- On your mobile device (smartphone, tablet, laptop), enable Bluetooth and search for available devices.
- Select 'AK50' from the list of devices to pair. Once paired, you will hear a confirmation sound, and the LED display will indicate a successful connection.
- You can now play audio from your device through the amplifier.

Image: Demonstrates connecting a mobile device to the AK50 amplifier via Bluetooth for wireless music streaming.
6.2.2 USB/SD Card Mode
- Insert a USB flash drive or SD card containing MP3 audio files into the respective port on the front panel.
- Switch the amplifier to USB or SD mode using the Mode button. The amplifier will automatically detect and begin playing audio files.
- Use the Previous, Next, and Play/Pause buttons to control playback.
6.2.3 RCA (AUX/LINE) Input Mode
- Connect external audio devices (e.g., CD player, DVD player, TV, computer) to the AUX or LINE RCA input jacks on the back panel using an RCA audio cable.
- Switch the amplifier to the corresponding RCA input mode using the Mode button.
- Audio from the connected device will now play through the amplifier.
6.2.4 Microphone Input
- Connect up to two microphones to the MIC1 and MIC2 input jacks on the front panel.
- Adjust the microphone volume using the Mic Volume knob.
- Use the Echo button to add or remove an echo effect to the microphone audio.

Image: Two individuals using microphones connected to the AK50 amplifier, demonstrating its dual microphone support for karaoke or public speaking.
6.2.5 FM Radio Mode
- Connect the included FM antenna to the FM ANT jack on the back panel.
- Switch the amplifier to FM Radio mode using the Mode button.
- Use the Previous and Next buttons to scan for radio stations.
6.3 Volume and Tone Control
- Master Volume: Rotate the large VOLUME knob on the front panel to adjust the overall output volume.
- Bass Control: Use the BASS knob to increase or decrease the low-frequency response of the audio.
- Treble Control: Use the TREBLE knob to increase or decrease the high-frequency response of the audio.

Image: Close-up view of the Bass and Treble adjustment knobs, indicating their function in sound customization.
6.4 Remote Control Usage
The included remote control allows for convenient operation from a distance. Insert 2x AAA batteries (not included) into the remote before use.
- Power Button: Turns the amplifier on/off (standby).
- Mode Button: Cycles through input modes.
- Volume Up/Down: Adjusts the master volume.
- Previous/Next: Skips tracks or tunes FM stations.
- Play/Pause: Plays or pauses audio.
- Number Buttons: For direct track selection (USB/SD) or FM station input.

Image: A user operating the AK50 amplifier with its remote control, demonstrating ease of volume and input adjustment.
6.5 Video Demonstration
Watch this video for a demonstration of the AK50 Stereo Audio Amplifier's sound and control features.
Video: A demonstration of the AK50 Stereo Audio Amplifier, showcasing its sound output and the functionality of its controls, including volume and tone adjustments.
7. Maintenance
- Cleaning: Use a soft, dry cloth to wipe the exterior of the amplifier. Do not use liquid cleaners or aerosol sprays.
- Ventilation: Regularly check that the ventilation openings are clear of dust and debris to ensure proper airflow.
- Storage: If storing the amplifier for an extended period, disconnect it from the power supply and store it in a cool, dry place.
8. Troubleshooting
| Problem | Possible Cause | Solution |
|---|---|---|
| No power | Power cable not connected; Power switch off; Outlet malfunction. | Ensure power cable is securely connected; Turn power switch ON; Test outlet with another device. |
| No sound output | Incorrect input mode; Speaker wires loose/incorrectly connected; Volume too low; Mute activated; Faulty audio source. | Select correct input mode; Check speaker connections (positive/negative); Increase Master Volume; Ensure not muted; Test with a different audio source. |
| Bluetooth not connecting | Amplifier not in Bluetooth mode; Device not in pairing mode; Amplifier already paired with another device; Out of range. | Switch amplifier to Bluetooth mode; Ensure device's Bluetooth is on and discoverable; Disconnect from other devices; Move device closer to amplifier. |
| USB/SD card not playing | Incorrect file format; Card/drive not inserted correctly; Corrupted files. | Ensure files are MP3 format; Reinsert card/drive; Try a different USB/SD card. |
| Poor FM radio reception | Antenna not connected; Weak signal. | Connect FM antenna securely; Adjust antenna position for better reception. |
9. Specifications
| Feature | Specification |
|---|---|
| Model | AK50 |
| Peak Power Output | 500W + 500W |
| Rated Power Output (RMS) | 60W x 2 |
| Channels | 2.0 Channel Stereo |
| Bluetooth Version | 5.0 |
| Input Interfaces | Bluetooth, USB, SD Card, RCA (AUX/LINE), 2x MIC |
| Output Interface | Speaker Output (4-16 Ohm) |
| Tone Control | Bass, Treble |
| Microphone Features | Volume, Echo Control |
| Power Supply | AC 90-240V or DC 12V/5A |
| Dimensions (L x W x H) | Approx. 7.09 x 5.47 x 2.56 inches (180 x 139 x 65 mm) |
| Item Weight | 1.5 pounds (approx. 680g) |
10. Warranty and Support
WOOPKER products are designed and manufactured to the highest quality standards. For warranty information or technical support, please refer to the contact details provided with your purchase or visit the official WOOPKER website. Keep your purchase receipt as proof of purchase.