IBKINXX BSV-AD002
IBKINXX Automatic Chicken Coop Door User Manual
Model: BSV-AD002
Product Overview
The IBKINXX Automatic Chicken Coop Door is designed to provide a convenient and secure solution for managing your poultry. This solar-powered door features a timer, light sensor, remote control, and an LCD display for easy operation. Constructed from durable aluminum alloy, it offers anti-pinch protection and is weatherproof, ensuring reliable performance in various conditions. It also includes a USB backup charging option for continuous functionality.

Image: The complete IBKINXX Automatic Chicken Coop Door system, including the main door unit, solar panel, remote control, and USB charging cable.
Key Features
- Spacious Opening: Features an upgraded opening of 9.45" x 10" to allow free movement for poultry.
- Automated Operation: Opens at sunrise and closes at sunset automatically, providing hassle-free flock management.
- Multiple Automatic Modes: Offers 4 customizable settings including timed, light-sensitive, or a combination of both.
- Enhanced Protection: Automatically opens for airflow during the day and securely closes at night to deter predators.
- Durable Construction: Built with aluminum alloy to withstand rain, wind, sun, and extreme temperatures.
- Safety Features: Includes an anti-pinch function that reverses the door if an obstruction is detected, and a built-in intrusion alarm.
- Dual Charging Options: Solar-powered with a Type-C USB port for backup charging.
What's in the Box
The product package includes the following components:
- Chicken door unit
- Remote control
- User manual
- Solar panel
- USB cable
Image: All included components: the main door, solar panel, remote, and cables.
Setup and Installation
Before installation, ensure the unit has sufficient battery charge. The battery icon on the LCD screen will flash if the battery is low. Fully charge the unit before initial use.
- Prepare the Opening: Outline the area where the door will be installed on your chicken coop. The recommended opening size is approximately 9.45 inches wide by 10 inches high.
- Create the Opening: Use appropriate tools to cut out the outlined area in your chicken coop.
- Mount the Door: Position the chicken door unit over the opening and secure it using the provided screws. Ensure it is mounted firmly and level.
- Install Solar Panel: Mount the solar panel in an area that receives maximum direct sunlight throughout the day. The solar panel comes with a long cable (9.84 feet) to allow flexible positioning.
- Connect Solar Panel: Connect the solar panel cable to the main chicken door unit.
- Initial Charge: If the battery is low, connect the USB cable to the unit and a power source to fully charge it before first use.

Image: Visual guide showing the four steps of installation: outlining, cutting, securing, and completion.

Image: Illustration of the solar panel charging and Type-C USB charging options for the door.
Operating Instructions
Understanding the Modes
The IBKINXX Automatic Chicken Coop Door offers four automatic modes to suit your needs. You can switch between these modes by short pressing the 'M' key on the control panel.
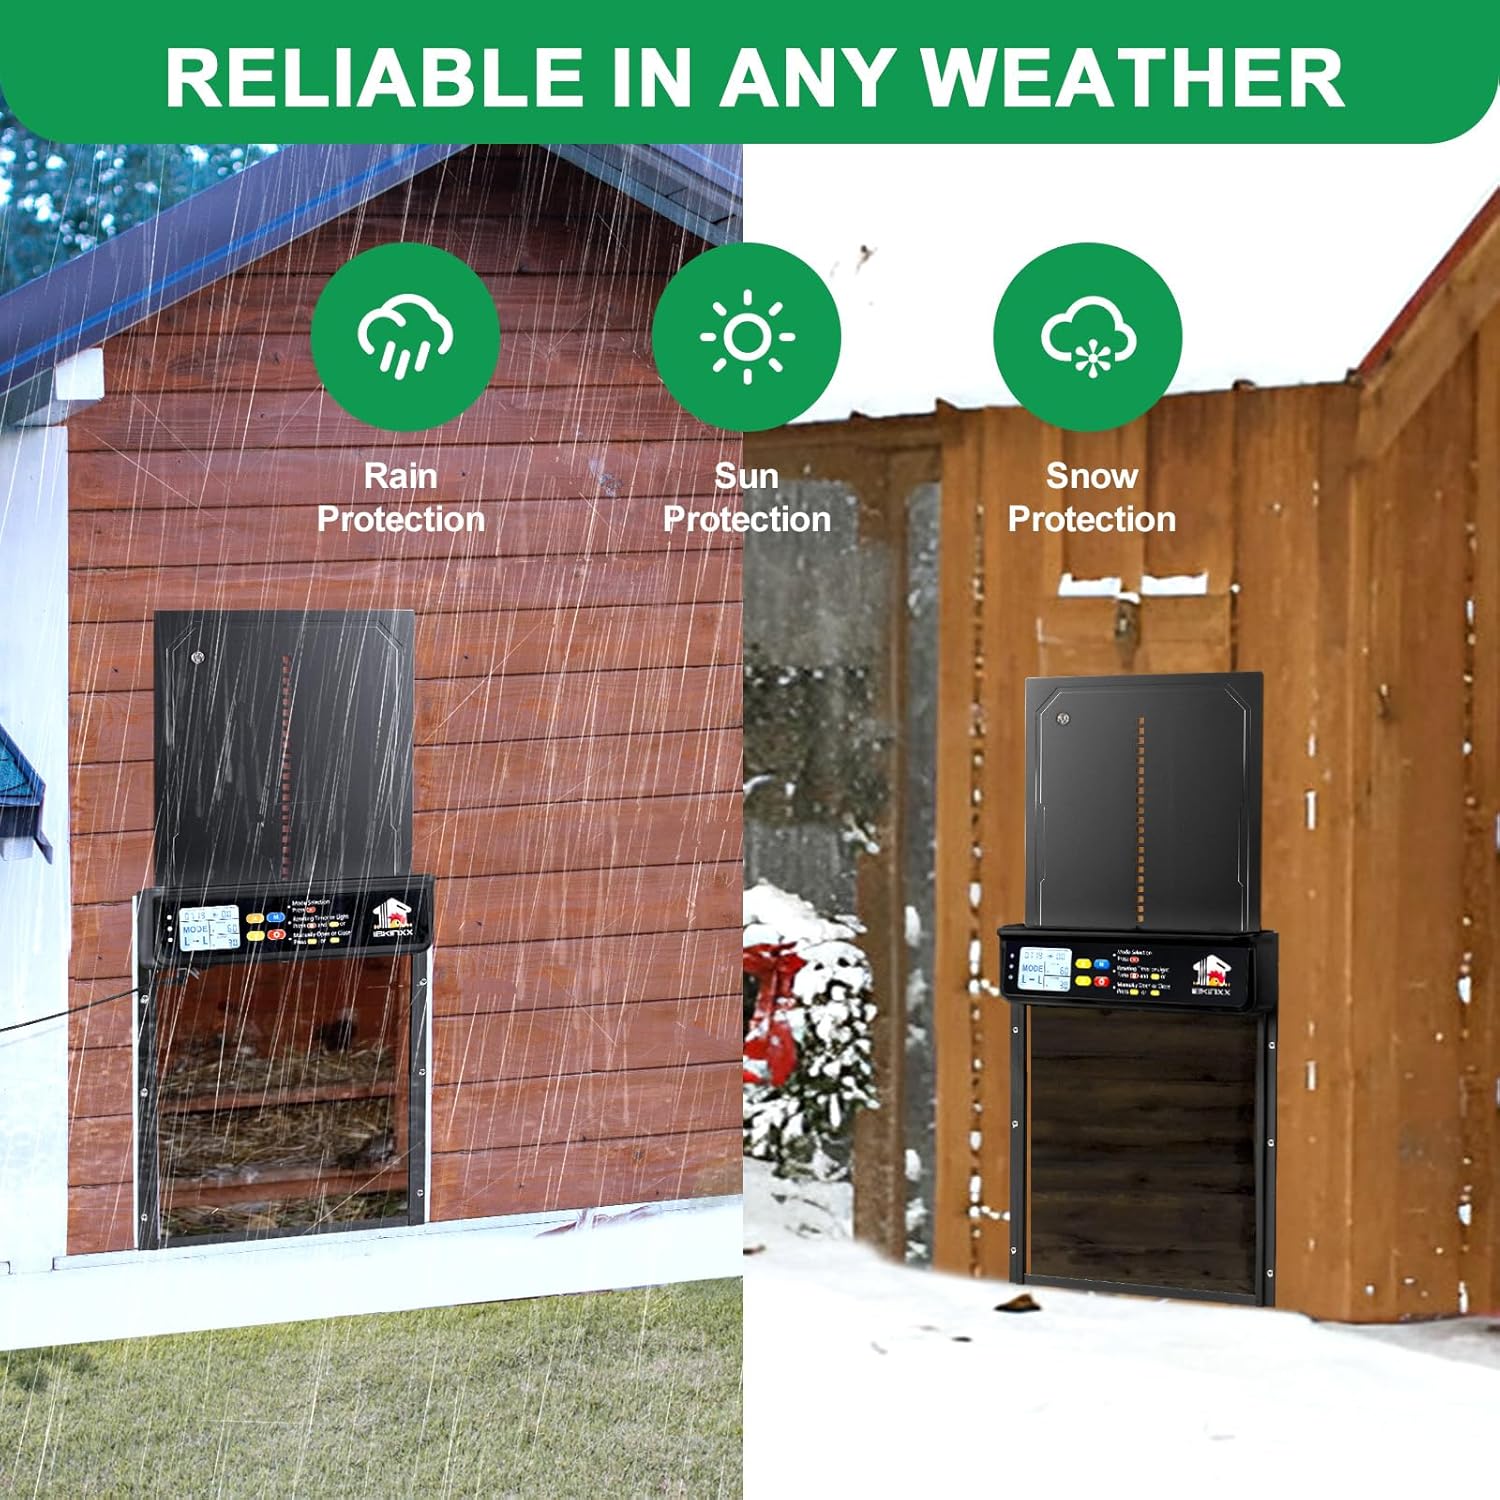
Image: A table illustrating the four operational modes: Timer-Timer (T-T), Light Sensor-Timer (L-T), Timer-Light Sensor (T-L), and Light Sensor-Light Sensor (L-L).
- T-T (Timer-Timer): The door opens and closes based on set times.
- L-T (Light Sensor-Timer): The door opens based on light sensor detection (sunrise) and closes based on a set time.
- T-L (Timer-Light Sensor): The door opens based on a set time and closes based on light sensor detection (sunset).
- L-L (Light Sensor-Light Sensor): The door opens and closes based on light sensor detection (sunrise and sunset).
Setting the Timer and Light Sensing Values
To configure the opening/closing times or light sensing values:
- Automatic Mode Selection: First, select your desired automatic mode (T-T, L-T, T-L, L-L) using the 'M' button.
- Set Opening/Closing Time/Light Sensing Value: Press the 'Set' key. Then, use the "Up" or "Down" buttons to increase or decrease the value for the opening/closing time or light sensitivity threshold.
- Set Local Current Time: Press the 'Set' key again. Use the "Up" or "Down" buttons to adjust the current local time on the display.

Image: A visual guide detailing the steps to set the timer and light sensor values on the control panel.
Manual Operation
The door can also be opened or closed manually using the control panel or the remote control.
- On the control panel, press the "Up" arrow button to manually open the door.
- Press the "Down" arrow button to manually close the door.
- The remote control provides the same manual open/close functionality.
Safety Features
The IBKINXX Automatic Chicken Coop Door is equipped with advanced safety features to protect your flock and provide peace of mind.
- Anti-Pinch Function: If the door encounters an obstruction, such as a chicken, during closing, it will automatically reverse its direction to prevent injury.
- Intrusion Alarm: A built-in alarm will sound if the door is forced open, alerting you to potential predators and scaring them away.

Image: Diagram illustrating the anti-pinch mechanism, showing the door reversing upon sensing an obstruction.
Maintenance
Regular maintenance ensures the longevity and optimal performance of your automatic chicken coop door.
- Cleaning: Periodically clean the door tracks and the main unit to prevent debris buildup that could hinder operation. Use a soft, damp cloth. Avoid abrasive cleaners.
- Solar Panel: Keep the solar panel clean and free of dust, dirt, or snow to ensure efficient charging.
- Battery Check: Monitor the battery indicator on the LCD display. Ensure the unit is adequately charged, especially during periods of low sunlight.
- Obstruction Check: Regularly check the path of the door for any potential obstructions that could trigger the anti-pinch mechanism or prevent full closure.
- Weather Protection: While the door is weatherproof, ensure proper installation to minimize exposure to extreme elements where possible.
Troubleshooting
If you encounter issues with your IBKINXX Automatic Chicken Coop Door, refer to the following common troubleshooting steps:
| Problem | Possible Cause | Solution |
|---|---|---|
| Door not opening/closing | Low battery; Obstruction in path; Incorrect mode/timer settings. | Check battery level and charge if necessary. Clear any obstructions. Verify mode and timer/light sensor settings. |
| Solar panel not charging | Solar panel is dirty or obstructed; Not enough direct sunlight; Loose connection. | Clean the solar panel surface. Relocate the panel to an area with more direct sunlight. Check the cable connection between the panel and the door unit. |
| Anti-pinch feature constantly activating | Debris in the door track; Sensitivity setting too high (if adjustable); Chickens lingering in the doorway. | Clean the door tracks thoroughly. Observe chicken behavior around the door. |
| Remote control not working | Remote battery dead; Out of range; Interference. | Replace remote control battery. Ensure you are within effective range. |
If the problem persists after attempting these solutions, please contact customer support.
Specifications
| Specification | Detail |
|---|---|
| Model Number | BSV-AD002 |
| Brand | IBKINXX |
| Material | Aluminum Alloy |
| Color | Black |
| Item Dimensions (LxWxH) | 9 x 1.5 x 13 inches |
| Item Weight | 2.99 pounds |
| Door Opening Size | 9.45" x 10" (approximate) |
| Power Source | Solar Powered with Type-C USB Backup |
| Special Features | Timer, Light Sensor, Remote Control, LCD Display, Anti-Pinch, Weatherproof |
| Breed Recommendation | Chicken, Duck, and Poultry Under 10 Pounds |
Warranty and Support
For warranty information or technical support, please refer to the contact details provided in the product packaging or visit the official IBKINXX website. Keep your purchase receipt for warranty claims.
The manufacturer, IBKINXX, is committed to providing reliable products and customer satisfaction.
Related Documents - BSV-AD002
 |
Automatic Chicken Coop Door AD002 Installation and User Guide Detailed guide for installing and operating the AD002 Automatic Chicken Coop Door, including setup, working modes, and reset functions. |
 |
Solar Automatic Watering System BSV-IC007 User Manual User manual for the BSV-IC007 Solar Automatic Watering System, detailing features, installation, operation, troubleshooting, and specifications for efficient solar-powered garden watering. |
 |
Solar Automatic Drip Irrigation Kits BSV-IC005 User Manual Comprehensive guide for the Solar Automatic Drip Irrigation Kit BSV-IC005, covering assembly, usage, watering programs, and troubleshooting. Learn how to set up and operate your solar-powered garden watering system. |
 |
Brennenstuhl Stromverteiler BSV 3, BSV 4, BKV 2/4, BSV P Bedienungsanleitung & Sicherheitshinweise Umfassende Bedienungsanleitung für Brennenstuhl Stromverteiler Modelle BSV 3, BSV 4, BKV 2/4 und BSV P. Erfahren Sie mehr über Installation, sicheren Betrieb, Wartung und Fehlerbehebung dieser robusten Energieverteilungslösungen. |
 |
Brennenstuhl BSV 3, BSV 4, BKV 2/4 Stromverteiler Bedienungsanleitung Offizielle Bedienungsanleitung für die Brennenstuhl Stromverteiler Modelle BSV 3, BSV 4 und BKV 2/4. Enthält wichtige Informationen zur Installation, zum Betrieb und zur sicheren Handhabung dieser professionellen Stromverteilungseinheiten. |
 |
Sainlogic Automatic Drip Irrigation System User Manual BSV-IC205S User manual for the Sainlogic Automatic Drip Irrigation System, model BSV-IC205S. Includes installation diagram, operation instructions, button functions, watering modes, specifications, and troubleshooting. |