
1. Introduction
This manual provides detailed instructions for the CRUA 49-inch DQHD 165Hz Ultrawide Curved Gaming Monitor, Model CR490QB. Designed for immersive gaming, multitasking, and content creation, this monitor features a 32:9 aspect ratio, 1500R curvature, and a 5120x1440 DQHD resolution. It supports up to a 165Hz refresh rate and AMD FreeSync technology for smooth visuals. With 120% sRGB color coverage, it offers accurate color reproduction. The ergonomic design includes height adjustment, and multiple connectivity options ensure broad compatibility.

Figure 1.1: Front view of the CRUA 49-inch Ultrawide Curved Gaming Monitor.
2. Key Features
-
Immersive 49-inch Ultra-Wide Curved Display: Experience an expansive field of view with the 1500R curvature and 32:9 aspect ratio. The DQHD 5120x1440 resolution delivers crystal-clear detail, ideal for gaming, multitasking, and cinematic experiences.

Figure 2.1: The 1500R curvature provides an immersive visual experience.

Figure 2.2: Ultra-wide 32:9 aspect ratio with DQHD 5120x1440 resolution for seamless multitasking.
-
High Refresh Rate and Adaptive Sync: Enjoy ultra-smooth gameplay with a fast 165Hz refresh rate. AMD FreeSync technology eliminates screen tearing and stutter, ensuring responsive performance for various applications.
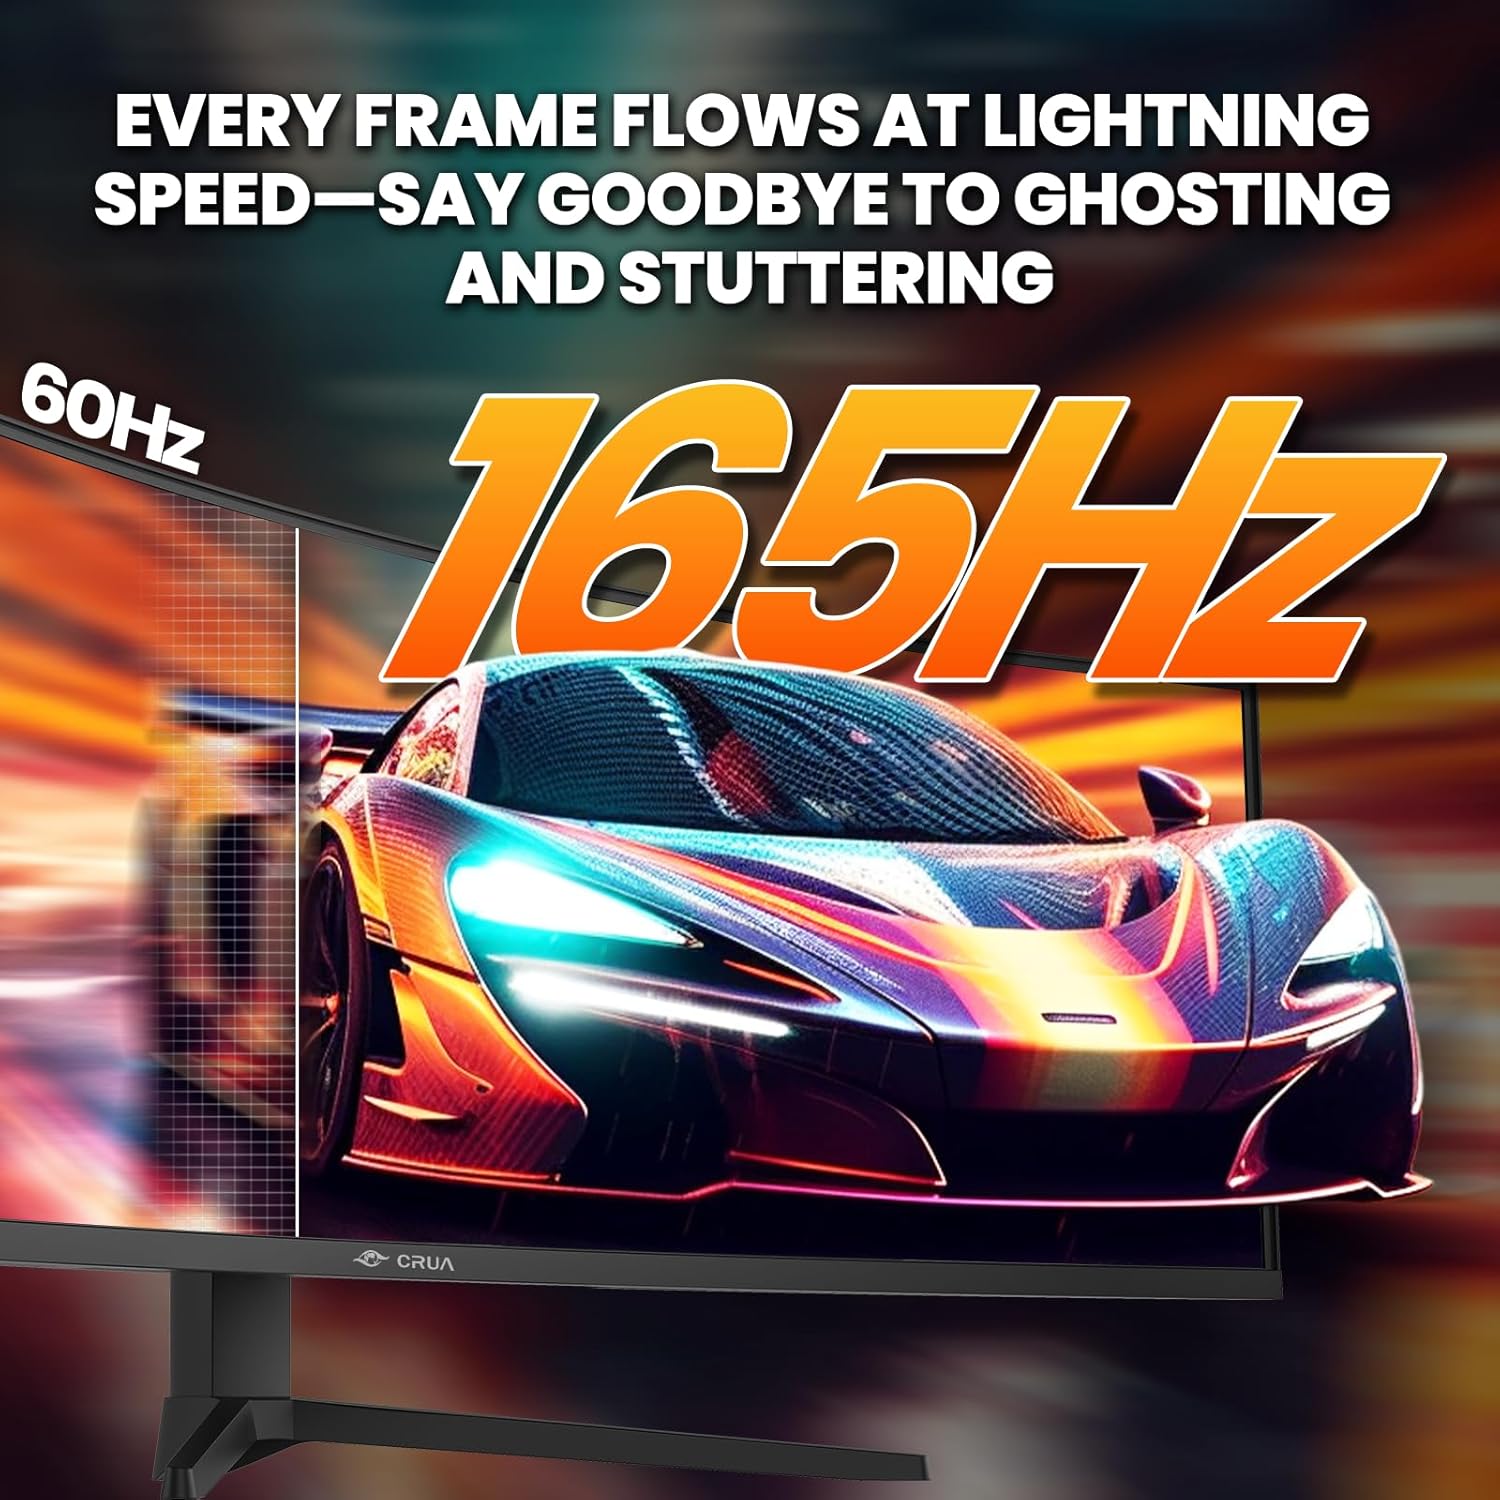
Figure 2.3: Visual representation of the 165Hz refresh rate for fluid motion.
-
Vibrant Color Reproduction: With 120% sRGB color coverage, 330cd/m² brightness, and a 3000:1 contrast ratio, this monitor delivers accurate and vibrant colors suitable for graphic design, video editing, and content creation.

Figure 2.4: Display features including 120% sRGB, 16.7M colors, 3000:1 contrast, and 330cd/m² brightness.
- Ergonomic Design and Connectivity: The height-adjustable stand allows tilt and lift adjustments for optimal viewing comfort. Equipped with HDMI 2.1 & DP 1.4, and a 3.5mm Audio Jack, this monitor supports various devices. Wall mount compatibility (75x75mm VESA) offers flexible installation.
- Eye-Care Features: Includes low blue light and flicker-free technology to reduce eye strain during extended viewing sessions.
3. Setup Instructions
3.1. Unpacking
Carefully remove the monitor and all components from the packaging. Ensure all items listed in the packing list are present and undamaged.
3.2. Stand Assembly
- Attach the stand base to the stand neck using the provided screws.
- Align the assembled stand with the mounting points on the back of the monitor.
- Secure the stand to the monitor using the designated screws.
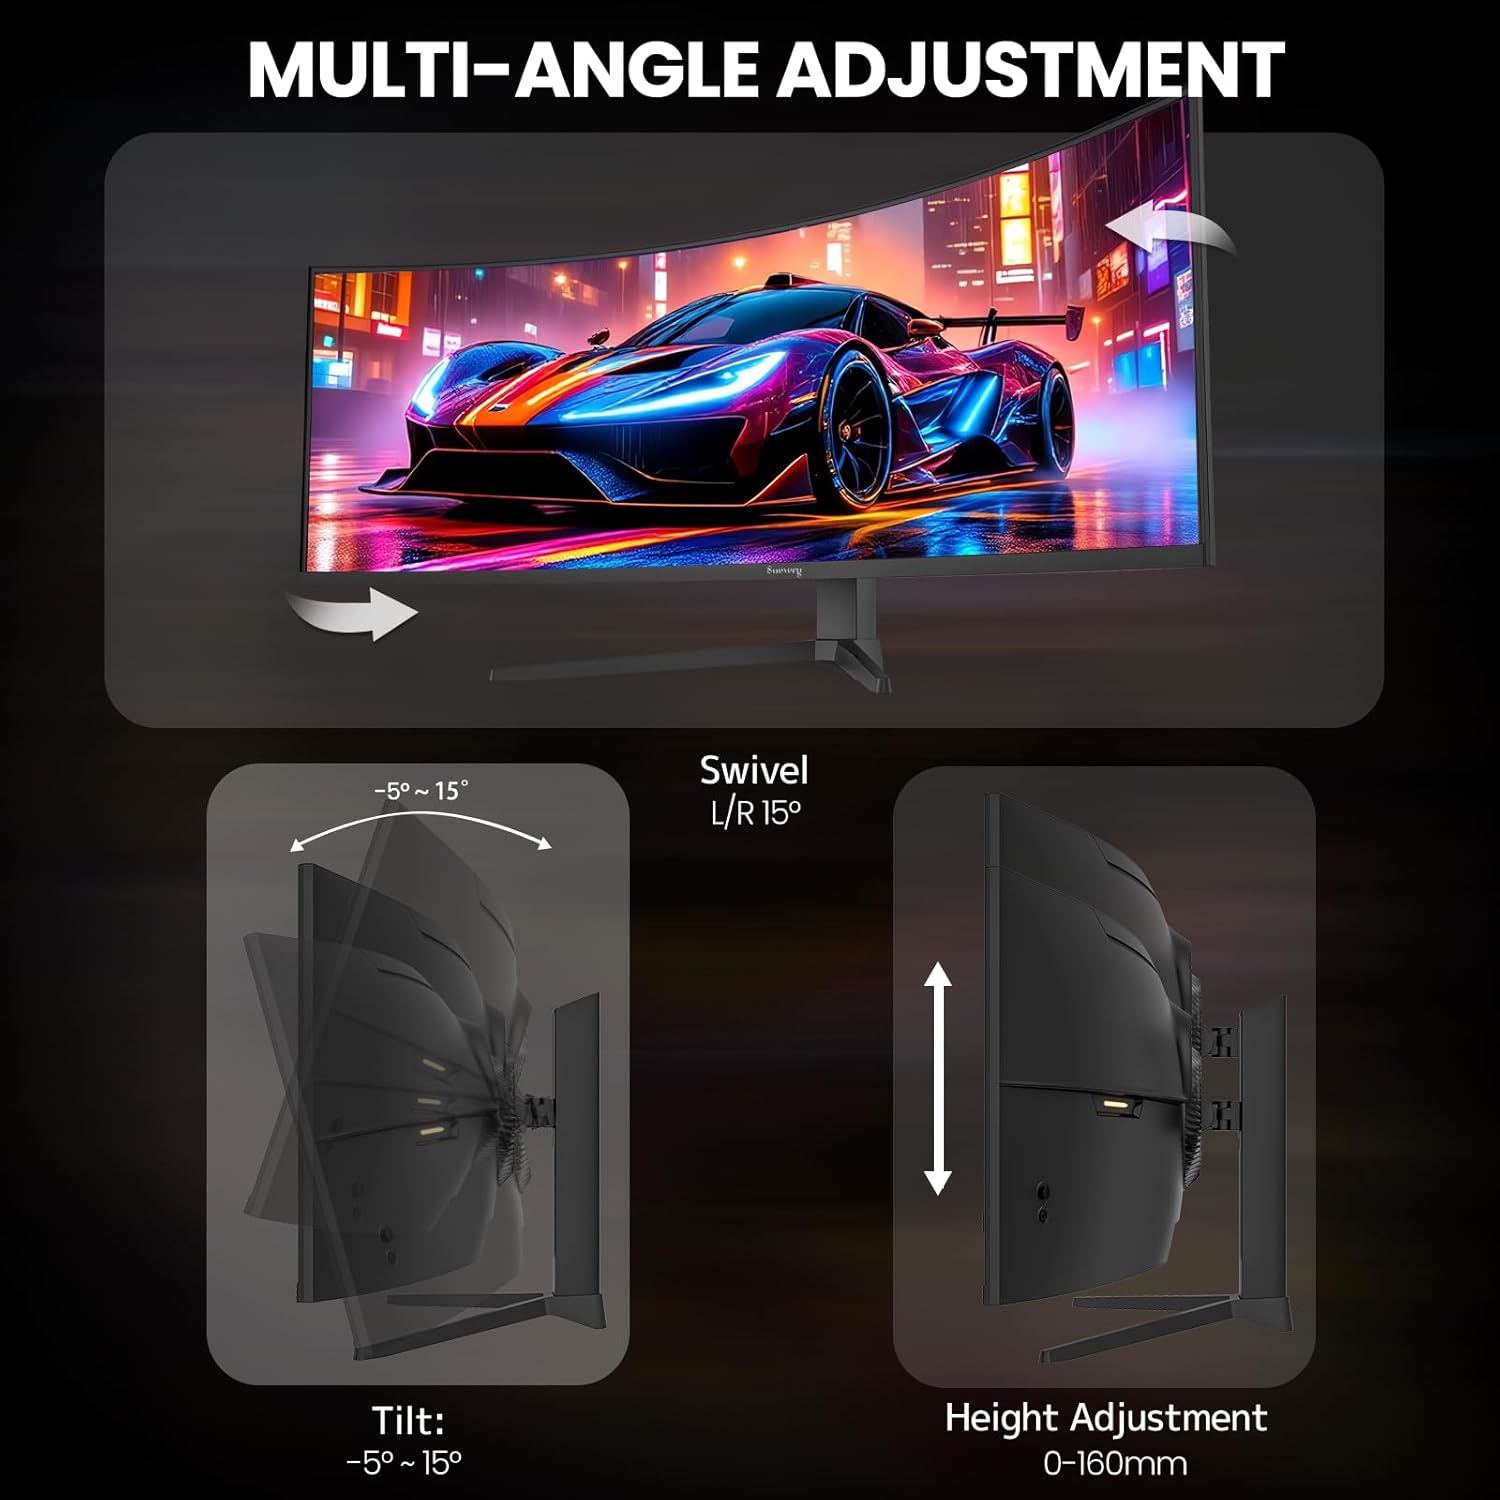
Figure 3.1: The monitor stand offers tilt, swivel, and height adjustment for ergonomic positioning.
3.3. Wall Mounting (Optional)
The monitor supports VESA 75x75mm wall mounts. To wall mount the monitor:
- Remove the stand from the monitor.
- Attach a compatible VESA 75x75mm wall mount bracket (not included) to the monitor's rear panel. Note: Depending on the mount and the monitor's rear design, 6mm standoffs with M4x20 screws and washers may be required to clear the circular RGB LED fixture.
- Follow the instructions provided with your wall mount for secure installation.
3.4. Connecting Cables
Connect the necessary cables to the corresponding ports on the monitor and your computer or other devices.

Figure 3.2: Rear view of the monitor showing DC power input, DisplayPort 1.4, HDMI 2.1, and 3.5mm audio jack.
- Power Cable: Connect the power adapter to the DC input port on the monitor and then to a power outlet.
- DisplayPort (DP) Cable: For optimal performance, connect a DisplayPort 1.4 cable from your computer's graphics card to the DP 1.4 port on the monitor.
- HDMI Cable: Alternatively, connect an HDMI 2.1 cable from your computer or gaming console to one of the HDMI 2.1 ports on the monitor.
- Audio Cable: Connect external speakers or headphones to the 3.5mm audio jack if desired. (Note: This monitor does not have built-in speakers).

Figure 3.3: The monitor's rear panel with RGB lighting and port locations.
4. Operating Instructions
4.1. Power On/Off
Press the power button, usually located on the bottom or back of the monitor, to turn the monitor on or off. The power indicator light will illuminate when the monitor is on.
4.2. On-Screen Display (OSD) Menu
The OSD menu allows you to adjust various monitor settings. Use the control buttons (joystick or individual buttons) on the monitor to navigate the menu. Common menu options include:
- Picture Settings: Adjust brightness, contrast, sharpness, color temperature, and gamma.
- Color Settings: Select sRGB mode or customize color channels.
- Input Select: Manually switch between DisplayPort and HDMI inputs.
- Gaming Settings: Enable/disable FreeSync, adjust response time, and activate crosshair overlays.
- Display Settings: Adjust aspect ratio, enable Picture-in-Picture (PIP) or Picture-by-Picture (PBP) modes.
- OSD Settings: Adjust OSD language, transparency, and timeout.
Note: Some users have reported that OSD navigation controls may feel reversed (e.g., left to enter a submenu instead of right). Familiarize yourself with the specific button functions.
4.3. Adaptive Sync (FreeSync)
To utilize AMD FreeSync, ensure it is enabled in the monitor's OSD menu and that your graphics card drivers are up to date. FreeSync synchronizes the monitor's refresh rate with your GPU's frame rate to eliminate screen tearing and stuttering.
4.4. Low Blue Light Mode
Activate the Low Blue Light mode via the OSD menu to reduce blue light emissions, which can help minimize eye strain during prolonged use.
5. Maintenance
5.1. Cleaning the Screen
- Turn off the monitor and unplug the power cord.
- Gently wipe the screen with a soft, lint-free cloth. For stubborn marks, lightly dampen the cloth with water or a specialized screen cleaner (do not spray directly onto the screen).
- Avoid using alcohol, ammonia, or abrasive cleaners, as these can damage the screen surface.
5.2. Cleaning the Monitor Body
Use a soft, dry cloth to wipe the monitor's casing. For deeper cleaning, a slightly damp cloth can be used, followed by a dry cloth.
5.3. Storage
If storing the monitor for an extended period, ensure it is clean, dry, and stored in a cool, well-ventilated area, preferably in its original packaging to protect it from dust and physical damage.
6. Troubleshooting
-
No Power / No Signal:
- Ensure the power cable is securely connected to both the monitor and the power outlet.
- Verify that the power adapter is functioning correctly.
- Check that the video cable (DP or HDMI) is firmly connected to both the monitor and your computer's graphics card.
- Select the correct input source in the monitor's OSD menu.
-
Display Issues (Flickering, Dead Pixels, Burn-in):
- If flickering occurs, ensure your graphics drivers are updated and FreeSync is correctly configured.
- Dead pixels are rare but can occur. If you notice any, contact customer support.
- To mitigate potential image retention or "burn-in" (especially with static images over long periods), use screen savers, vary displayed content, and power off the monitor when not in use.
-
Sound Issues:
- Ensure external speakers or headphones are properly connected to the 3.5mm audio jack.
- Check audio settings on your computer and the monitor's OSD menu.
-
Mounting Issues:
- If using a VESA mount, ensure it is rated for the monitor's weight and dimensions.
- Verify that appropriate standoffs and screws (e.g., M4x20 with 6mm standoffs) are used to ensure proper clearance and secure attachment, especially around the RGB lighting area.
7. Specifications
| Feature | Detail |
|---|---|
| Brand | CRUA |
| Model Number | CR490QB |
| Screen Size | 49 inches |
| Resolution | 5120x1440 (DQHD) |
| Aspect Ratio | 32:9 |
| Curvature | 1500R |
| Refresh Rate | 165 Hz |
| Response Time | 1 ms |
| Display Type | LCD, VA |
| Brightness | 330 cd/m² |
| Contrast Ratio | 3000:1 |
| Color Gamut | 120% sRGB |
| Viewing Angle | 178 degrees |
| Adaptive Sync | AMD FreeSync |
| Connectivity | 2x HDMI 2.1, 2x DisplayPort 1.4, 1x 3.5mm Audio Jack |
| Mounting Type | Desk Mount / Wall Mount (VESA 75x75mm) |
| Adjustments | Height, Tilt, Swivel |
| Product Dimensions (D x W x H) | 4.8D x 116.8W x 40.6H cm |
| Weight | 10.98 kg |
8. Warranty and Support
CRUA is committed to providing high-quality computer monitors and premium customer service. If you encounter any issues or have questions regarding your CRUA 49" DQHD 165Hz Ultrawide Curved Gaming Monitor, please contact CRUA customer support for assistance. Refer to your purchase documentation for specific warranty terms and contact information.