1. Introduction
Thank you for choosing the Furvveerr 1000N Garage Door Opener. This automatic chain drive system is designed for reliable and convenient operation of garage doors up to 15 m². This manual provides essential information for safe installation, operation, and maintenance of your new garage door opener. Please read it thoroughly before installation and use.
2. Safety Information
- Always disconnect power to the garage door opener before performing any maintenance or adjustments.
- Keep children and pets away from the garage door area, especially during operation.
- Do not allow children to operate the garage door opener or play with the remote controls.
- Ensure the garage door is properly balanced before installing the opener. An unbalanced door can cause serious injury.
- Regularly inspect the garage door system, including springs, cables, rollers, and other hardware, for signs of wear or damage.
- In case of power failure, the self-locking mechanism will engage to secure the door. Refer to the manual for manual release procedures if needed.
3. Package Contents
Verify that all components are present in the package:
- 1 x Garage Gate Opener Unit
- 2 x Remote Controls
- 1 x Guide Set (3 m)
- 1 x Set of installation accessories (screws, brackets, etc.)
- 1 x User Manual

Image: Overview of the Furvveerr 1000N Garage Door Opener kit, including the main unit, guide rails, chain, remote controls, and installation hardware.
4. Specifications
| Feature | Specification |
|---|---|
| Model | ZTGD1000 |
| Manufacturer | Furvveerr |
| Product Dimensions | 12.6 x 6.18 x 22.5 inches |
| Suitable Door Area | Up to 15 m² |
| Remote Control Range | 25-35 meters (up to 50 m in open areas) |
| Noise Level | Less than 60 dB |
| Power | 200W |
| Opening Speed | 120mm/s |
| Color | Gray |

Image: Detailed dimensions of the garage door opener unit and rail system.
5. Setup and Installation
The Furvveerr 1000N Garage Door Opener is designed for straightforward installation. No specialized electricians or welders are typically required. Ensure you have all components listed in Section 3 before beginning.
5.1 Pre-Installation Checks
- Ensure your garage door is in good working condition and properly balanced.
- Verify that the mounting area above the garage door is clear and structurally sound.
- Confirm power access near the installation point.
5.2 Installation Steps
- Assemble the Guide Rail: Connect the sections of the 3-meter guide rail according to the included diagrams.
- Mount the Opener Unit: Securely attach the main garage door opener unit (A) to the ceiling or appropriate support structure at the front of the garage, above the door.
- Install the Door Bracket: Attach the door bracket (B) to the top center of your garage door.
- Connect the Arm: Connect the curved door arm (C) from the opener's trolley to the door bracket.
- Attach the Emergency Release: Install the emergency release cord (D) for manual operation during power outages.
- Connect Power: Plug the opener into a grounded electrical outlet.

Image: Visual guide for the installation process, detailing the main unit (A), door bracket (B), curved arm (C), and emergency release (D).
5.3 Initial Configuration
After physical installation, follow the instructions in the included user manual to program the opening and closing limits and pair the remote controls. The control panel on the unit allows for easy adjustment.
6. Operating Instructions
6.1 Remote Control Operation
Your garage door opener comes with two wireless, dual-channel remote controls. These remotes allow you to operate the door from a distance of 25-35 meters, extending up to 50 meters in open areas.
- Press the designated button on the remote to open or close the garage door.
- Pressing the button again during operation will pause the door's movement.
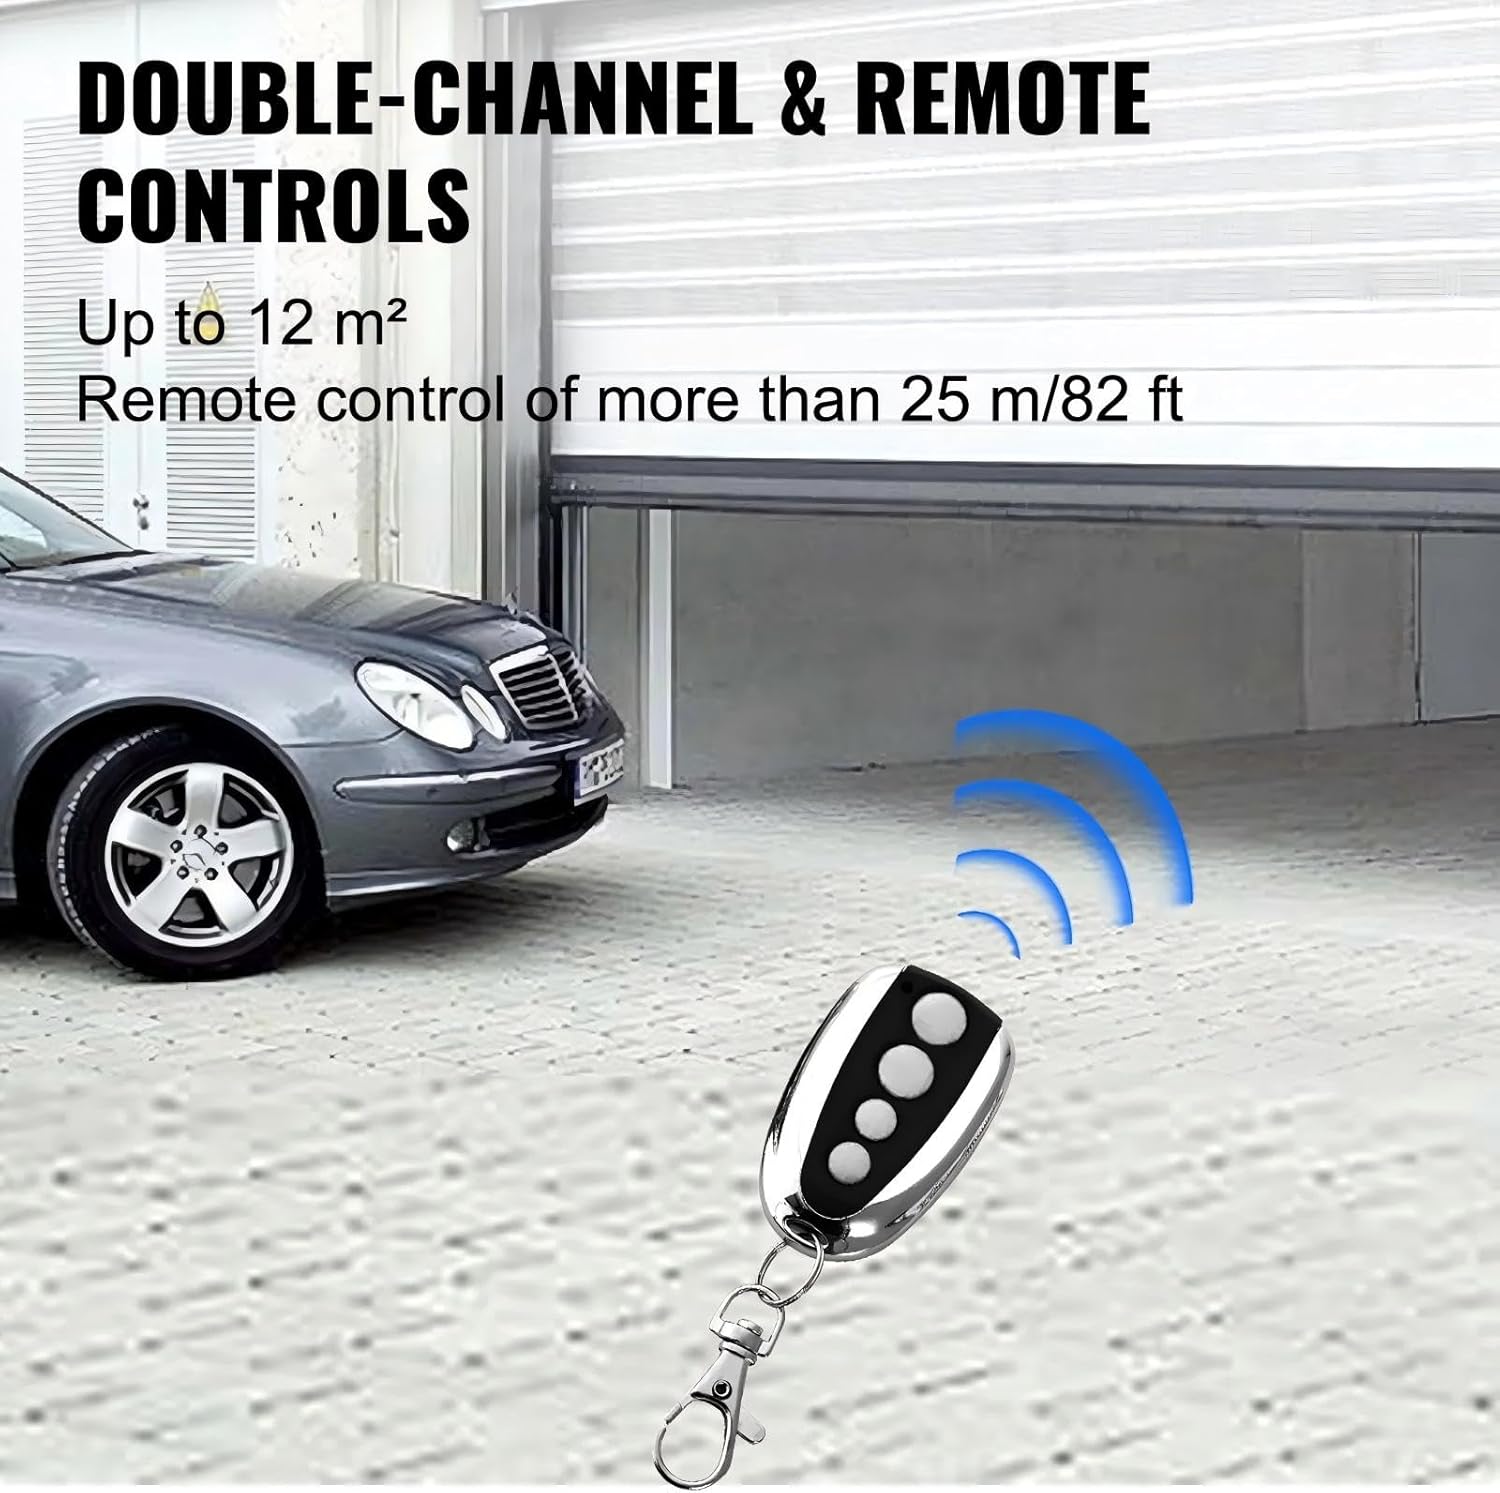
Image: A remote control being used to open a garage door, with a car parked nearby, illustrating the wireless operation.
6.2 Control Panel Operation
The main unit features a control panel for direct operation and setting adjustments.
- Use the 'Set' button to enter programming mode for limits and other settings.
- The 'Adjusting' buttons (+/-) are used to fine-tune settings.
- The 'Pause' button can stop the door's movement at any point.
- The display screen shows current settings or status.

Image: A detailed view of the control panel on the garage door opener, highlighting the 'Set', 'Adjusting', and 'Pause' buttons, along with the display screen.
6.3 Safety Features
- Flexible Start and Stop: The opener is designed for smooth acceleration and deceleration, reducing wear and tear.
- Obstacle Detection: The door will automatically stop or reverse if it encounters an obstacle during closing, enhancing safety.
- Self-Locking Mechanism: In the event of a power outage, the door will automatically self-lock to prevent unauthorized entry.

Image: A close-up view of the self-locking design integrated into the opener's rail system, indicating its function during power failure.
6.4 Low Noise Operation
The opener operates at a noise level of less than 60 dB, ensuring minimal disturbance in residential or commercial environments.

Image: An illustration comparing the low noise output of the garage door opener (less than 60dB) to other common sound environments, emphasizing quiet operation.
7. Maintenance
Regular maintenance ensures the longevity and safe operation of your garage door opener.
- Monthly: Check the safety reversal system by placing an object (e.g., a 2x4 piece of wood) in the door's path. The door should reverse upon contact.
- Quarterly: Lubricate moving parts of the garage door (rollers, hinges, bearings) with a garage door lubricant. Do not lubricate the opener's chain unless specified by the manufacturer.
- Annually: Inspect all hardware for wear and tear. Tighten any loose bolts or screws. Check the chain tension and adjust if necessary according to the main user manual.
- Keep the area around the opener clean and free from debris.
8. Troubleshooting
If you encounter issues with your garage door opener, refer to the following common problems and solutions:
| Problem | Possible Cause | Solution |
|---|---|---|
| Opener does not respond to remote. | Dead remote battery, remote out of range, opener unplugged, remote not programmed. | Replace remote battery, move closer to opener, check power connection, reprogram remote. |
| Door reverses unexpectedly. | Obstacle in door path, safety sensors misaligned or blocked, door unbalanced. | Remove obstacle, check and align safety sensors, have door balanced by a professional. |
| Door opens but does not close. | Safety sensors blocked or misaligned. | Check and align safety sensors. Ensure nothing is blocking the sensor beam. |
| Opener makes noise but door doesn't move. | Trolley disengaged from door, broken spring, motor issue. | Check if the emergency release cord is pulled. If springs are broken, contact a professional. |
For issues not covered here, please consult the detailed troubleshooting section in the full user manual or contact customer support.
9. Application Scenarios
The Furvveerr 1000N Garage Door Opener is suitable for a variety of applications, including sectional and tilting doors, up to 15 m².
- Hotels
- Factories
- Schools
- Private Homes
- Ranches

Image: A collage demonstrating the versatility of the garage door opener across different environments, including residential and commercial settings.
10. Warranty and Support
For warranty information and customer support, please refer to the warranty card included with your product or visit the official Furvveerr website. Keep your purchase receipt as proof of purchase.


