1. Introduction
This manual provides detailed instructions for the installation, operation, and maintenance of your SakerPlus Full View Car Dashcam System. Please read this manual thoroughly before using the device to ensure proper functionality and to maximize its benefits. This system is designed to provide comprehensive video surveillance for your vehicle, enhancing safety and providing evidence in case of incidents.
2. Package Contents
Please verify that all items listed below are included in your package:
- SakerPlus Full View Car Dashcam System (Main Unit)
- Rear Camera
- 64GB SD Card
- Car Power Adapter (Cigarette Lighter)
- Mounting Bracket (Adhesive or Suction Cup, depending on package)

Image: Included components of the SakerPlus Full View Car Dashcam System, featuring the main dashcam unit, a 64GB SD card, a car power adapter, and the rear camera.
3. Product Overview
The SakerPlus Full View Car Dashcam System is a comprehensive surveillance solution for your vehicle, offering multi-channel recording and advanced features.
Key Features:
- 4-Channel 1080P Full Coverage: Simultaneously records video from front, rear, left, and right cameras, providing a 360-degree view around and within the vehicle.
- Adjustable Lenses: Side lenses can be adjusted to eliminate blind spots and optimize coverage.
- Reliable Plug-in Power: Designed for continuous operation via your vehicle's electrical system.
- Included 64GB SD Card: Provides ample storage for recorded footage.
- Loop Recording: Automatically overwrites the oldest unprotected files to ensure continuous recording.
- Superior Night Vision: Captures clear details in low-light conditions. Interior cameras feature infrared night vision for sharp cabin footage in darkness.
- Automatic Incident Lock (G-Sensor): Detects sudden impacts or collisions and automatically locks the relevant video file to prevent overwriting.
- 24-Hour Parking Surveillance: Activates motion detection and emergency lock when the vehicle is parked, providing security monitoring.
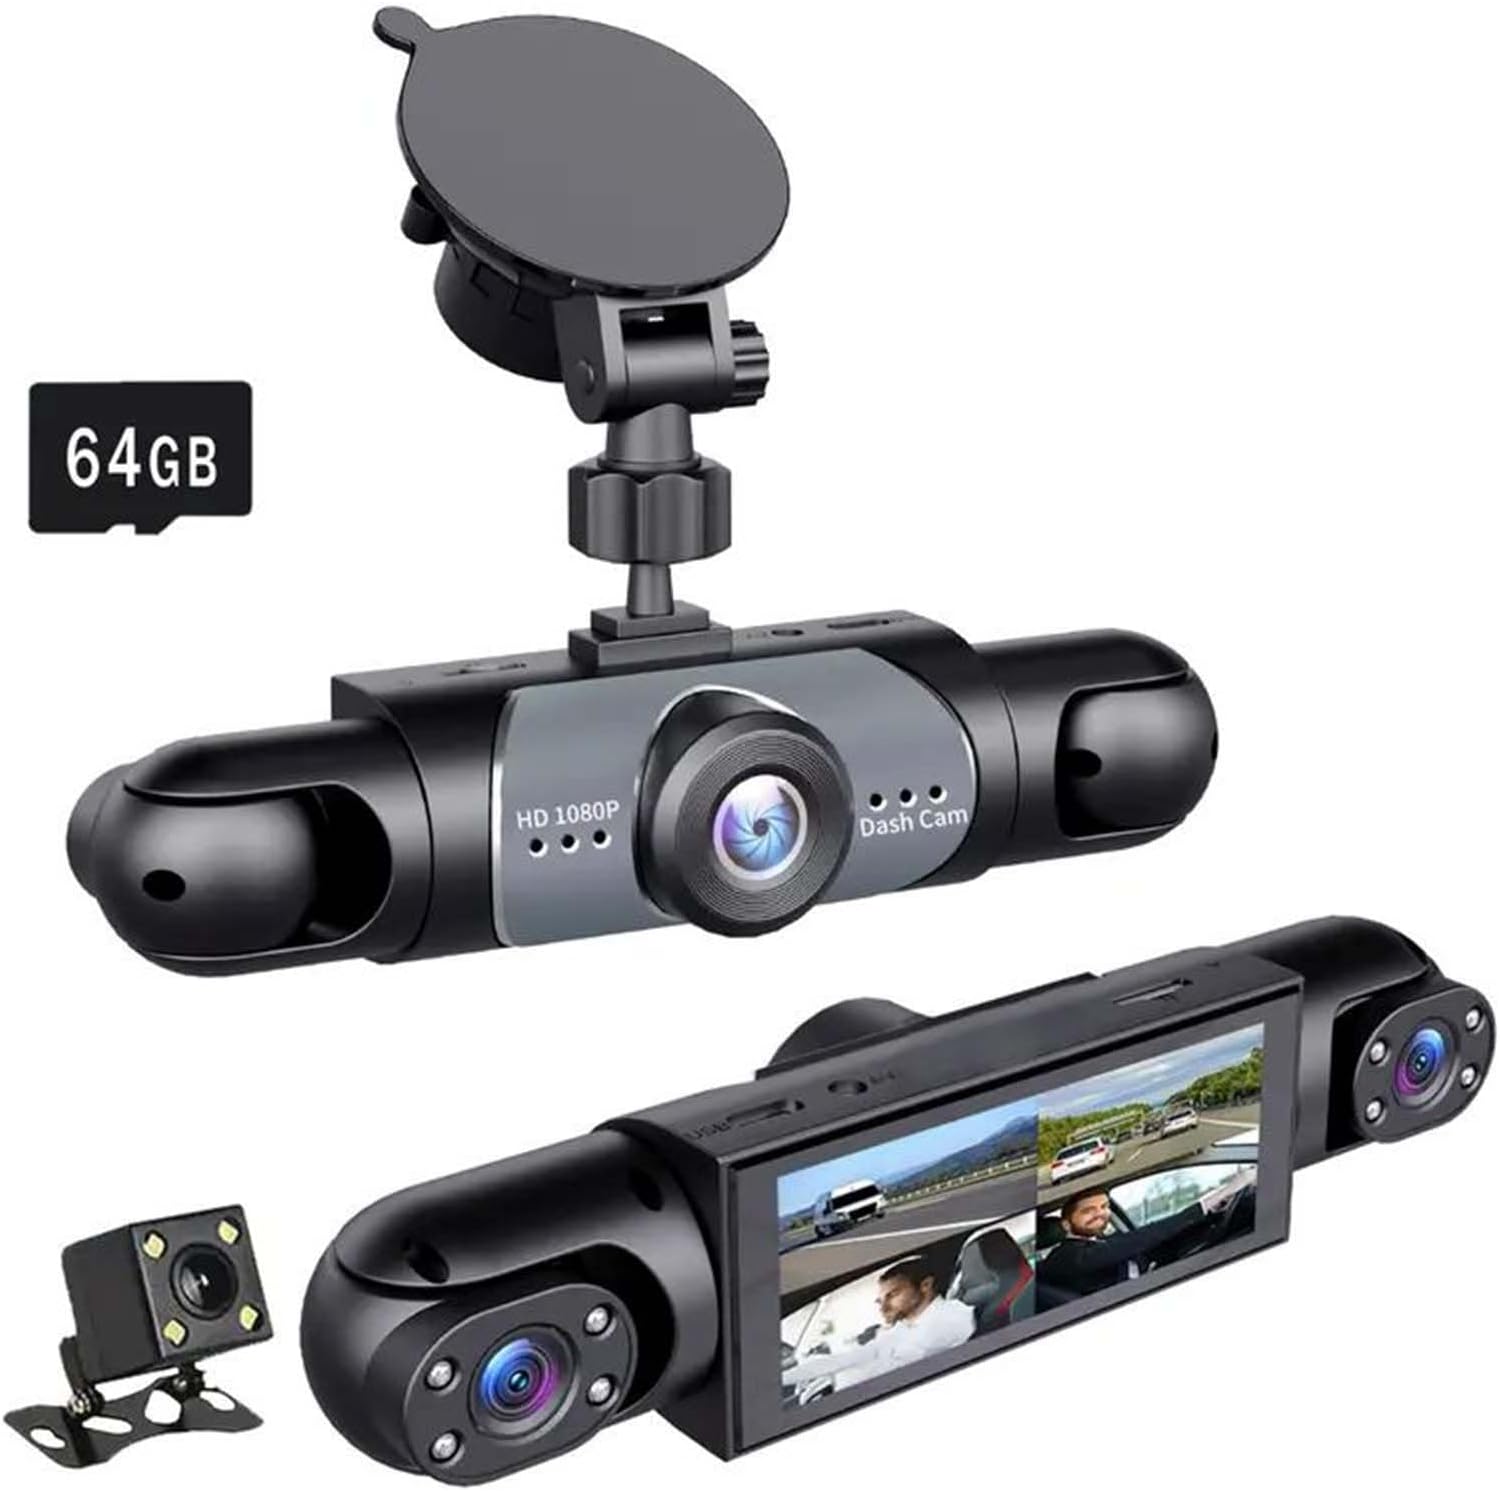
Image: The SakerPlus Full View Car Dashcam System, showing the main unit with its integrated front and side cameras, a suction cup mount, a 64GB SD card, and the separate rear camera.

Image: A diagram illustrating the 360-degree coverage provided by the four cameras (front, left, right, rear) of the dashcam system, highlighting the wide viewing angles.
4. Setup
4.1. Installing the SD Card
- Locate the SD card slot on the main dashcam unit.
- Insert the provided 64GB SD card into the slot until it clicks into place. Ensure the card is inserted correctly to avoid damage.
- It is recommended to format the SD card within the dashcam's settings menu upon first use and periodically thereafter.
4.2. Mounting the Dashcam
The dashcam can be mounted on your vehicle's dashboard or windshield. Ensure the mounting location does not obstruct the driver's view or interfere with airbags.
- Clean the chosen mounting surface thoroughly to ensure a strong adhesion.
- Attach the mounting bracket to the main dashcam unit.
- Secure the dashcam to the cleaned surface using the provided adhesive pad or suction cup mount. Press firmly for several seconds.
- Adjust the angle of the main unit to ensure the front camera has a clear view of the road ahead.
4.3. Installing the Rear Camera
- Determine the optimal location for the rear camera, typically on the rear windshield or near the license plate.
- Route the rear camera cable to the main dashcam unit, ensuring it does not interfere with vehicle operations.
- Connect the rear camera cable to the designated port on the main unit.
- Secure the rear camera in place and adjust its angle for optimal rear view coverage.
4.4. Power Connection
- Connect the car power adapter to the main dashcam unit.
- Plug the car power adapter into your vehicle's cigarette lighter socket.
- The dashcam will typically power on automatically when the vehicle's ignition is turned on.
5. Operating Instructions
5.1. Basic Recording
Once powered on, the dashcam will automatically begin recording. The display will show live feeds from the cameras.

Image: The dashcam display showing simultaneous live feeds from the front, rear, left, and right cameras, providing a comprehensive view.
5.2. Loop Recording
The dashcam continuously records video in short segments. When the SD card is full, the oldest unprotected files are automatically overwritten by new recordings. This ensures that recording never stops.

Image: A visual representation of loop recording, showing how the dashcam continuously records and overwrites the oldest files on the 64GB memory card when storage is full.
5.3. G-Sensor (Automatic Incident Lock)
The built-in G-sensor detects sudden impacts or rapid deceleration/acceleration. When triggered, the current video segment is automatically locked and saved to a separate folder, preventing it from being overwritten by loop recording. This ensures critical incident footage is preserved.
5.4. Parking Surveillance
When the vehicle is parked and the dashcam detects motion or an impact (via the G-sensor), it will automatically activate and record. This feature provides 24-hour monitoring for your vehicle.

Image: An illustration demonstrating the 24-hour parking surveillance feature, highlighting motion detection and emergency lock capabilities when the vehicle is parked.
5.5. Night Vision and HDR Function
The dashcam is equipped with advanced night vision technology, including infrared lights for interior cameras, to capture clear video in low-light or dark conditions. The HDR (High Dynamic Range) function helps balance exposure for clearer images in varying light environments.

Image: An illustration of the Super Night Vision feature, demonstrating how high-resolution image quality, infrared light, and HDR make recordings brighter and clearer in low-light or night conditions.

Image: A comparison demonstrating the HDR (High Dynamic Range) function, showing how it improves video clarity in both dark and bright lighting conditions compared to standard recording.
5.6. Reversing Assistance
When the vehicle is shifted into reverse gear, the dashcam automatically switches to a full-screen display of the rear camera view, often with guidelines, to assist with parking and reversing maneuvers.

Image: The dashcam display showing a full-screen reflection of the rear camera view with parking guidelines, indicating enhanced safety and ease during reversing maneuvers.
5.7. Playback
Recorded videos can be reviewed directly on the dashcam's display. Navigate through the menu to access the video playback section. Files are typically organized by date and time, with separate folders for normal recordings and G-sensor locked events.
6. Maintenance
6.1. SD Card Management
- Formatting: It is recommended to format the SD card every 2-4 weeks to maintain optimal performance and prevent data corruption. This can be done through the dashcam's settings menu. Formatting will erase all data on the card, so back up any important files first.
- Replacement: If the SD card shows signs of degradation (e.g., recording errors, frequent freezing), replace it with a high-quality Class 10 or U3 microSD card.
6.2. Cleaning
- Regularly clean the camera lenses with a soft, lint-free cloth to ensure clear video quality.
- Wipe the dashcam's screen and body with a dry or slightly damp cloth. Avoid using harsh chemicals.
7. Troubleshooting
If you encounter issues with your SakerPlus Dashcam System, please refer to the following common problems and solutions:
| Problem | Possible Cause / Solution |
|---|---|
| Dashcam does not power on. | Ensure the car power adapter is securely plugged into both the dashcam and the vehicle's cigarette lighter socket. Check if the vehicle's cigarette lighter socket is receiving power. |
| Recording stops or freezes. | The SD card may be full or corrupted. Format the SD card via the dashcam settings. If the issue persists, replace the SD card. Ensure the SD card is Class 10 or U3. |
| Poor video quality (blurry, dark). | Clean the camera lenses. Ensure the protective film has been removed from the lenses. Check dashcam settings for resolution and exposure. |
| Night vision is not clear. | Ensure interior infrared lights are not obstructed. Clean interior camera lenses. Verify night vision settings are enabled. |
| Dashcam falls off the mount. | Ensure the mounting surface is clean and dry before attachment. For adhesive mounts, high temperatures can affect adhesion; consider a more robust mounting solution if this is a recurring issue. |
| Cannot connect to a phone app. | This model does not support wireless connectivity to a phone app for playback or control. Video playback is performed directly on the device. |
| Time and date are incorrect. | Adjust the time and date settings in the dashcam's menu. |
8. Specifications
| Feature | Detail |
|---|---|
| Model Name | EC99171 |
| Brand | SakerPlus |
| Product Dimensions | 7.87"D x 2.83"W x 4.33"H |
| Video Capture Resolution | 1080p (Full HD) |
| Number of Channels | 4 (Front, Rear, Left, Right) |
| Special Features | Night Vision, G-Sensor, Loop Recording, Parking Mode, HDR Function |
| Included Storage | 64GB SD Card |
| Mounting Type | Dashboard Mount (Adhesive or Suction Cup) |
| Connectivity Technology | HDMI (for output) |
| Power Source | Vehicle Cigarette Lighter (12V) |
9. Warranty and Support
For warranty information, technical support, or service inquiries, please refer to the documentation provided with your purchase or contact SakerPlus customer service directly. Keep your purchase receipt as proof of purchase for warranty claims.