1. Introduction
The PRUNUS J168 is a versatile portable radio and Bluetooth speaker designed for excellent reception and multiple playback options. It features AM, FM, and Shortwave (SW) radio bands, Bluetooth connectivity, TF card playback, and an AUX input. This device is equipped with a digital frequency display, manual tuning, and a sleep timer function, all powered by a long-lasting rechargeable battery.
2. Package Contents
- PRUNUS J168 Portable Radio
- USB-C Charging Cable
- Lanyard
- Owner's Manual
3. Product Overview
Familiarize yourself with the controls and features of your PRUNUS J168 radio.
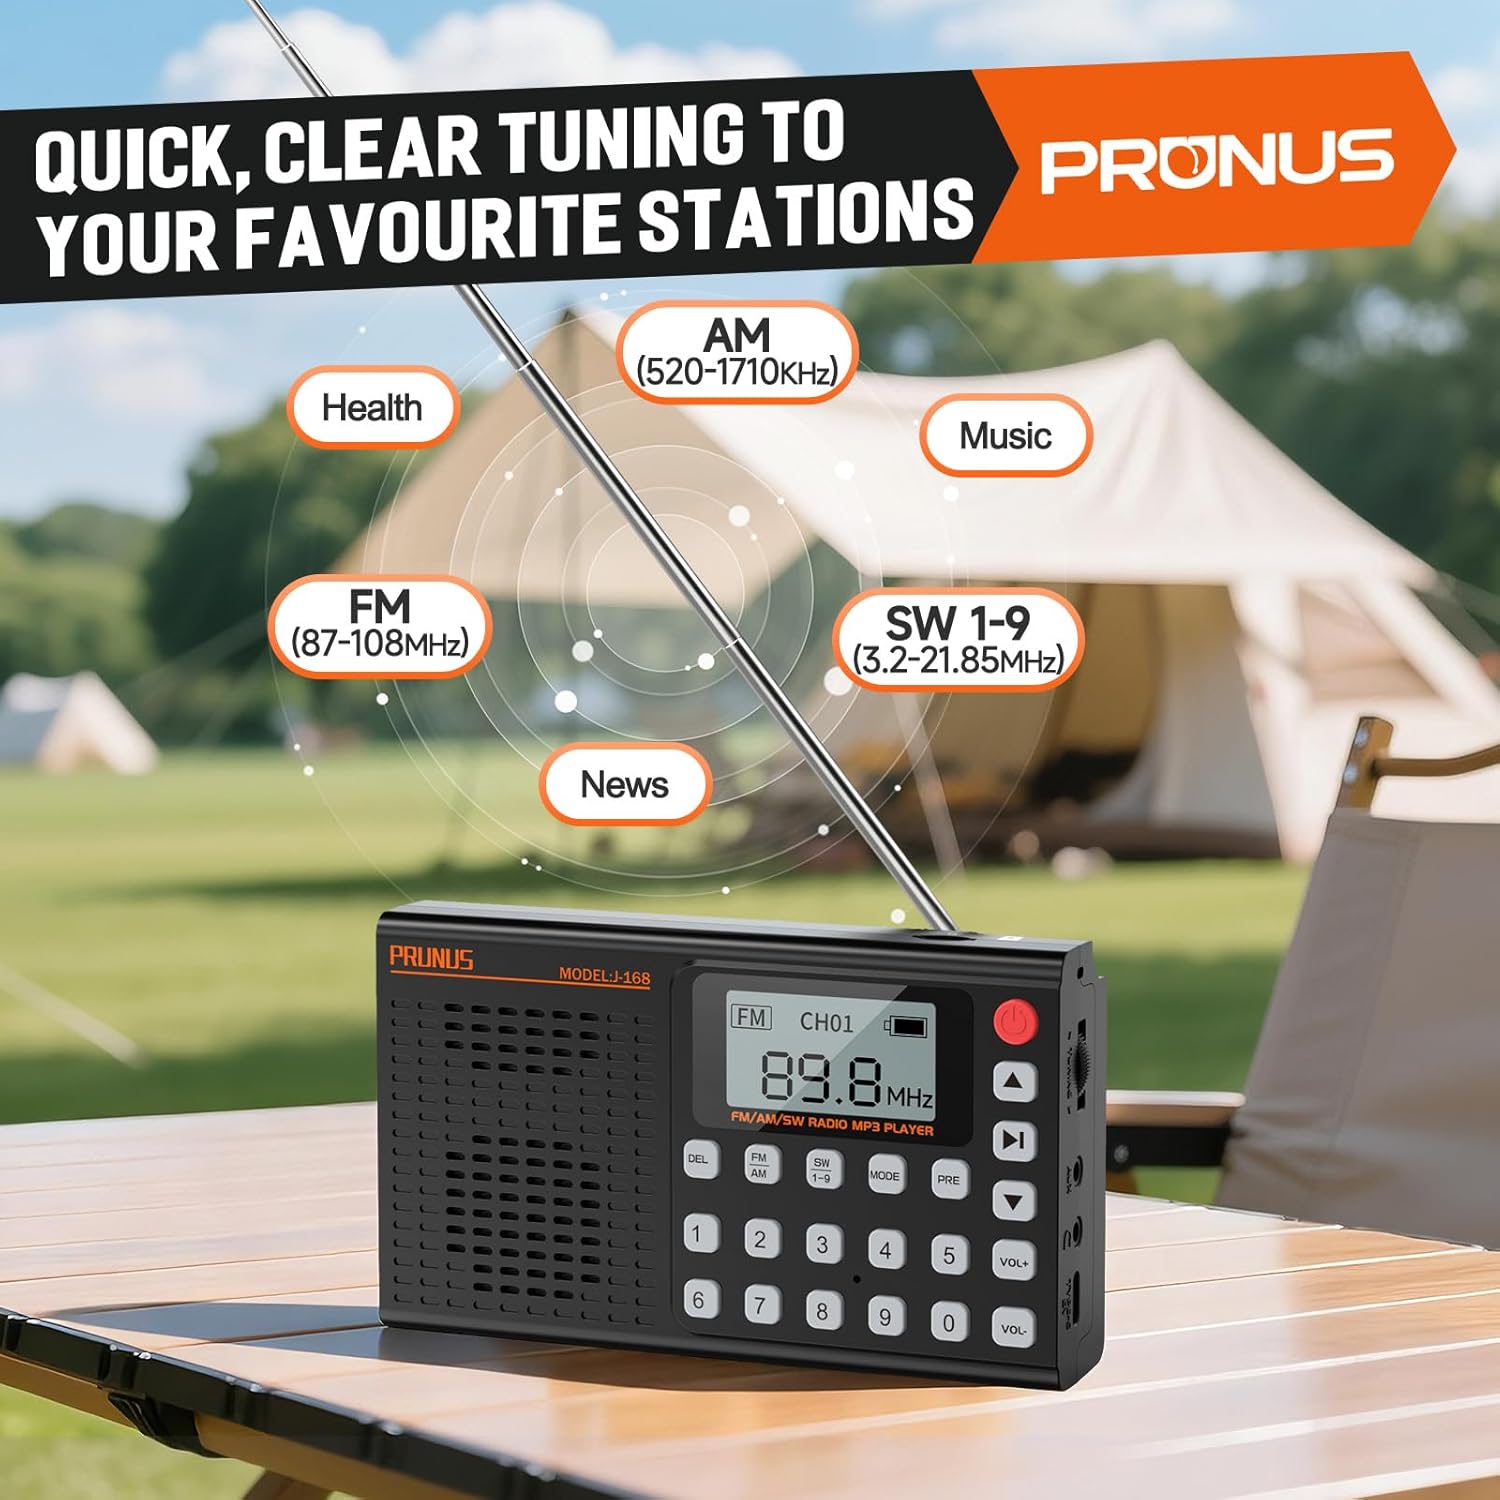
Figure 3.1: Front view of the PRUNUS J168 radio, showing the digital display, keypad, and control buttons for various functions.

Figure 3.2: A user's hand interacting with the PRUNUS J168 radio, demonstrating the ease of use for the keypad and the manual tuning knob located on the side.
Controls and Ports:
- Power Button: Turns the device on/off.
- Digital Display: Shows frequency, mode, battery status, and other information.
- Keypad (0-9): For direct frequency input and selecting preset stations.
- DEL Button: Deletes preset stations.
- FM/AM/SW Button: Cycles through radio bands.
- MODE Button: Switches between radio, Bluetooth, TF card, and AUX modes.
- PRE Button: Saves or recalls preset stations.
- VOL+/- Buttons: Adjusts volume.
- Tuning Knob: For manual frequency tuning.
- Telescopic Antenna: For improved radio reception.
- TF Card Slot: For playing music from a Micro SD card.
- AUX Input: 3.5mm jack for connecting external audio devices.
- Headphone Jack: 3.5mm jack for private listening.
- USB-C Port: For charging the device.
- Foldable Stand: Located on the back for angled viewing.
4. Setup
4.1 Initial Charging
Before first use, fully charge the radio. Connect the provided USB-C cable to the radio's USB-C port and the other end to a USB power adapter (not included) or a computer's USB port. The charging indicator on the display will show charging status. A full charge typically takes a few hours.

Figure 4.1: The PRUNUS J168 radio being charged via its USB-C port, highlighting its compact dimensions and the convenience of modern charging.
4.2 Power On/Off
Press and hold the Power Button to turn the radio on or off.
5. Operating Instructions
5.1 Radio Mode (AM/FM/SW)
- Select Band: Press the FM/AM/SW Button repeatedly to cycle through FM (87-108 MHz), AM (520-1710 kHz), and Shortwave (SW 1-9, 3.2-21.85 MHz) bands.
- Tune Stations:
- Manual Tuning: Use the Tuning Knob on the side to fine-tune frequencies.
- Direct Frequency Input: Enter the desired frequency using the keypad (e.g., for 98.5 FM, type 9-8-5).
- Automatic Scan: Press and hold the Play/Pause button (often integrated with the PRE button or a dedicated scan button, refer to device markings) to automatically scan and save available stations.
- Reception: Extend the telescopic antenna for optimal FM and SW reception. For AM, rotate the radio for best signal.
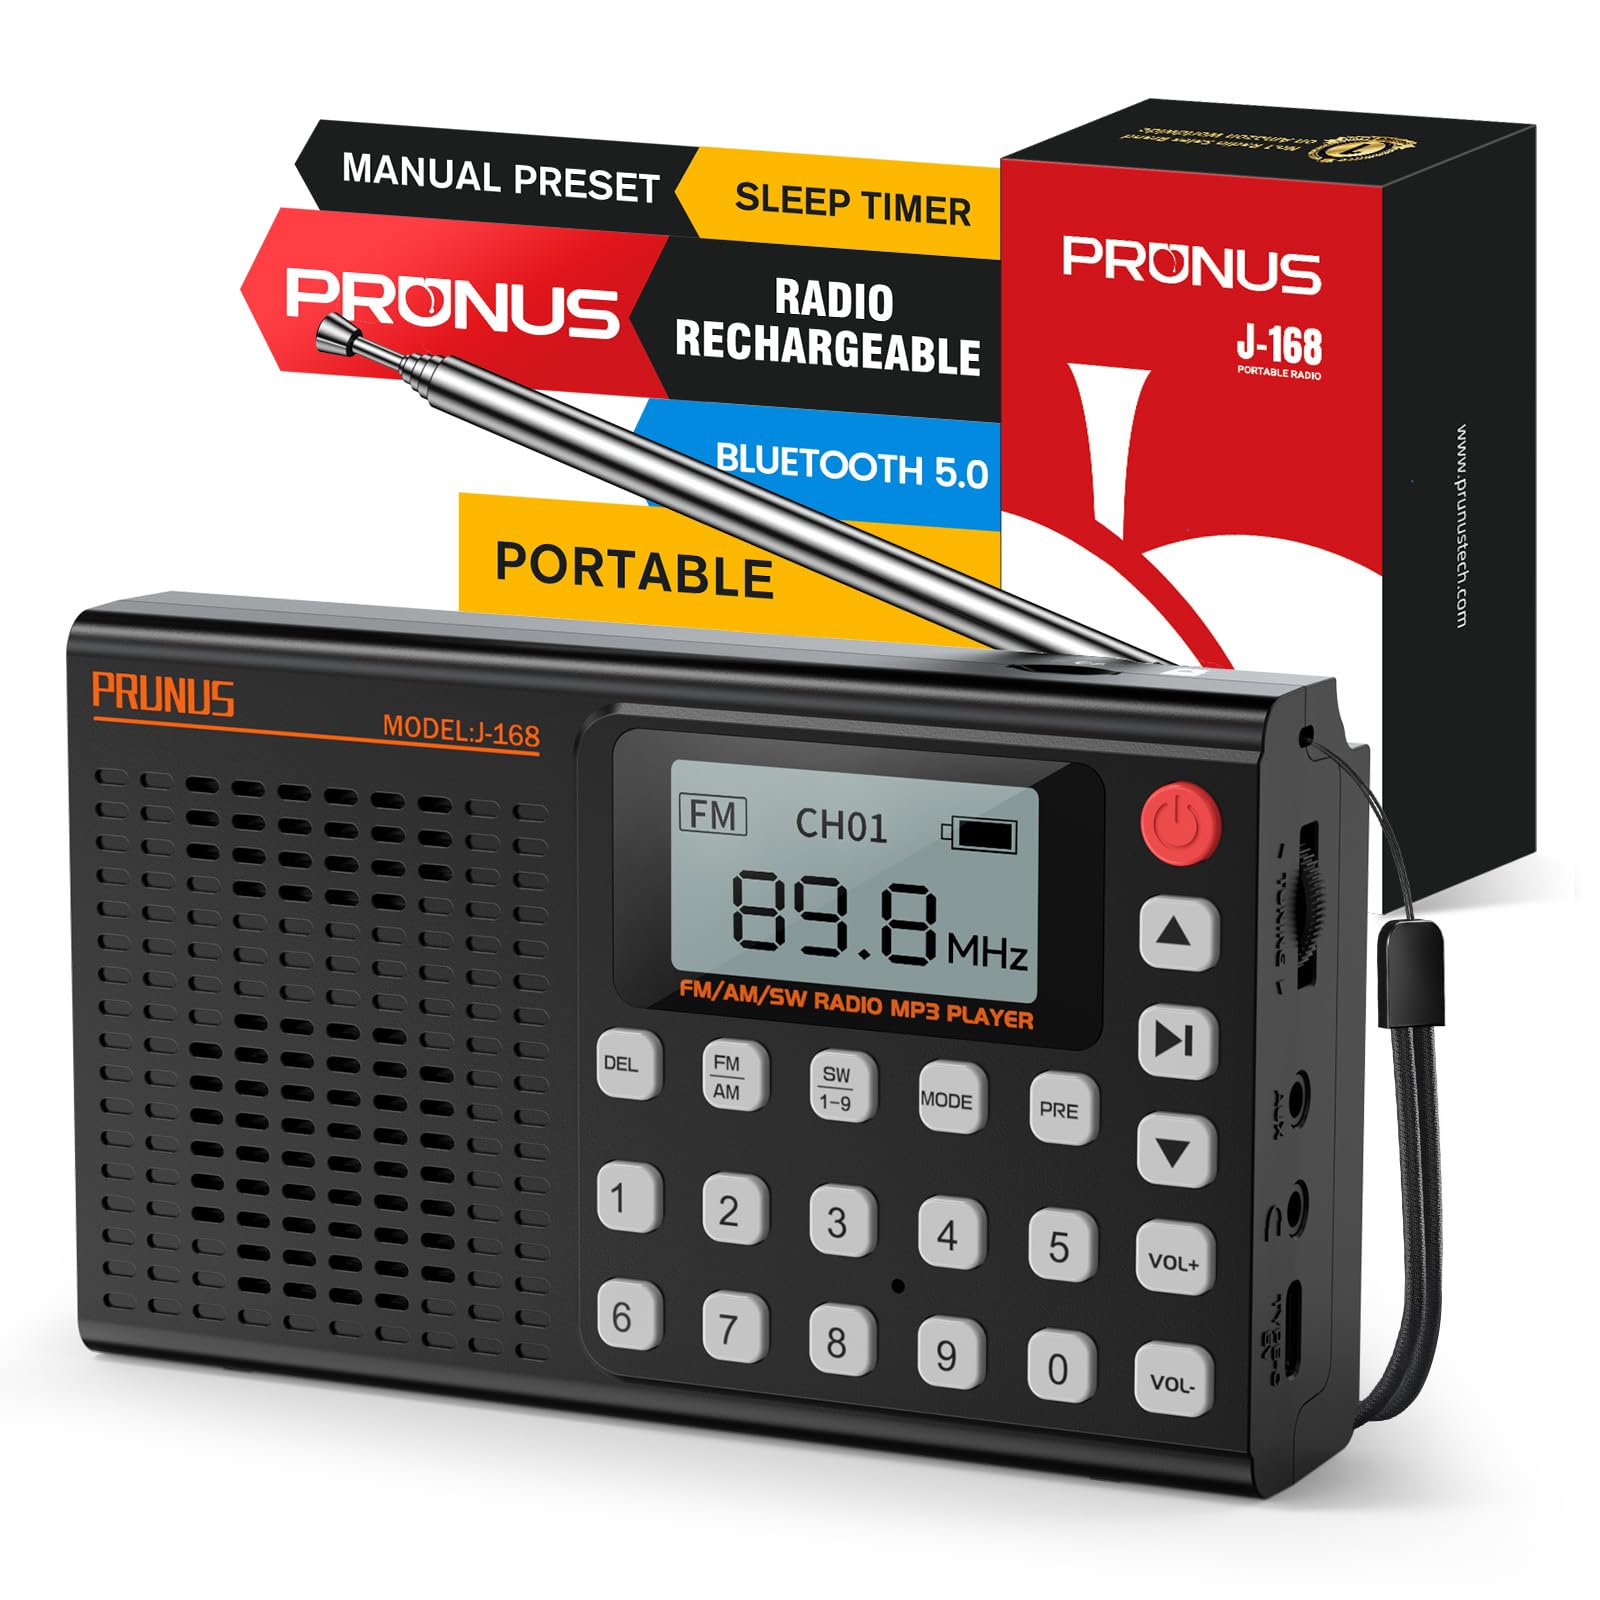
Figure 5.1: The PRUNUS J168 radio's digital display indicating various radio bands (AM, FM, SW) and their frequency ranges, illustrating its capability to tune into diverse content like health, music, and news programs.
5.2 Presets
The radio supports storing up to 99 stations for FM, AM, and SW bands each.
- Save a Preset: Tune to the desired station. Press and hold the PRE Button until the display shows a flashing preset number. Use the keypad to enter a preset number (1-99) or let it auto-assign, then press PRE again to confirm.
- Recall a Preset: In radio mode, press the PRE Button briefly, then use the keypad to enter the preset number, or use the arrow buttons (often integrated with volume or track buttons) to navigate through saved stations.
- Delete a Preset: Select the preset you wish to delete. Press the DEL Button. Confirm deletion if prompted.
5.3 Bluetooth Mode
- Activate Bluetooth: Press the MODE Button until "Bluetooth" or a Bluetooth icon appears on the display. The radio will enter pairing mode.
- Pairing: On your mobile device, enable Bluetooth and search for available devices. Select "J-168" from the list to connect. A confirmation sound or message will indicate successful pairing.
- Playback: Once connected, play audio from your device. Use the radio's play/pause and track skip buttons (often integrated with volume buttons) or your mobile device to control playback.

Figure 5.2: The PRUNUS J168 radio demonstrating its versatile connectivity options, including the TF card slot, AUX input, and a smartphone screen confirming a successful Bluetooth connection to the device.
5.4 TF Card Playback
- Insert TF Card: Gently insert a Micro SD (TF) card with MP3 audio files into the TF card slot until it clicks into place.
- Select Mode: Press the MODE Button until the display shows "TF Card" or a corresponding icon.
- Playback Control: Use the radio's play/pause and track skip buttons to control music playback.
- EQ Presets: In TF card mode, you can select from 6 EQ presets (Normal, Classical, Pop, Jazz, Rock, Bass) to customize the audio output. Refer to the display for EQ options.
5.5 AUX Input
Connect an external audio device (e.g., smartphone, MP3 player) to the radio's 3.5mm AUX input jack using an audio cable (not included). Press the MODE Button to select AUX mode. Audio from the external device will play through the radio's speaker.
5.6 Sleep Timer
The sleep timer allows the radio to automatically turn off after a set period.
- Activate Timer: While the radio is on, press the Sleep Timer Button (refer to device markings, often a dedicated button or a long press on another button).
- Set Duration: Repeatedly press the Sleep Timer Button to cycle through available durations (e.g., 10, 15, 30, 45, 60, 90 minutes). The selected time will be displayed.
- Confirmation: The radio will automatically turn off after the set time.

Figure 5.3: The PRUNUS J168 radio positioned on a nightstand, with its display showing various sleep timer settings, illustrating its utility for a relaxing nighttime routine.
6. Charging and Battery
The PRUNUS J168 is equipped with a 2000mAh rechargeable battery, providing extended playback time.
- Charging: Use the provided USB-C cable to charge the device. Connect it to any standard USB power source.
- Battery Life: A fully charged battery can provide up to 9 hours of continuous playback at maximum volume. Actual battery life may vary based on volume level and usage mode.
- Battery Indicator: The digital display shows the current battery level. Recharge when the indicator shows low battery to ensure uninterrupted use.
7. Maintenance
- Cleaning: Use a soft, dry cloth to clean the radio's exterior. Do not use abrasive cleaners or solvents.
- Storage: Store the radio in a cool, dry place away from direct sunlight and extreme temperatures.
- Antenna Care: Handle the telescopic antenna gently to prevent damage.
- Battery Care: For optimal battery longevity, avoid fully discharging the battery frequently. Charge the device regularly, even if not in use for extended periods.
8. Troubleshooting
| Problem | Possible Cause | Solution |
|---|---|---|
| Radio does not power on. | Low battery. | Charge the radio using the USB-C cable. |
| Poor radio reception. | Antenna not extended; weak signal area; interference. | Fully extend the telescopic antenna. For AM, rotate the radio. Move to an area with better signal. Avoid electronic interference. |
| Bluetooth not connecting. | Radio not in Bluetooth mode; device not discoverable; already connected to another device. | Ensure radio is in Bluetooth mode. Make sure your device's Bluetooth is on and discoverable. Disconnect from other Bluetooth devices. |
| No sound from TF card. | TF card not inserted correctly; unsupported file format; volume too low. | Reinsert TF card. Ensure files are in MP3 format. Increase volume. |
9. Specifications
| Feature | Detail |
|---|---|
| Model Number | J168 |
| Product Dimensions | 1.4 x 8.8 x 5.3 inches (5.4 x 3.1 x 1.3 inches for main unit) |
| Item Weight | 9.1 ounces (6.9oz for main unit) |
| Radio Bands Supported | FM (87-108 MHz), AM (520-1710 kHz), SW 1-9 (3.2-21.85 MHz) |
| Connectivity Technology | Bluetooth, USB, AUX |
| Power Source | Battery Powered (2000mAh rechargeable battery) |
| Charging Port | USB-C |
| Special Features | Lightweight, Portable, Rechargeable, Sleep Timer, TF Card Playback, Headphone Jack, Foldable Stand |
10. Product Demonstration Video
Watch this video for a detailed overview and demonstration of the PRUNUS J168 radio's features and functions.
Video 10.1: A comprehensive demonstration of the PRUNUS J168 radio, showcasing its AM/FM/SW radio capabilities, Bluetooth connectivity, and MP3 player functions.
11. Warranty and Support
PRUNUS products are designed for reliability and performance. For specific warranty information, please refer to the warranty card included with your purchase or visit the official PRUNUS website. If you encounter any issues or require technical assistance, please contact PRUNUS customer support through their official channels.
For additional information and support, you may visit the PRUNUS Store on Amazon.