
1. Introduction
Thank you for choosing the SEBSON Outdoor Motion Detector. This device is designed for reliable outdoor use, featuring an IP65 rating for weather resistance and a 240° infrared sensor. It is programmable for ignition duration, ambient brightness, and detection range, making it suitable for various lighting applications with both incandescent and LED bulbs. This manual provides essential information for safe installation, operation, and maintenance of your motion detector.
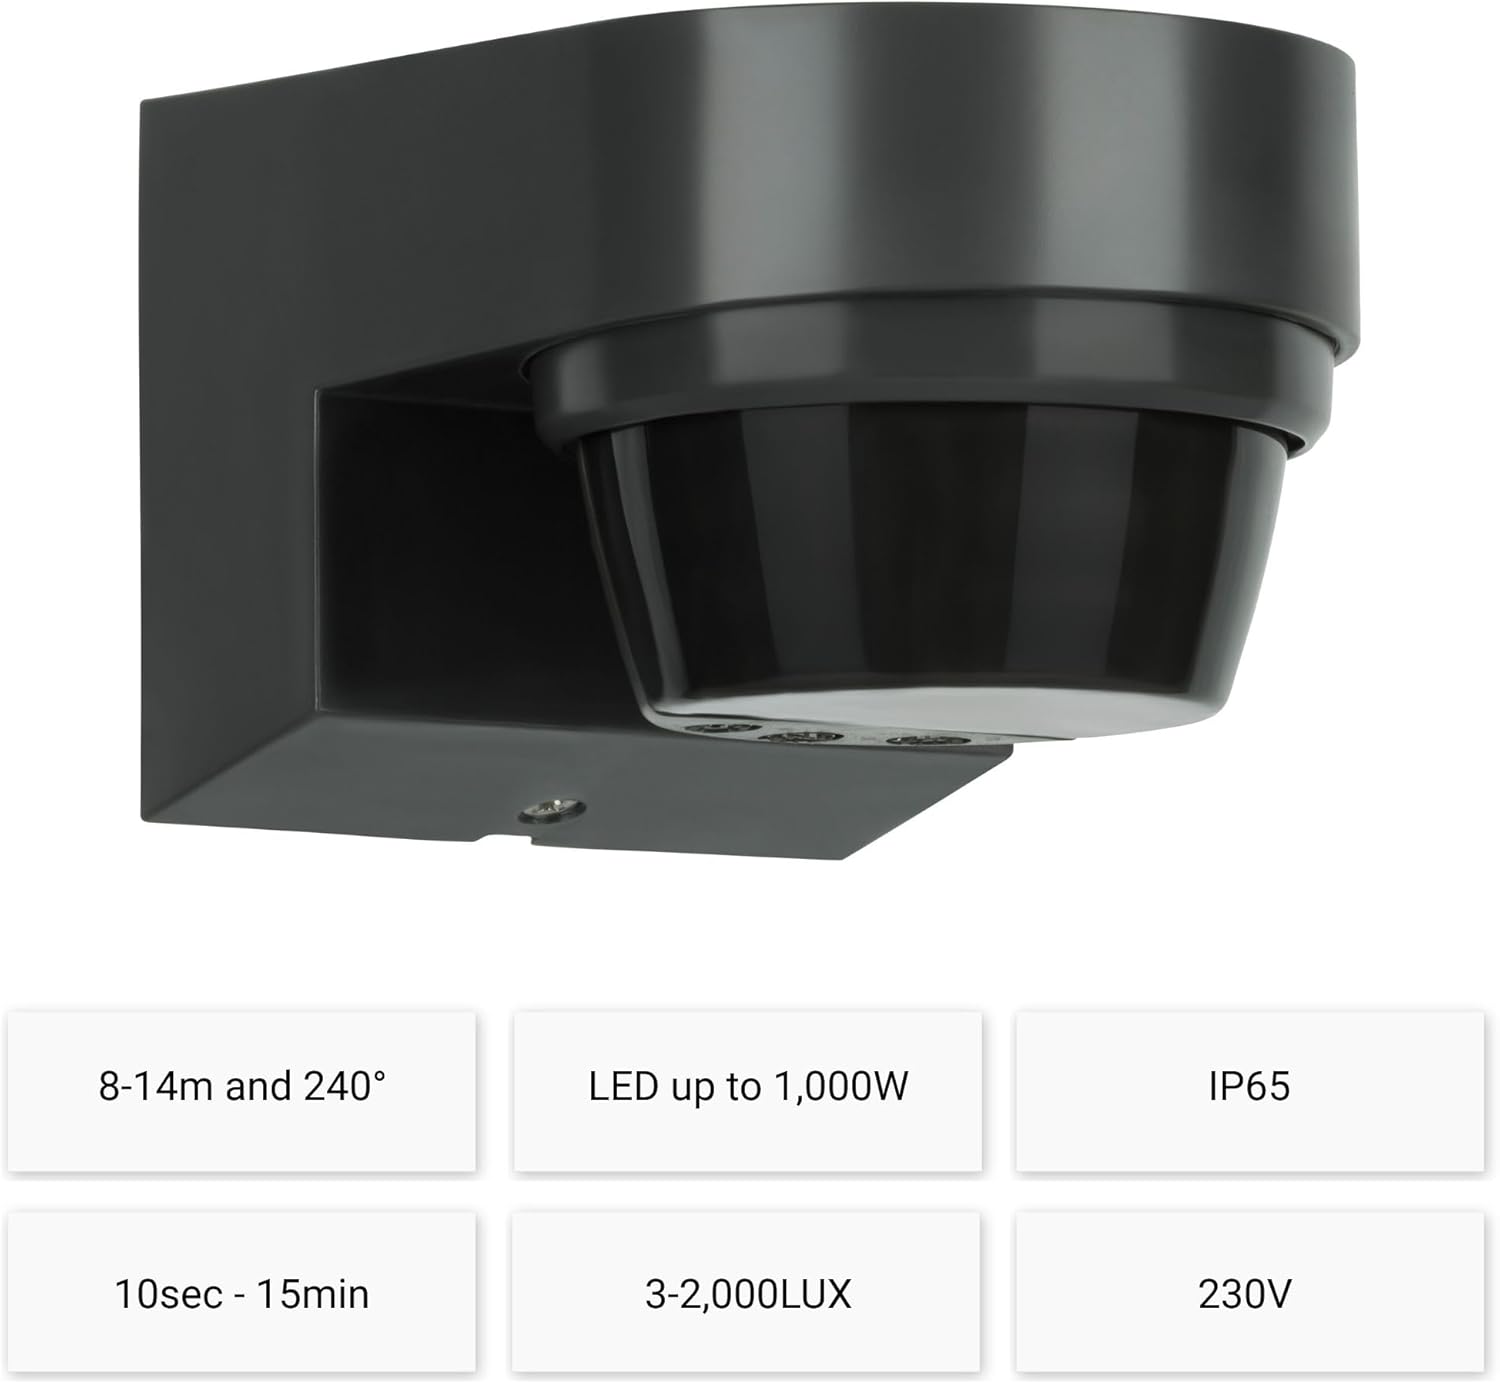
Image 1: Front view of the SEBSON Outdoor Motion Detector, showcasing its compact design and sensor lens.
2. Safety Instructions
Please read these safety instructions carefully before installation and operation. Failure to follow these instructions may result in electric shock, fire, or other hazards.
- Electrical Installation: Installation must be carried out by a qualified electrician in accordance with local wiring regulations.
- Power Disconnection: Always disconnect the main power supply before performing any installation, maintenance, or repair work.
- Voltage: Ensure the supply voltage matches the detector's specified voltage (230 Volts).
- Outdoor Use: The device is IP65 rated for outdoor use, protecting against dust and water jets. Ensure all connections are properly sealed.
- Mounting: Mount the detector securely on a stable wall surface.
- Children: Keep packaging materials and small parts away from children.
3. Product Overview
The SEBSON Outdoor Motion Detector features three adjustable dials for precise control over its operation:
- LUX: Adjusts the ambient brightness threshold (3-2000 LUX) at which the detector activates.
- SENS: Controls the detection range (8-14 meters).
- TIME: Sets the duration (10 seconds to 15 minutes) for which the connected light remains on after motion is detected.

Image 2: Close-up view of the three adjustment dials (LUX, SENS, TIME) located on the underside of the motion detector.
4. Setup and Installation
4.1 Mounting the Detector
The motion detector is designed for wall surface mounting. Choose a stable location that provides the desired detection coverage and is within the recommended mounting height.
- Disconnect the main power supply before starting installation.
- Separate the mounting base from the main unit.
- Mark the drilling points on the wall using the mounting base as a template.
- Drill holes and insert appropriate wall plugs (if necessary).
- Secure the mounting base to the wall using screws. Ensure the 'UP' arrow on the base points upwards.

Image 3: Rear view of the mounting base, showing the 'UP' indicator and screw holes for wall attachment.

Image 4: Diagram illustrating the width of the mounting plate, which is 60 mm.
4.2 Wiring
This motion detector uses a 3-wire connection. Ensure all wiring is done with the power supply disconnected.
- Connect the Live (L) wire from the power supply to the 'L' terminal on the detector.
- Connect the Neutral (N) wire from the power supply to the 'N' terminal on the detector.
- Connect the Switched Live (L') wire from the detector to the Live terminal of your light fixture.
- Connect the Neutral wire from the power supply to the Neutral terminal of your light fixture.
- Ensure all connections are tight and properly insulated.
4.3 Placement Considerations
Optimal performance depends on correct placement:
- Mounting Height: The recommended mounting height is between 1.80 meters and 2.50 meters for optimal detection.
- Detection Area: The sensor has a 240° detection angle and a range of 8-14 meters. Position it to cover the desired area without unnecessary triggers.
- Avoid Obstructions: Do not mount the detector near large objects, trees, or walls that could obstruct the detection field.
- Environmental Factors: Avoid mounting near direct sunlight, heat sources (e.g., vents, outdoor units), or areas with constant movement (e.g., busy roads) to prevent false triggers.

Image 5: Detection area diagram, showing the 240° angle, maximum 14m range, and recommended mounting height of 1.80m to 2.50m.
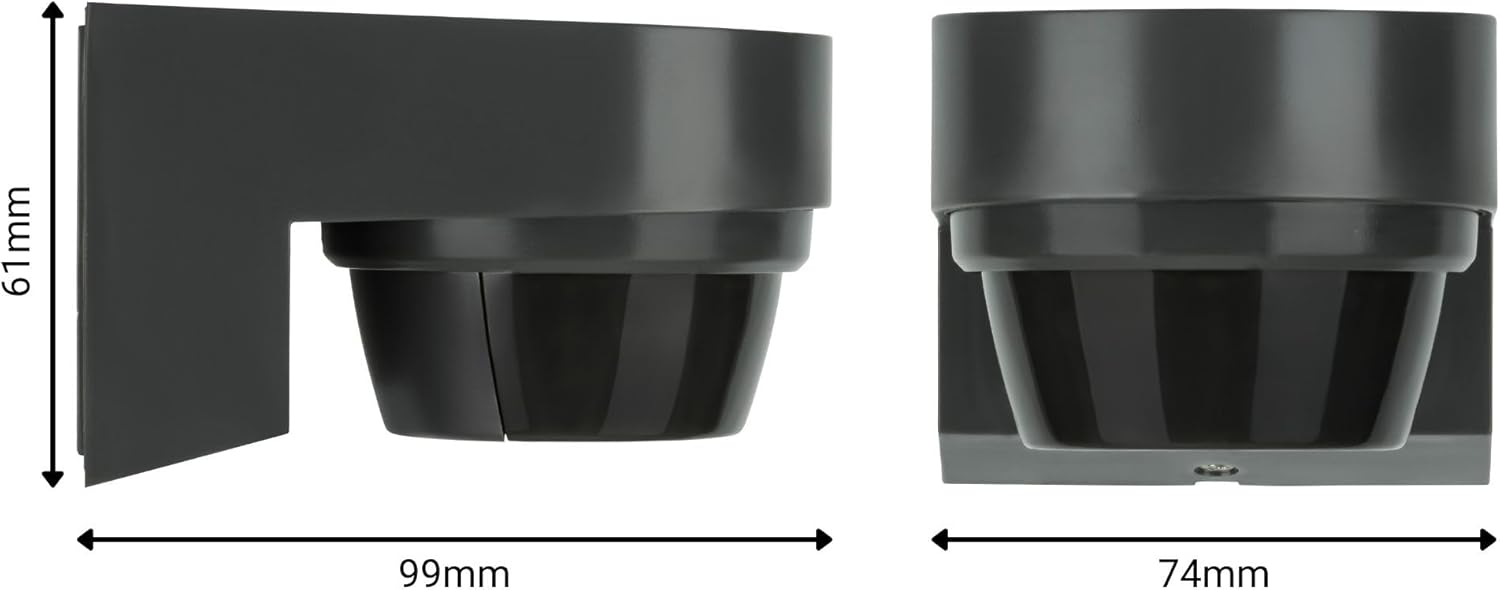
Image 6: Side view dimensions of the motion detector, indicating a length of 99mm and a height of 61mm.
5. Operating Instructions
After installation, restore power and adjust the settings using the three dials on the underside of the detector (refer to Image 2).
- LUX (Ambient Brightness): Turn the dial towards the 'sun' symbol for activation in brighter conditions (up to 2000 LUX) or towards the 'moon' symbol for activation only in darker conditions (down to 3 LUX).
- TIME (Ignition Duration): Rotate the dial to set how long the light remains on after motion is detected. Settings range from 10 seconds to 15 minutes.
- SENS (Detection Range): Adjust this dial to control the sensitivity and effective detection distance, from 8 meters to 14 meters. Test different settings to find the optimal range for your environment.
Testing: It is recommended to test the detector's settings during both day and night to ensure it operates as desired. You can set the LUX to maximum (sun symbol) for daytime testing of range and time duration, then adjust it to the desired ambient light level for normal operation.
6. Maintenance
The SEBSON Outdoor Motion Detector requires minimal maintenance.
- Cleaning: Periodically wipe the sensor lens and housing with a soft, damp cloth to remove dust and dirt. Do not use abrasive cleaners or solvents.
- Inspection: Regularly check the detector for any signs of damage, loose connections, or wear.
- Obstructions: Ensure no new obstructions (e.g., growing plants, debris) are blocking the sensor's field of view.
7. Troubleshooting
If you experience issues with your motion detector, refer to the following common problems and solutions:
| Problem | Possible Cause | Solution |
|---|---|---|
| Light does not turn on when motion is detected. |
|
|
| Light stays on constantly. |
|
|
| Light turns on without apparent motion. |
|
|
| Detection range is too short/long. |
|
|
If the problem persists after trying these solutions, please contact customer support or a qualified electrician.
8. Specifications
Technical specifications for the SEBSON Outdoor Motion Detector IR_OUT_IA:
| Feature | Specification |
|---|---|
| Brand | SEBSON |
| Model Number | IR_OUT_IA |
| Power Source | Corded Electric |
| Voltage | 230 Volts |
| Item Weight | 164 Grams (approx. 5.8 ounces) |
| Product Dimensions | 3.9 x 2.91 x 2.4 inches (approx. 99 x 74 x 61 mm) |
| Maximum Range | 14 Meters |
| Detection Angle | 240° |
| LUX Adjustment Range | 3 - 2000 LUX |
| Time Delay Adjustment | 10 seconds - 15 minutes |
| IP Rating | IP65 |
| Max Load (Incandescent) | 2000W |
| Max Load (LED) | 1000W |
| Mounting Type | Wall Mount |
| Compatible Devices | Light, Security System, Smart Home Hub |
| Recommended Uses | Garden, Driveway, Garage |
9. Warranty and Support
For warranty information and customer support, please refer to the documentation provided with your purchase or contact your retailer. Keep your proof of purchase for any warranty claims.


