
1. Introduction
The VEWIOR ClearAir-A12 Air Purifier is designed to improve indoor air quality by effectively removing airborne contaminants. Featuring a 3-stage filtration system, real-time air quality monitoring, and multiple operating modes, this device provides a cleaner and more comfortable living environment. This manual provides essential information for the safe and efficient use of your air purifier.

Image: The VEWIOR ClearAir-A12 Air Purifier in a modern home environment, illustrating its sleek design and integration.
2. Safety Information
Please read all safety instructions before using this appliance to prevent injury or damage. Keep this manual for future reference.
- Always unplug the air purifier before moving, cleaning, or performing any maintenance.
- Do not operate the appliance with a damaged cord or plug.
- Keep the air inlet and outlet clear of obstructions.
- Do not use the appliance in wet or damp environments.
- This appliance is not intended for use by persons (including children) with reduced physical, sensory or mental capabilities, or lack of experience and knowledge, unless they have been given supervision or instruction concerning use of the appliance by a person responsible for their safety.
- Statements regarding dietary supplements have not been evaluated by the FDA and are not intended to diagnose, treat, cure, or prevent any disease or health condition.
3. Package Contents
Verify that all items are present in the package:
- VEWIOR ClearAir-A12 Air Purifier Unit (x2)
- H13 HEPA Washable Filter (pre-installed in each unit)
- Power Adapter (x2)
- Aromatherapy Pads (pre-installed in each unit, with extras)
- User Manual
4. Product Overview
Familiarize yourself with the components and control panel of your VEWIOR ClearAir-A12 Air Purifier.
4.1. Main Unit
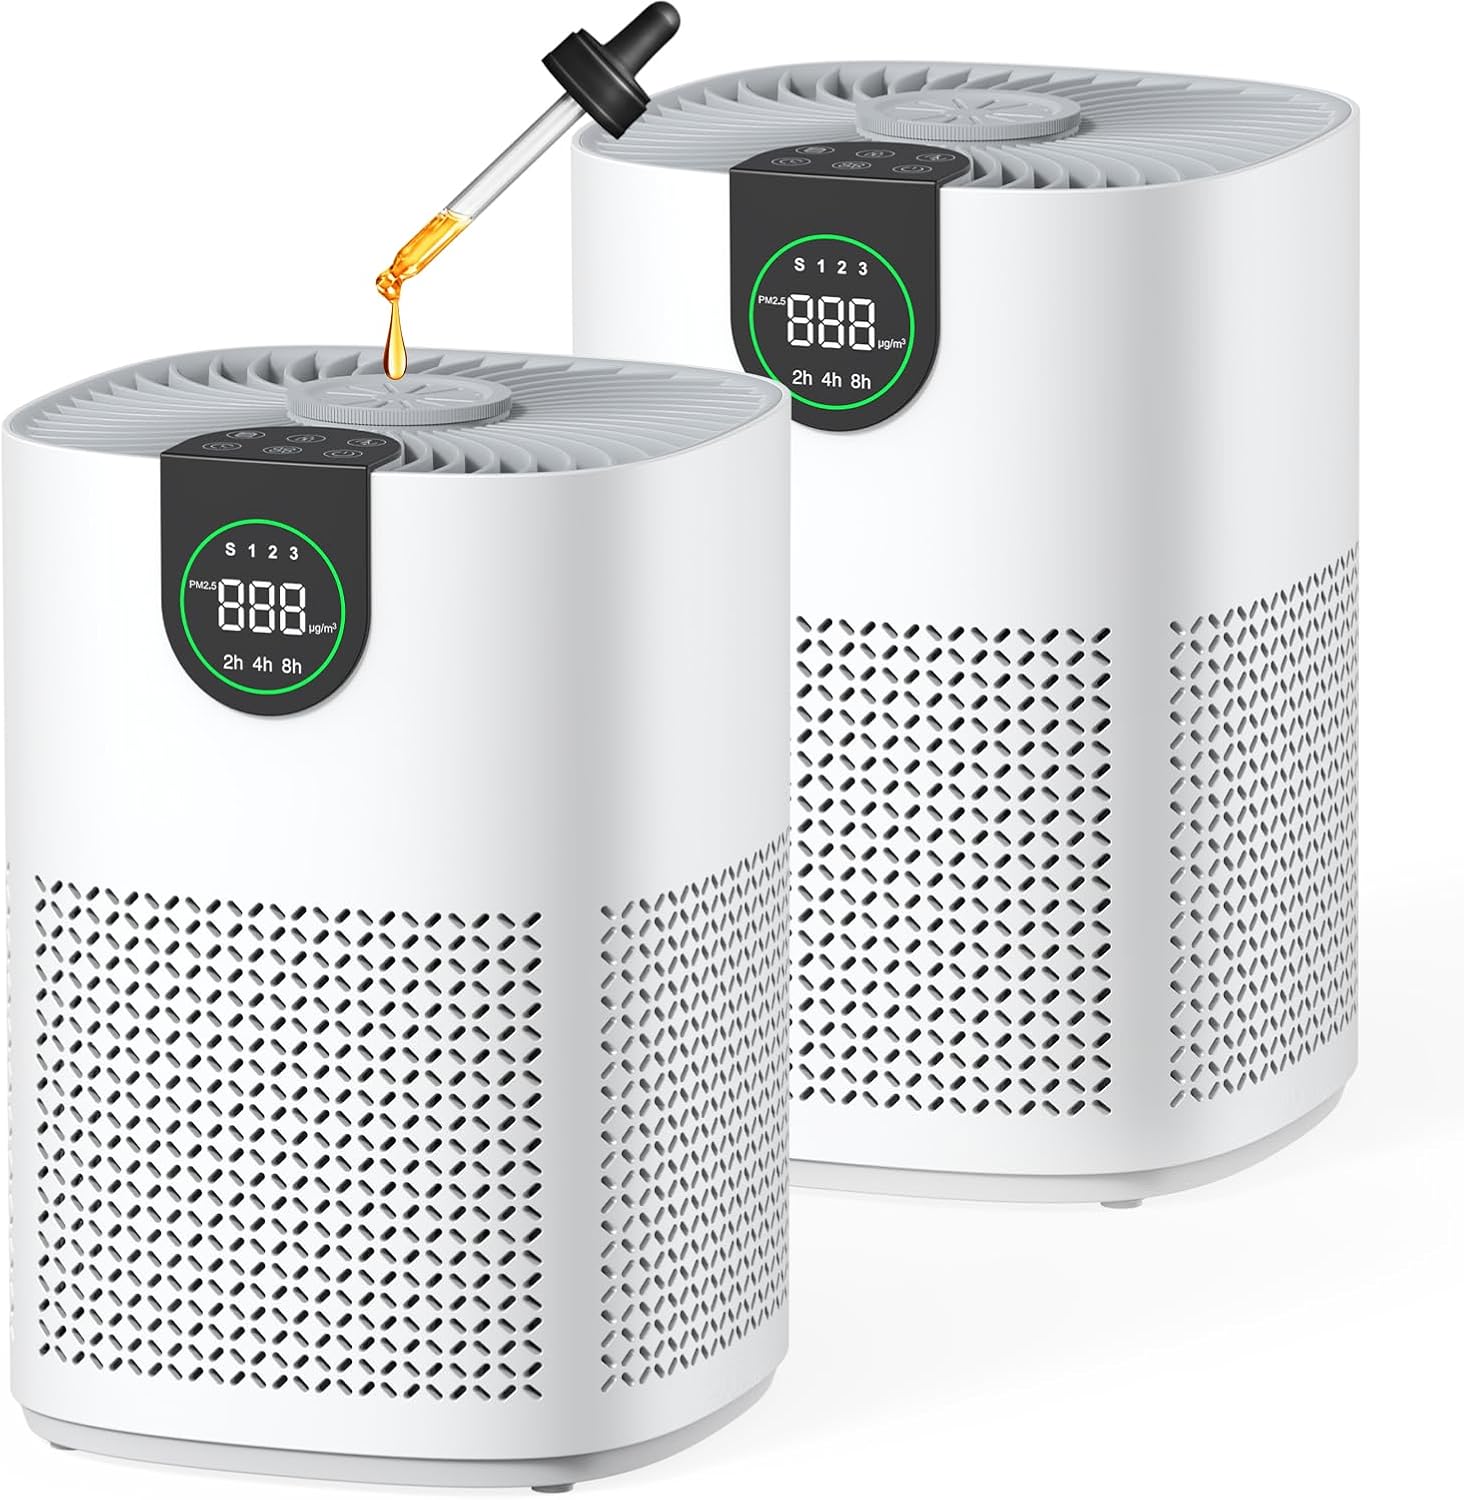
Image: Two VEWIOR ClearAir-A12 Air Purifiers, showcasing their compact design and the aromatherapy feature.
4.2. Control Panel & Display

Image: A detailed view of the air purifier's top control panel, featuring touch buttons and a digital PM2.5 display.
- Power Button: Turns the unit on/off.
- Fan Speed Button: Cycles through Sleep, Level 1, Level 2, and Level 3 fan speeds.
- Auto Mode Button: Activates automatic fan speed adjustment based on air quality.
- Timer Button: Sets the operating time for 2, 4, or 8 hours.
- Child Lock Button: Locks the control panel to prevent accidental changes.
- Filter Reset Indicator: Lights up when filter maintenance is required.
- PM2.5 Display: Shows real-time particulate matter levels and air quality indicator (Green: Good, Blue: Moderate, Red: Poor).
5. Setup
Follow these steps for initial setup of your air purifier:
- Unpack the Unit: Carefully remove the air purifier from its packaging.
- Remove Filter Packaging: Unscrew the bottom cover of the air purifier by turning it counter-clockwise. Remove the H13 HEPA filter and discard its plastic packaging.
- Reinstall Filter: Place the unwrapped filter back into the unit.
- Secure Bottom Cover: Replace the bottom cover and turn it clockwise to secure it.
- Connect Power: Plug the power adapter into the air purifier and then into a suitable electrical outlet.

Image: Visual guide for replacing the HEPA 13 filter, including unscrewing the base, removing the old filter, inserting the new one, and securing the base.
Setup Video
Video: A short demonstration of the air purifier's setup and display features, highlighting its automatic air quality monitoring.
6. Operating Instructions
Learn how to use the various functions of your air purifier.
6.1. Power On/Off
Press the Power Button once to turn the unit on. Press it again to turn it off.
6.2. Adjusting Fan Speed
Press the Fan Speed Button to cycle through different fan speeds:
- Sleep Mode (S): Operates at the lowest speed with minimal noise (as low as 15 dB) and the display darkens.
- Level 1, 2, 3: Progressively higher fan speeds for increased purification.

Image: Illustration of the four fan speed modes, including a quiet sleep mode and three progressively stronger purification levels.
6.3. Auto Mode
Press the Auto Mode Button to activate. The air purifier will automatically adjust its fan speed based on real-time air quality detected by its built-in sensor. The PM2.5 display and indicator light will reflect the current air quality (Green: Good, Blue: Moderate, Red: Poor).

Image: A visual representation of the Auto Mode, showing how the fan speed changes in response to decreasing or increasing air quality.
6.4. Timer Function
Press the Timer Button to set the operating time for 2, 4, or 8 hours. The unit will automatically turn off after the selected duration.
6.5. Child Lock
Press and hold the Child Lock Button for 3 seconds to activate or deactivate the child lock. When active, the control panel buttons will be unresponsive to prevent accidental changes.

Image: The Child Lock feature is depicted, ensuring customized purification settings remain uninterrupted, ideal for homes with children and pets.
6.6. Aromatherapy
Add a few drops of your favorite essential oil to the aromatherapy pad located on top of the air purifier. The fan will diffuse the scent throughout the room along with purified air.

Image: An essential oil dropper adding oil to the aromatherapy pad on the air purifier, illustrating the scent diffusion feature.
7. Maintenance
Regular maintenance ensures optimal performance and extends the lifespan of your air purifier.
7.1. Filter Structure

Image: A diagram illustrating the 3-stage filtration system: Pre-filter (captures dust, lint, pet fur), Efficient HEPA Filter (filters mold, pollen, pet dander), and Activated Carbon Filter (neutralizes smoke, fumes, odors).
7.2. Cleaning the Washable Pre-Filter
The pre-filter is washable and can be cleaned to maintain efficiency and extend filter life. When the filter indicator lights up, it's time for maintenance.
- Unscrew the bottom cover and remove the filter.
- Gently vacuum the pre-filter to remove loose debris.
- Alternatively, rinse the pre-filter with soapy water. Ensure it is completely dry before reinstallation.
- Reinstall the filter and secure the bottom cover.
- Press and hold the Filter Reset button for 3-5 seconds to reset the filter reminder.

Image: A user demonstrating how to clean the washable pre-filter under running water, emphasizing its reusability and cost-saving benefit.
8. Troubleshooting
If you encounter any issues with your air purifier, refer to the following common problems and solutions:
- Unit does not turn on: Ensure the power adapter is securely plugged into both the unit and a working electrical outlet. Check if the filter's plastic packaging has been removed.
- Reduced airflow or purification: The filter may be dirty. Clean or replace the filter as described in the Maintenance section. Ensure air inlets and outlets are not blocked.
- Unusual noise: Check if the filter is correctly installed and the bottom cover is securely fastened. Ensure no foreign objects are inside the unit.
- Odor persists: The activated carbon layer of the filter may be saturated. Replace the filter.
If the problem persists, please contact customer support.
9. Specifications
| Brand | VEWIOR |
| Model Number | ClearAir-A12 |
| Product Dimensions | 6.89"D x 8.66"W x 13.77"H |
| Item Weight | 5.5 Pounds |
| Power Source | AC/DC |
| Color | White |
| Manufacturer | VEWIOR |
10. Warranty & Support
For warranty information or technical support, please refer to the contact details provided with your purchase documentation or visit the official VEWIOR website. Keep your purchase receipt as proof of purchase.


