1. Introduction
Thank you for choosing the FORNO Fornace 30-Inch Over-the-Range Convection Microwave. This appliance is designed to provide efficient and versatile cooking solutions for your kitchen. Please read this manual thoroughly before installation and operation to ensure proper use and maintenance.
2. Safety Information
Always follow basic safety precautions when using electrical appliances to reduce the risk of fire, electric shock, or injury. Keep these instructions for future reference.
- Do not attempt to operate this oven with the door open as this can result in harmful exposure to microwave energy.
- Do not place any object between the oven front face and the door or allow soil or cleaner residue to accumulate on sealing surfaces.
- Do not operate the oven if it is damaged. It is particularly important that the oven door closes properly and that there is no damage to the door (bent), hinges and latches (broken or loosened), or door seals and sealing surfaces.
- The oven should not be adjusted or repaired by anyone except properly qualified service personnel.
- Ensure proper ventilation during operation.
- Never use metal containers or foil in the microwave unless specifically instructed by the recipe or manual.
3. Product Overview
The FORNO Fornace microwave combines microwave heating with convection and speed cook technology. It features a spacious 1.5 cu. ft. capacity and a durable stainless steel finish.
- Convection and Speed Cooking: Delivers faster, even cooking results with multistage options and auto menus.
- Powerful Two-Speed Ventilation: Features a versatile 105/300 CFM blower system to efficiently clear smoke, steam, and cooking odors.
- Durable Stainless Steel Finish: Resists fingerprints and daily wear for easier cleaning and lasting appeal.
- Bright LED Lighting: Energy-efficient LED lighting brightens your cooktop for improved visibility.
- Easy Care: Removable, washable filter simplifies upkeep.
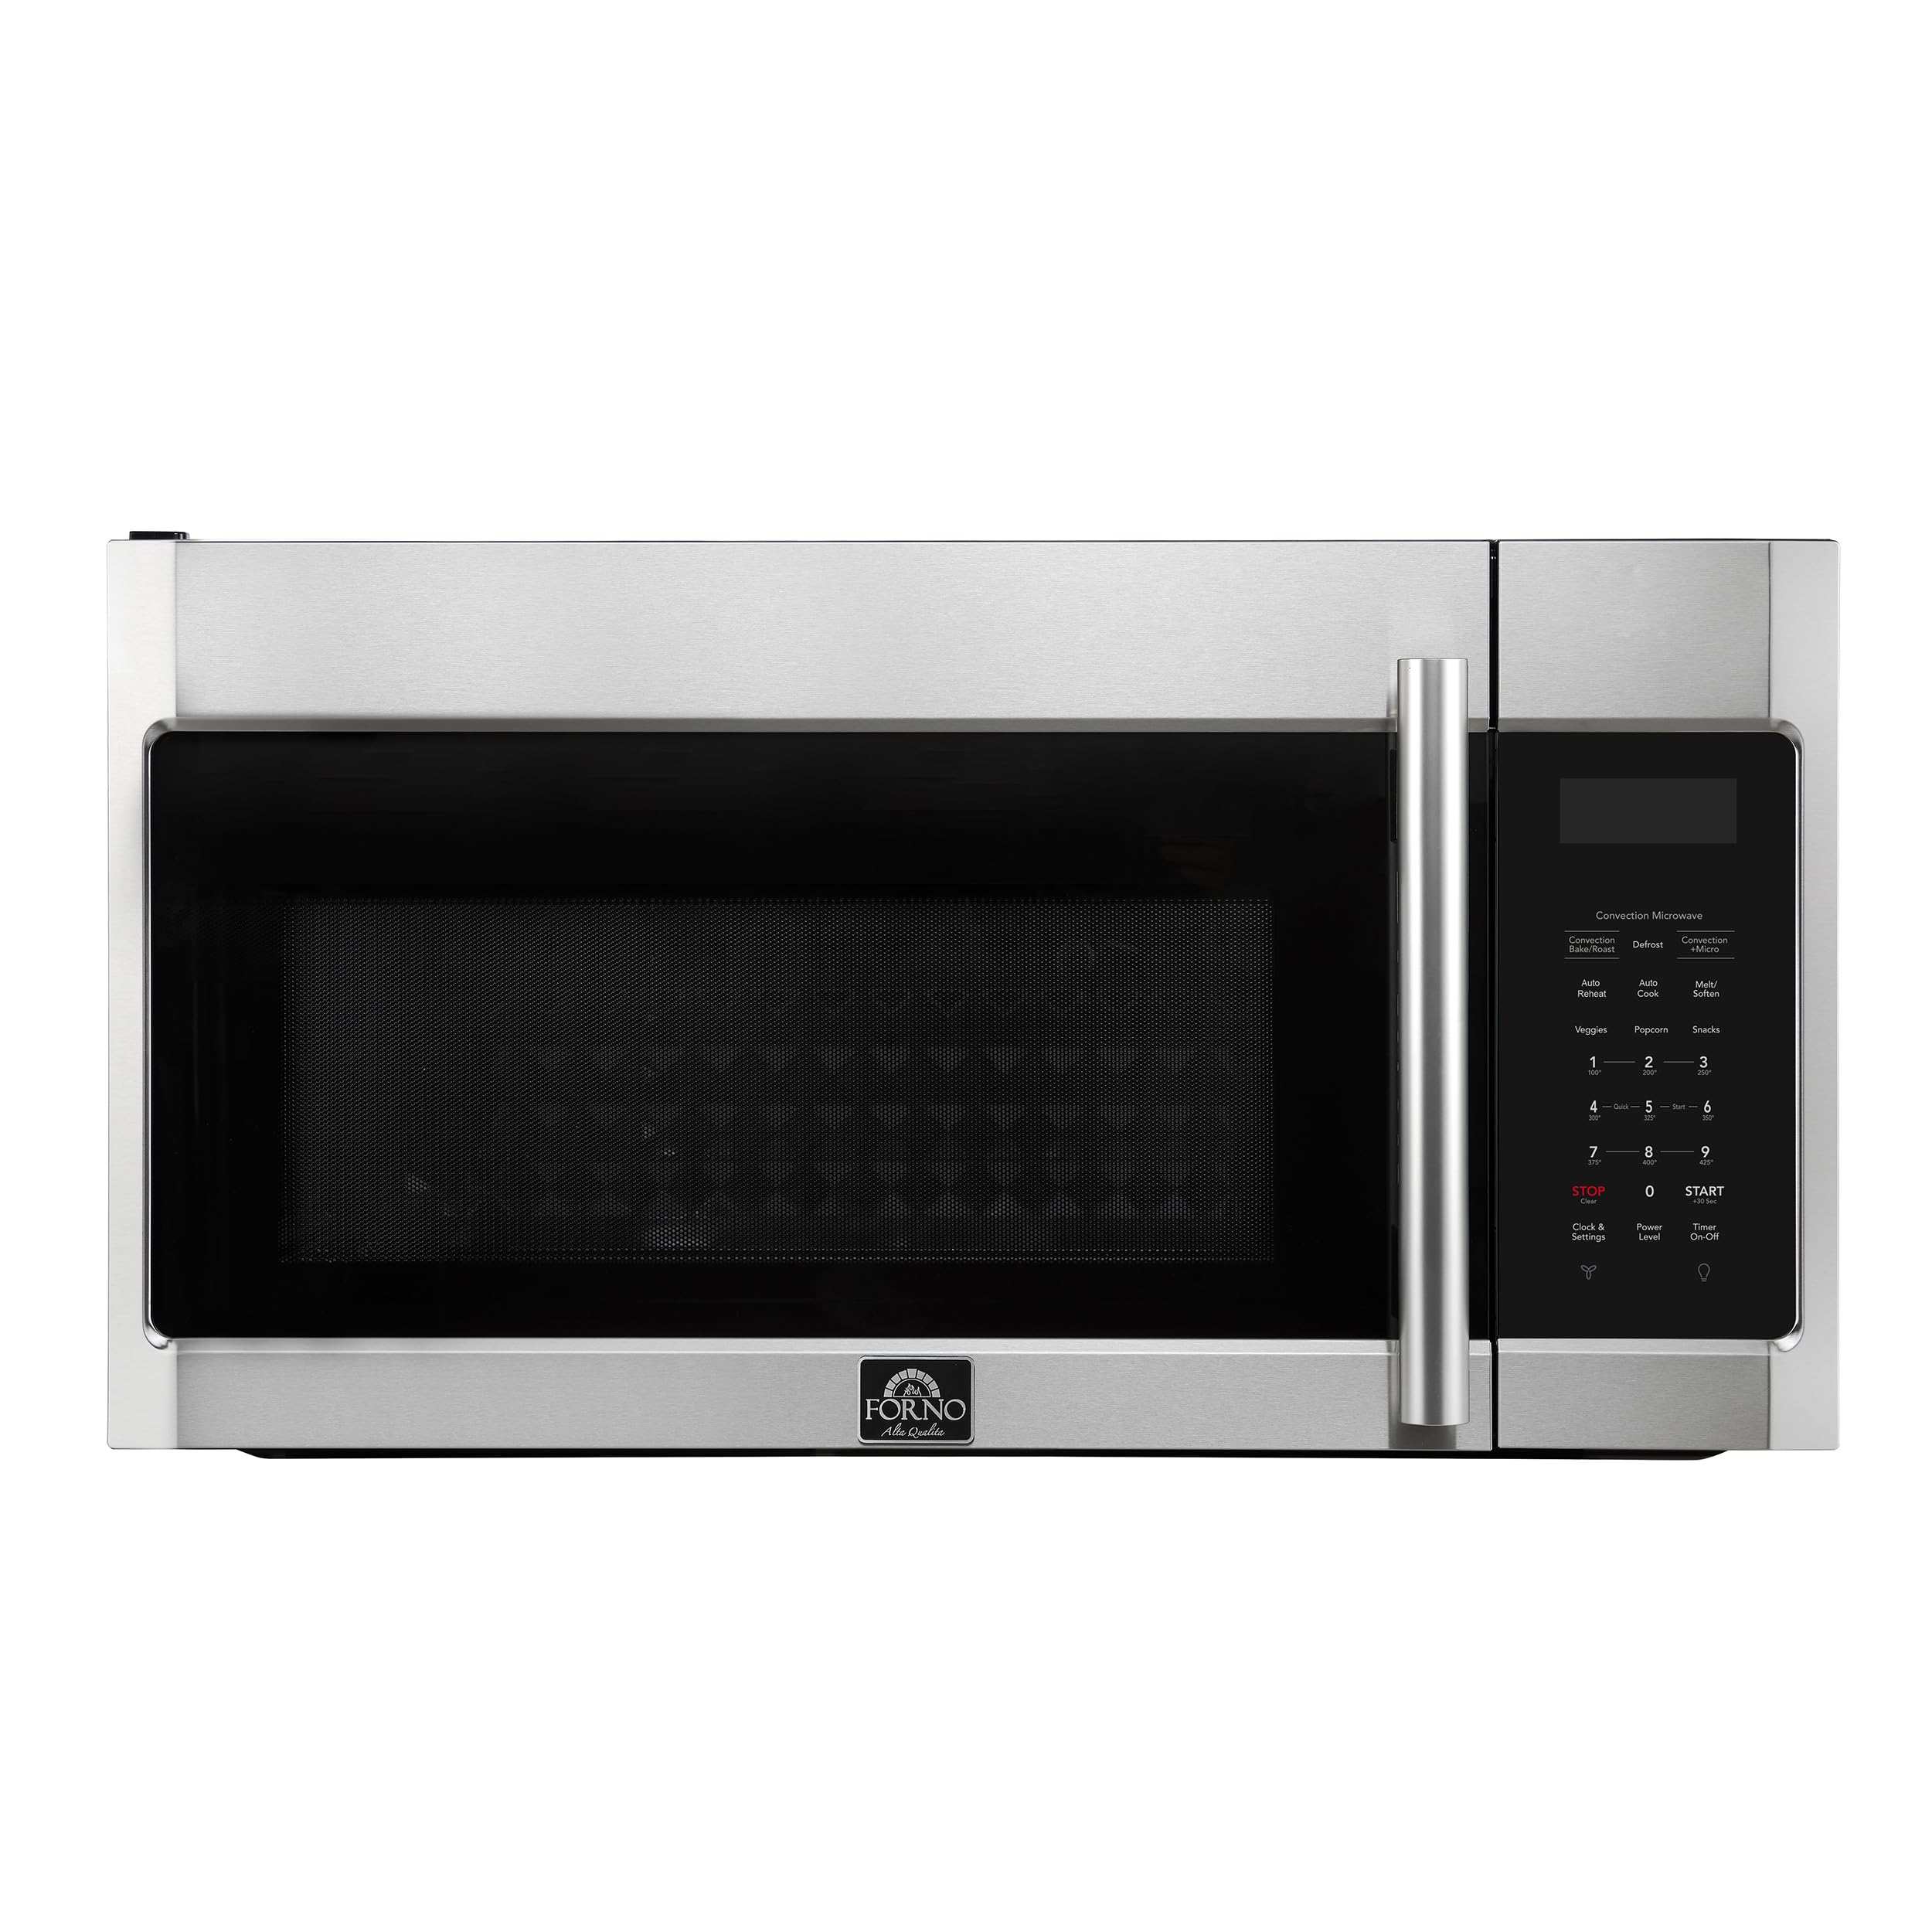
Figure 3.1: Front view of the FORNO Fornace microwave with the door open, revealing the spacious interior and the control panel on the right.
4. Setup & Installation
This microwave is designed for over-the-range installation. Ensure you have adequate space and proper electrical connections before beginning. Refer to the included templates for precise mounting.
4.1 Preparing for Installation
- Remove the old microwave and clear the installation area.
- Locate wall studs for secure mounting of the bracket.
- Remove the mounting bracket from the new microwave (it is attached for shipping).
4.2 Ventilation Setup
Determine if your microwave will vent from the top (vertical) or from the back (horizontal), or if it will recirculate air (ventless). Adjust the blower motor direction as needed.

Figure 4.1: Underside of the microwave, showing the grease filter compartments and the vent fan openings.
4.3 Mounting the Microwave
- Use the provided rear wall template to mark screw locations for the mounting bracket.
- Securely attach the mounting bracket to the wall, ensuring it is level.
- Use the top cabinet template to mark and drill holes for the screws that will secure the top of the microwave to the cabinet above.
- Carefully lift the microwave and hook its rear onto the mounting bracket.
- Thread the power cord through the hole in the bottom of the top cabinet.
- Insert and tighten the screws from the cabinet above into the top of the microwave.

Figure 4.2: The microwave fully installed, showcasing its stainless steel exterior and integrated design.
5. Operating Instructions
The microwave features an intuitive glass touch control panel for easy operation.
5.1 Control Panel Overview

Figure 5.1: Detailed view of the touch control panel, displaying options for convection, sensor microwave, and convenience features.
- Express Cook: Press numbers 1-6 for quick cooking times (e.g., press '1' for 1 minute).
- Cook Time: Manually set desired cooking duration.
- Power Level: Adjust microwave power intensity.
- Convection Bake/Roast: Utilize convection technology for baking and roasting.
- Sensor Microwave: Features like Popcorn, Beverage, Potato, Cook, Reheat, and Defrost (Weight/Time) automatically adjust time and power.
- Add 30 Sec: Quickly add 30 seconds to cooking time.
- Turntable On/Off: Control the rotation of the glass turntable.
- Surface Light: Turn on/off the LED cooktop lighting.
- Vent Fan: Control the two-speed ventilation fan.
5.2 Using the Turntable
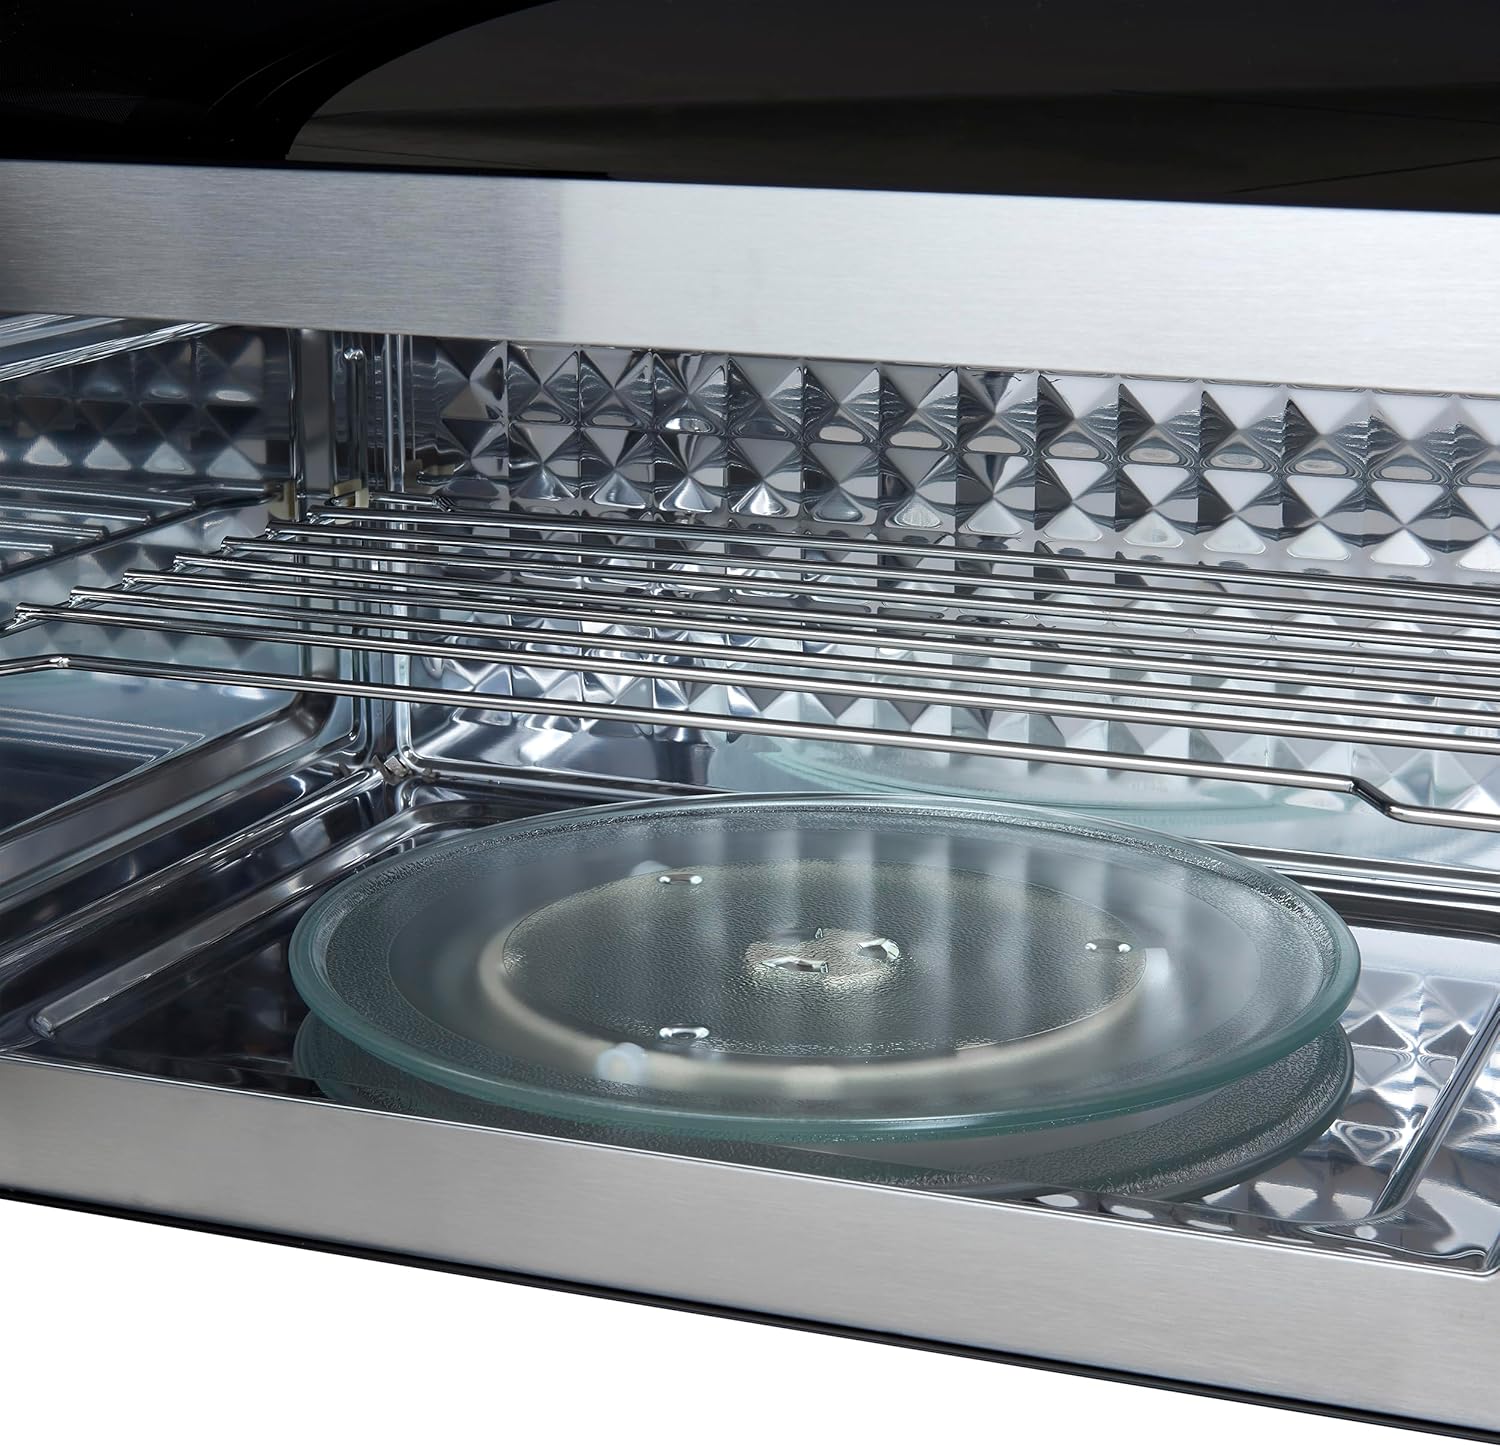
Figure 5.2: A close-up of the microwave's interior, highlighting the removable glass turntable and its rolling support ring, designed for even cooking.
The glass turntable ensures even cooking. It can be turned on or off via the control panel. Always ensure the turntable and its support ring are correctly placed before operating the microwave.
6. Maintenance & Cleaning
Regular cleaning and maintenance will ensure the longevity and optimal performance of your microwave.
6.1 Cleaning the Interior
- Wipe the interior with a soft cloth and mild detergent after each use.
- For stubborn stains, place a bowl of water with lemon slices inside and microwave for a few minutes to loosen residue, then wipe clean.
- The glass turntable is removable and washable.
6.2 Cleaning the Exterior
- Clean the stainless steel exterior with a soft cloth and a stainless steel cleaner.
- Avoid abrasive cleaners or scouring pads that can scratch the surface.
6.3 Filter Maintenance
The microwave includes a removable, washable grease filter. Clean this filter regularly to maintain efficient airflow and ventilation performance.
- Remove the filter by sliding it out from its compartment on the underside of the microwave.
- Wash the filter with warm, soapy water or place it in the dishwasher.
- Ensure the filter is completely dry before reinserting it.
7. Troubleshooting
If you experience issues with your microwave, consult the following common troubleshooting tips before contacting service.
| Problem | Possible Cause | Solution |
|---|---|---|
| Microwave does not start | Door not closed properly; Power cord unplugged; Blown fuse/tripped circuit breaker. | Ensure door is securely closed; Check power cord connection; Check household fuse/circuit breaker. |
| Food not heating | Incorrect cook time/power level; Door not closed properly. | Adjust cook time/power level; Ensure door is securely closed. |
| Turntable not rotating | Turntable not properly seated; Obstruction. | Ensure turntable and support ring are correctly placed; Remove any obstructions. |
| Vent fan not working | Fan setting off; Obstruction in vent. | Check vent fan setting on control panel; Inspect vent for blockages. |
8. Specifications
- Brand: Forno
- Model: FOTR3038-30
- Capacity: 1.5 Cubic Feet
- Installation Type: Over-the-Range
- Color: Stainless Steel
- Material: Steel
- Product Dimensions: 16.9"D x 29.9"W x 16.4"H
- Control Console: Touch
- Wattage: 1500 watts
- Number of Power Levels: 11
- Special Feature: Ventless (adaptable for ducted)
- Efficiency: High Efficiency
9. Warranty & Support
This FORNO Fornace microwave is backed by a 2-year limited warranty. For warranty claims or technical support, please contact Forno customer service. Keep your proof of purchase for warranty validation.
For additional assistance, visit the Forno Store or refer to the contact information provided in your product packaging.


