
1. Introduction
This manual provides detailed instructions for the installation, configuration, and operation of your AdaLov CPE469 Dual Band Wireless Bridge. The CPE469 is designed to extend high-speed internet connectivity over long distances, supporting both 2.4GHz and 5.8GHz bands for stable and reliable performance in various outdoor environments.
2. Product Overview
2.1 Key Features
- Dual-Band Gigabit Performance: Supports 5.8GHz up to 900Mbps and 2.4GHz up to 300Mbps for stable long-range WiFi. Features dual Gigabit LAN ports for wired speeds up to 433Mbps.
- Extended 1.9 Mile Coverage: Equipped with a 15dBi high-gain antenna, enabling point-to-point transmission up to 3KM (1.9 miles).
- Heavy-Duty Adjustable Brackets: Includes two universal J-adjustable brackets offering 160° tilt and rotation, constructed from rustproof, weather-resistant materials for stable outdoor mounting.
- Versatile Compatibility: Integrates with Starlink Gen 2 and Gen 3 setups; supports Point-to-Point (PtP), Point-to-Multipoint (PtMP), Access Point (AP), and bridge modes.
- Weatherproof Design: IP65 rated for outdoor usage, ensuring durability against rain, wind, and other environmental factors.
2.2 Package Contents
The complete package includes:
- 2 x AdaLov CPE469 Wireless Bridges
- 2 x PoE Adapters
- 2 x Network Cables
- 2 x Adjustable Mounting Brackets
- Mounting Hardware (screws, wall anchors, pole clamps)
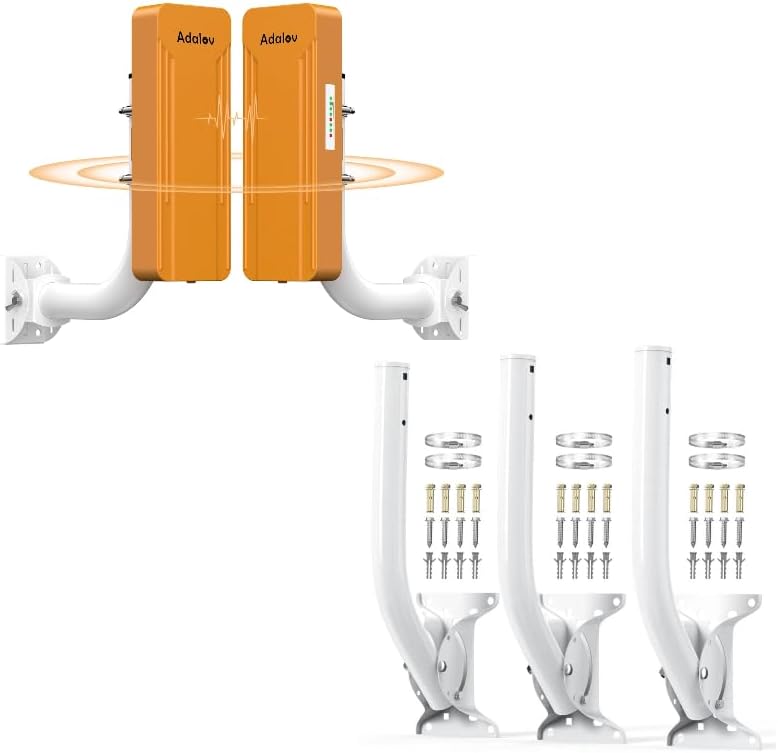
Image: Two AdaLov CPE469 wireless bridges and three adjustable mounting brackets with associated hardware.
3. Setup and Installation
3.1 Mounting the Devices
The CPE469 devices can be mounted on a wall or a pole using the provided adjustable brackets. Ensure the mounting location provides a clear line of sight between the two bridges for optimal performance.
- Assemble the Bracket: Attach the CPE469 unit to the curved arm of the bracket.
- Choose Mounting Method:
- Wall Mounting: Use the provided screws and wall anchors to secure the bracket base to a sturdy wall.
- Pole Mounting: Use the provided pole clamps to secure the bracket base to a pole.
- Adjust Angle: The bracket allows for 160° rotation to achieve the optimal receiving angle. Securely tighten all fasteners once the desired angle is set.

Image: An AdaLov CPE469 device mounted on a pole, demonstrating outdoor installation.

Image: A diagram illustrating the 160-degree rotation capability of the adjustable mounting bracket for optimal alignment.

Image: Examples of the CPE469 mounted on a wall and on a pole, showing versatility in installation.
3.2 Powering and Connecting
Each CPE469 unit is powered via Power over Ethernet (PoE). Use the provided PoE adapters and network cables.
- Connect one end of a network cable to the LAN port of the CPE469 unit.
- Connect the other end of this network cable to the "PoE" port on the PoE adapter.
- Connect a second network cable from the "LAN" port on the PoE adapter to your router, switch, or computer.
- Plug the PoE adapter into a power outlet. The device will power on.
3.3 Pairing the Bridges
The CPE469 bridges are designed for easy pairing using a dialing mechanism. One unit will be configured as the Master Bridge and the other as the Slave Bridge.
- Identify the Master and Slave bridges. Each unit has a small dial or switch.
- Set one unit as the Master Bridge by adjusting its dial to the designated Master setting (e.g., 'A').
- Set the other unit as the Slave Bridge by adjusting its dial to the designated Slave setting (e.g., 'B').
- Ensure both units are powered on and facing each other with a clear line of sight. They will automatically attempt to pair.
- Monitor the indicator lights on the devices to confirm successful pairing.
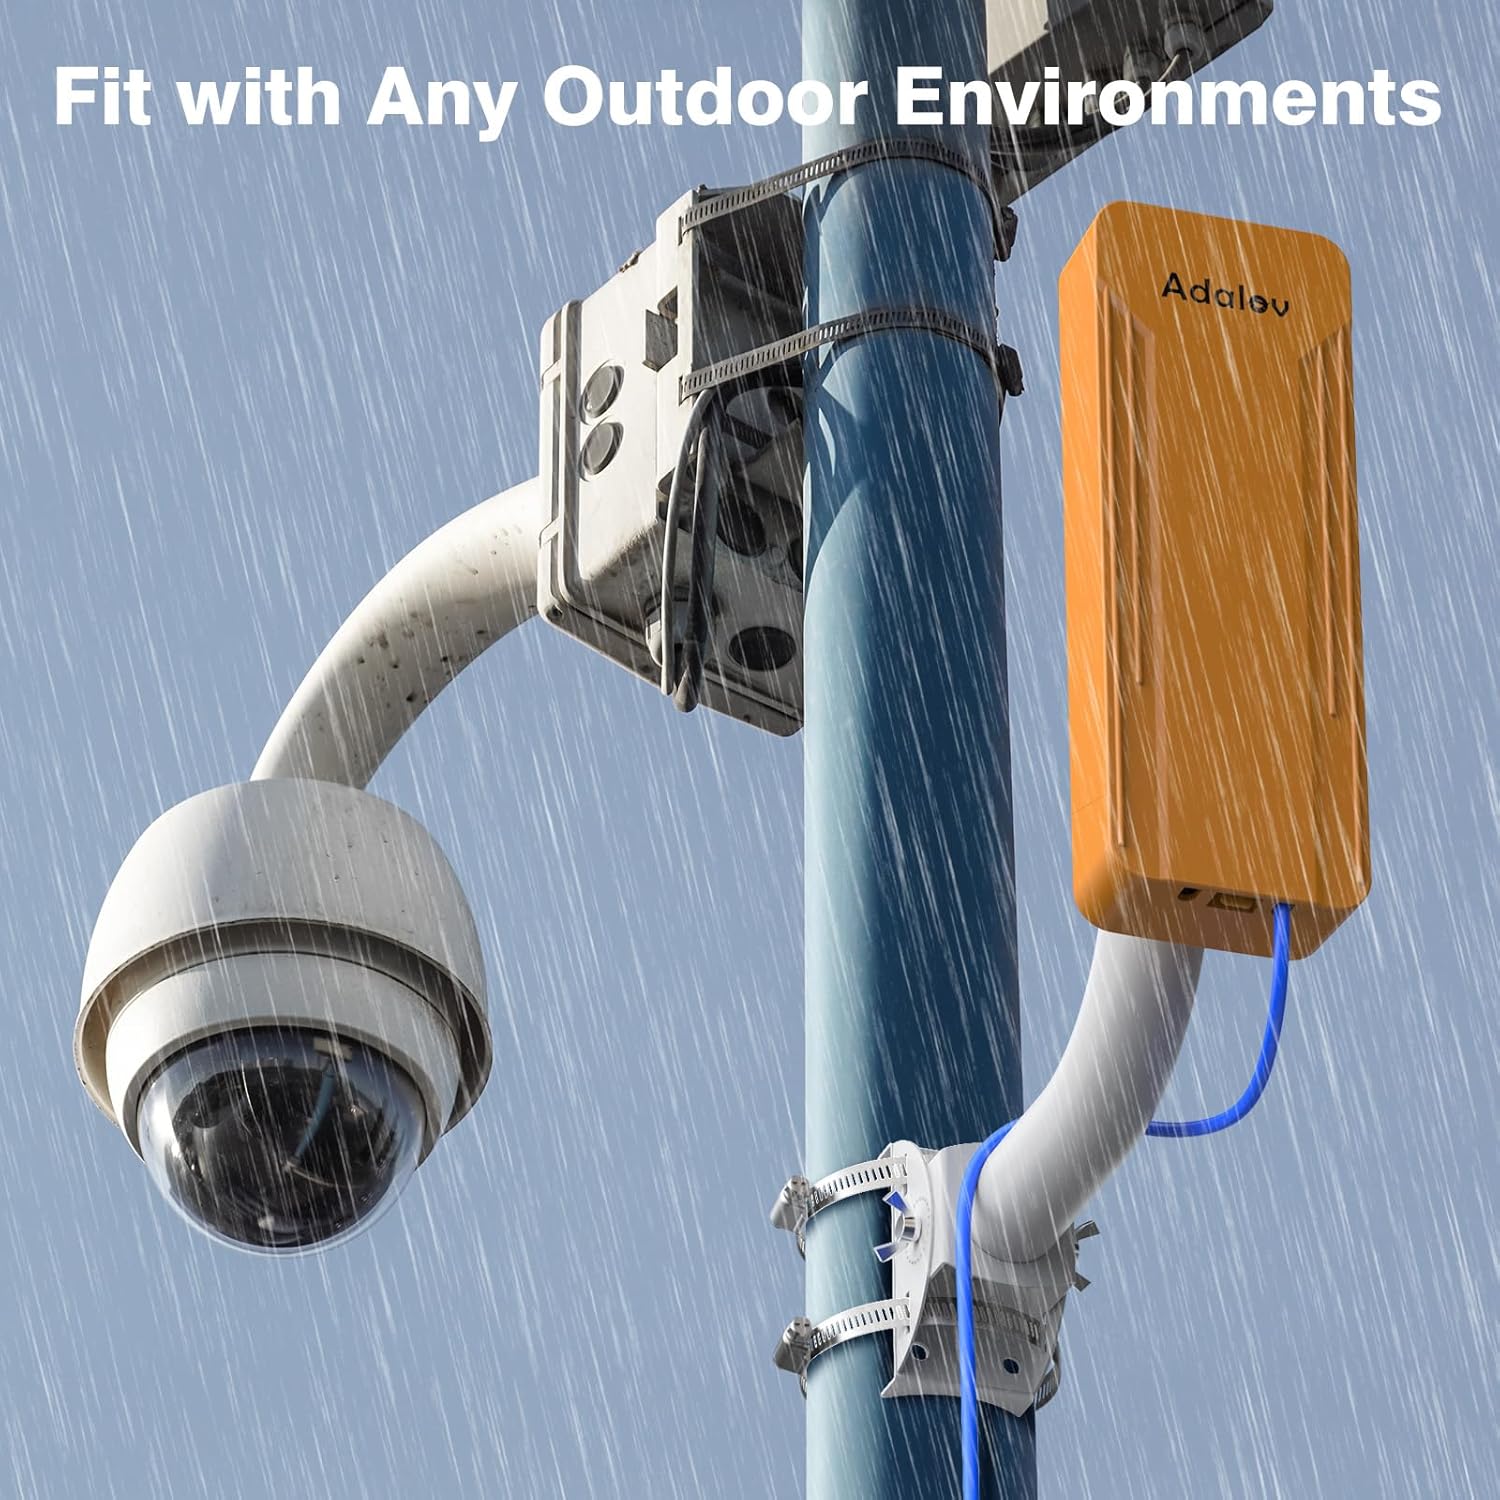
Image: Illustration of the dialing mechanism for setting a unit as a Master Bridge or a Slave Bridge for pairing.
4. Operation Modes
The CPE469 supports various operation modes to suit different networking needs.
4.1 Point-to-Point (PTP) Mode
In PTP mode, two CPE469 units establish a direct wireless link to extend a network connection between two locations. This is ideal for connecting two buildings, such as a main house to a barn or guest house, for surveillance cameras or network extension.

Image: A visual representation of Point-to-Point (PTP) and Point-to-Multipoint (PTMP) network configurations, showing how the bridges connect different locations.
4.2 Point-to-Multipoint (PTMP) Mode
In PTMP mode, one Master CPE469 unit can connect to multiple Slave CPE469 units, creating a wireless network that covers a wider area. This mode supports up to 8 receivers and is suitable for scenarios like campus-wide surveillance or distributing internet across a large property.
For detailed configuration of advanced modes (AP, Bridge), refer to the advanced user guide available on the AdaLov support website.
5. Maintenance
The AdaLov CPE469 is designed for outdoor use with an IP65 weatherproof rating. Regular maintenance is minimal but recommended to ensure optimal performance and longevity.
- Periodic Inspection: Periodically check the mounting hardware for tightness and ensure the devices are securely fastened.
- Cleaning: Gently wipe the exterior of the devices with a damp cloth to remove dirt or debris. Do not use harsh chemicals or abrasive cleaners.
- Environmental Check: Ensure no new obstructions have appeared in the line of sight between the bridges.

Image: The AdaLov CPE469 device installed outdoors during rain, highlighting its IP65 waterproof and weatherproof features.
6. Troubleshooting
If you encounter issues with your CPE469 wireless bridges, refer to the following common troubleshooting steps:
- No Power:
- Ensure the PoE adapter is securely plugged into a working power outlet.
- Verify that the network cables are correctly connected to the "PoE" and "LAN" ports on the adapter and the CPE unit.
- No Wireless Link:
- Confirm both Master and Slave units are powered on and their indicator lights are active.
- Check for a clear line of sight between the two bridges. Obstructions can severely degrade performance.
- Ensure the Master and Slave dials are correctly set on each unit.
- Adjust the mounting angles of the bridges to optimize alignment.
- Slow Connection Speed:
- Verify line of sight. Even partial obstructions can impact speed.
- Check for potential sources of interference (e.g., other wireless devices, large metal objects).
- Ensure network cables are in good condition and properly connected.
- Network Access Issues:
- Confirm your router or network switch is functioning correctly.
- Check IP address configurations if you are using static IPs.
For further assistance, please contact AdaLov technical support.
7. Specifications
| Feature | Detail |
|---|---|
| Model | CPE469 |
| Brand | AdaLov |
| Wireless Bands | 2.4GHz (up to 300Mbps), 5.8GHz (up to 900Mbps) |
| Antenna | 15dBi High-Gain Directional |
| Transmission Range | Up to 3KM (1.9 miles) Point-to-Point |
| LAN Ports | Dual Gigabit LAN ports |
| Power Supply | PoE (Power over Ethernet) |
| Weatherproof Rating | IP65 |
| Mounting Options | Wall-mounted, Pole-mounted (with adjustable brackets) |
| Compatible Devices | Routers, IP Cameras, Network Switches, Starlink Gen 2/3 |
| Operating System | RouterOS |
8. Warranty and Support
AdaLov provides lifetime technical support for the CPE469 Dual Band Wireless Bridge. If you encounter any issues or require assistance with installation or configuration, please contact our support team.
For support inquiries, please visit the official AdaLov website or refer to the contact information provided with your product packaging.