1. Introduction
Thank you for purchasing the Eyoyo EM21A 22-Inch Monitor and TVI/CVI/AHD to HDMI Converter Adapter. This product is designed for continuous surveillance applications, offering a 22-inch Full HD display and a versatile converter for various security camera signals. This manual provides detailed instructions for setup, operation, and maintenance to ensure optimal performance and longevity of your device.
2. Important Safety Information
- Read all instructions carefully before using the product.
- Keep this manual for future reference.
- Do not expose the device to rain, moisture, or extreme temperatures.
- Ensure proper ventilation to prevent overheating.
- Use only the power adapter provided by the manufacturer.
- Do not attempt to disassemble or repair the device yourself. Refer all servicing to qualified personnel.
- Clean the device with a soft, dry cloth. Avoid liquid cleaners.
3. Package Contents
Please check the package contents upon opening. If any items are missing or damaged, contact your retailer.
- Eyoyo EM21A 22-Inch Monitor
- TVI/CVI/AHD to HDMI Converter Adapter
- Power Adapter for Monitor
- Power Adapter for Converter
- HDMI Cable
- User Manual (this document)
- Monitor Stand (if applicable)
4. Product Overview
4.1. Eyoyo EM21A 22-Inch Monitor
The Eyoyo EM21A monitor is designed for continuous 24/7 surveillance. It features a 1920x1080 Full HD display with 99% sRGB color accuracy and 300cd/m² brightness, ensuring clear and vibrant visuals. A 75Hz refresh rate and 5ms response time provide smooth performance for security and surveillance applications.

Image 1: Eyoyo EM21A Monitor in a 24/7 monitoring setup. The screen shows four distinct camera feeds, illustrating its capability for continuous surveillance.
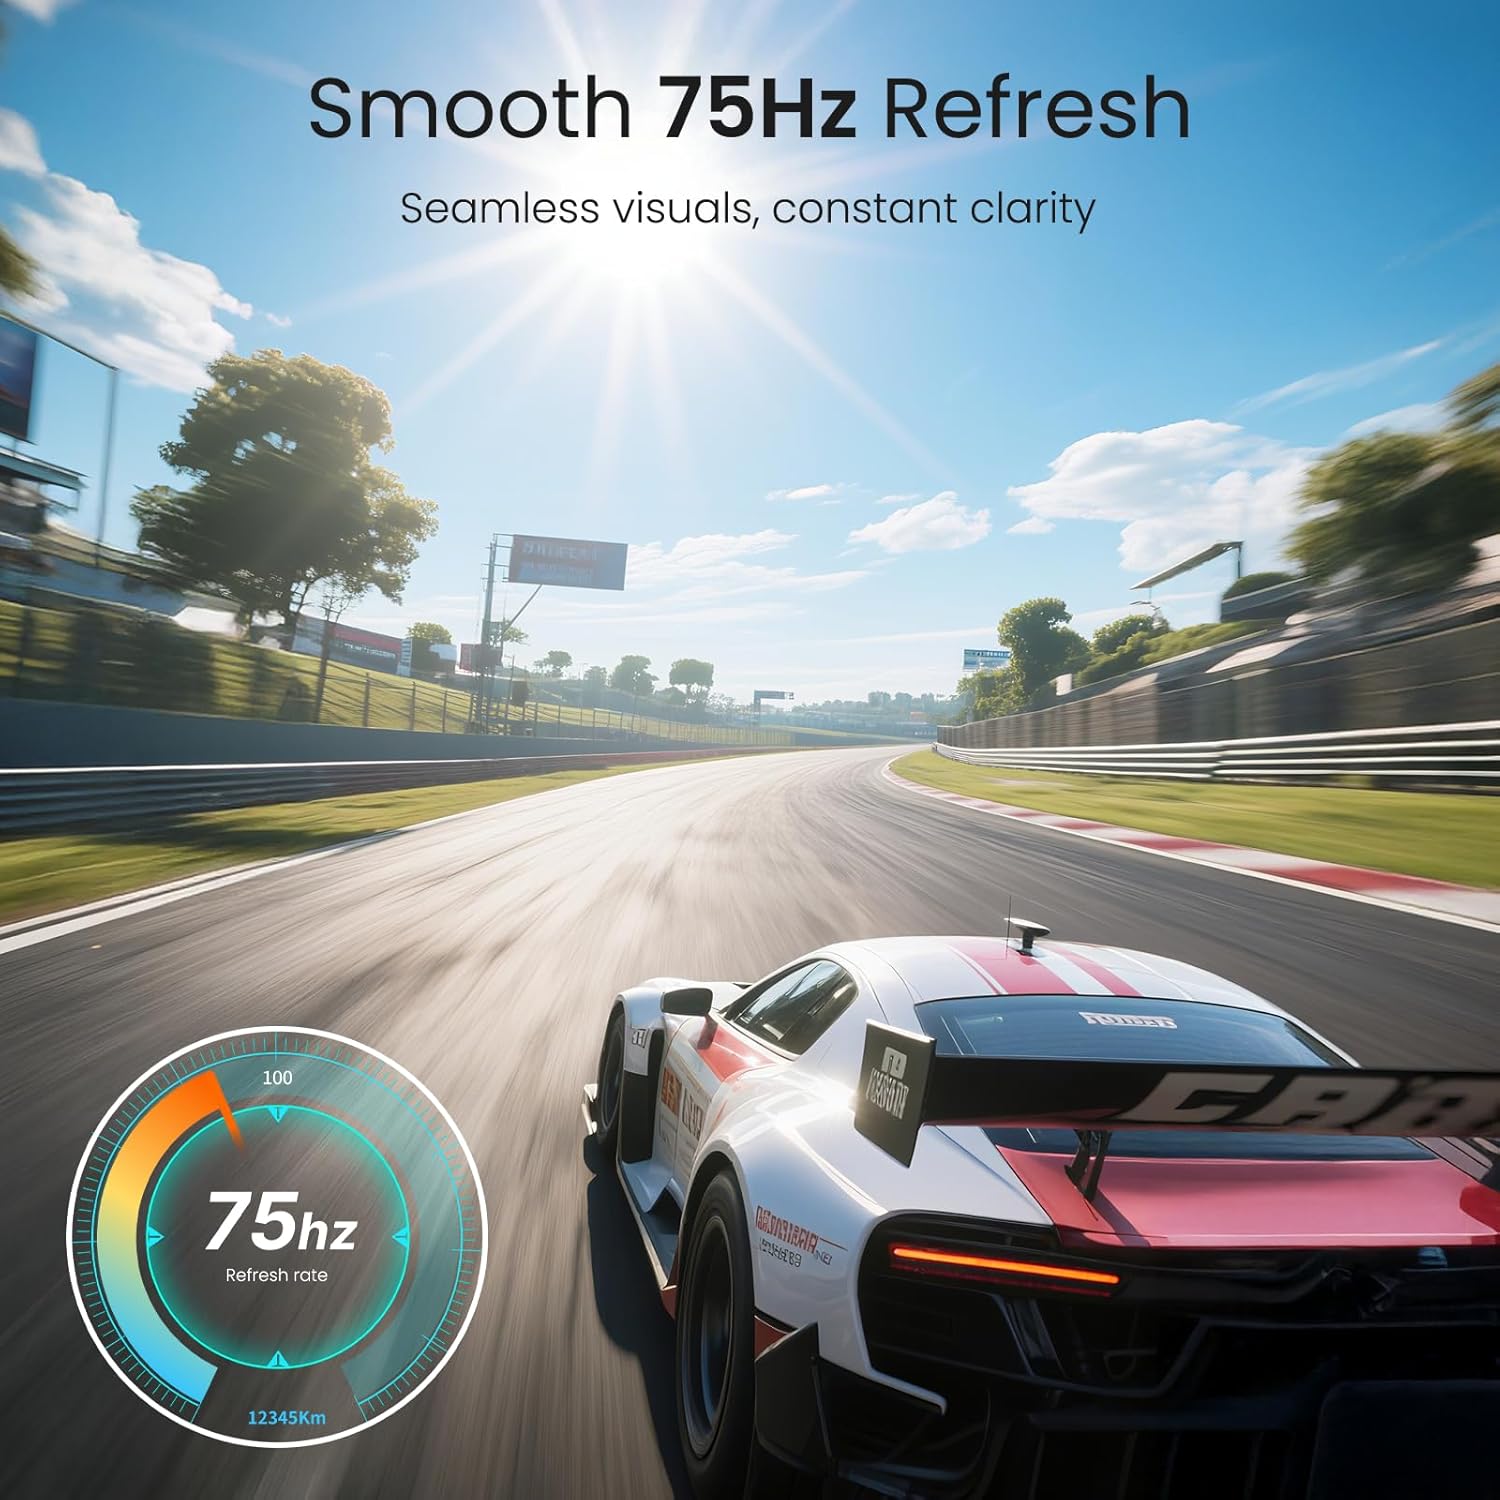
Image 2: Visual representation of the monitor's 75Hz refresh rate, highlighting its ability to deliver seamless and clear visuals.

Image 3: Rear view of the Eyoyo EM21A monitor, detailing its multiple interface options including BNC, USB, Audio, AV, HDMI, VGA, and DC power. The image also shows the monitor's adjustable tilt feature.
The monitor offers versatile connectivity with HDMI, VGA, AV, BNC, and USB ports, making it compatible with DVR/NVR systems, computers, and gaming consoles.
4.2. TVI/CVI/AHD to HDMI Converter Adapter
This converter adapter facilitates the connection of TVI, CVI, AHD, and CVBS security camera signals to an HDMI monitor. It supports plug-and-play functionality and automatically recognizes input signals, outputting resolutions up to 1080P HDMI. Additionally, it features a 4K HD CVI/TVI/AHD/CVBS BNC loop output, preserving image brightness, contrast, and color without loss.

Image 4: Illustration of the converter's function, demonstrating how CVI, CVBS, AHD, and TVI camera signals are converted to 1080P HDMI for display on the monitor.
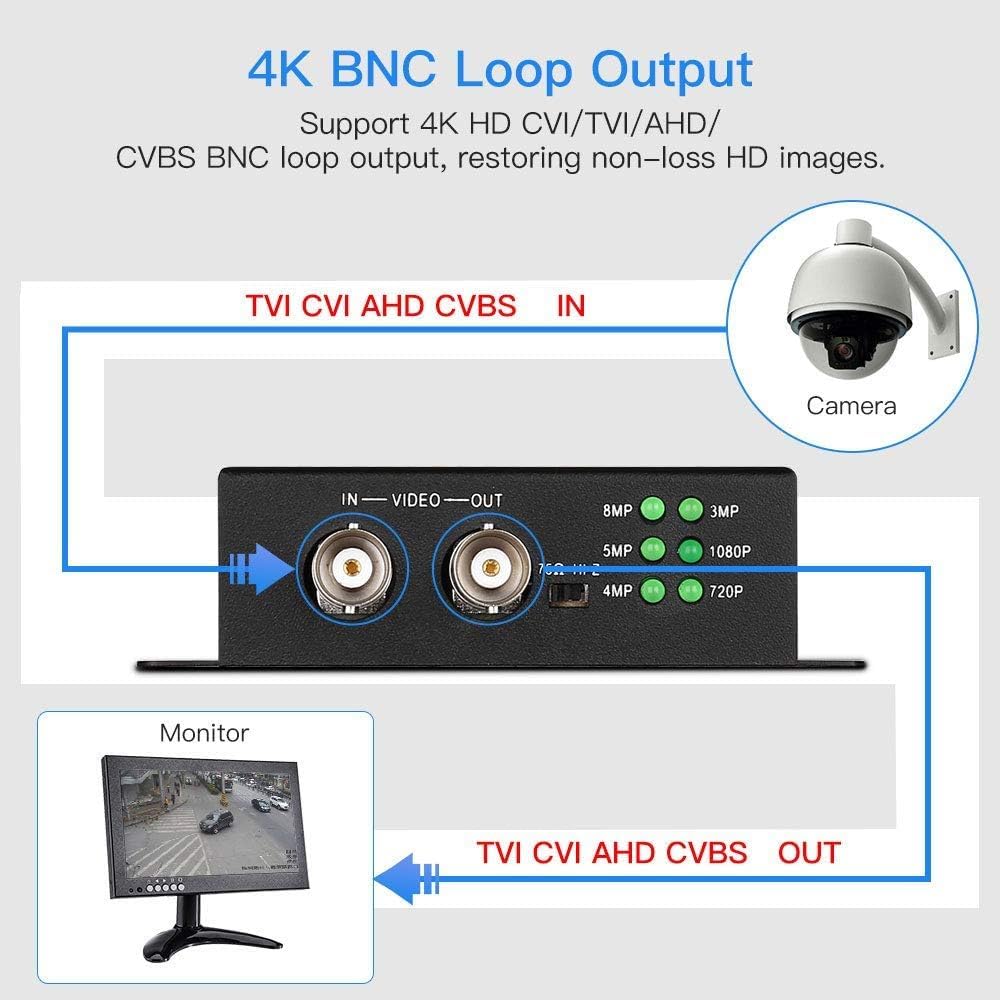
Image 5: Diagram explaining the 4K BNC Loop Output. A security camera connects to the converter's BNC IN, and a BNC OUT connects to a monitor, allowing signal pass-through.

Image 6: Illustration of simultaneous BNC and HDMI output from the converter. A single camera input is split to a BNC output for a tester monitor and an HDMI output for a main monitor.

Image 7: Close-up of the converter showing indicator lights for automatic resolution recognition (720P to 8MP). A table details supported resolutions and frame rates for CVI, TVI, and AHD inputs.
5. Setup Instructions
5.1. Monitor Assembly
- Carefully remove the monitor and stand components from the packaging.
- Attach the stand base to the stand neck, securing it with the provided screws.
- Connect the assembled stand to the back of the monitor, ensuring it clicks into place or is secured with screws.
- Place the monitor on a stable, flat surface.
5.2. Connecting the Converter
- Connect your TVI/CVI/AHD/CVBS security camera to the BNC IN port on the converter using a BNC cable.
- Connect the converter's HDMI OUT port to the monitor's HDMI IN port using the provided HDMI cable.
- Optional: If you need a BNC loop output, connect the converter's BNC OUT port to another BNC monitor or device.
- Optional: If using the 75Ω/HI-Z impedance switch (refer to Image 7):
- When the IN port is connected to a security camera and the OUT port is not connected to a DVR/monitor, set the impedance switch to 75Ω.
- When the OUT port is connected to a DVR/monitor, set the impedance switch to HI-Z.
5.3. Connecting the Monitor Directly (without converter)
The EM21A monitor can also be used directly with other video sources:
- HDMI Connection: Connect an HDMI cable from your device (e.g., DVR, NVR, PC) to the monitor's HDMI IN port.
- VGA Connection: Connect a VGA cable from your device to the monitor's VGA IN port.
- AV Connection: Connect an AV cable from your device to the monitor's AV IN ports (Yellow for Video, Red/White for Audio).
- BNC Connection: Connect a BNC cable from your security camera (CVBS only) or DVR to the monitor's BNC IN port.
5.4. Powering On
- Connect the monitor's power adapter to the DC IN port on the monitor, then plug it into a power outlet.
- Connect the converter's power adapter to the converter's power input, then plug it into a power outlet.
- Press the power button on the monitor to turn it on.
- The converter is typically plug-and-play and will power on automatically when connected to power.
6. Operating Instructions
6.1. Monitor Controls
The monitor typically features control buttons (often on the front or bottom bezel) for navigating the On-Screen Display (OSD) menu. Common buttons include:
- Power Button: Turns the monitor on or off.
- Menu Button: Opens the OSD menu.
- Up/Down/Left/Right Buttons: Navigate through menu options and adjust settings.
- Enter/OK Button: Confirms selections.
- Input/Source Button: Cycles through available input sources (HDMI, VGA, AV, BNC).
6.2. OSD Menu Navigation
- Press the Menu button to open the OSD menu.
- Use the navigation buttons to select categories such as Picture, Color, OSD Settings, or Input Source.
- Press Enter/OK to enter a sub-menu or confirm a setting.
- Adjust values using the navigation buttons.
- Press Menu again or an Exit button (if available) to close the OSD menu.
6.3. Using the Converter
The converter is designed for ease of use:
- Once powered on and connected, the converter will automatically detect the input signal type (TVI/CVI/AHD/CVBS).
- The resolution indicator lights on the converter (refer to Image 7) will illuminate to show the detected input resolution.
- The converted HDMI signal will be output to the connected monitor.
7. Maintenance
- Cleaning the Screen: Gently wipe the screen with a soft, lint-free cloth. For stubborn marks, dampen the cloth slightly with water or a screen-specific cleaning solution. Do not spray liquid directly onto the screen.
- Cleaning the Casing: Use a soft, dry cloth to wipe the monitor and converter casing. Avoid abrasive cleaners or solvents.
- Ventilation: Ensure that the ventilation openings on the monitor and converter are not blocked to prevent overheating.
- Power Off When Not in Use: For extended periods of inactivity, it is recommended to power off both the monitor and converter and unplug them from the power outlet.
8. Troubleshooting
8.1. No Power
- Ensure both the monitor and converter power adapters are securely connected to the device and a working power outlet.
- Check if the power outlet is functional by plugging in another device.
- Verify the power button on the monitor is pressed.
8.2. No Signal / Black Screen
- Confirm all video cables (BNC, HDMI, VGA, AV) are securely connected to both the source device and the monitor/converter.
- If using the converter, ensure the camera is connected to the BNC IN and the monitor to the HDMI OUT.
- Press the Input/Source button on the monitor to cycle through available inputs and select the correct one (e.g., HDMI for converter output).
- Check the camera or source device to ensure it is powered on and outputting a signal.
- If using the converter, check the resolution indicator lights to confirm it is detecting an input signal.
- Verify the 75Ω/HI-Z impedance switch on the converter is set correctly according to your connection (refer to Section 5.2).
8.3. Distorted or Poor Image Quality
- Ensure all cables are properly connected and not damaged.
- Adjust the monitor's display settings (brightness, contrast, sharpness) via the OSD menu.
- Check the resolution output of your source device or converter to ensure it is compatible with the monitor.
- If using the converter, ensure the input signal from the camera is stable and clear.
9. Specifications
9.1. Eyoyo EM21A 22-Inch Monitor
| Screen Size | 22 Inches |
| Resolution | 1920x1080 Full HD |
| Refresh Rate | 75Hz |
| Response Time | 5ms |
| Brightness | 300cd/m² |
| Color Accuracy | 99% sRGB |
| Input Interfaces | HDMI, VGA, AV, BNC, USB |
| Usage | 24/7 Surveillance, CCTV, Camera Monitor |
9.2. TVI/CVI/AHD to HDMI Converter Adapter
| Input Signals | TVI, CVI, AHD, CVBS |
| Output Signals | HDMI (1080P), BNC Loop Output (4K HD CVI/TVI/AHD/CVBS) |
| HDMI Output Resolution | Up to 1080P |
| BNC Loop Output Resolution | Up to 4K (8MP) |
| Features | Plug and Play, Automatic Signal Recognition, Impedance Switch (75Ω/HI-Z) |
Note: For detailed supported resolutions and frame rates for CVI, TVI, and AHD inputs, please refer to Image 7 in Section 4.2.
10. Warranty and Support
Eyoyo products are designed for reliability and performance. This product comes with a standard manufacturer's warranty. Please refer to the warranty card included in your package or visit the official Eyoyo website for detailed warranty terms and conditions.
For technical support, troubleshooting assistance, or service inquiries, please contact Eyoyo customer support through the contact information provided on the official Eyoyo website or your purchase documentation. When contacting support, please have your product model (EM21A) and purchase details ready.


