
1. Introduction
Thank you for choosing the isinwheel M10 Pro Electric Bike. This manual provides essential information for the safe assembly, operation, maintenance, and troubleshooting of your new electric bicycle. Please read this manual thoroughly before your first ride and retain it for future reference. Proper understanding and adherence to these instructions will ensure optimal performance and longevity of your e-bike.

Figure 1.1: The isinwheel M10 Pro Electric Bike.
2. Safety Guidelines
Your safety is paramount. Always wear a helmet and appropriate safety gear when riding. Familiarize yourself with local traffic laws and regulations regarding electric bicycles. Perform a pre-ride inspection before each use.
2.1 Pre-Ride Checklist
- Brakes: Ensure both front and rear brakes are functioning correctly.
- Tires: Check tire pressure and inspect for any damage or punctures. The M10 Pro features 20" x 4" fat tires.
- Battery: Verify the battery is securely locked and sufficiently charged.
- Lights: Confirm headlights and taillights are operational.
- Handlebar & Seat: Ensure handlebar and seat are adjusted to your comfort and securely tightened.
- Quick Releases: Check all quick-release levers are properly secured.
3. Package Contents
Upon unpacking, please verify that all components are present:
- isinwheel M10 Pro Electric Bike (main frame with integrated motor and battery)
- Front Wheel
- Handlebar Assembly
- Pedals
- Seat Post and Saddle
- Charger
- Tool Kit
- User Manual (this document)
4. Assembly and Setup
The isinwheel M10 Pro Electric Bike requires some assembly before its first use. Follow these steps carefully:
4.1 Handlebar Installation
- Attach the handlebar to the stem, ensuring it is centered and the brake levers and shifters are in a comfortable position.
- Tighten the stem bolts securely.
4.2 Front Wheel Installation
- Carefully align the front wheel into the front fork dropouts.
- Ensure the brake rotor is correctly seated within the brake caliper.
- Secure the wheel using the quick-release skewer or axle nuts, ensuring it is tight and centered.
4.3 Pedal Installation
- Identify the left (L) and right (R) pedals.
- Thread the right pedal (R) clockwise into the right crank arm.
- Thread the left pedal (L) counter-clockwise into the left crank arm.
- Tighten both pedals firmly with a wrench.
4.4 Seat Post and Saddle Adjustment
- Insert the seat post into the frame's seat tube.
- Adjust the seat height for comfortable pedaling, ensuring your leg has a slight bend at the knee when the pedal is at its lowest point.
- Secure the seat post with the quick-release lever or bolt.

Figure 4.1: Adjusting handlebar angle and seat height for optimal comfort and fit. Recommended height: 5'3"-6'3".
5. Operating Instructions
5.1 Powering On/Off
To power on the bike, press and hold the power button on the LCD display. Repeat to power off.
5.2 LCD Display Functions
The integrated LCD display provides real-time information about your ride:
- Speed: Current riding speed.
- Battery Bar: Indicates remaining battery charge.
- ODO/TRIP: Displays total odometer or current trip distance.
- Assist Level: Shows the current pedal assist level (0-5).
The display also features a built-in USB port for charging mobile devices.

Figure 5.1: The smart LCD dashboard with USB charging port.
5.3 Riding Modes and Assist Levels
The M10 Pro offers multiple riding modes and 5 levels of pedal assist:
- Pedal Assist Mode (PAS): The motor provides assistance as you pedal. Adjust the assist level (1-5) using the controls on the handlebar. Higher levels provide more assistance.
- Throttle Mode: Use the half-twist throttle to engage the motor without pedaling.
- Pedal Only Mode: Ride the bike like a traditional bicycle with no motor assistance.
- Walk Mode: Provides low-speed assistance for walking the bike.
The bike is equipped with a 7-speed Shimano gear system for traditional pedaling.

Figure 5.2: Close-up of the 7-speed Shimano shifter and rear derailleur.
5.4 Charging the Battery
The 36V 10.4Ah battery is removable for convenient charging. Connect the charger to the battery and a standard power outlet. The charging indicator on the charger will show the charging status. A full charge typically takes 3-4 hours.
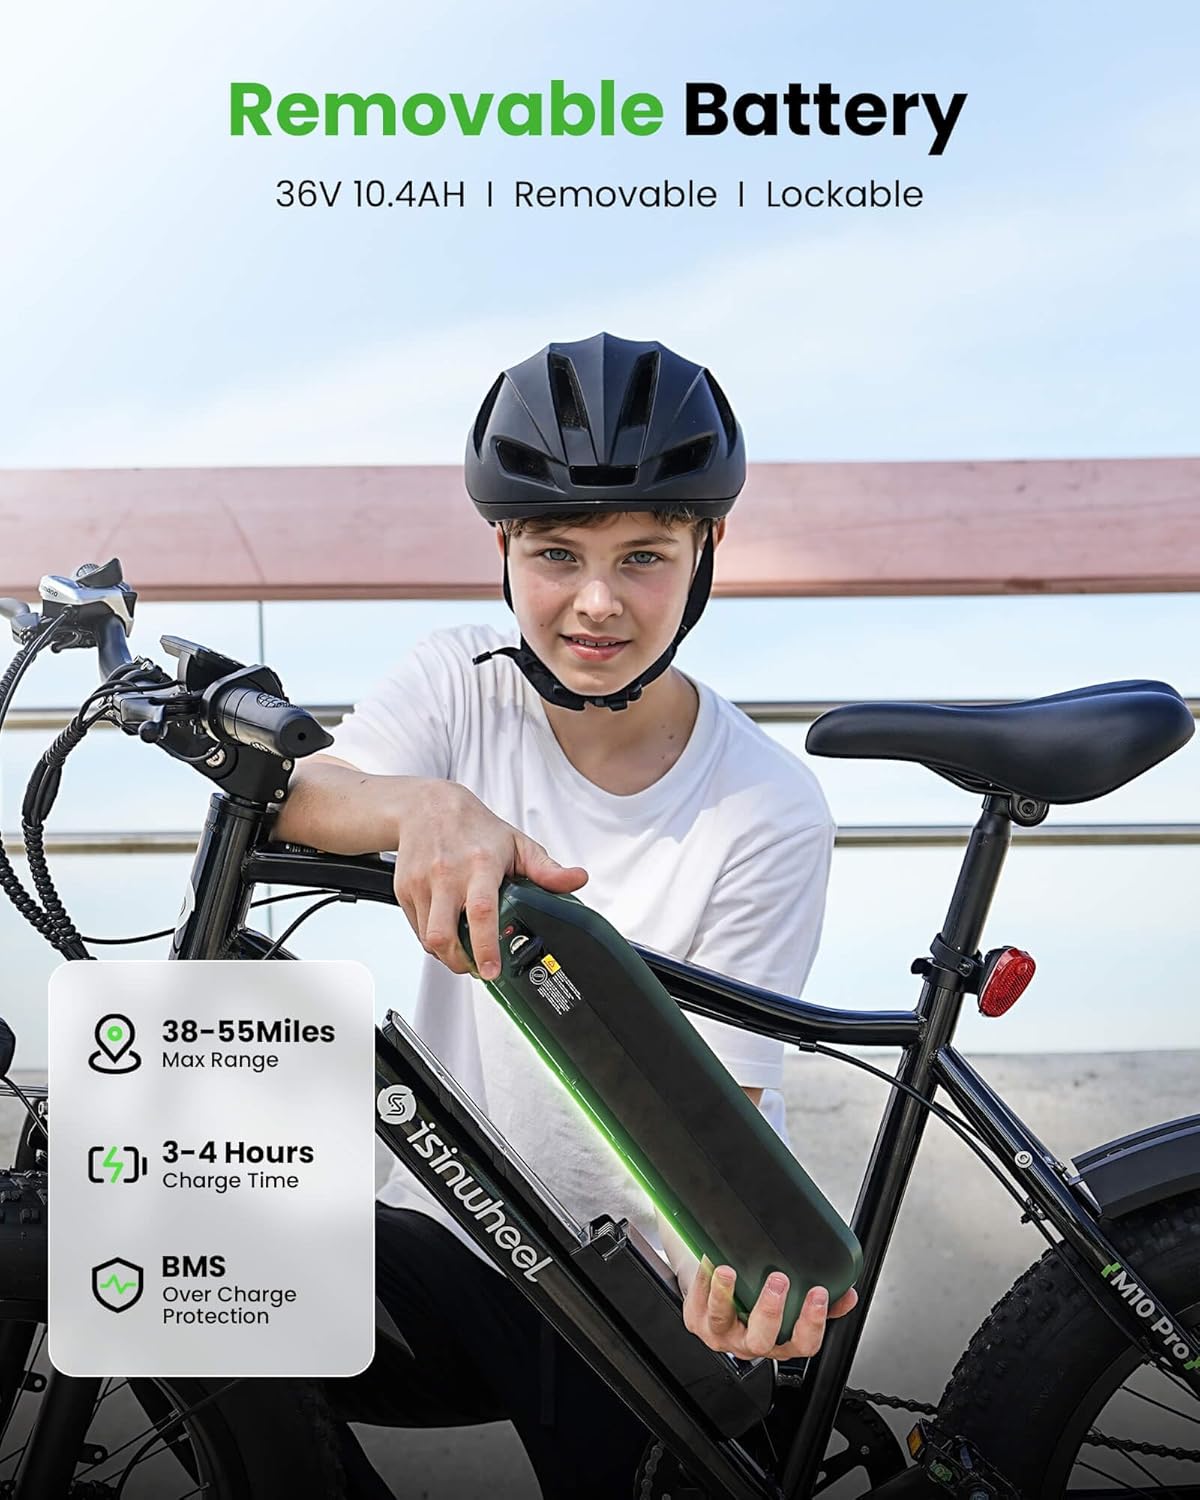
Figure 5.3: The removable and lockable 36V 10.4Ah battery.
6. Maintenance
Regular maintenance ensures the safety and longevity of your isinwheel M10 Pro Electric Bike.
6.1 Cleaning
Clean the bike regularly with a damp cloth. Avoid using high-pressure washers directly on electrical components, motor, or battery.
6.2 Lubrication
Lubricate the chain and other moving parts (e.g., derailleur pivots) periodically with bicycle-specific lubricant. Avoid over-lubrication.
6.3 Brake System
Inspect brake pads for wear and replace them when necessary. Ensure brake cables are not frayed and are properly tensioned. The M10 Pro uses mechanical disc brakes.
6.4 Tire Care
Maintain recommended tire pressure (refer to tire sidewall for specifications). Inspect tires for cuts, cracks, or embedded objects regularly.
6.5 Battery Care
Store the battery in a cool, dry place. If storing for extended periods, charge the battery to 50-70% every 1-2 months to maintain its health. Avoid fully discharging the battery frequently.
7. Troubleshooting
This section addresses common issues you might encounter with your M10 Pro Electric Bike.
| Problem | Possible Cause | Solution |
|---|---|---|
| Bike does not power on | Battery not charged or not properly installed; loose electrical connection. | Charge battery fully. Ensure battery is securely seated and locked. Check all visible cable connections. |
| Motor not assisting | Pedal Assist System (PAS) level is 0; brake levers engaged; motor connection loose. | Increase PAS level on the display. Release brake levers. Check motor cable connection. |
| Short battery range | Low tire pressure; riding in high assist levels; frequent stops/starts; cold weather. | Ensure tires are properly inflated. Use lower assist levels when possible. Plan routes to minimize frequent acceleration. |
| Brakes feel weak | Worn brake pads; loose brake cable; contaminated rotors. | Inspect and replace brake pads. Adjust brake cable tension. Clean rotors with disc brake cleaner. |
If you encounter issues not listed here or require further assistance, please contact isinwheel customer support.
8. Specifications
Key technical specifications for the isinwheel M10 Pro Electric Bike:
| Feature | Specification |
|---|---|
| Model Name | M10Pro |
| Bike Type | Electric Bike |
| Motor | 750W (Peak 1000W) Brushless Motor |
| Max Speed | 22 mph |
| Battery | 36V 10.4Ah (375 Wh) Removable Lithium Battery |
| Max Range | Up to 40 miles (throttle mode), 55 miles (PAS mode) |
| Charge Time | 3-4 Hours |
| Wheel Size | 20 Inches (4.0" Fat Tires) |
| Gearing | 7-Speed Shimano |
| Brakes | Mechanical Disc Brakes |
| Suspension | Front Fork Suspension |
| Frame Material | Alloy Steel / Carbon Steel |
| Load Capacity | Max 330 lbs |
| Bicycle Weight | 67.1 lbs |
| Special Feature | LCD-Display, USB Phone Charging Port |

Figure 8.1: Detail of the 1000W peak brushless motor and 7-speed gearing.
9. Warranty and Support
9.1 Warranty Information
The isinwheel M10 Pro Electric Bike comes with a Limited Warranty. Please refer to the warranty card included with your purchase for specific terms, conditions, and duration. This typically covers manufacturing defects in materials and workmanship.
9.2 Customer Support
For technical assistance, warranty claims, or any questions regarding your isinwheel M10 Pro Electric Bike, please contact isinwheel customer service. You can find contact information on the official isinwheel website or through your purchase platform.
For additional information and products, visit the isinwheel Store.