1. Introduction
The SOBO DA-06 Timed Auto Feeder is designed to provide consistent and reliable feeding for your aquarium fish. This device dispenses food at predetermined intervals, ensuring optimal nourishment without manual intervention. It is ideal for maintaining a regular feeding schedule, especially when you are away from home or have a busy schedule.
2. Safety Information
- Ensure the feeder is securely mounted to prevent it from falling into the water.
- Do not immerse the feeder in water. This device is not waterproof.
- Keep out of reach of children and pets.
- Use only the recommended battery type and ensure correct polarity.
- Do not mix old and new batteries, or different types of batteries.
- If the device shows signs of damage, discontinue use immediately.
3. Package Contents
Verify that all components are present in the package:
- SOBO DA-06 Auto Feeder Unit
- Mounting Bracket (referred to as "Stand" in some listings)
Note: Batteries are required for operation and are not included in the package.
4. Product Overview
Familiarize yourself with the main components of your SOBO DA-06 Auto Feeder.

Figure 1: Front view of the SOBO DA-06 Auto Feeder. This image displays the control panel with buttons for setting time intervals (8H, 12H, 24H, 48H, 72H) and a 'FEED' button for manual dispensing. The transparent food container is visible at the bottom.
5. Setup
5.1. Powering the Device
The SOBO DA-06 Auto Feeder operates on batteries. Ensure you have the correct type and number of batteries (typically AA or AAA, refer to the battery compartment for specifics) before proceeding.
- Locate the battery compartment on the device.
- Insert the batteries, observing the correct polarity (+/-) as indicated inside the compartment.
- Close the battery compartment securely.
5.2. Installation on Aquarium
The feeder comes with a mounting bracket for secure attachment to your aquarium rim.
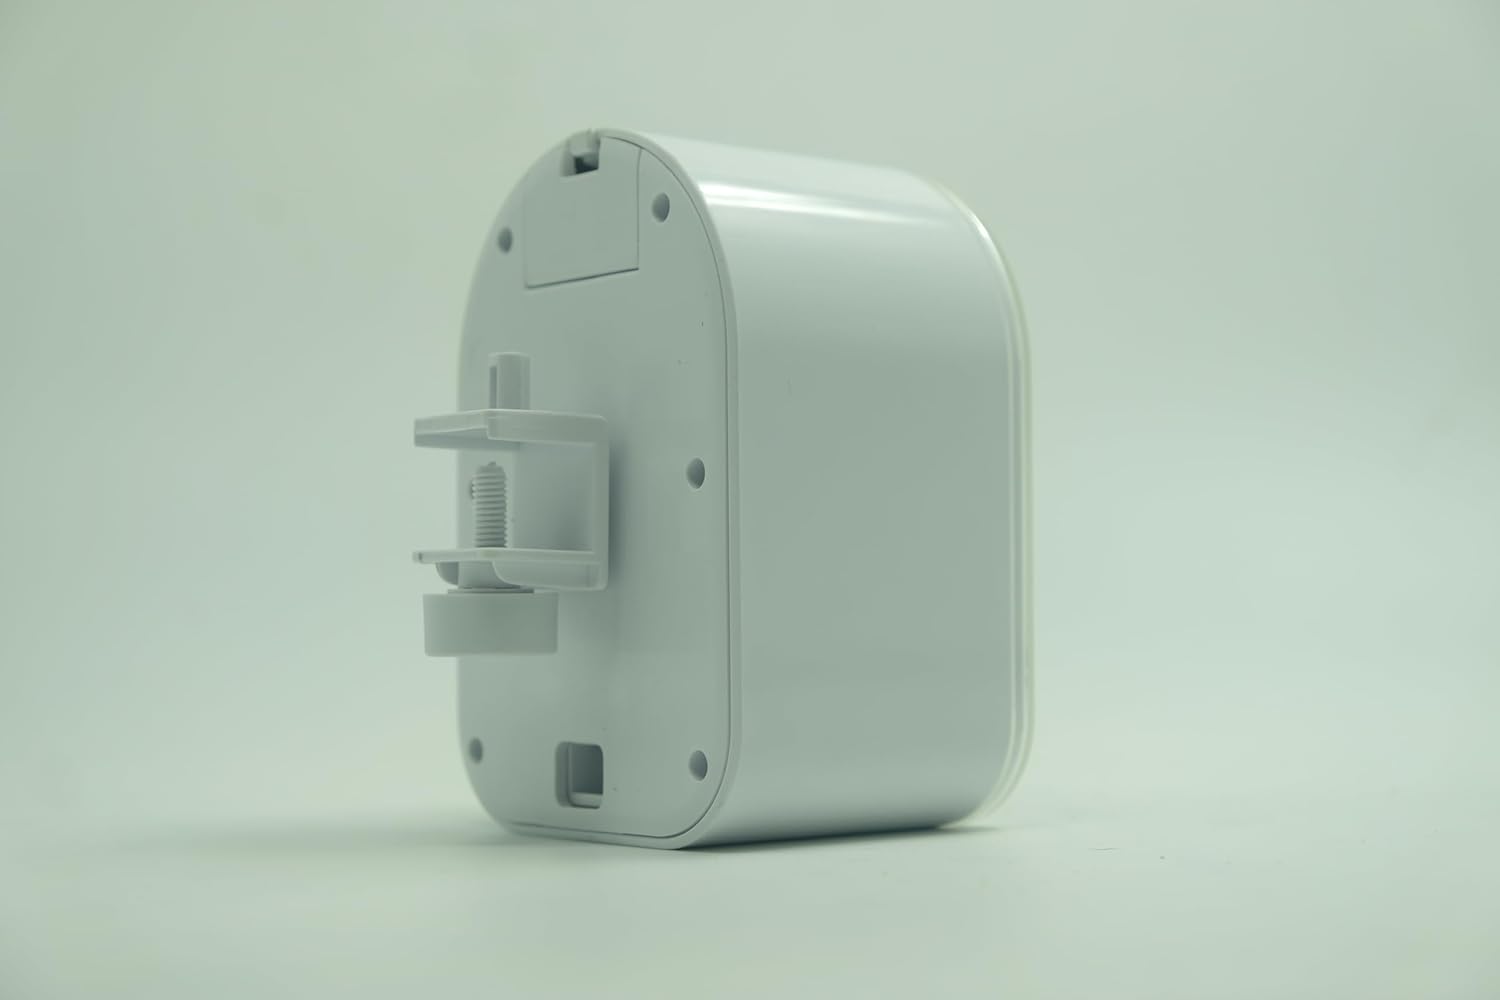
Figure 2: Side view of the SOBO DA-06 Auto Feeder showing the mounting bracket. The bracket is designed to clamp onto the edge of an aquarium.
- Attach the mounting bracket to the feeder unit.
- Position the feeder over the aquarium, ensuring the food dispensing opening is directly above the water surface and clear of any obstructions.
- Securely tighten the mounting bracket to the rim of your aquarium. Ensure the feeder is stable and cannot easily be dislodged.

Figure 3: Another side view of the SOBO DA-06 Auto Feeder, highlighting the adjustment screw on the mounting bracket for securing it to various aquarium thicknesses.
5.3. Food Compatibility and Loading
The SOBO DA-06 is compatible with flakes and granules that are 2mm or smaller in size.
- Open the food container lid.
- Fill the container with your desired fish food, ensuring it meets the size requirements. Do not overfill.
- Close the lid securely to prevent moisture from affecting the food.
5.4. Adjusting Food Amount
The feeder features an adjustable slider on the food container to control the portion size per feeding.
- Locate the adjustable slider on the food container.
- Move the slider to increase or decrease the opening size, thereby controlling the amount of food dispensed. Test the dispensing amount before setting a schedule.
6. Operating Instructions
6.1. Setting Feeding Intervals
The SOBO DA-06 allows you to program automatic feeding at various intervals.
- Identify the interval buttons on the control panel (e.g., 8H, 12H, 24H, 48H, 72H).
- Press the desired interval button to activate the automatic feeding schedule. The corresponding indicator light should illuminate.
- The feeder will now dispense food automatically at the selected interval from the time the button was pressed.
- To change the interval, simply press a different interval button. The previous setting will be overwritten.
Example: If you press the "24H" button at 9:00 AM, the feeder will dispense food at 9:00 AM every day.
6.2. Manual Feeding
You can manually dispense food at any time without affecting the programmed schedule.
- Press the "FEED" button on the control panel.
- The feeder will dispense a single portion of food.
7. Maintenance
7.1. Cleaning the Feeder
Regular cleaning ensures optimal performance and prevents food buildup.
- Remove the feeder from the aquarium.
- Empty any remaining food from the container.
- Wipe the exterior of the feeder with a damp cloth. Do not use harsh chemicals.
- Clean the food container and dispensing mechanism with a soft brush or cloth. Ensure all food residue is removed.
- Allow all parts to dry completely before reassembling and refilling with food.
7.2. Battery Replacement
Replace batteries when the indicator light (if present) signals low power, or if the feeder stops operating reliably.
- Open the battery compartment.
- Remove the old batteries. Dispose of them responsibly according to local regulations.
- Insert new batteries, ensuring correct polarity.
- Close the battery compartment.
8. Troubleshooting
| Problem | Possible Cause | Solution |
|---|---|---|
| Feeder not dispensing food. |
|
|
| Inconsistent food dispensing. |
|
|
| Feeder not turning on. |
|
|
9. Specifications
- Model: DA-06
- Target Species: Fish
- Recommended Use: Indoor
- Special Features: Timed Auto Feeding, Portion Control
- Operation Mode: Automatic
- Feeding Intervals: 8H, 12H, 24H, 48H, 72H (selectable)
- Food Compatibility: Flakes and granules up to 2mm
- Power Source: Battery Powered (Batteries not included, required)
- Product Dimensions: 15L x 9W x 15H Centimeters
- Item Weight: 800 Grams
- Manufacturer: Zhongshan Electric Appliance Co., Ltd.
- Country of Origin: China
10. Warranty and Support
Specific warranty information and direct customer support contacts are not provided in this manual. For warranty details, technical support, or service inquiries, please refer to the manufacturer's official website or contact your retailer.
Manufacturer: Zhongshan Electric Appliance Co., Ltd.


