
Introduction
Thank you for choosing the Pockrif 6.0 Cuft Steel Fireproof Safe. This manual provides essential information for the safe's proper installation, operation, and maintenance. Please read these instructions carefully before using your safe to ensure optimal performance and security.
Safety Information
- Do not store emergency keys inside the safe. Always keep them in a secure, separate location away from the safe.
- Ensure the safe is placed on a level, stable surface or securely mounted to prevent tipping.
- Keep the safe door closed and locked when not in use to prevent unauthorized access.
- Keep children away from the safe and do not allow them to play with the lock or keys.
- Replace batteries promptly when the low battery indicator appears to avoid being locked out.
Package Contents
Verify that all items are present in the package:
- Pockrif 6.0 Cuft Steel Fireproof Safe x 1
- User Manual (this document) x 1
- Emergency Key x 2
- Mounting Screw x 4
Product Overview
The Pockrif 6.0 Cuft Steel Fireproof Safe is designed to protect your valuables with robust construction and advanced security features. It features a solid steel body, an electronic combination lock, and an anti-theft alarm system.

Key features include:
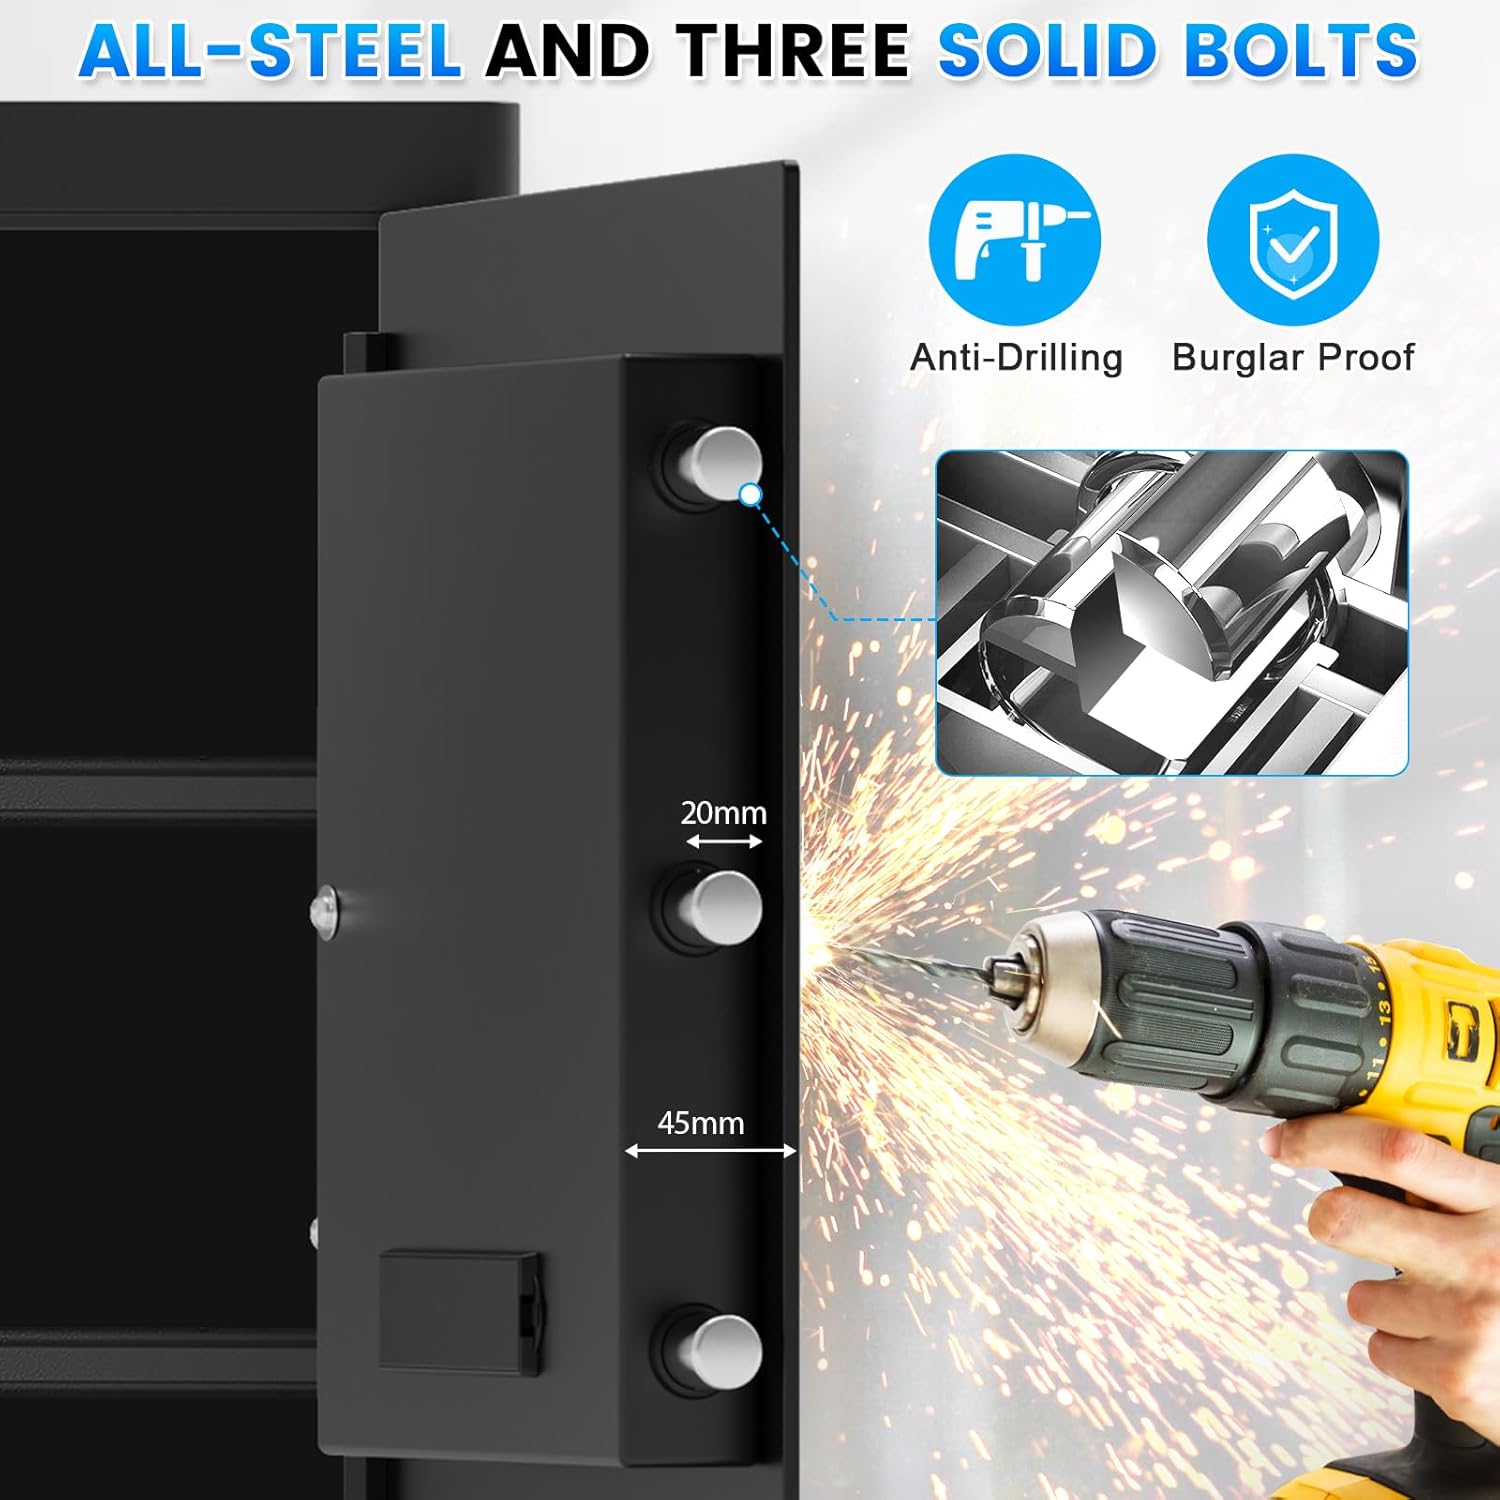
- Solid Steel Construction: Built with premium-grade, ultra-durable alloy steel for enhanced security.
- Electronic Combination Lock: High-sensitivity digital keypad for daily access.
- Emergency Key Access: Mechanical override keys for backup entry.
- Automatic Anti-Theft Alarm: Activates after three consecutive incorrect passcode attempts.
- Bolt-Down Anchoring System: Pre-drilled holes for secure floor or wall mounting.
- Removable Shelf: Adaptable interior layout with adjustable shelves for customized storage.
Setup
1. Initial Opening
Upon receiving your safe, it will be in a locked state. Use one of the provided emergency keys to open it for the first time.
- Locate the keyhole cover on the electronic keypad panel. This cover is often discreetly integrated.
- Gently remove the keyhole cover.
- Insert an emergency key into the keyhole and turn it clockwise.
- While the key is turned, rotate the handle counter-clockwise to open the safe door.
2. Battery Installation
The electronic keypad requires batteries for operation. The battery compartment is typically external for easy access.
- Locate the external battery box, usually on the front panel of the safe, near the keypad.
- Open the battery compartment cover.
- Insert the required number of AA batteries (typically 4), ensuring correct polarity (+/-).
- Close the battery compartment cover securely.
3. Setting Your User Code
After installing batteries, you can set your personal digital code.
- With the safe door open, locate the red reset button on the inside of the safe door, usually near the hinge.
- Press the red reset button. The keypad will beep, and an indicator light (often yellow or green) will illuminate.
- On the keypad, enter your desired personal code (typically 3-8 digits).
- Press the '#' button to confirm your new code. The keypad will beep again, and the indicator light will turn off, confirming the code is set.
- Test your new code: With the door still open, enter your new code followed by '#'. The safe should indicate it's unlocked (e.g., green light, beep). If successful, close the door and test again.

4. Mounting the Safe
To enhance security, it is recommended to anchor the safe to a floor or wall.
- Choose a suitable location for the safe, ensuring it is level and stable.
- Locate the pre-drilled mounting holes on the back and bottom of the safe.
- Position the safe and mark the drilling points on the floor or wall through the pre-drilled holes.
- Drill pilot holes at the marked locations using an appropriate drill bit for your surface (concrete, wood, etc.).
- Align the safe with the drilled holes and secure it using the provided mounting screws and any necessary anchors (e.g., expansion bolts for concrete).
- Ensure all screws are tightened firmly to prevent the safe from being moved.

Operating Instructions
1. Opening with Digital Code
- Enter your personal digital code on the keypad.
- Press the '#' button. A green indicator light should illuminate, and you will hear a confirmation beep.
- Within 5 seconds, rotate the handle counter-clockwise to open the safe door.
2. Opening with Emergency Key
Use the emergency key if you forget your code, the batteries are dead, or the electronic system malfunctions.
- Remove the keyhole cover on the keypad panel.
- Insert an emergency key into the keyhole and turn it clockwise.
- While the key is turned, rotate the handle counter-clockwise to open the safe door.
3. Smart Anti-Theft Alarm System
The safe is equipped with an intelligent anti-tamper alert system.
- If three consecutive incorrect passcode attempts are made, the safe will automatically activate a loud, 60-second acoustic warning sound.
- This alarm serves as a deterrent against unauthorized entry.
- To silence the alarm, enter the correct digital code or use an emergency key.

4. Mute Mode
The safe features a mute mode to operate without audible feedback. Refer to the specific instructions provided with your safe for activating and deactivating mute mode, as this may vary by model.
5. Removable Shelf Adjustment
The interior shelf can be adjusted or removed to accommodate items of various sizes.
- Open the safe door.
- To remove a shelf, gently lift it from its supports and pull it out.
- To adjust a shelf, place it on a different set of support brackets inside the safe.
- Ensure the shelf is securely seated on the brackets before placing items on it.

Maintenance
- Battery Replacement: Replace batteries annually or when the low battery indicator light appears. Use high-quality alkaline batteries.
- Cleaning: Wipe the safe's exterior with a soft, damp cloth. Avoid abrasive cleaners or solvents that could damage the finish or electronic components.
- Keyhole Maintenance: Do not lubricate the keyhole with oil-based products. If lubrication is needed, use a graphite-based lubricant sparingly.
- Regular Checks: Periodically check the mounting bolts for tightness and ensure the door mechanism operates smoothly.
Troubleshooting
| Problem | Possible Cause | Solution |
|---|---|---|
| Safe does not open with digital code. | Incorrect code entered; Dead batteries; Keypad malfunction. | Re-enter code carefully. Replace batteries. Use emergency key. |
| Alarm sounds unexpectedly. | Three incorrect code attempts; Safe moved or tampered with. | Enter correct code or use emergency key to disarm. Check safe for tampering. |
| Keypad is unresponsive. | Dead or low batteries; Loose battery connection. | Replace batteries. Ensure batteries are correctly installed. Use emergency key. |
| Door does not close properly. | Obstruction in door frame; Bolts not fully retracted. | Check for any items blocking the door. Ensure handle is fully turned to retract bolts before closing. |
Specifications
- Brand: Pockrif
- Model Number: ER
- Product Dimensions (D x W x H): 12.21" x 13.78" x 25.59"
- Lock Type: Electronic Combination Lock, Key
- Color: Black
- Capacity: Approximately 6.0 Cubic Feet
- Material: Alloy Steel
- Special Features: Alarm System, Anti-Theft, Combination Lock, Fireproof, Removable Shelf
- Mounting Type: Floor Mount
- Item Weight: 17.25 kg
Warranty Information
For detailed warranty information, please refer to the warranty card included with your purchase or contact Pockrif customer service. Keep your proof of purchase for warranty claims.
Support
If you encounter any issues or have questions not covered in this manual, please contact Pockrif customer support. Contact details can typically be found on the product packaging or the official Pockrif website.